Sew Comfy Bra Sew-Along – Part 5: Pattern Hack
Hello and welcome to the final installment of this Sew Comfy Bra Sew-Along with Joy Mao!
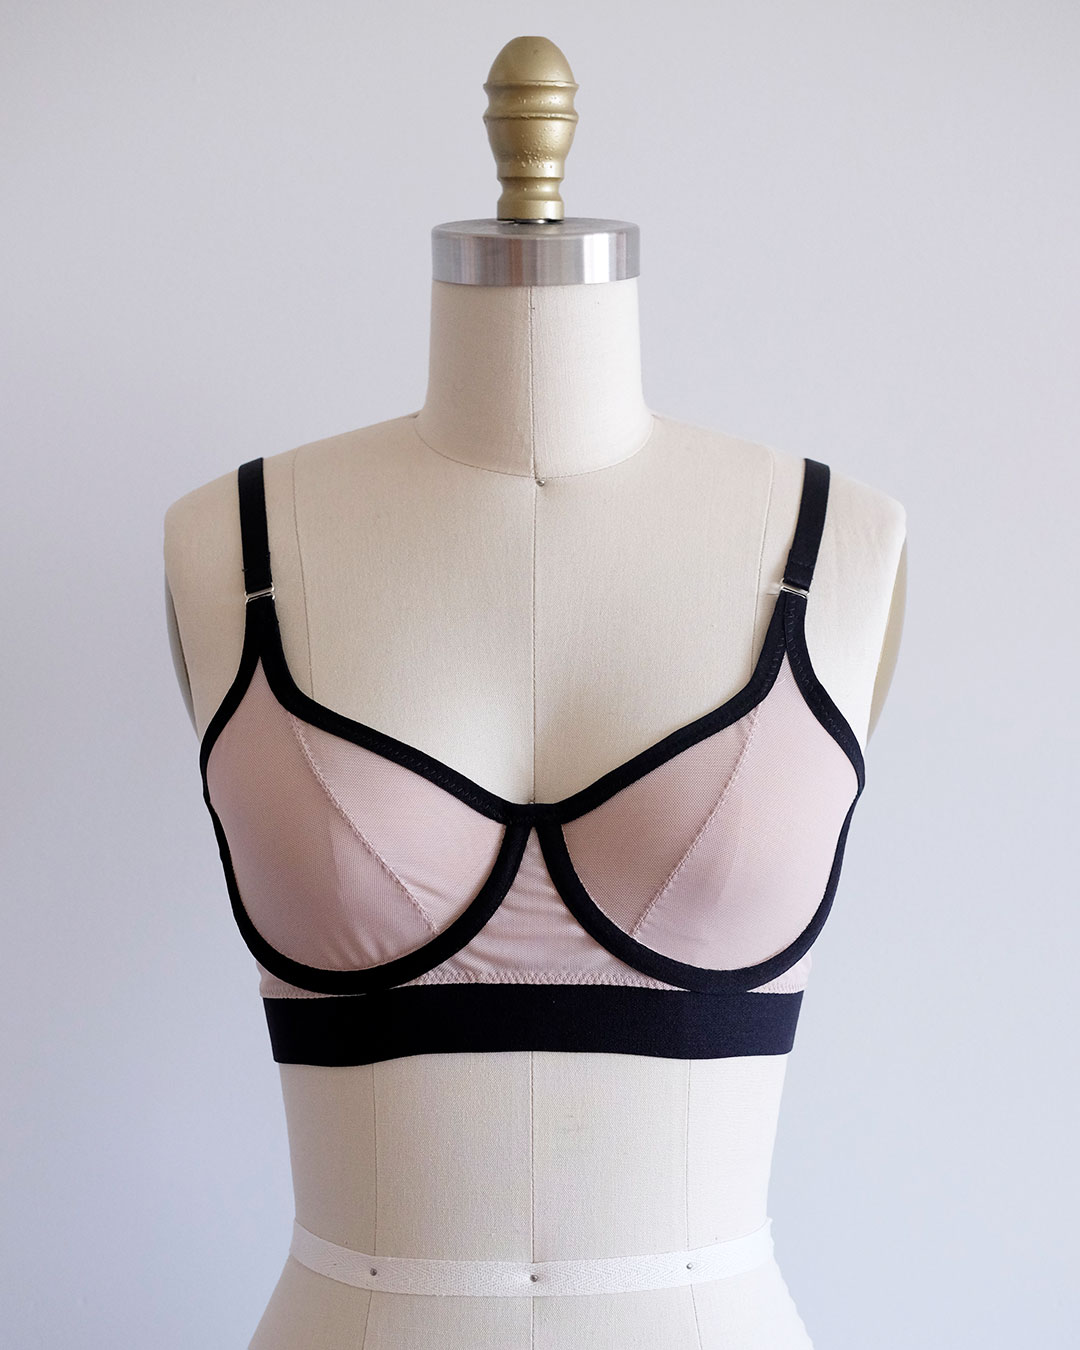
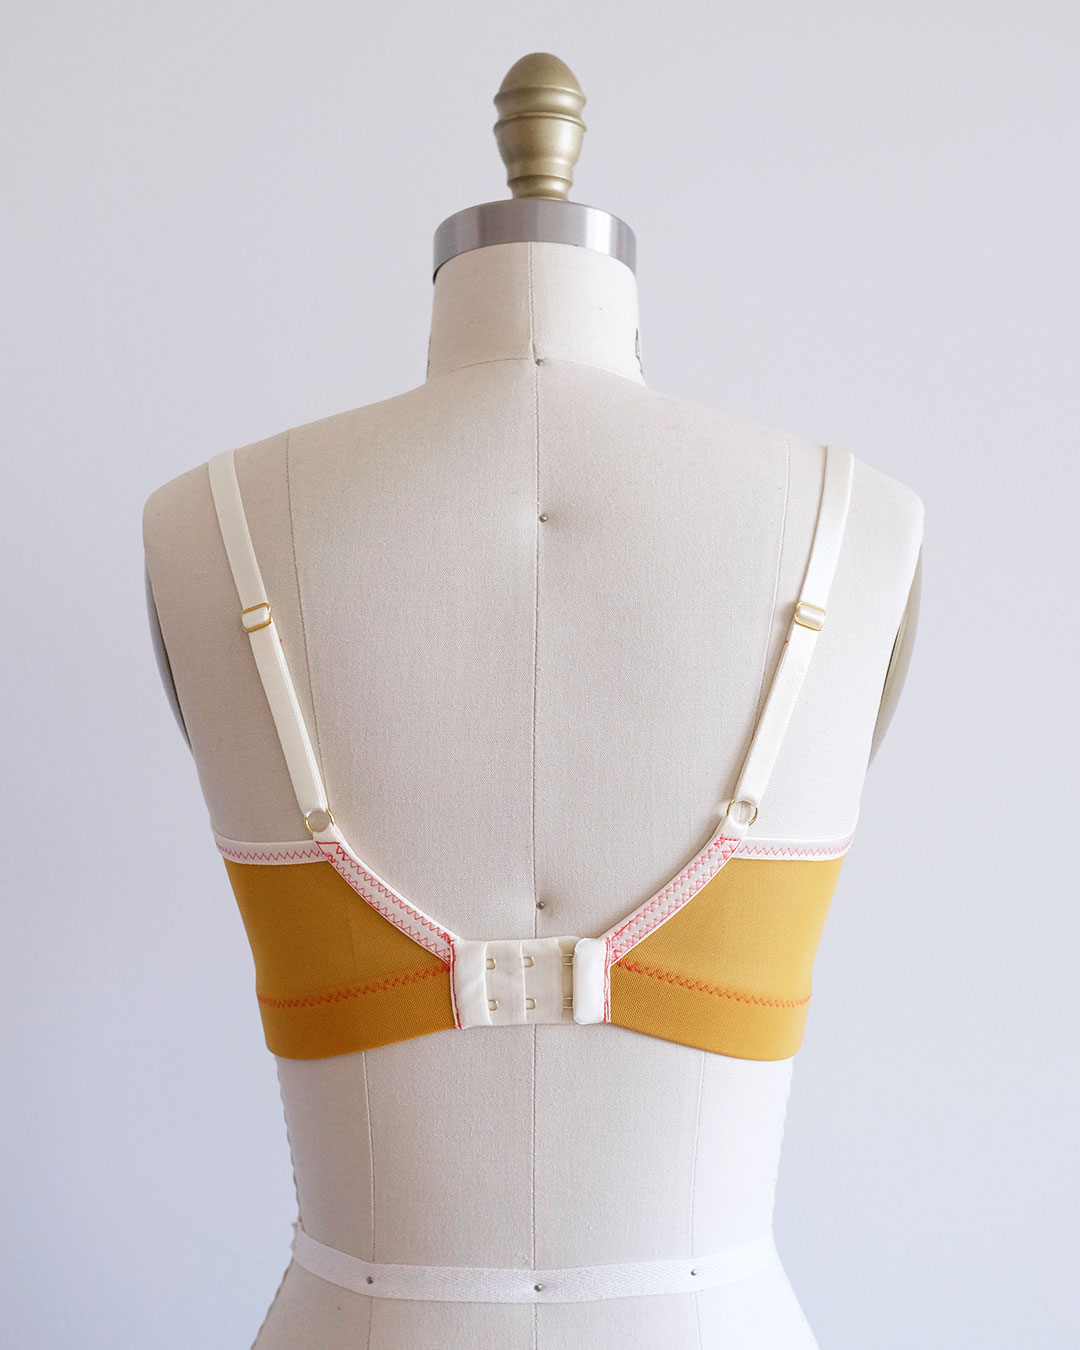
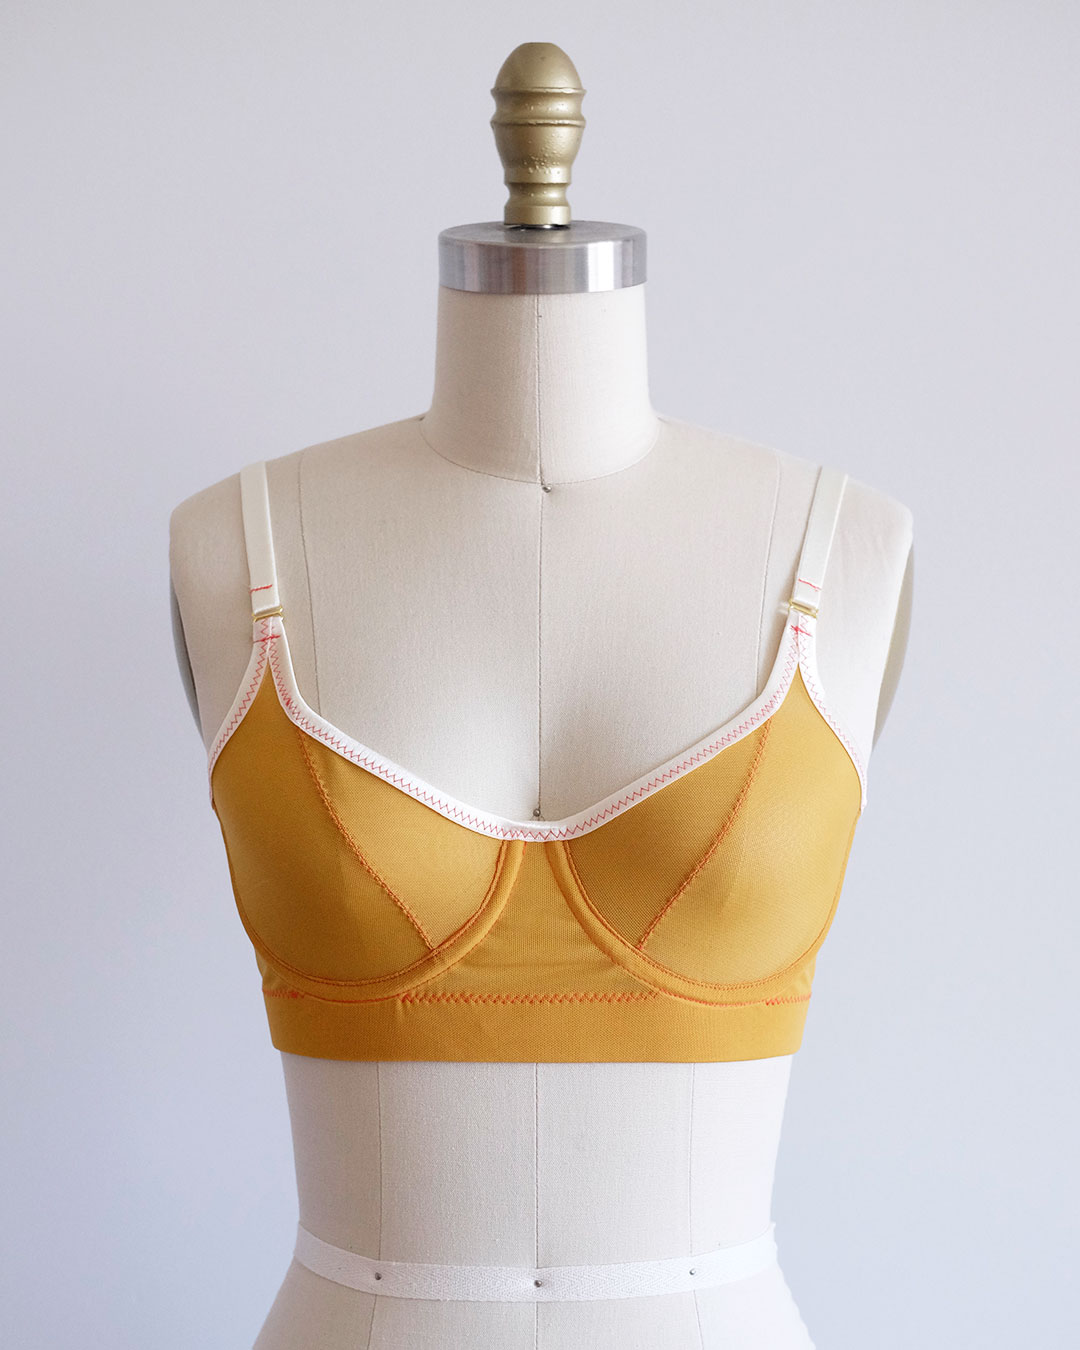
After nailing the fit on my Sew Comfy Bra in mustard power net, I decided to try a variation with a gorgeous dusty mauve power net and black findings—but with the channeling and wide plush elastic on the OUTSIDE of the bra. I love pattern-hacking! It’s a great way to get more mileage out of a bra pattern.
In today’s post, I’ll share the pattern adjustments and construction changes that I made for this pattern hack.
Materials
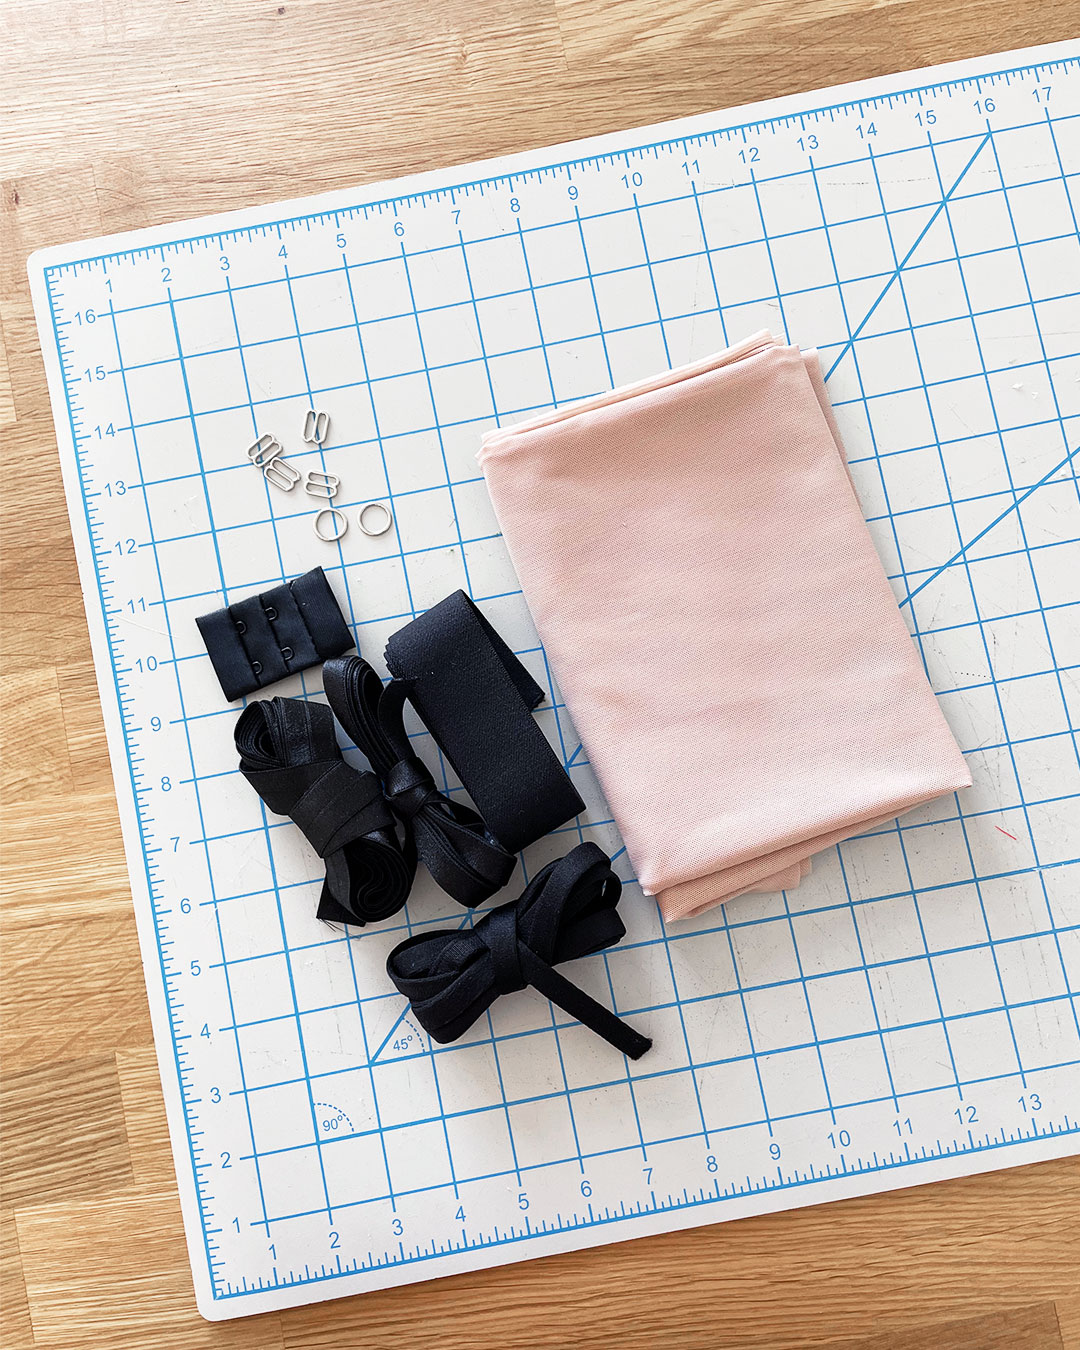
Here are the materials I chose for my pattern hack, all from Tailor Made Shop:
| MATERIAL | COLOR |
| Power Net | Dusty Mauve |
| Stabilizer Tricot | Ivory |
| 1 3/8″ (35mm) Wide Plush Elastic | Black |
| 3/4″ Fold Over Elastic | Black |
| 1/2″ Strap Elastic | Black |
| 1/2″ Rings and Sliders | Silver |
| 3/8″ Underwire Channeling | Black |
| Round Underwires | – |
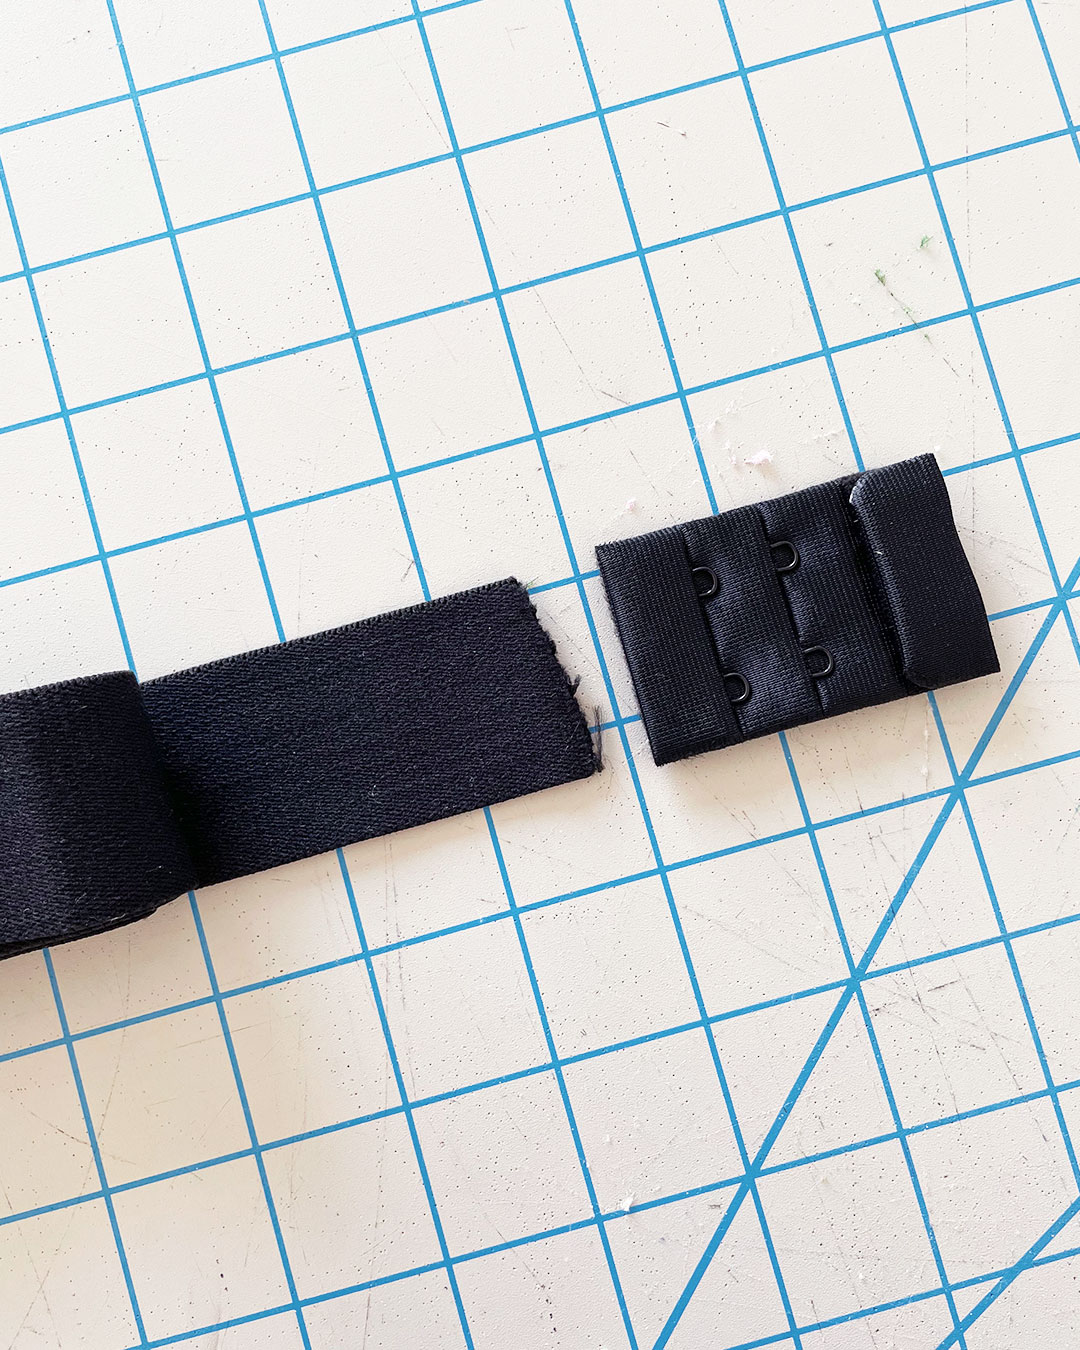
| 2 x 3 Hook and Eye Closure | Black |
Pattern Adjustments
I approached my pattern hack by first taking inventory of stylistic elements that I wanted to change, and noting the necessary corresponding pattern adjustments:
- Apply channeling to the outside of the bra – no pattern changes needed, but sewn differently
- Visible wide plush elastic – remove excess power net from Band piece and sew differently
- Use 35mm wide plush elastic instead of trimming to 30mm – adjust center back angles to fit hook & eye
Because my adjusted pattern from my mustard Sew Comfy Bra fit so well, I used that pattern as the baseline for this pattern hack.

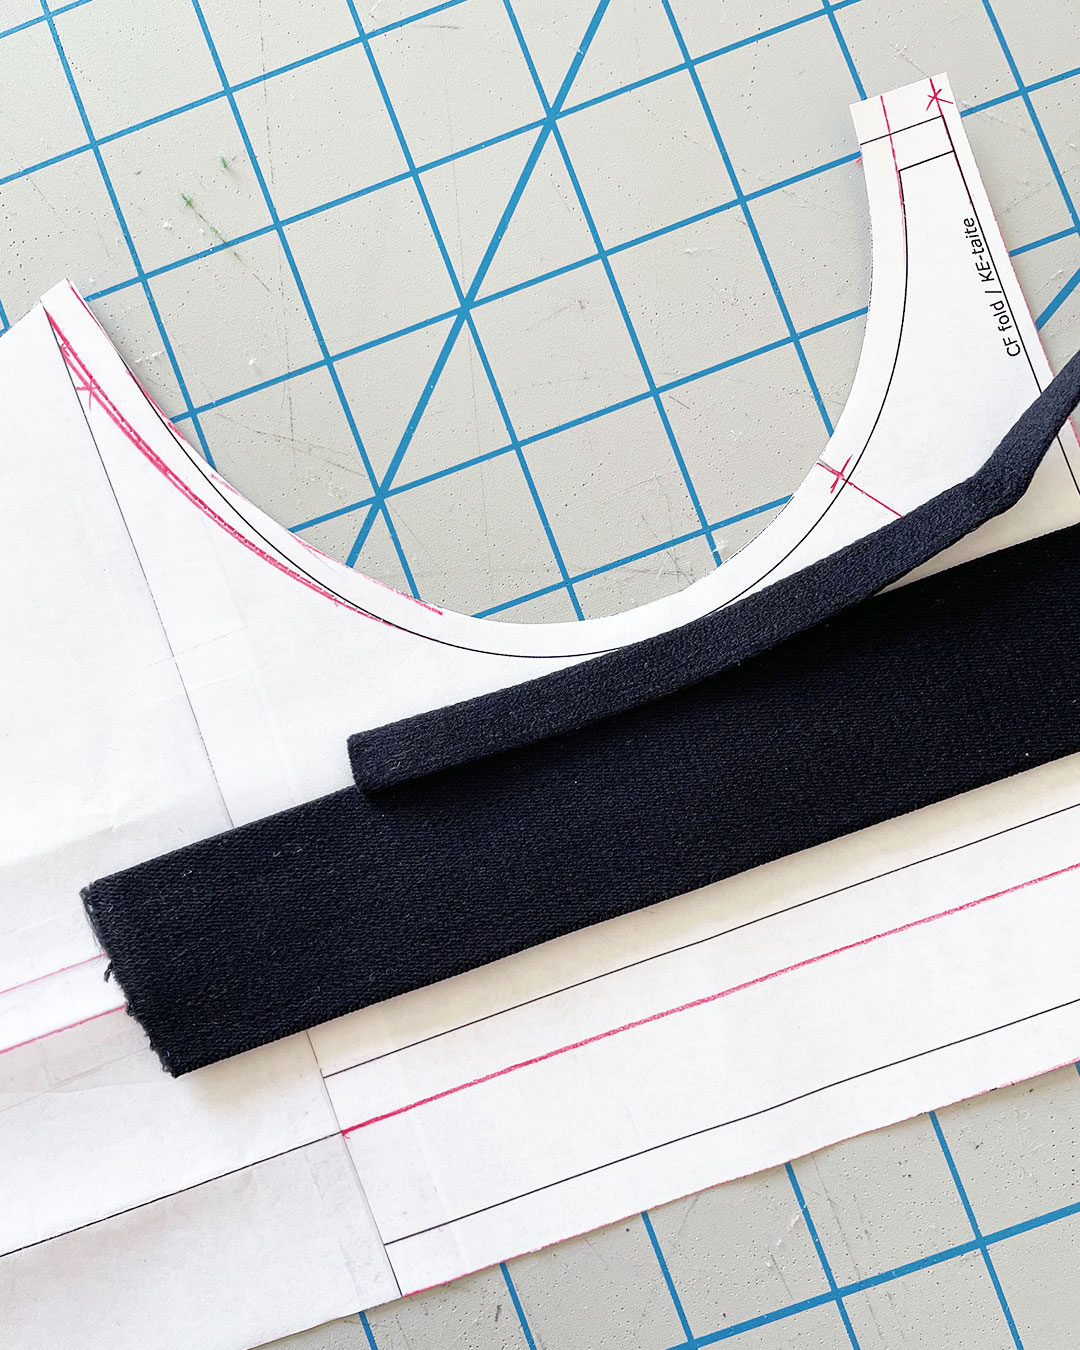
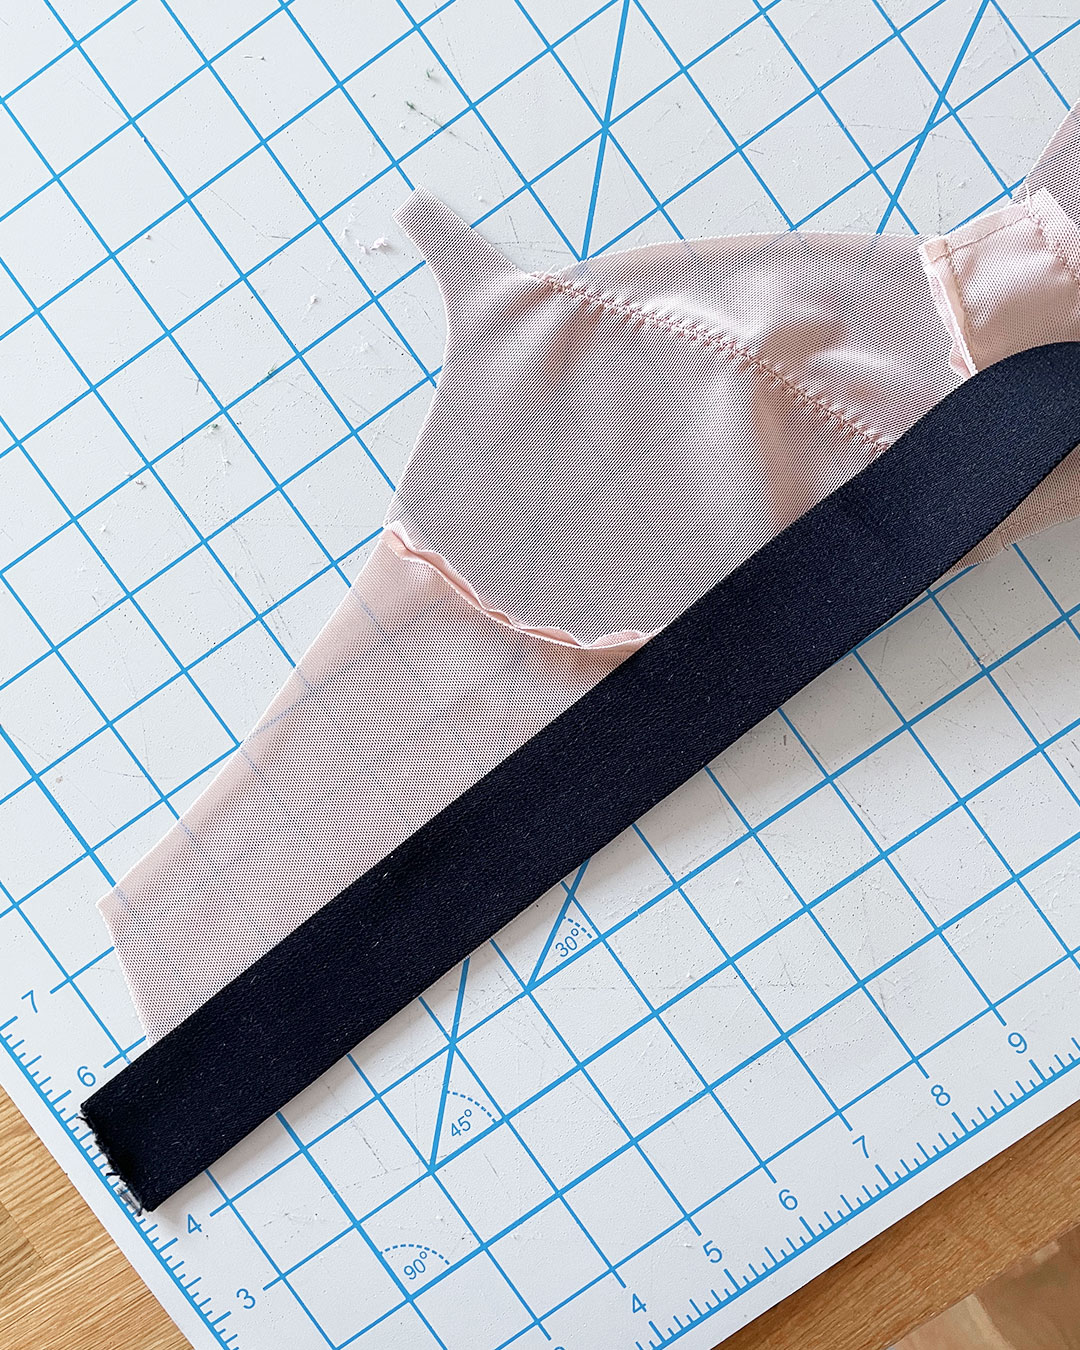
Before making any pattern tweaks, I laid my channeling and wide plush elastic over the frame piece to gauge where I would want to position them. I decided that I wanted a tiny bit of overlap between the black channeling and the black wide plush elastic to create a seamless look.

From there, I confirmed the width of each of these elements, to figure out how much seam allowance they would need at the bottom edge of the band.

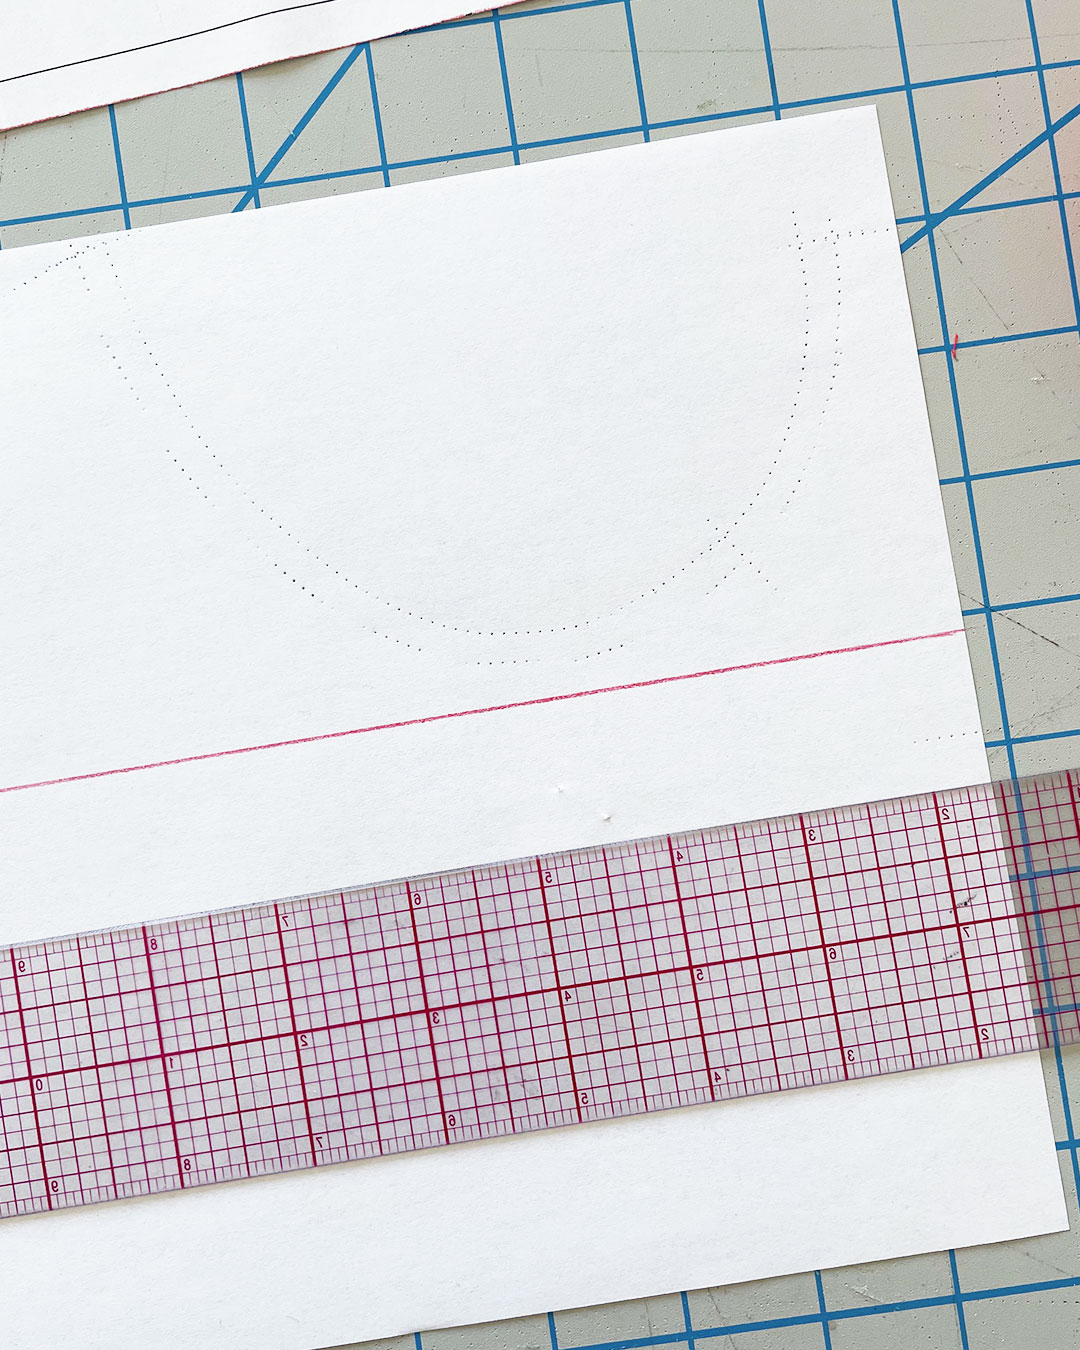
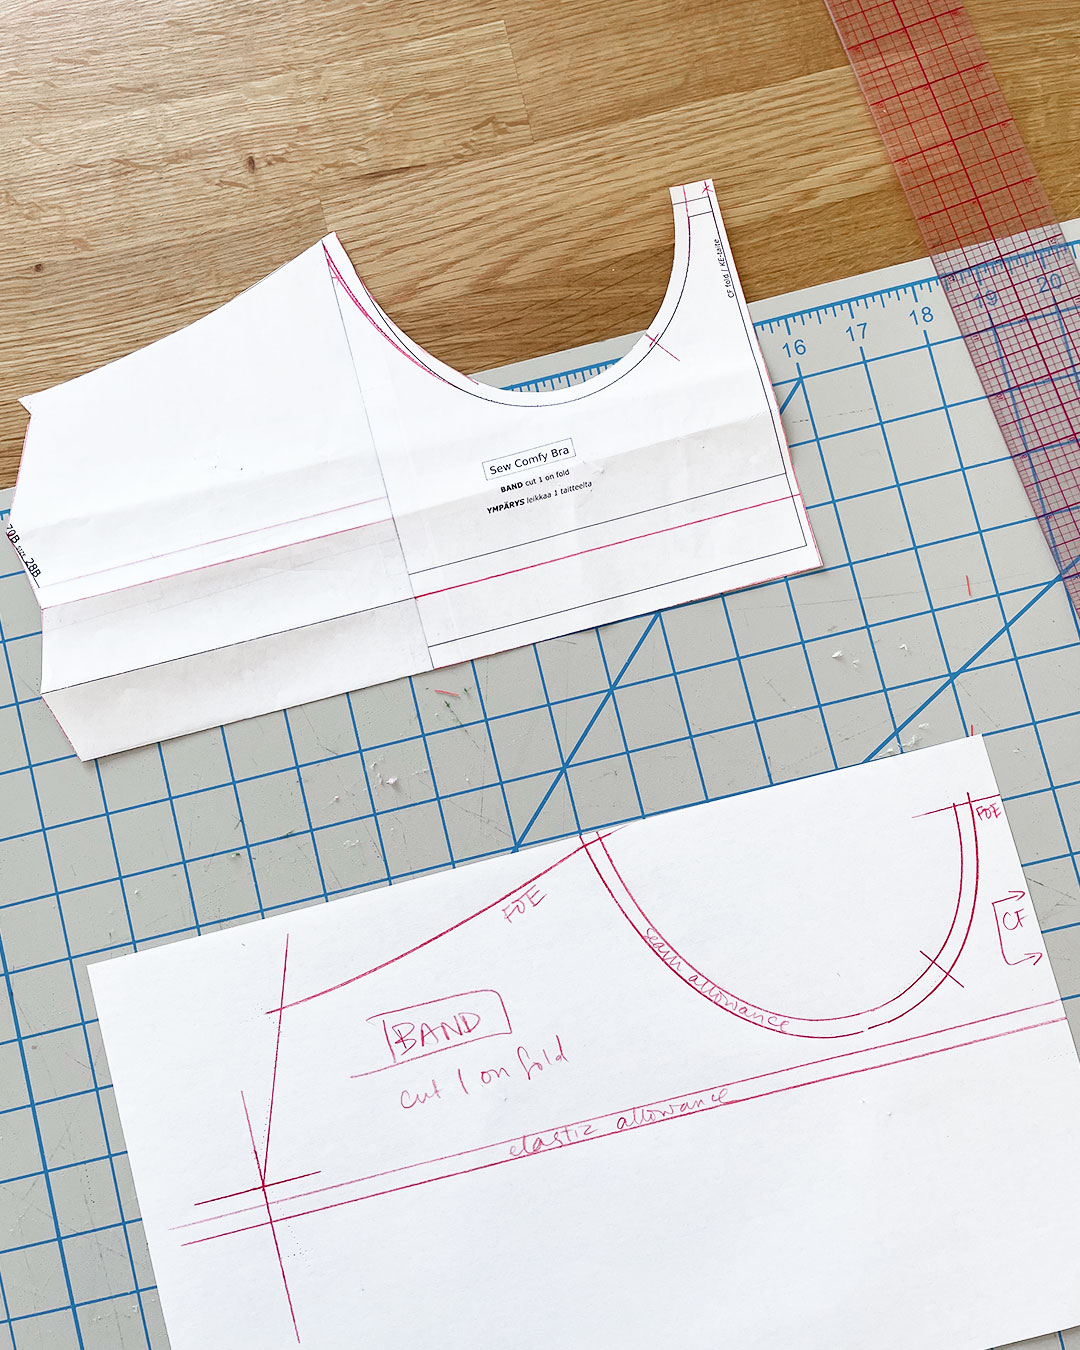
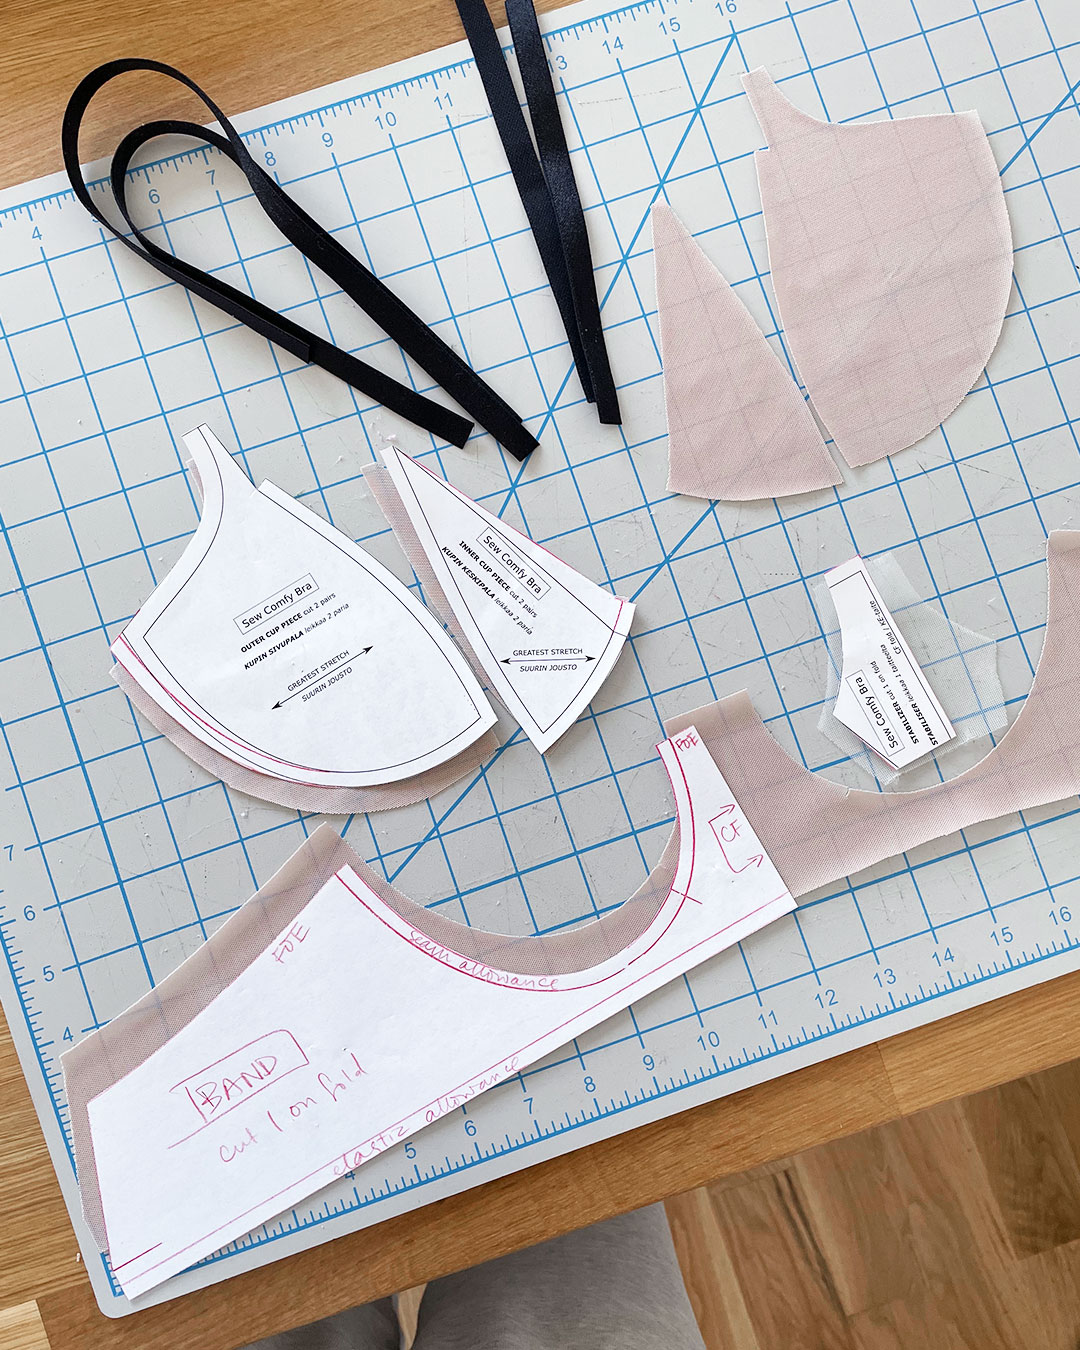
Before making adjustments, I traced my original Band piece onto a fresh sheet of paper with my tracing wheel. Because I knew that I wouldn’t need to make any changes to the CF fold line or the wire line, and that all the changes would happen at the bottom edge, I lined up the original pattern piece with the clean edge of my new paper and traced the top half of the pattern only:

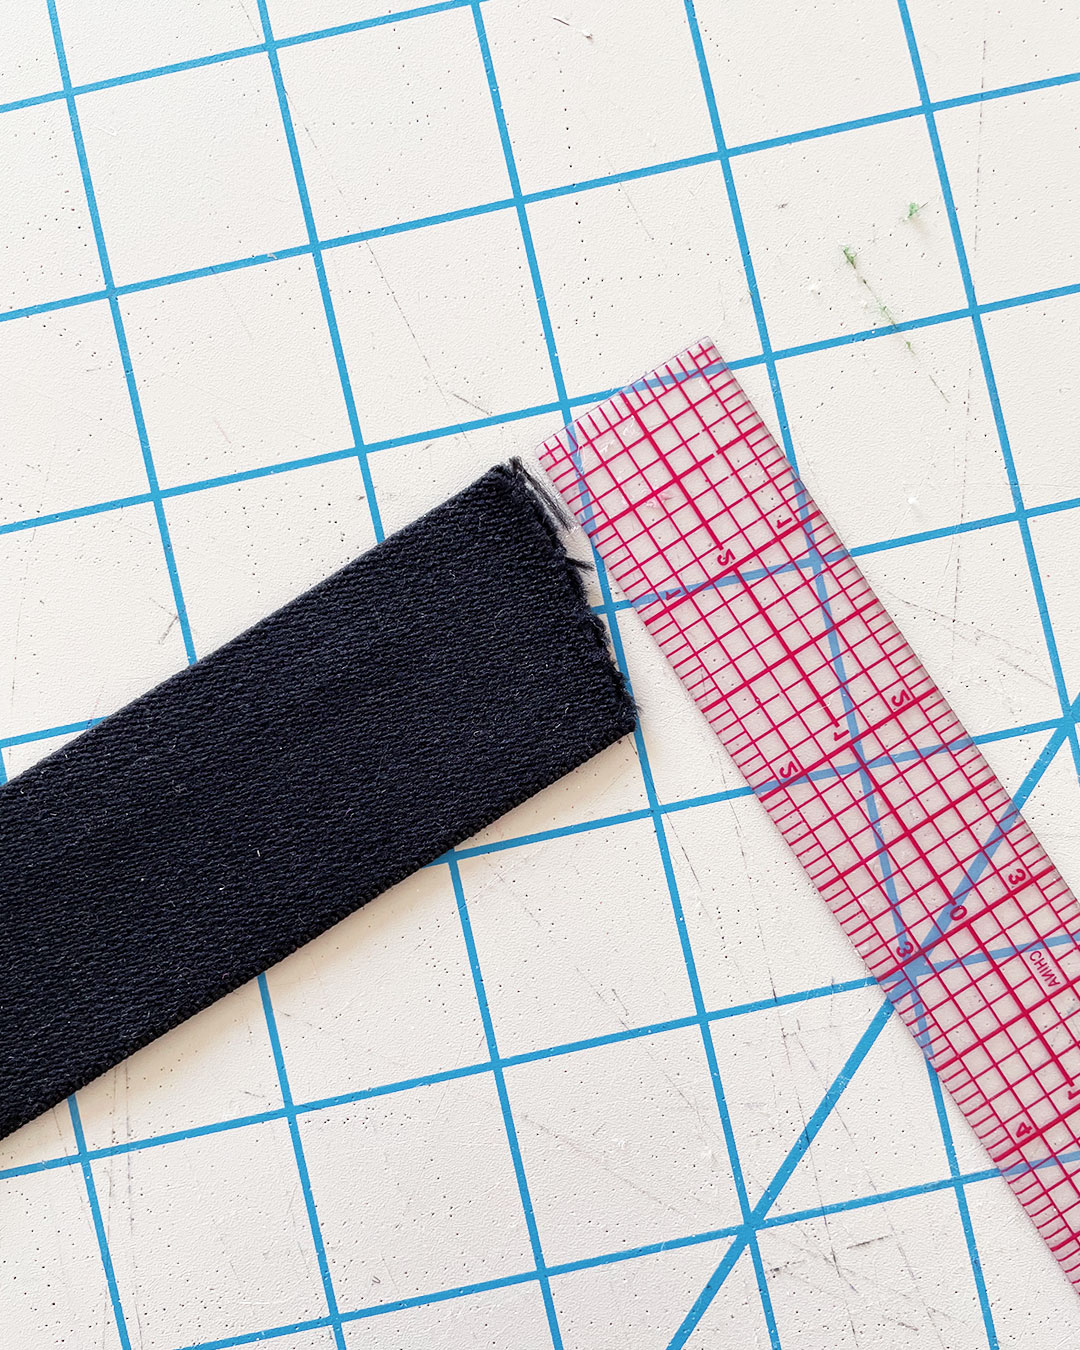
My first order of business was to decide where the power net would end and where the wide plush elastic would begin.
How I approached this process will become a bit more clear after we go over the construction for this part, but for the time being—I decided to have the power net end about 1/4″ down from the wire line, and add 1/4″ elastic allowance to that new edge.
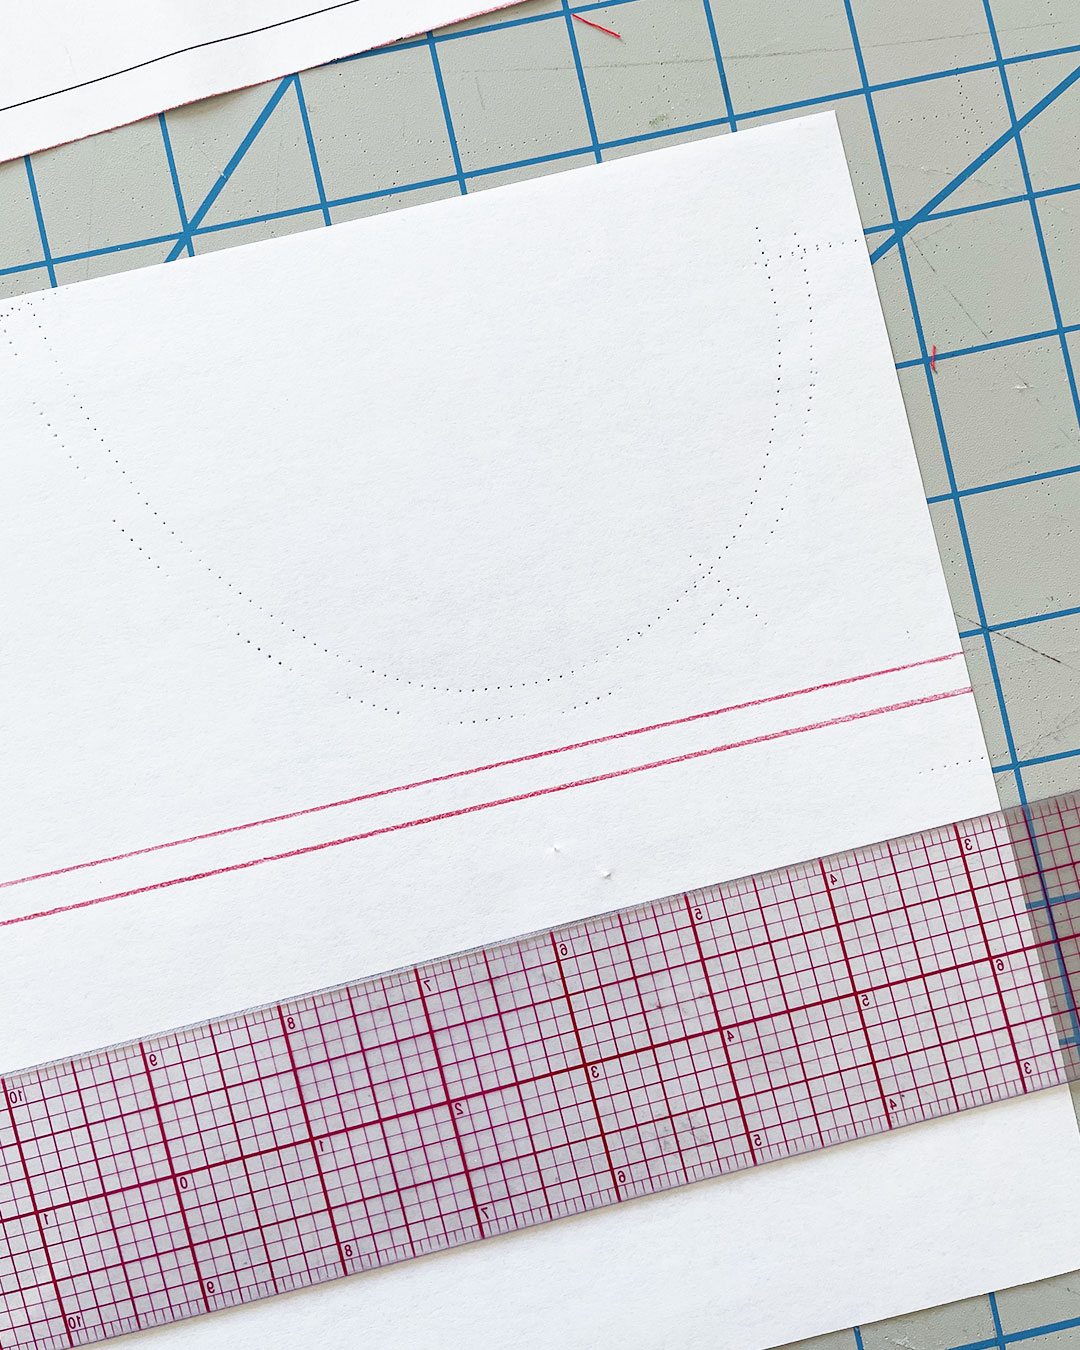
I used my clear ruler to indicate both lines.

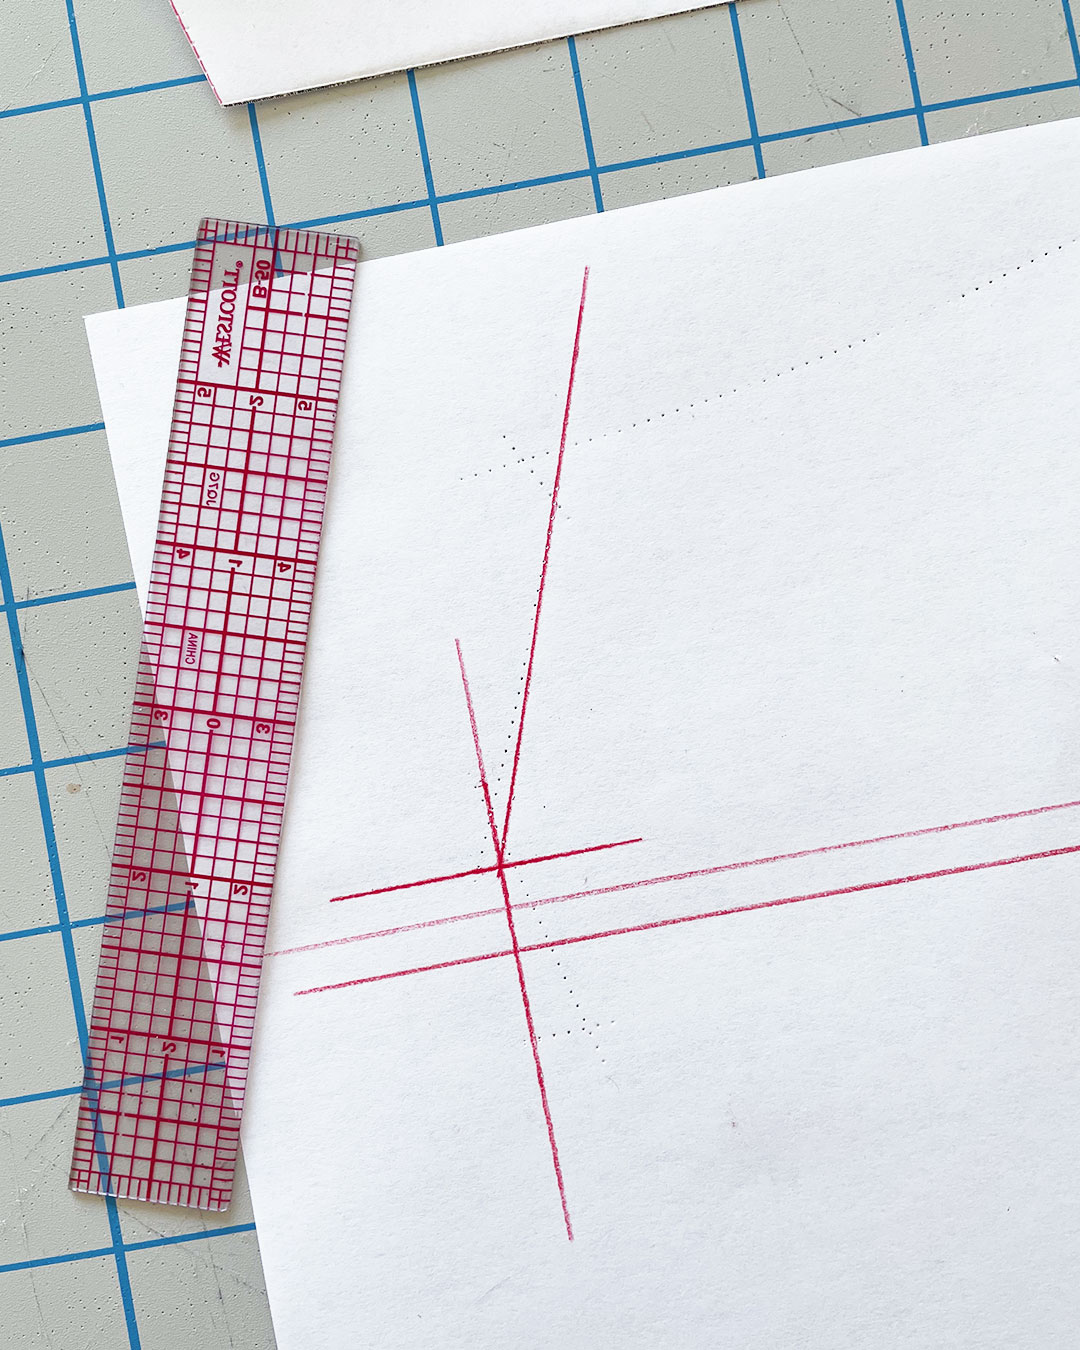
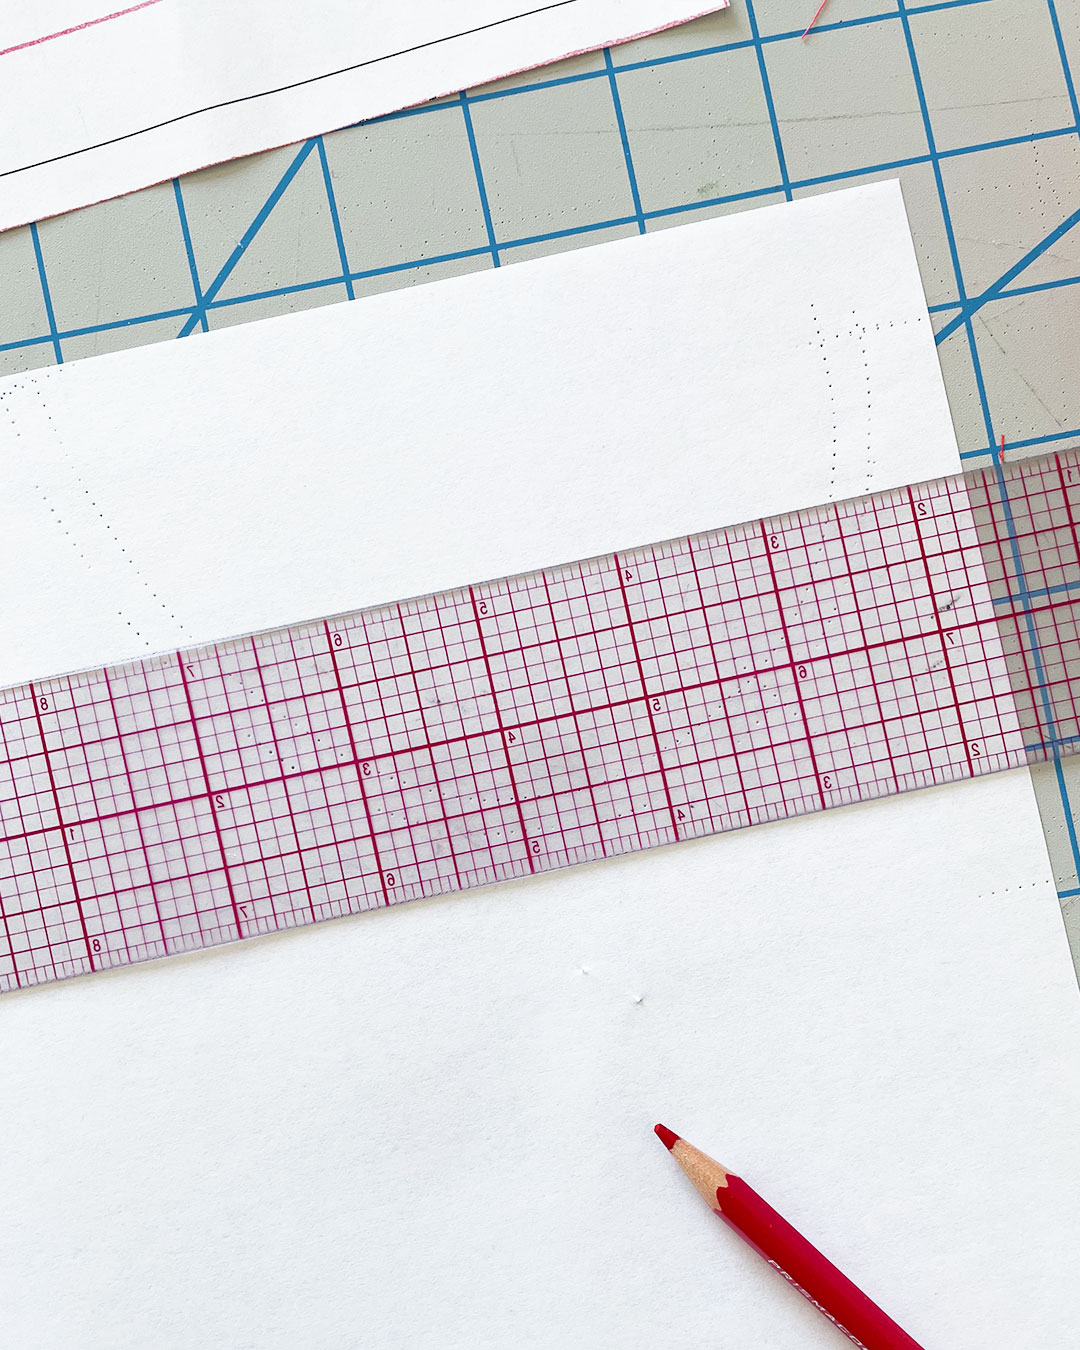
To adjust the center back (CB) angles accordingly, I simply squared off at CB, measured 1/2″ up from the seam allowance line, and redrew my back angle to meet that point.
For those who are curious about my thought process, here are some additional details:
- In the original Sew Comfy Bra pattern, the 30mm wide plush elastic is cut at a slight angle. After being cut at an angle, the 30mm elastic would fit perfectly into the hook & eye, which is about 35mm wide.
- I’m using a 35mm wide plush elastic, which fits perfectly into the 38mm hook & eye if inserted parallel to the edge of the hook and eye.
- The reason why I measured up 1/2″ from the seam allowance line was because of the way I planned to sew the elastic in two passes, folding it up behind the band on the second pass. By measuring up 1/2″ from the seam allowance edge, I accounted for the bulk of the folded edge.
Here is a labeled image of my new Band pattern!
The only other piece I needed to adjust was the Stabilizer piece.
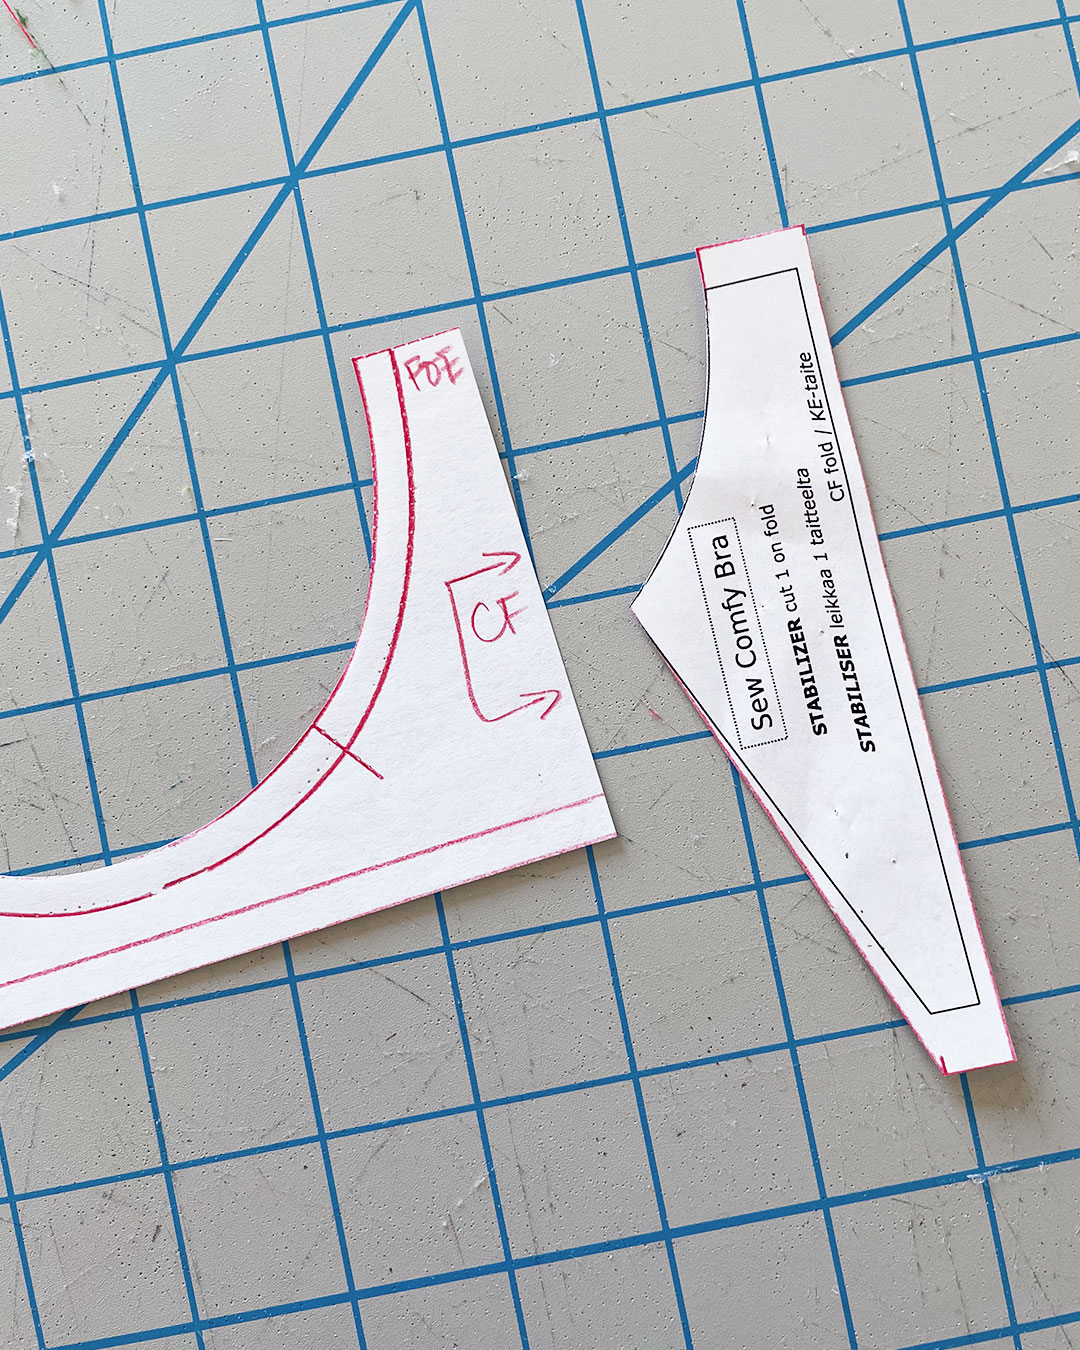
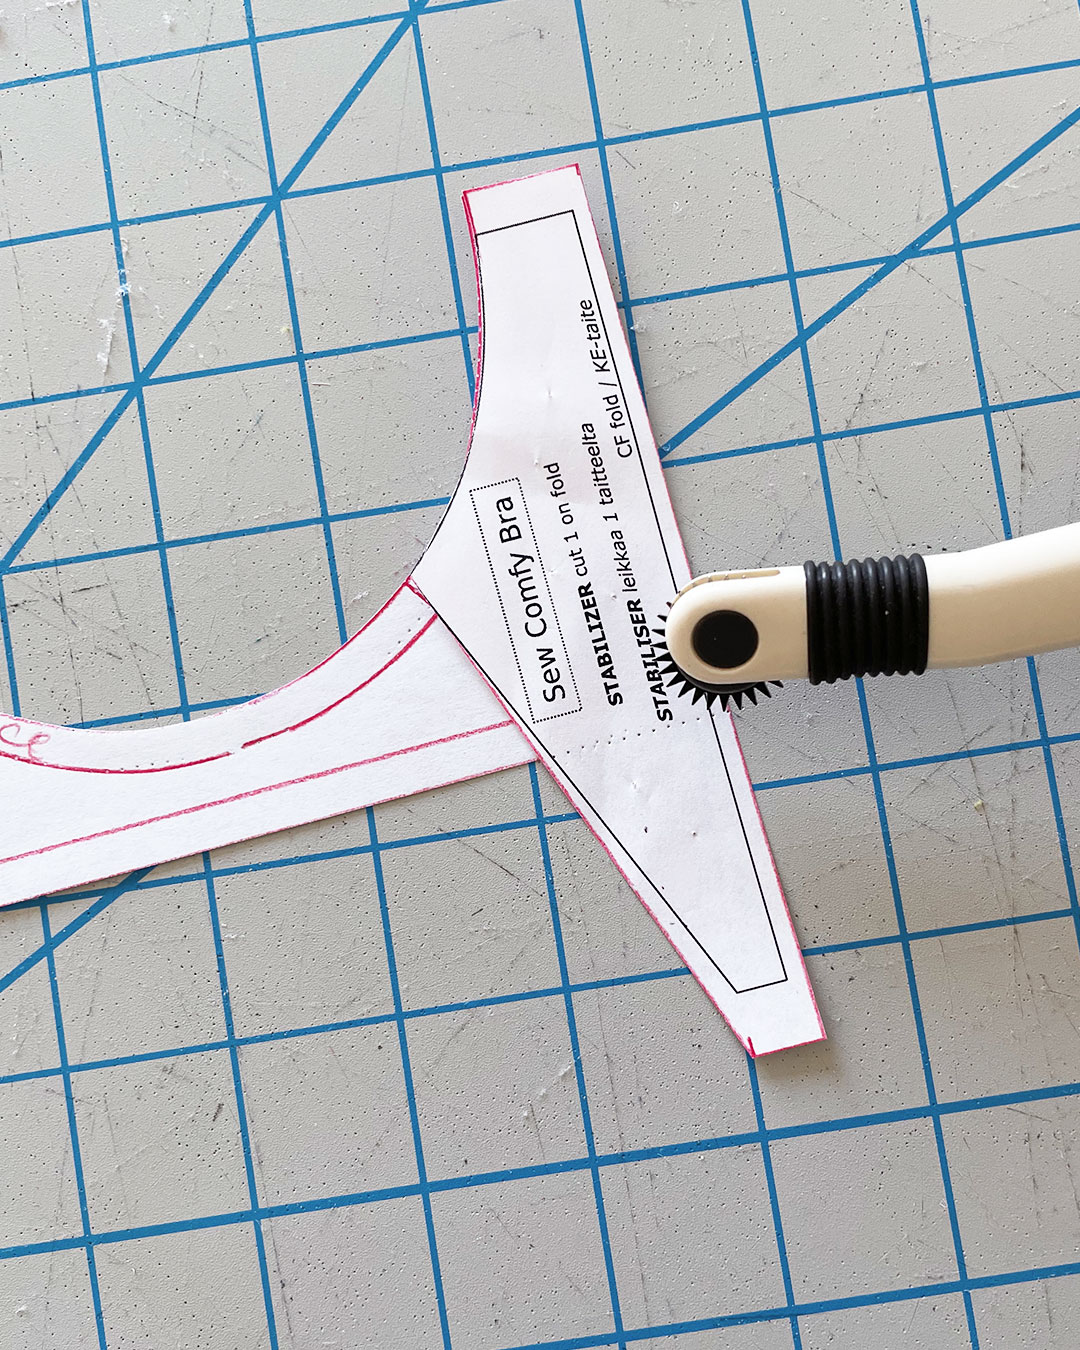
I did this the lazy way! To make it match my new Band piece, I simply overlaid it over the band piece and used my tracing wheel to trace over the new bottom edge.
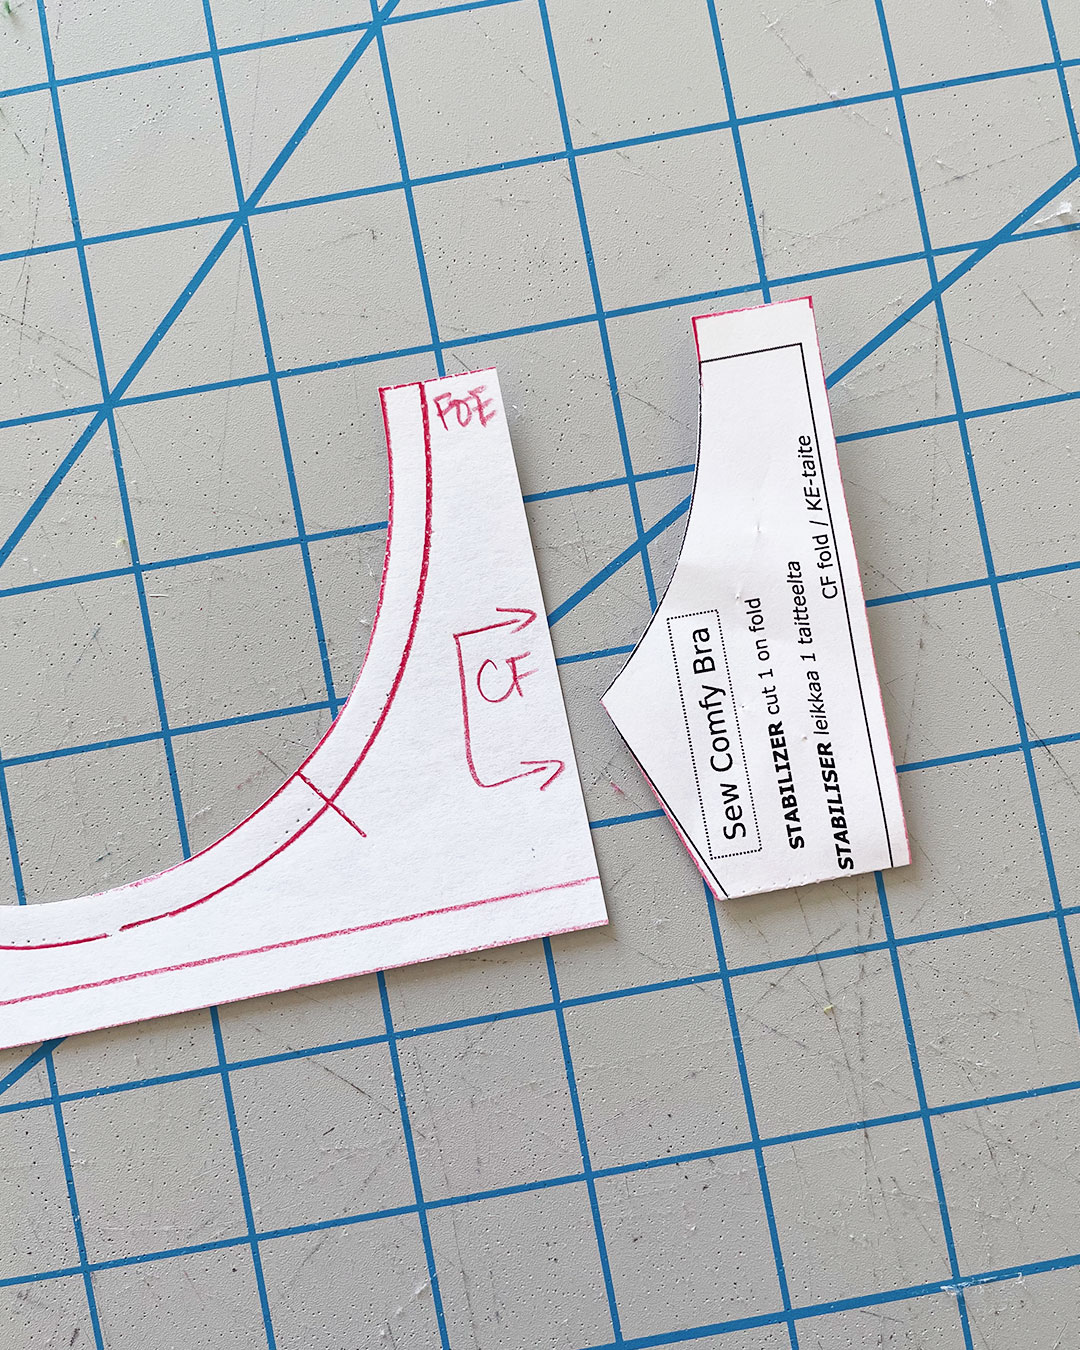
Then, I just folded the excess underneath.

Cutting
Thankfully, there are no changes to the cutting process!

Sewing
Annnnd we’re ready to sew!
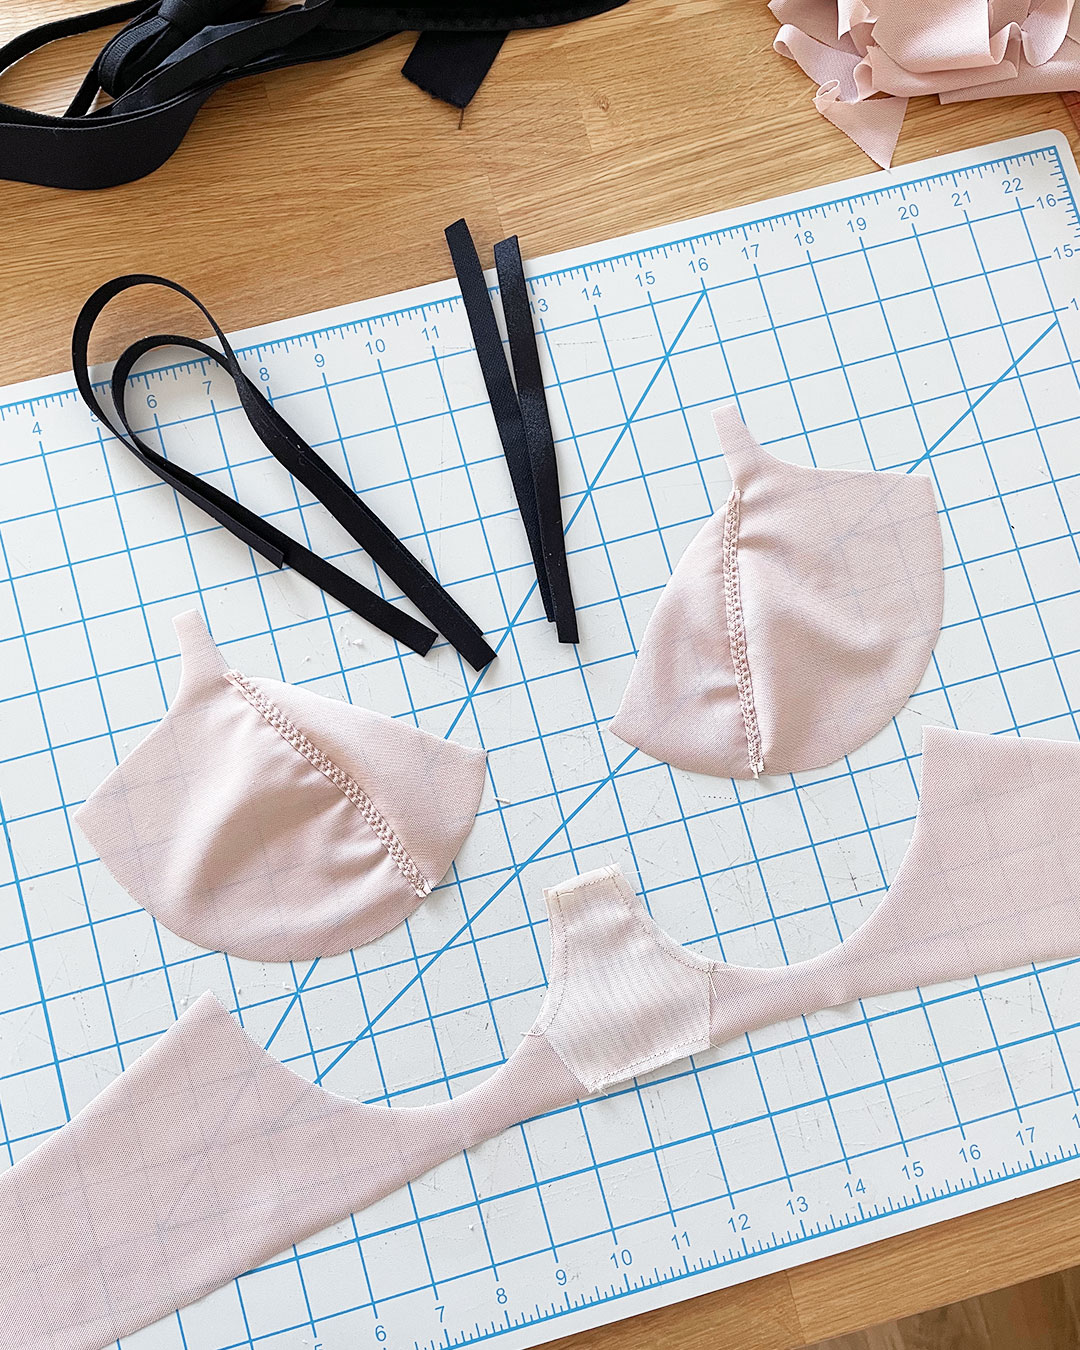
For this pattern hack, the cups are sewn the same way as before.
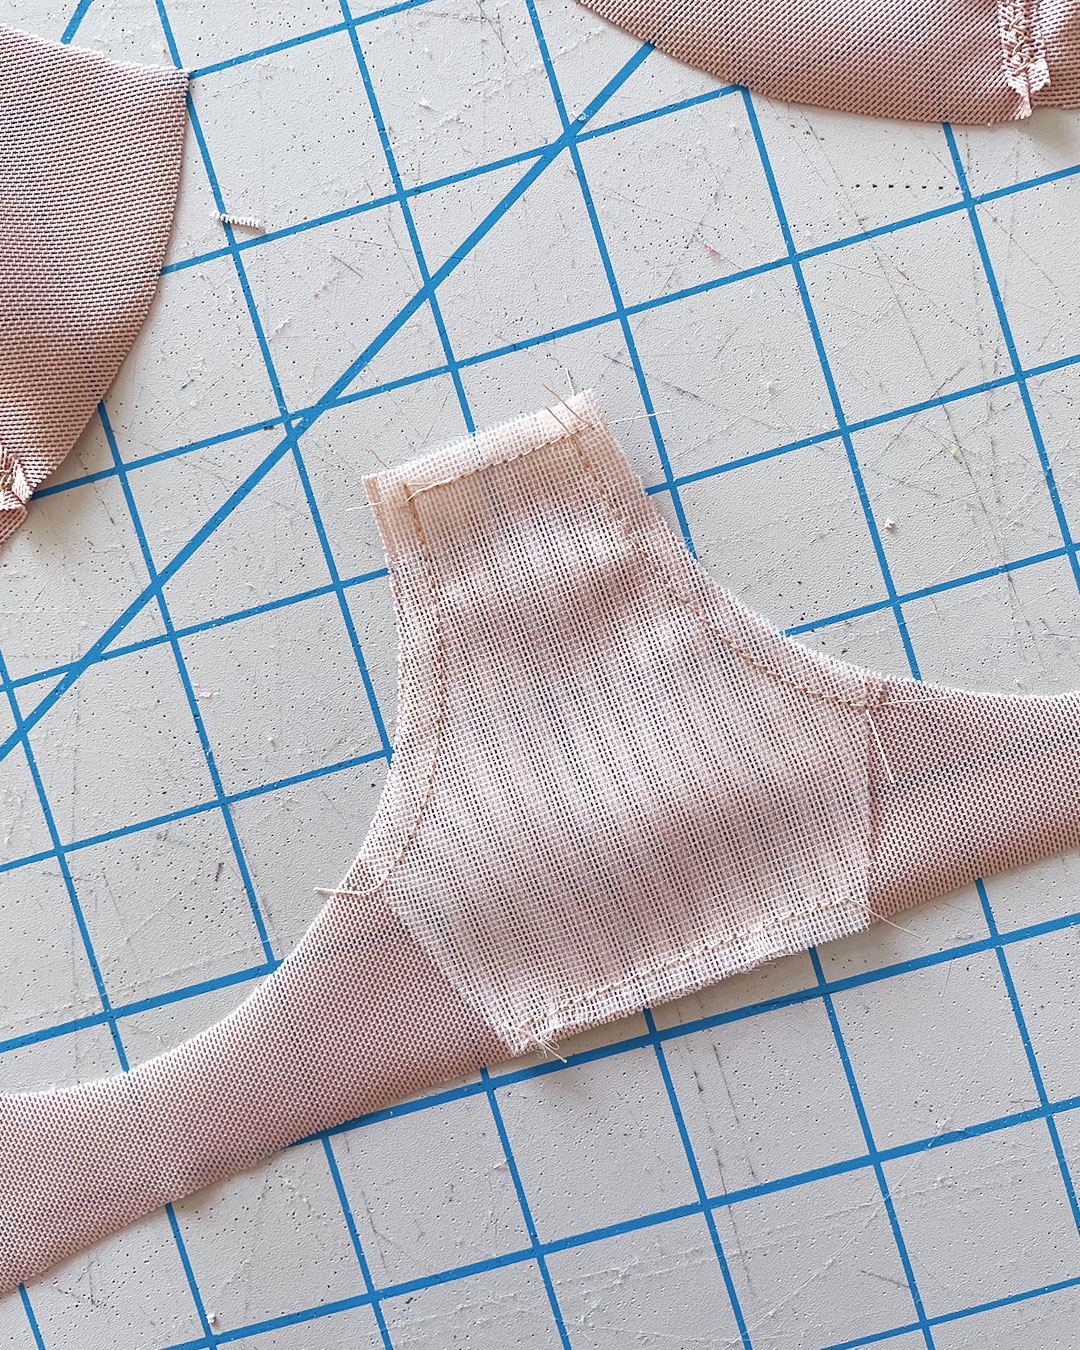
To prepare for the slightly different band construction, I added a basting stitch along the top and bottom edges of the stabilizer piece, where it attaches to the frame:
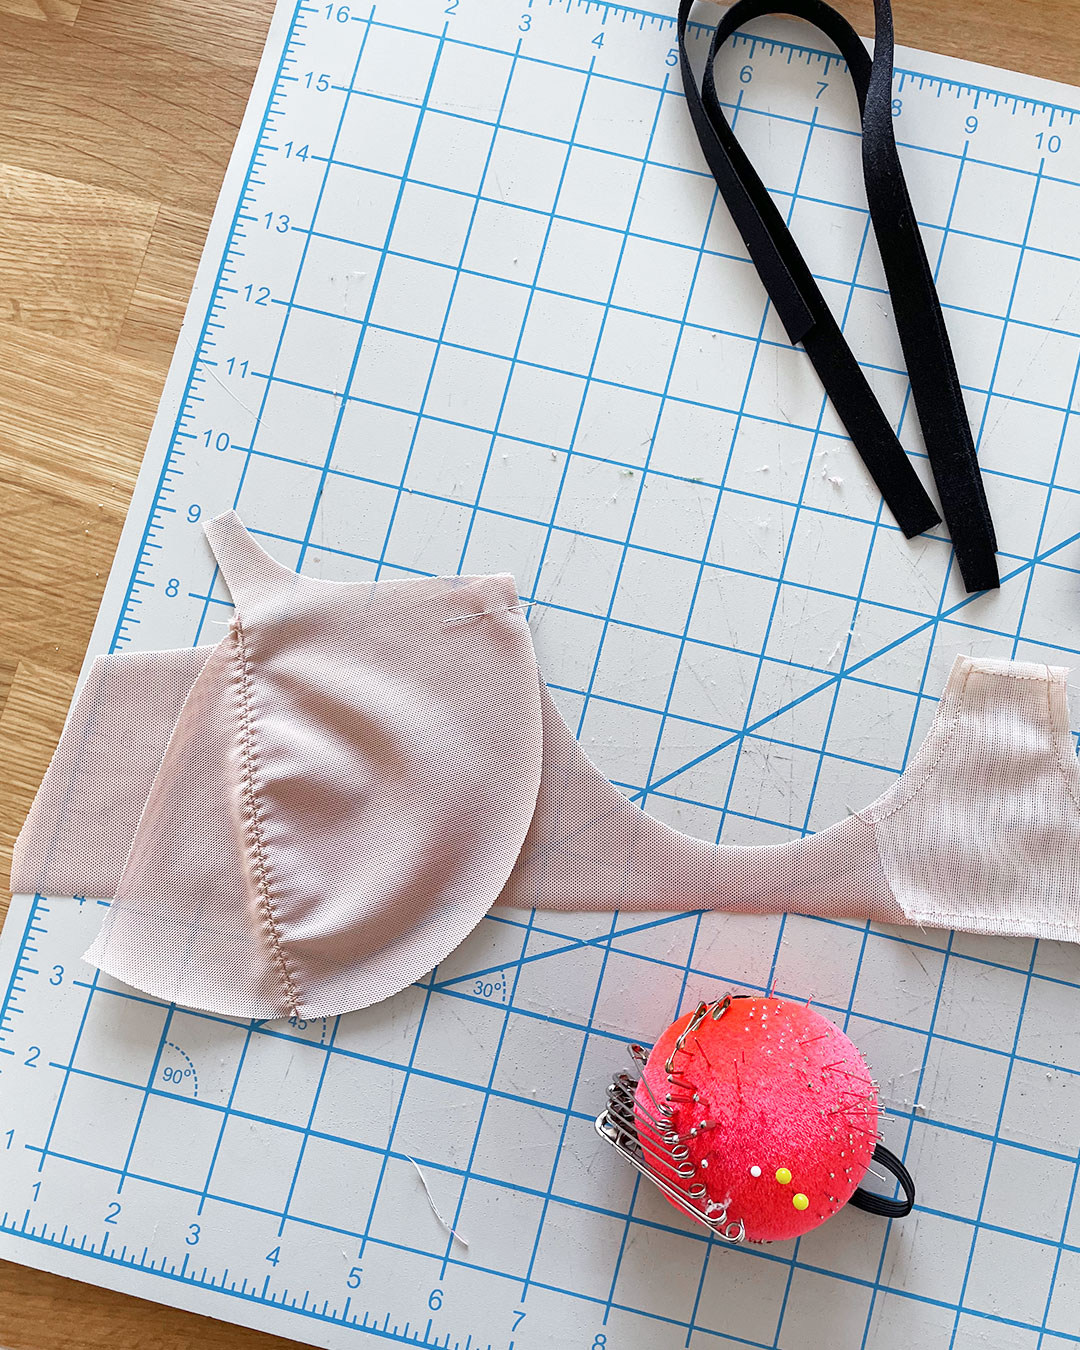
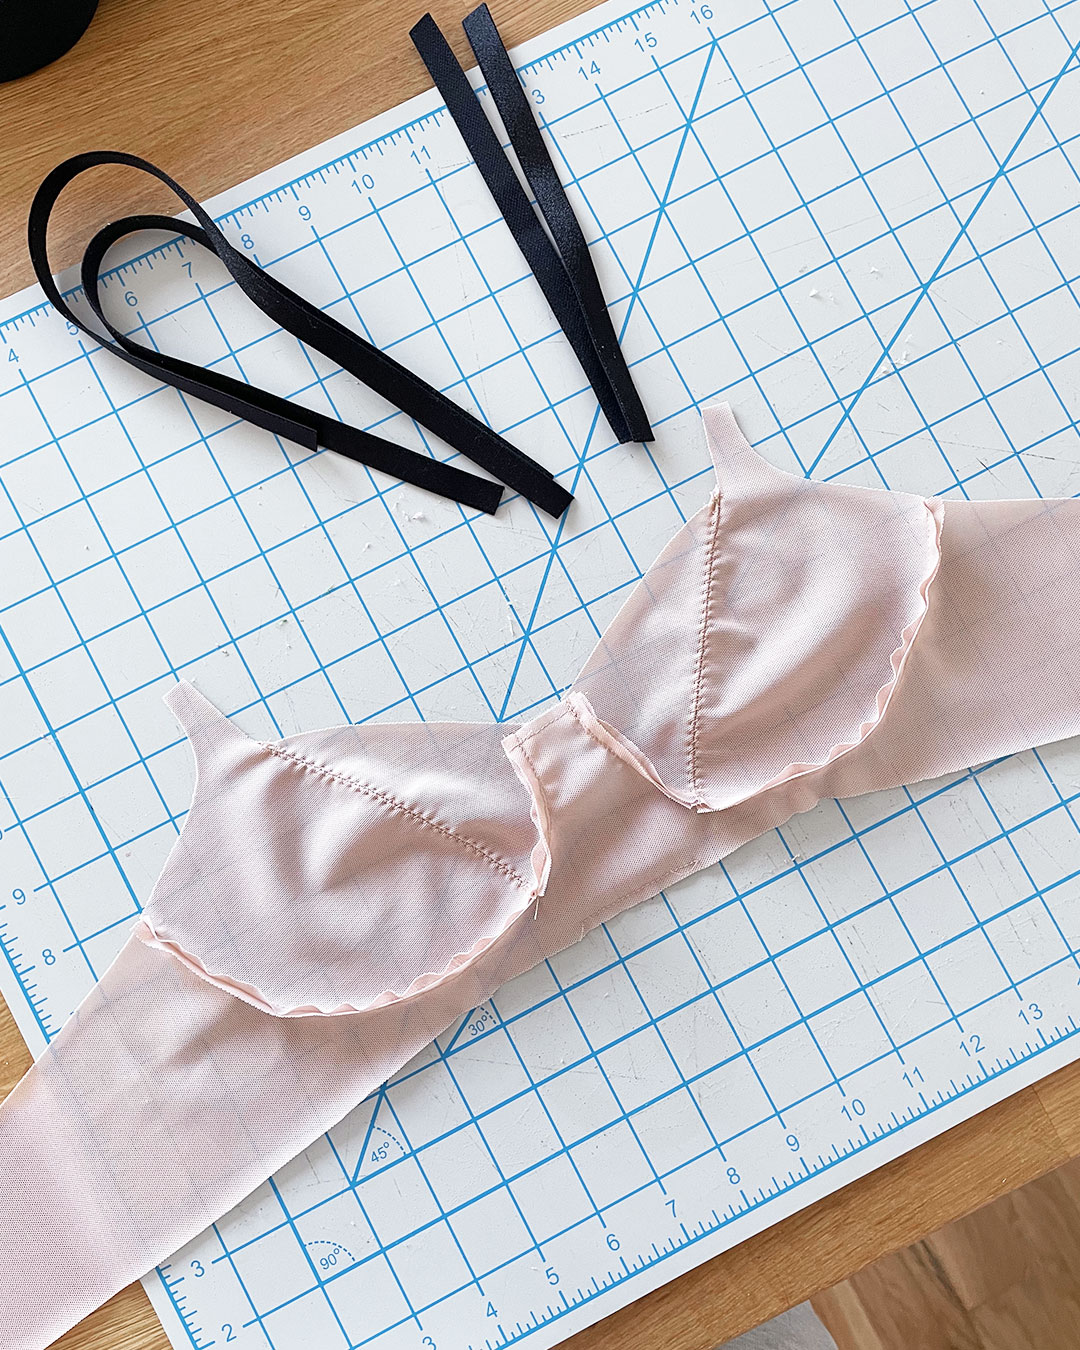
The cups are inserted into the frame in the same way, BUT with the wrong sides together, so that the seam allowance faces outwards.
After inserting the cups, this is how the bra is looking:
Next up, attaching the wide plush elastic to the band!
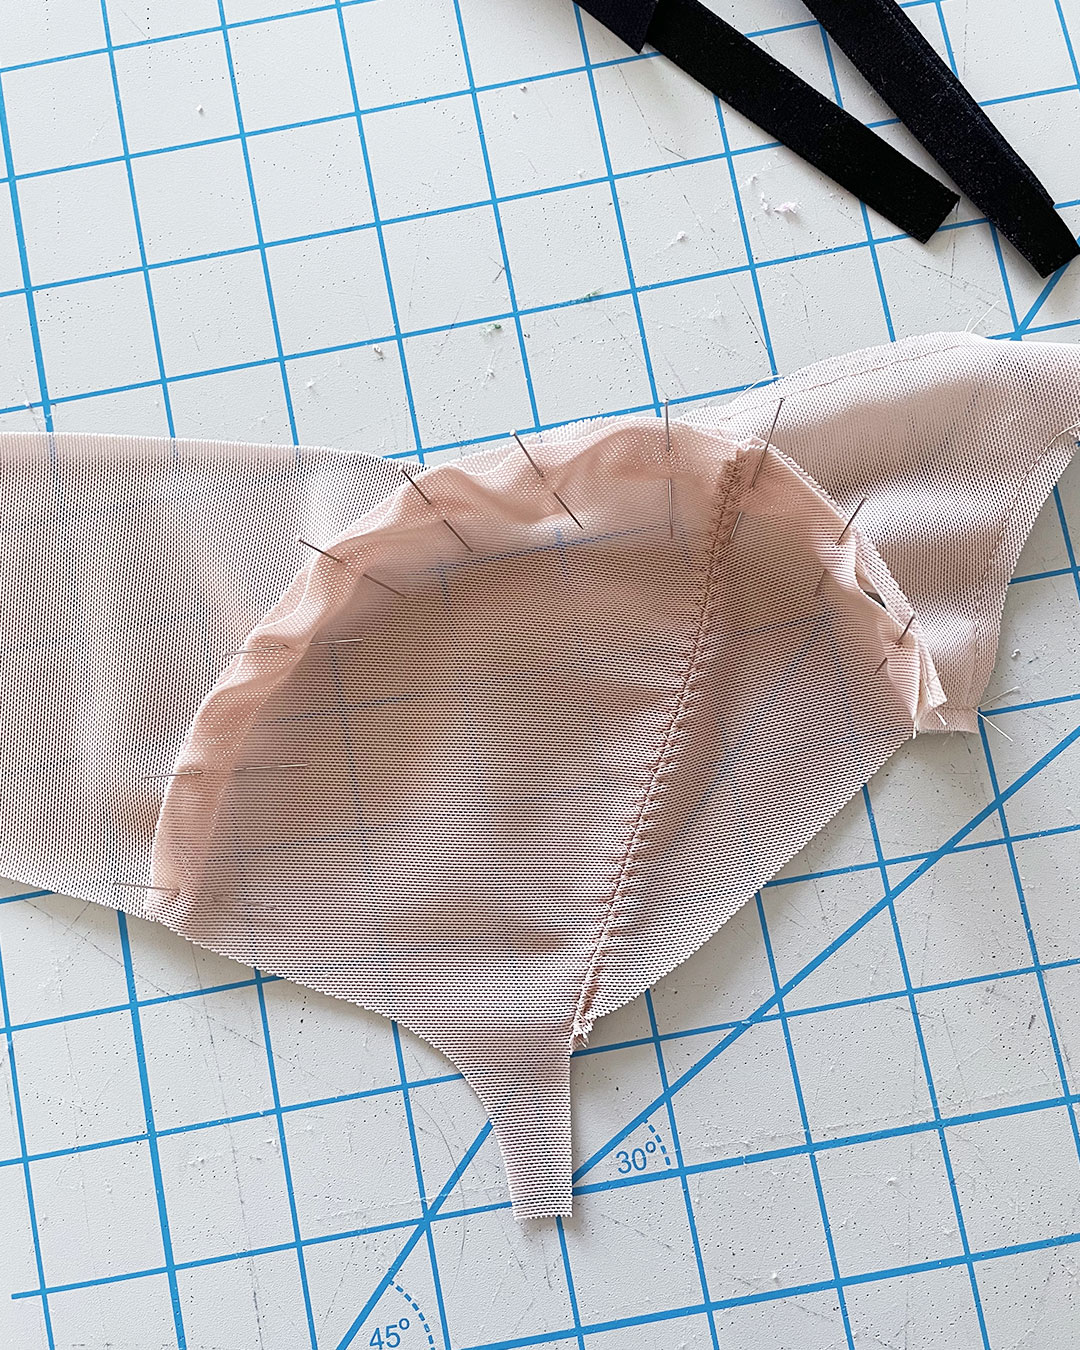
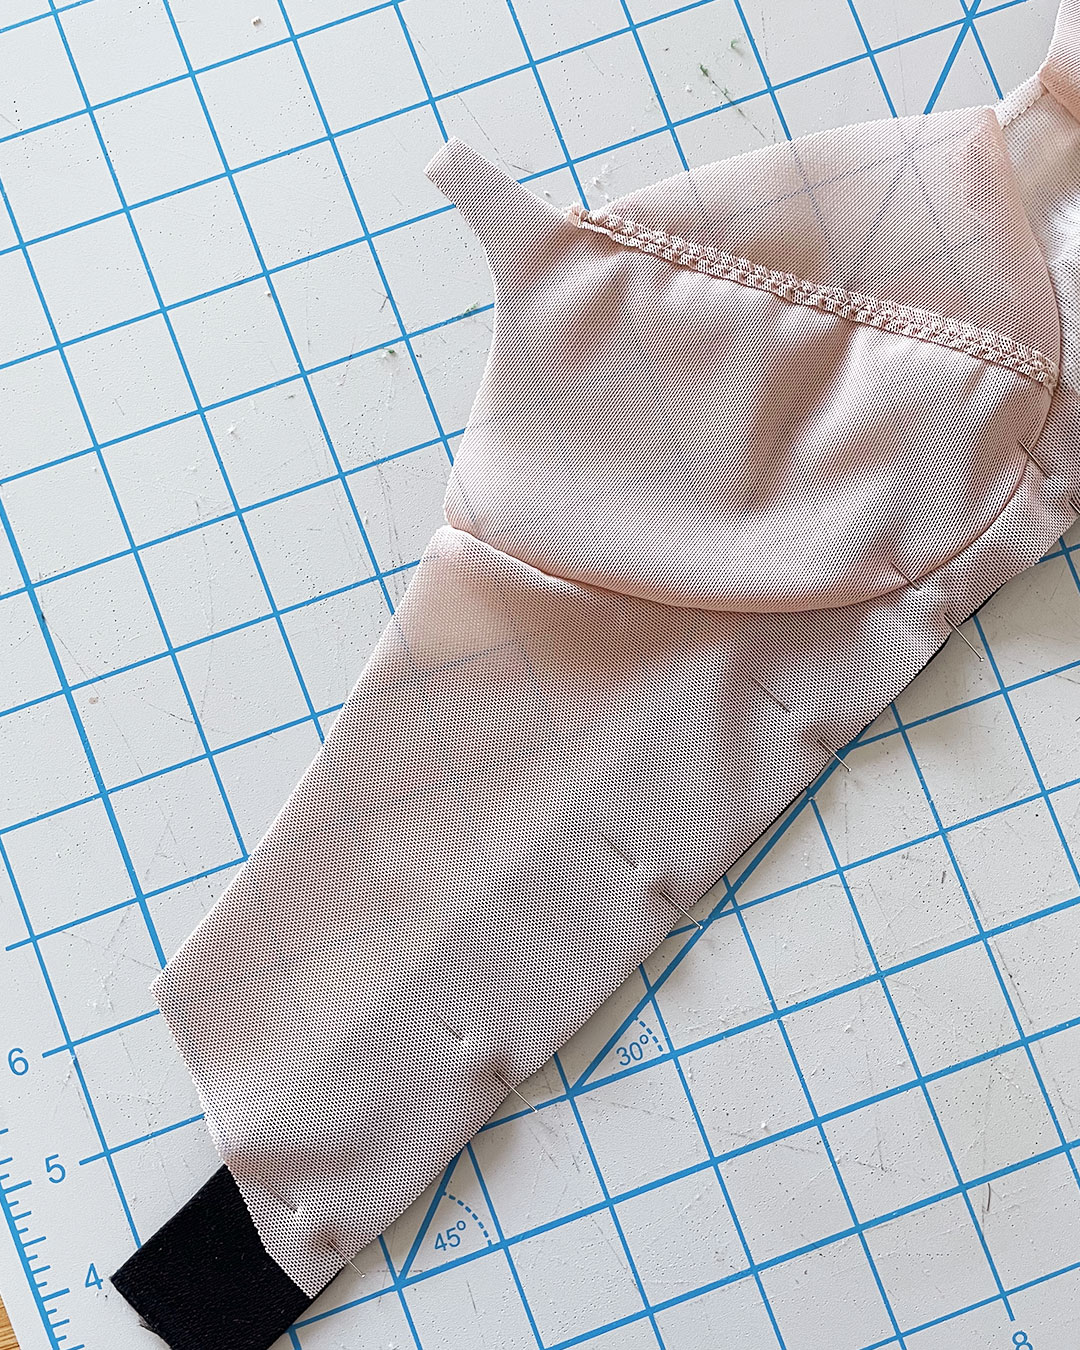
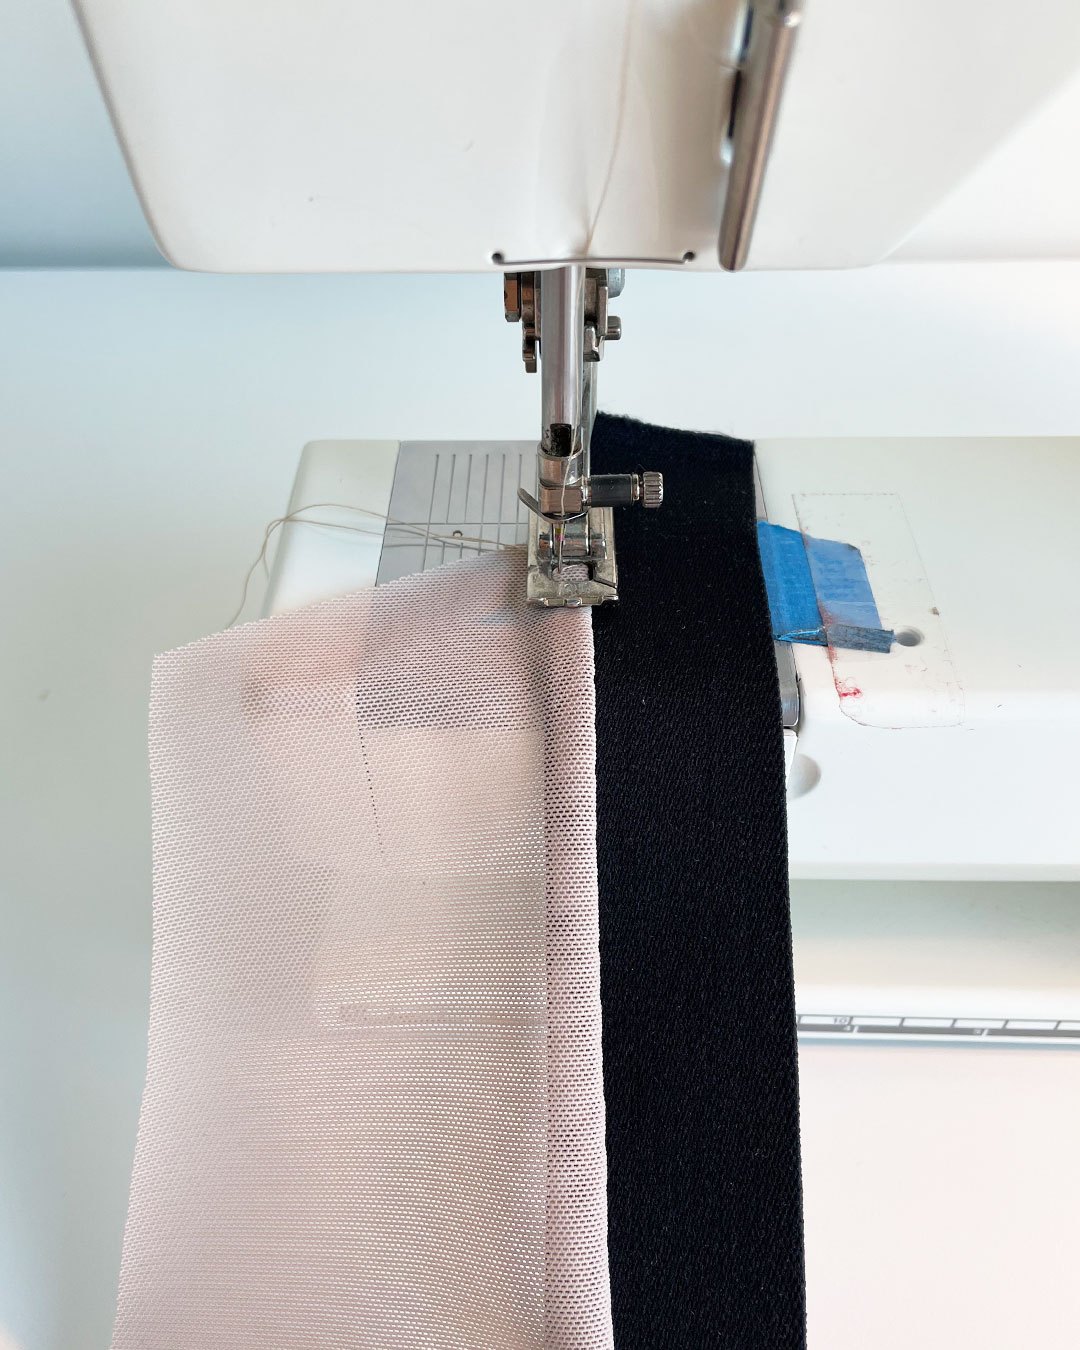
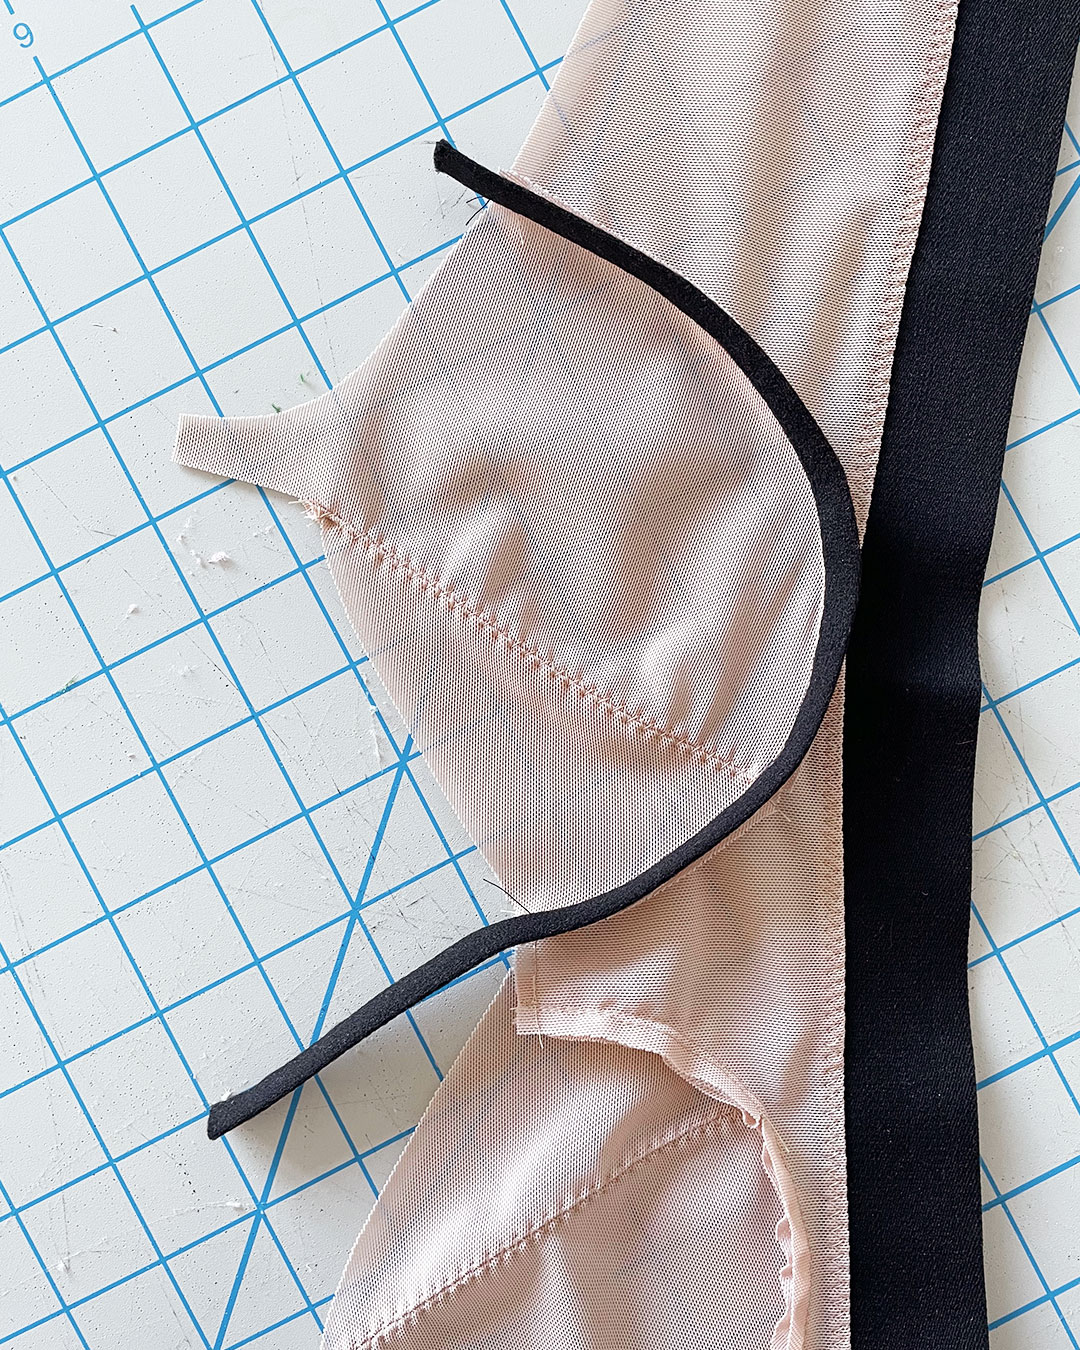
First, I lined up the wide plush elastic to the bottom edge of the band, against the wrong side of the power net. I placed a few pins to help hold it in place as I sewed.

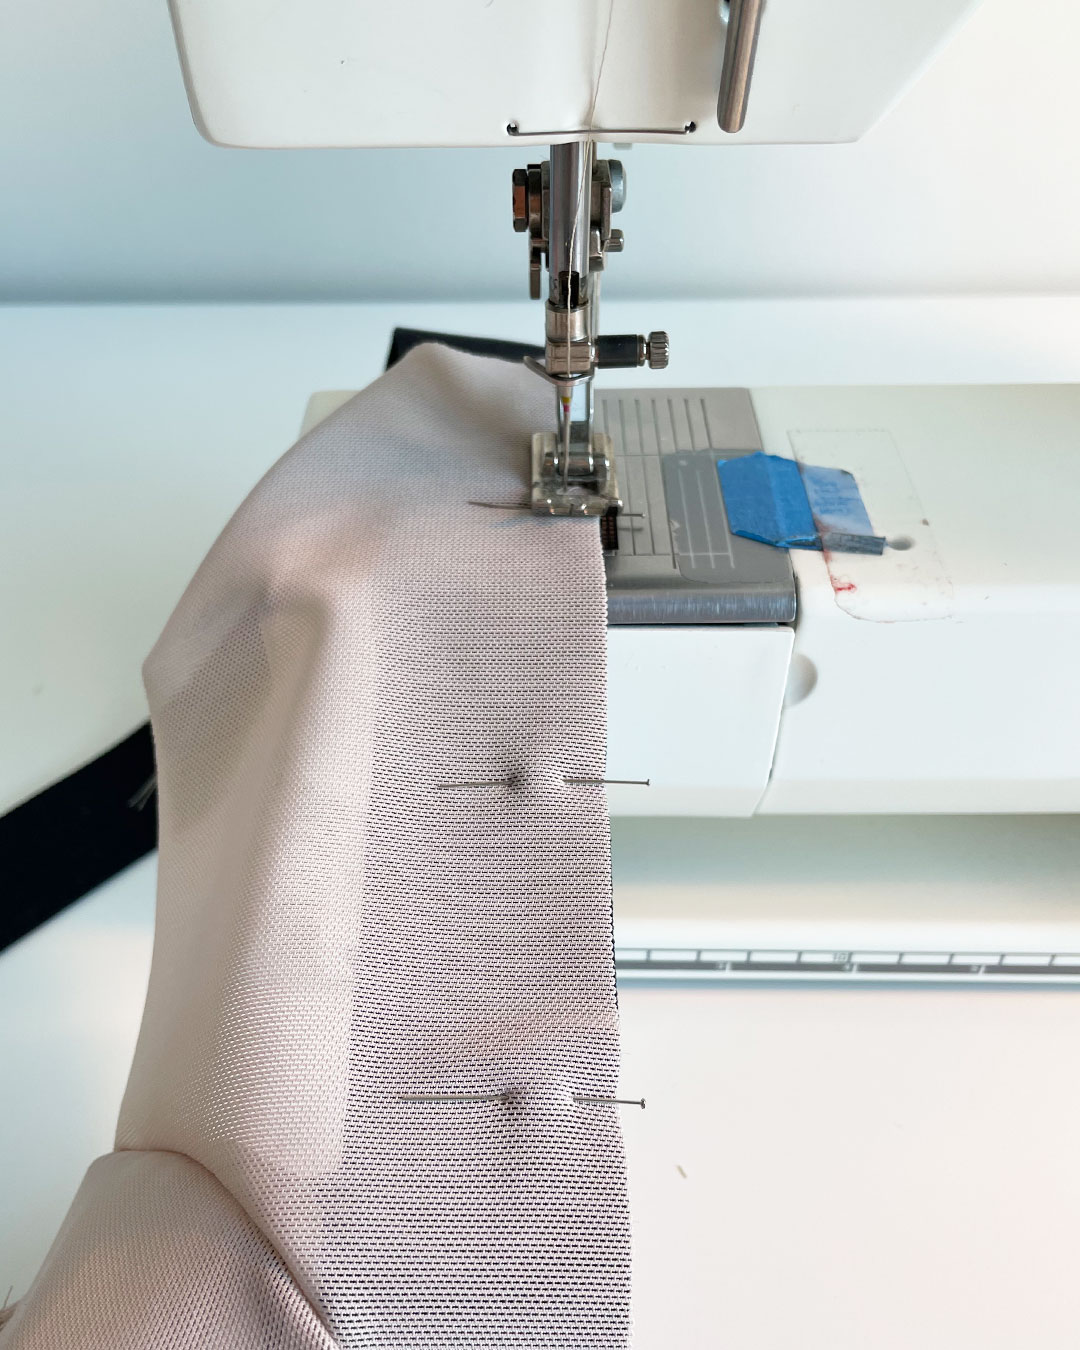
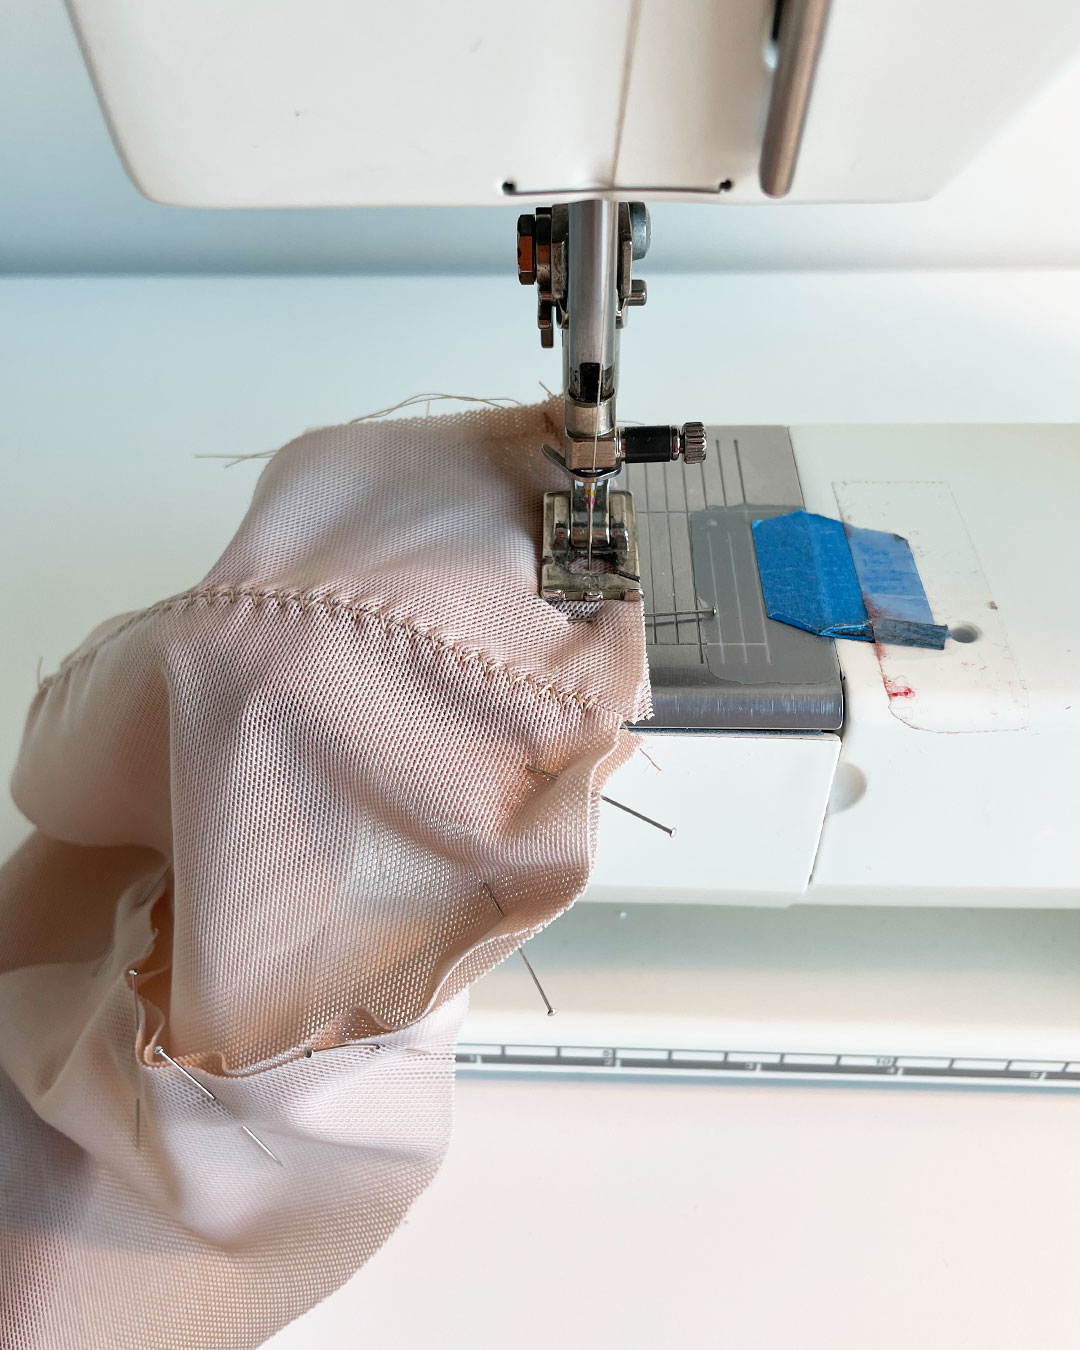
I sewed using a zig zag stitch close to the Band edge.


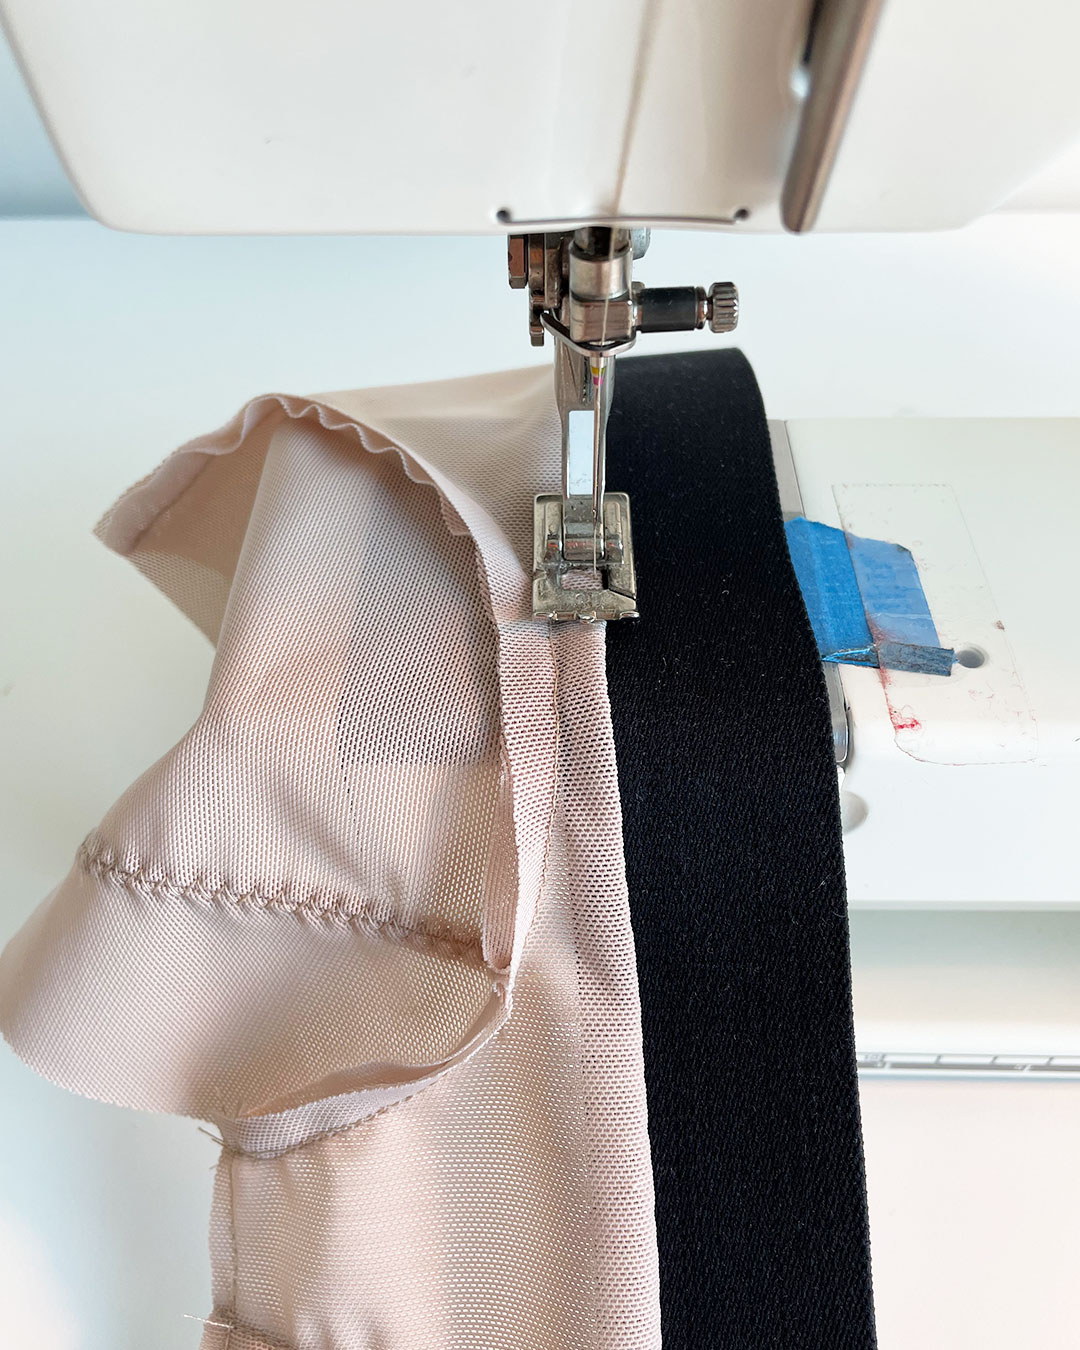
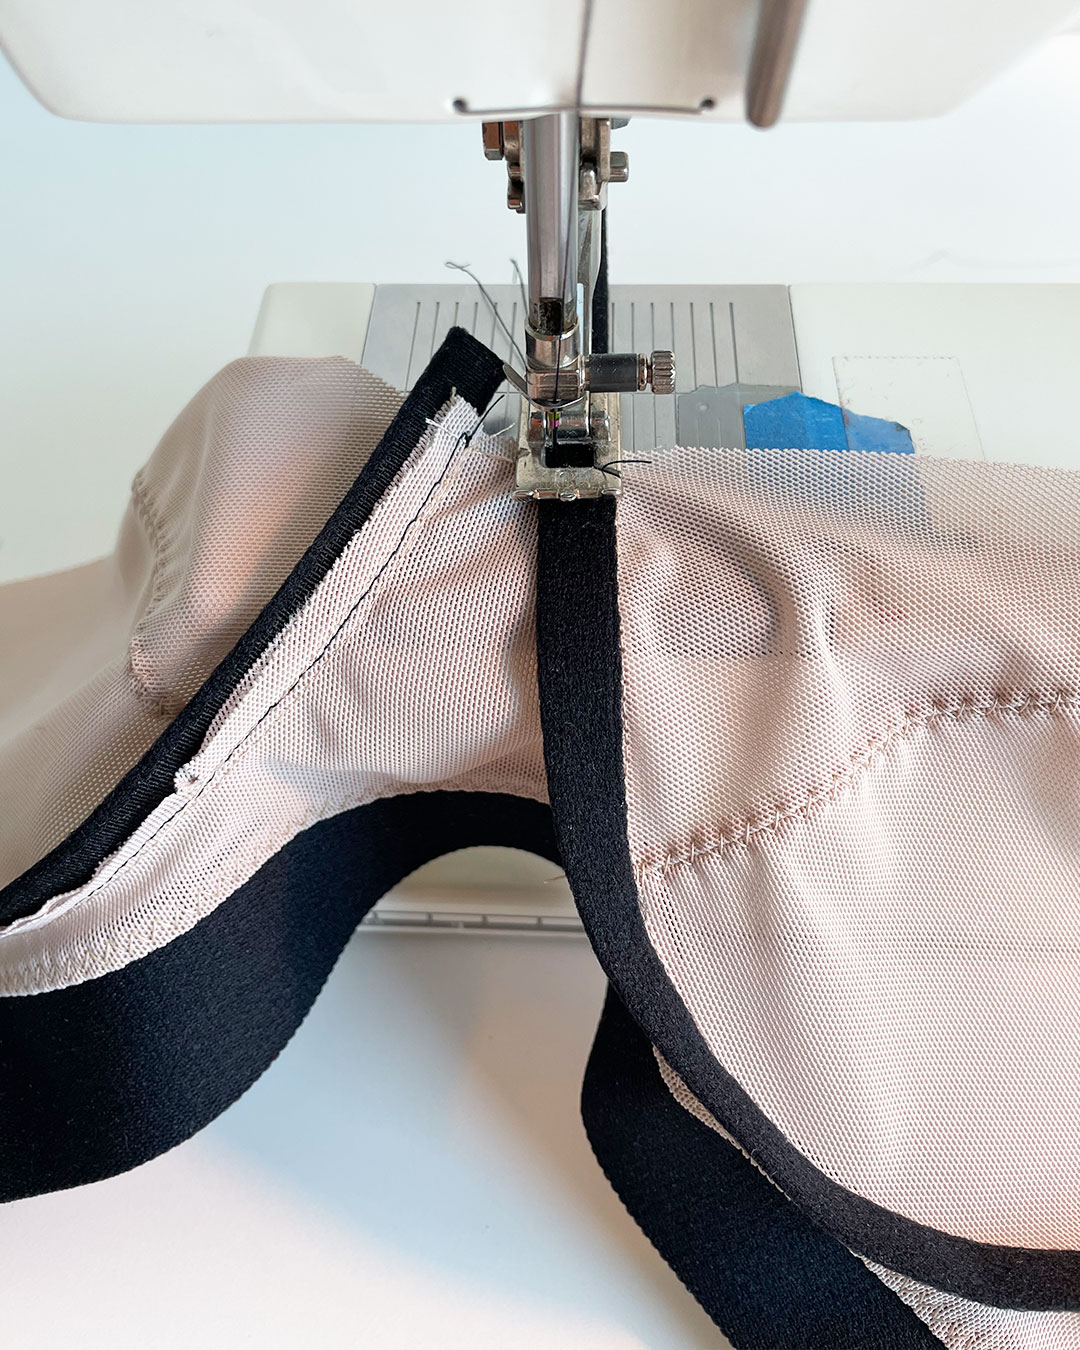
After completing this first pass of zig zag stitching, I flipped the wide plush elastic down, thereby turning the seam allowance under the power net Band piece like so:

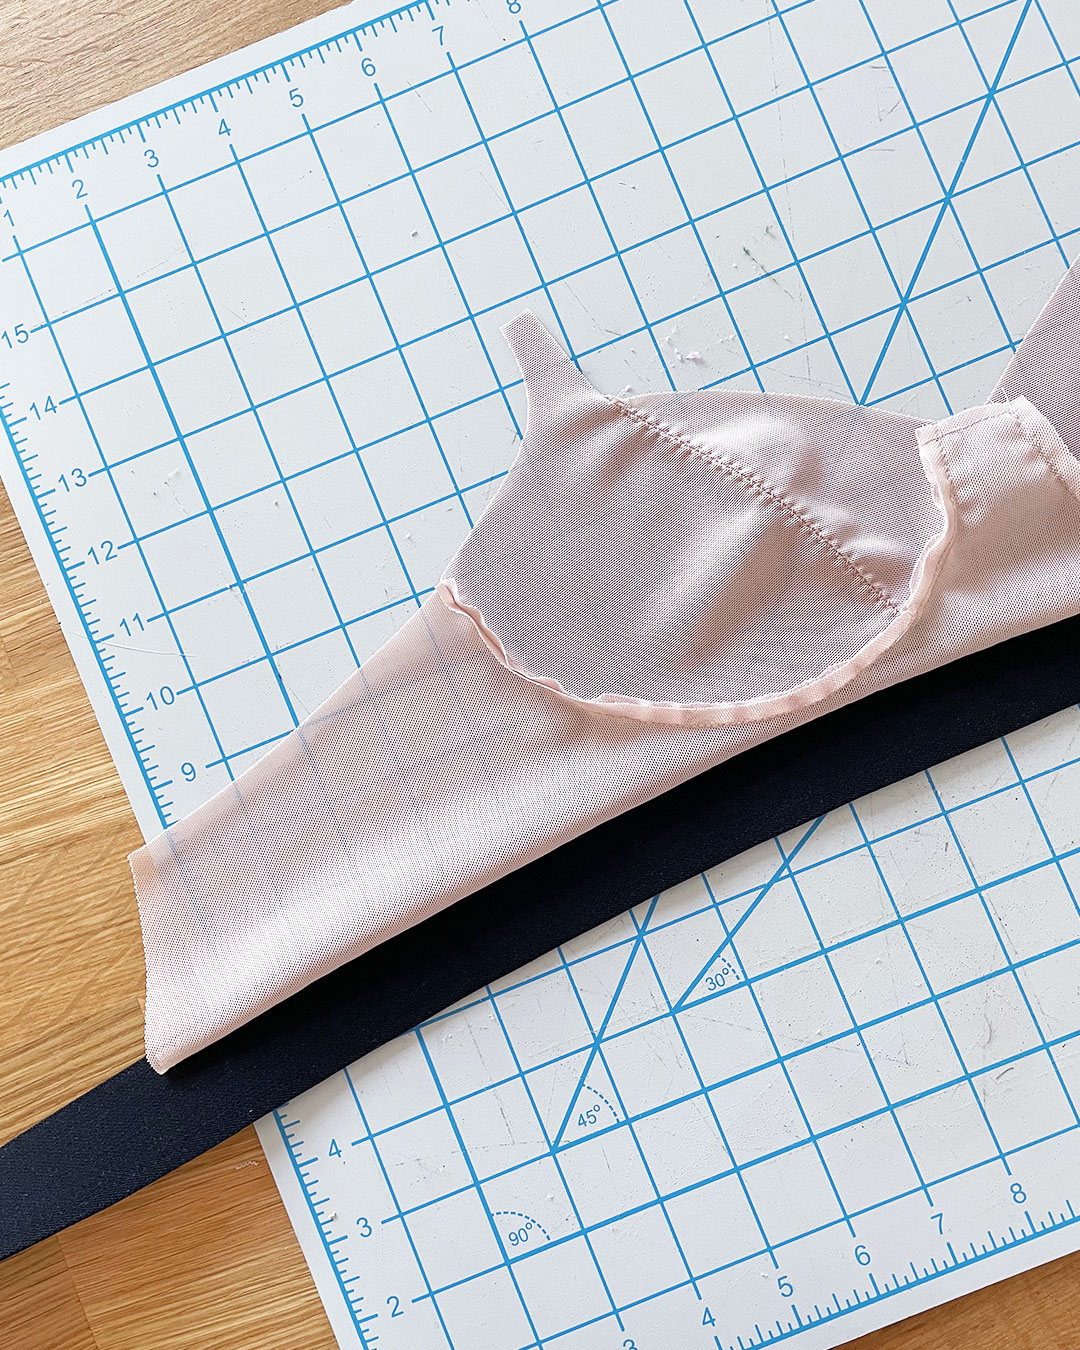

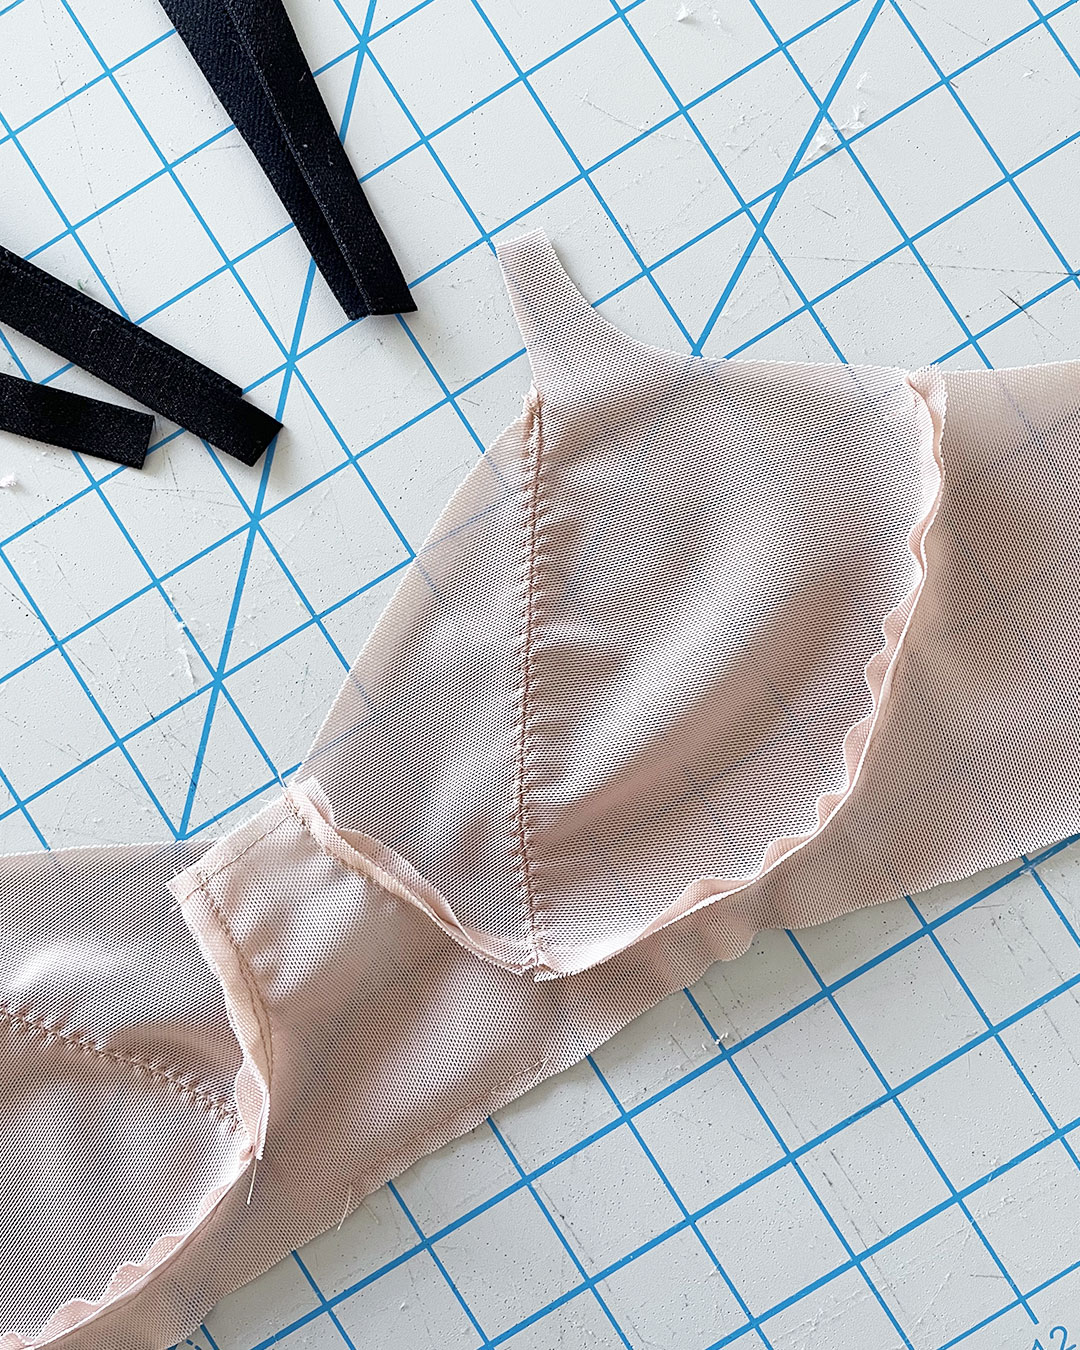
Then, I top-stitched over the folded layers with another pass of zig zag stitches:
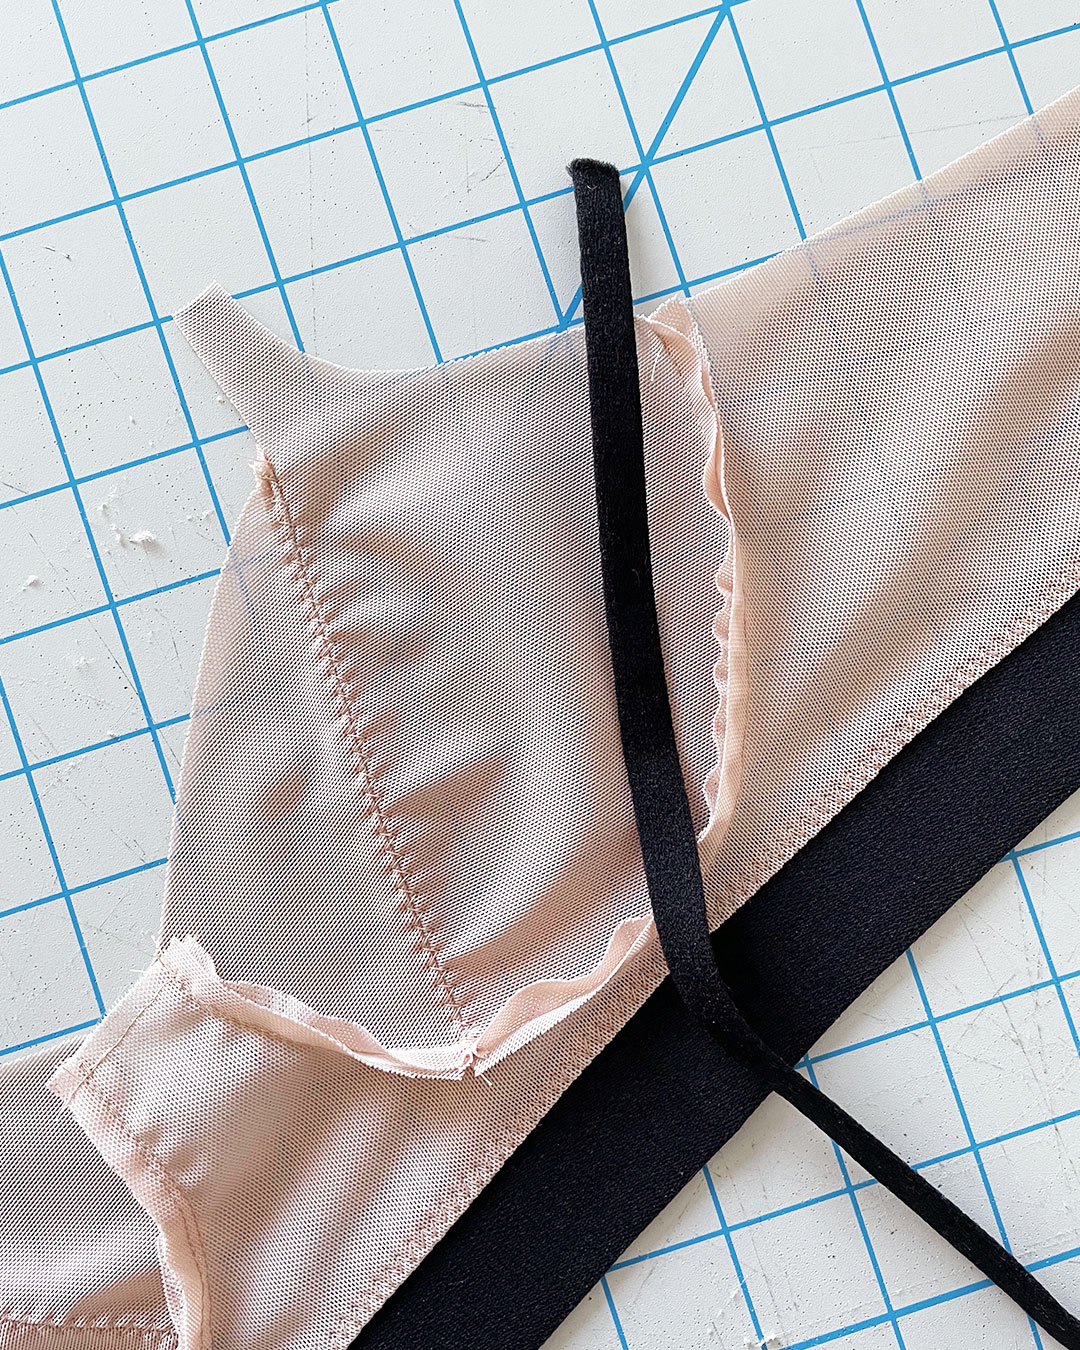
Woot! The wide plush elastic is in!

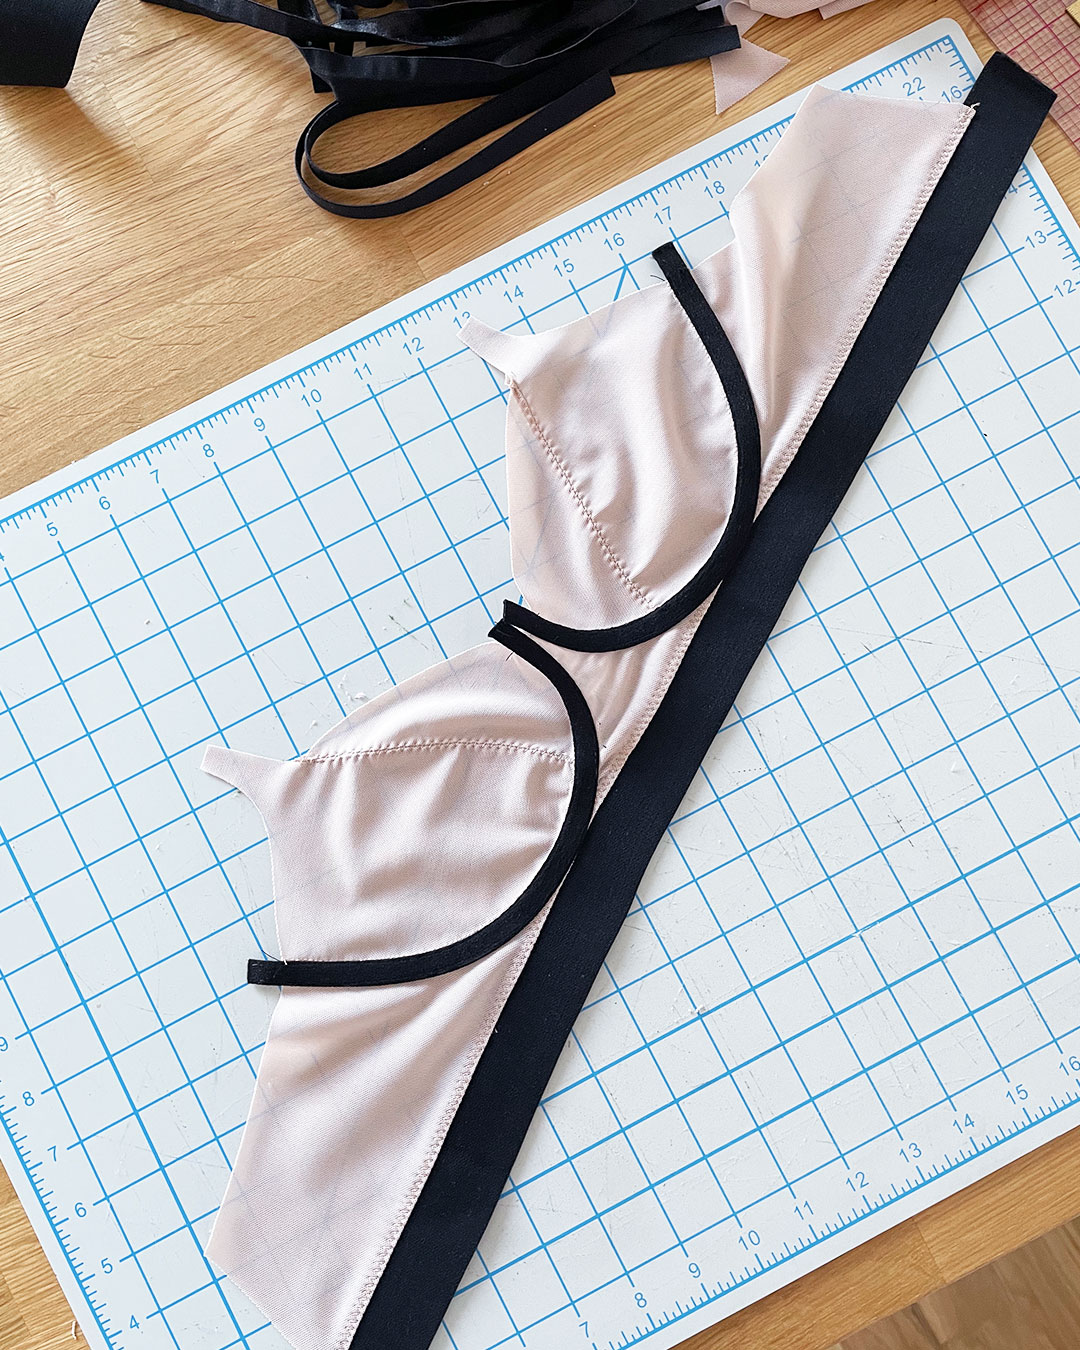
Next up—channeling!
The channeling goes on the same way as it did in our mustard iteration, but to the outside of the bra:
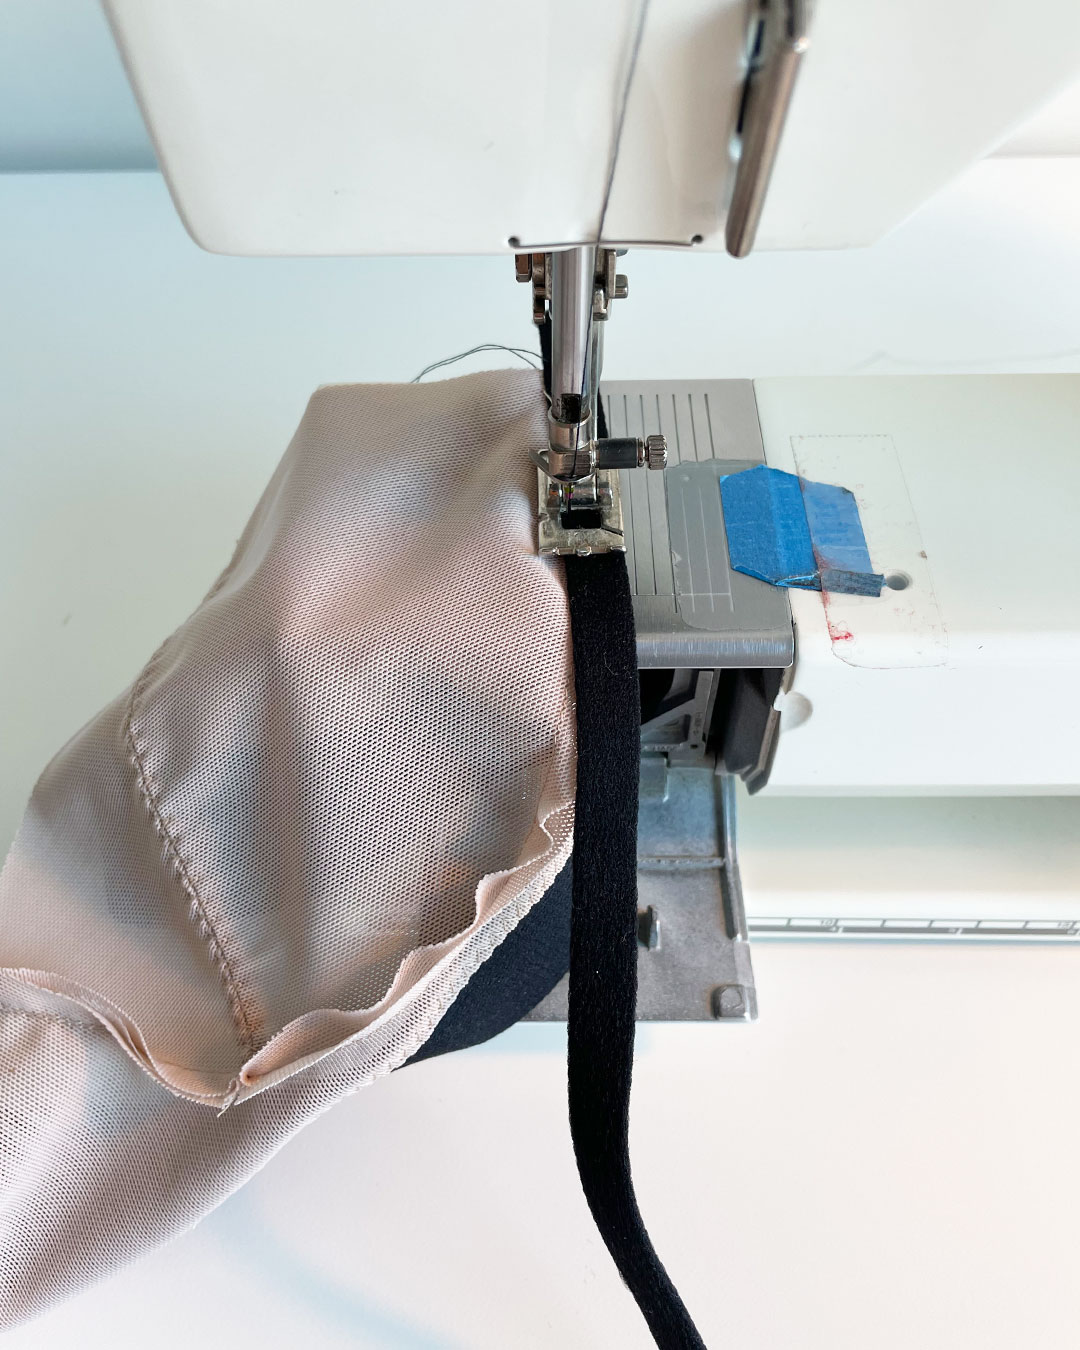
Repeat on the other side:
Like I did for the mustard Sew Comfy Bra, I sewed the FOE along the neckline in one pass. I followed the same procedure to insert my underwires, and then add FOE to my armholes.

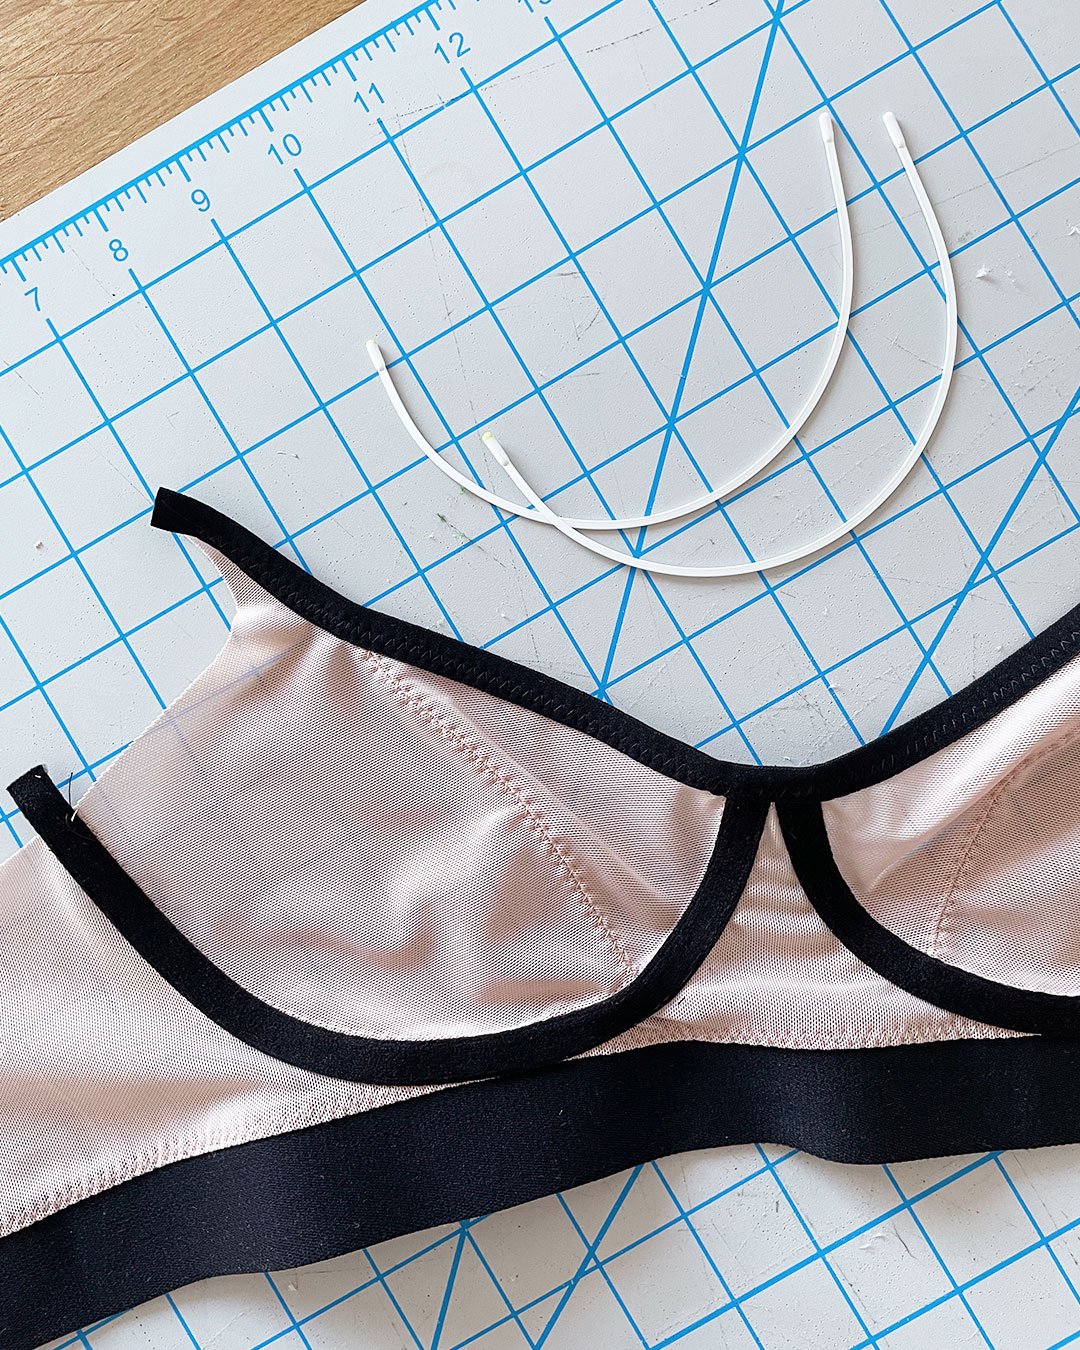
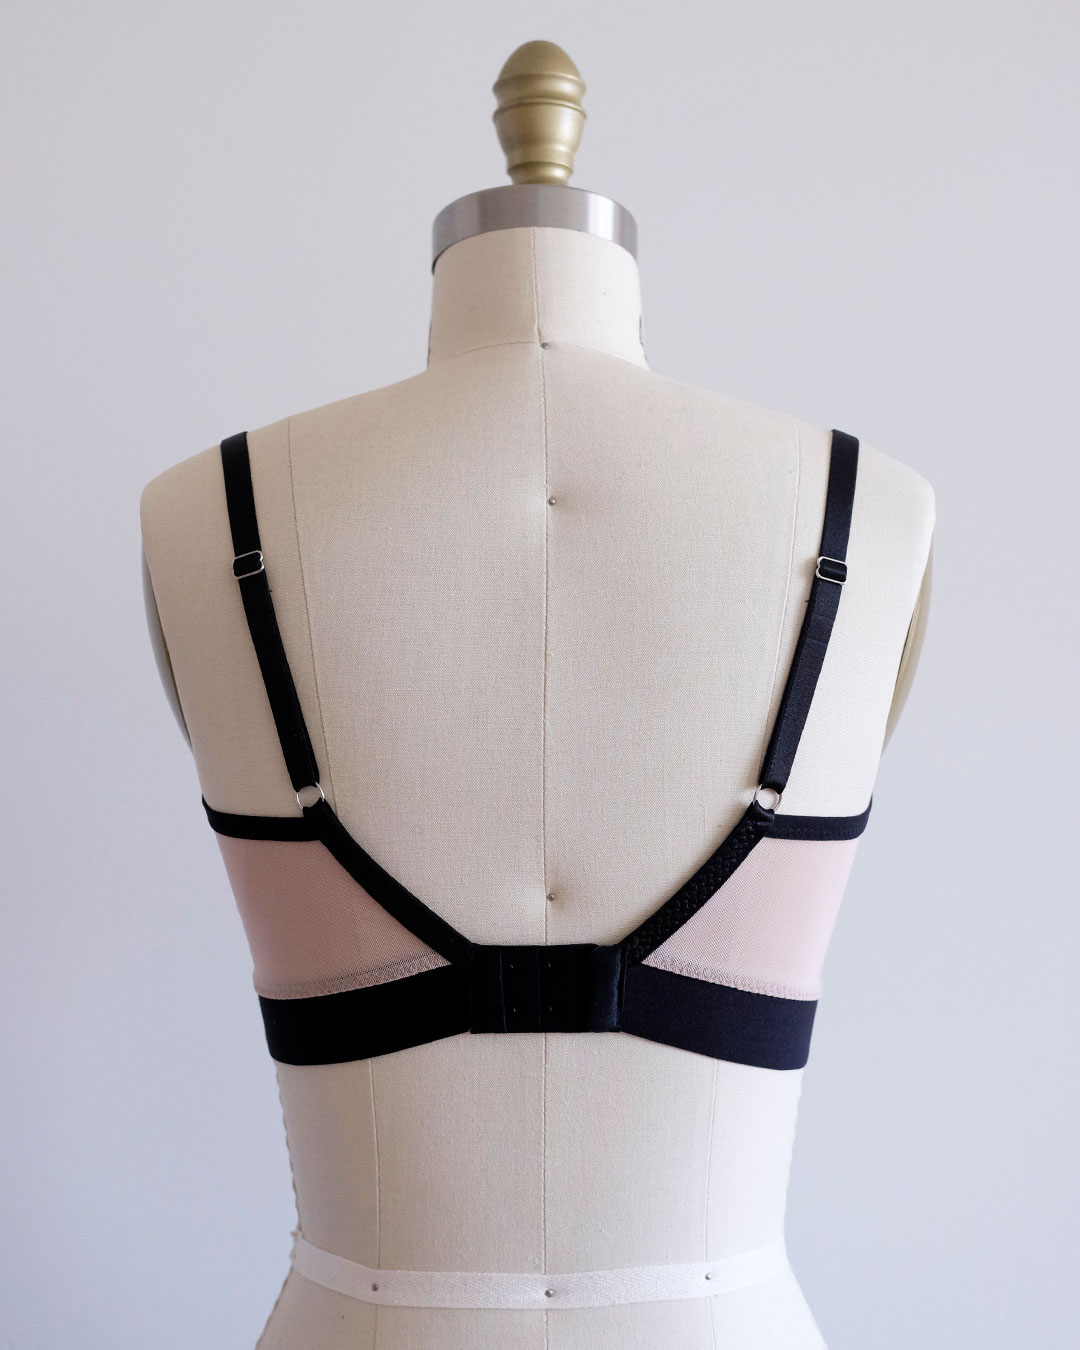
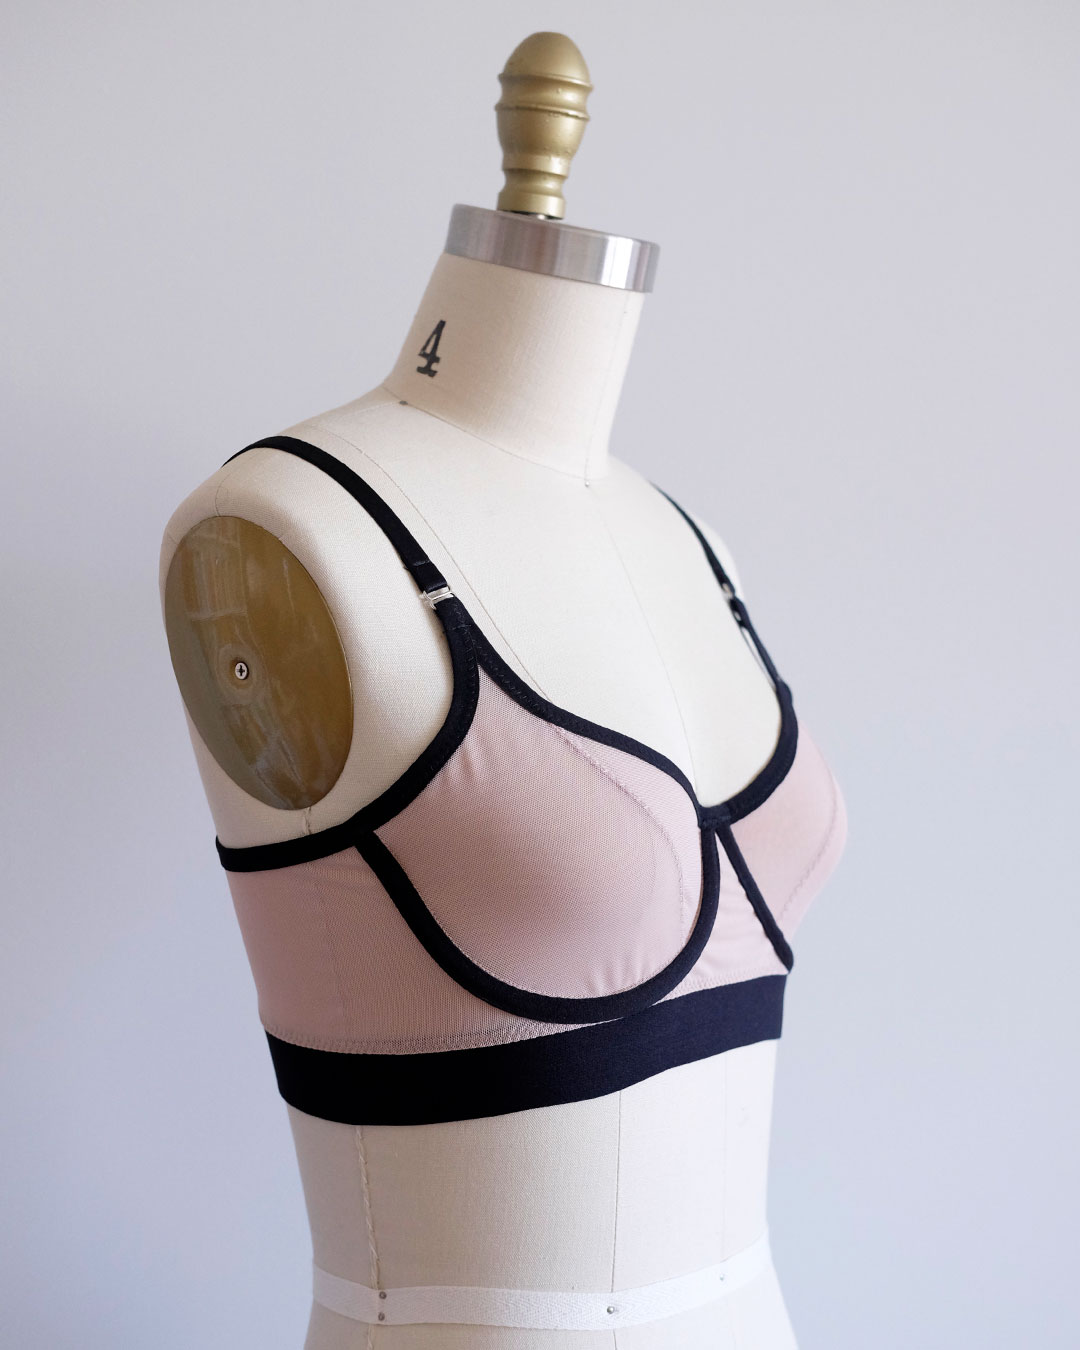
All of my hardware and straps were attached the same way as before, and BOOM—our Dusty Mauve pattern hack is complete!

Which one do you guys like better—the sweet mustard or the graphic mauve?


Either way, I really hope you guys have enjoyed this mini series. <3
I had a great time making the Sew Comfy Bra, and am super excited about the new skills that I learned throughout the process!
While this concludes my Sew Comfy Bra Sew-Along, I’ll certainly be back for more!