
Sew Comfy Bra Sew-Along – Part 3: Sewing Part 1
Hello and welcome to Part 3 of this Sew Comfy Bra Sew-Along with Joy Mao! In this post, we’ll be walking through the first half of the Sew Comfy Bra sewing process together.
Construction Changes to Note
I want to start off by noting two construction changes that I made, which impact the sewing order slightly.
- In the original Sew Comfy Bra, fold over elastic is applied along the neckline in two passes—one on each cup:
In the original construction, the neckline FOE does not pass over the center front (CF) bridge, and the channeling is left open for inserting underwires at CF.
Because I preferred the look of the continuous piece of FOE along the neckline, I decided to sew FOE along the neckline in a single pass, and instead leave the channeling open at the armholes.
Instead of starting the construction process by sewing the stabilizer tricot and main body fabric together at the top edge of the frame (per the pattern’s instructions), I placed these pieces wrong sides together and basted along the wire line on each side.
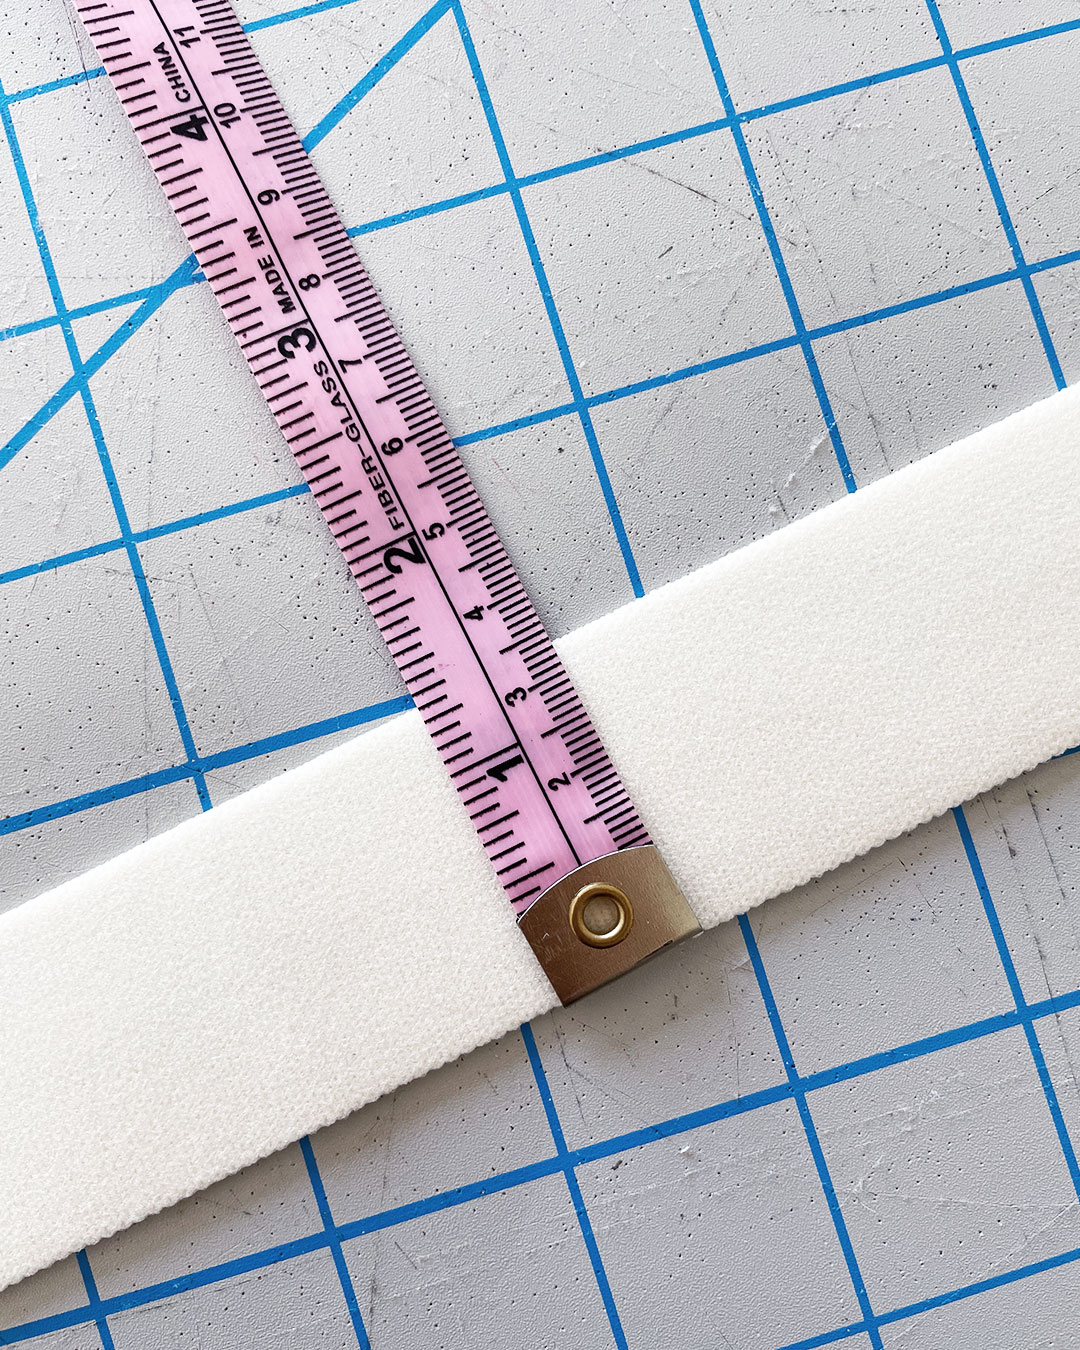
2. Another important change that I made was to trim down the width of my wide plush elastic.
Because the Sew Comfy Bra pattern was drafted for use with a 30mm wide plush elastic, I had to trim my 35mm wide plush elastic down to 30mm.
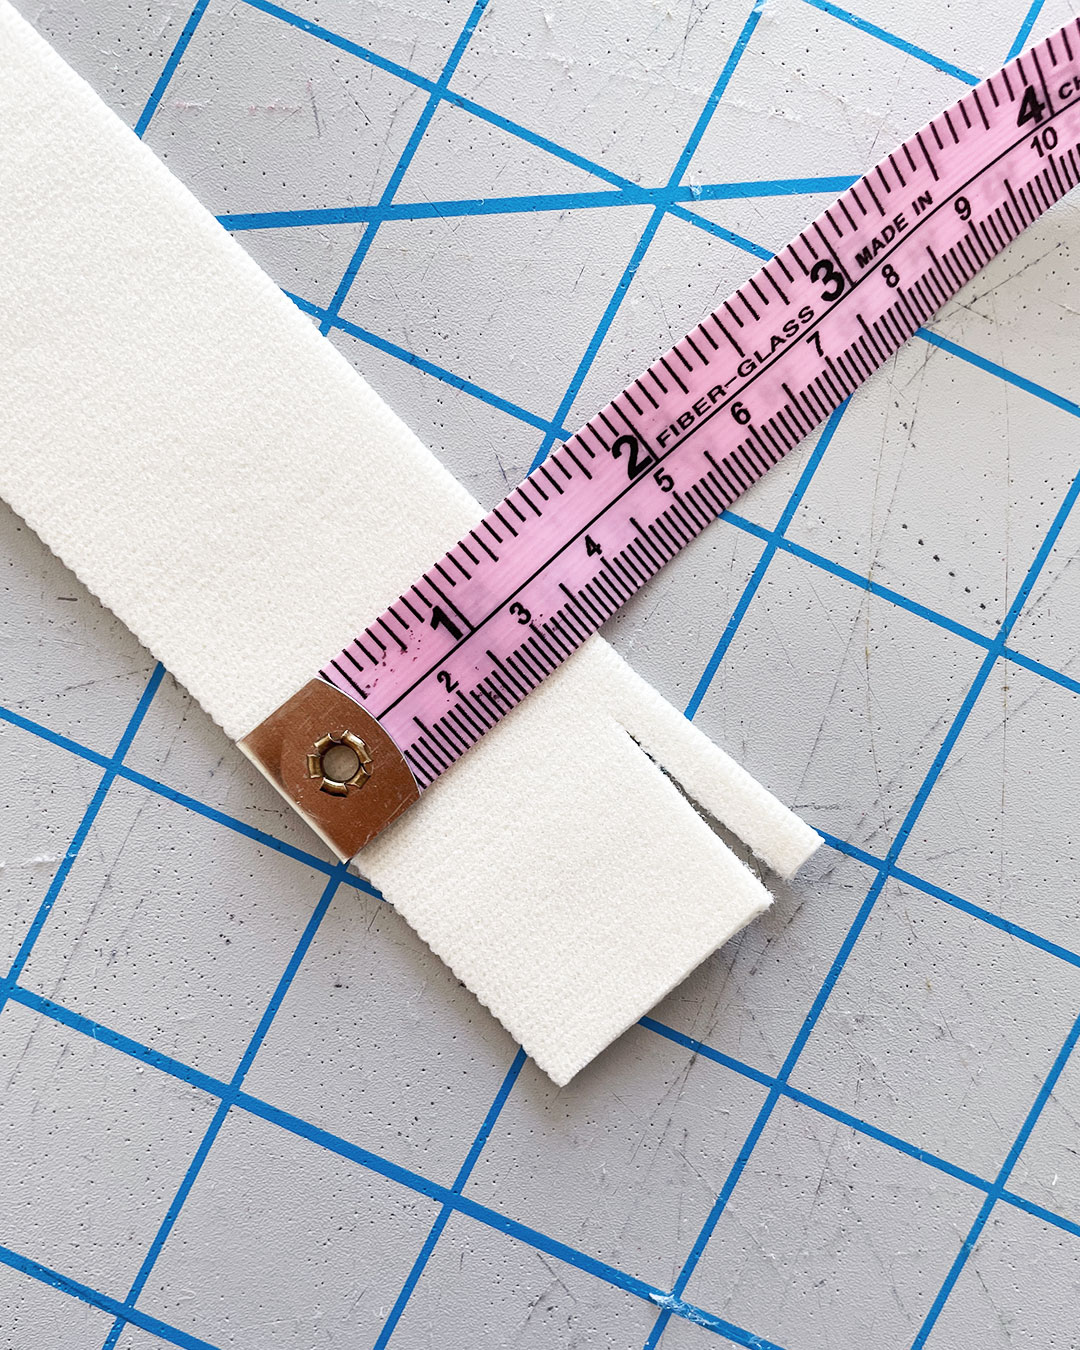
In lieu of going through this trimming process, you can always try to find a 30mm wide plush elastic, or adjust the pattern to accommodate a slightly wider elastic.
Attaching the Wide Plush Elastic Band
After basting the stabilizer tricot in place and trimming down my wide plush elastic, I followed the pattern’s instructions to attach the wide plush elastic to the bottom of the band.

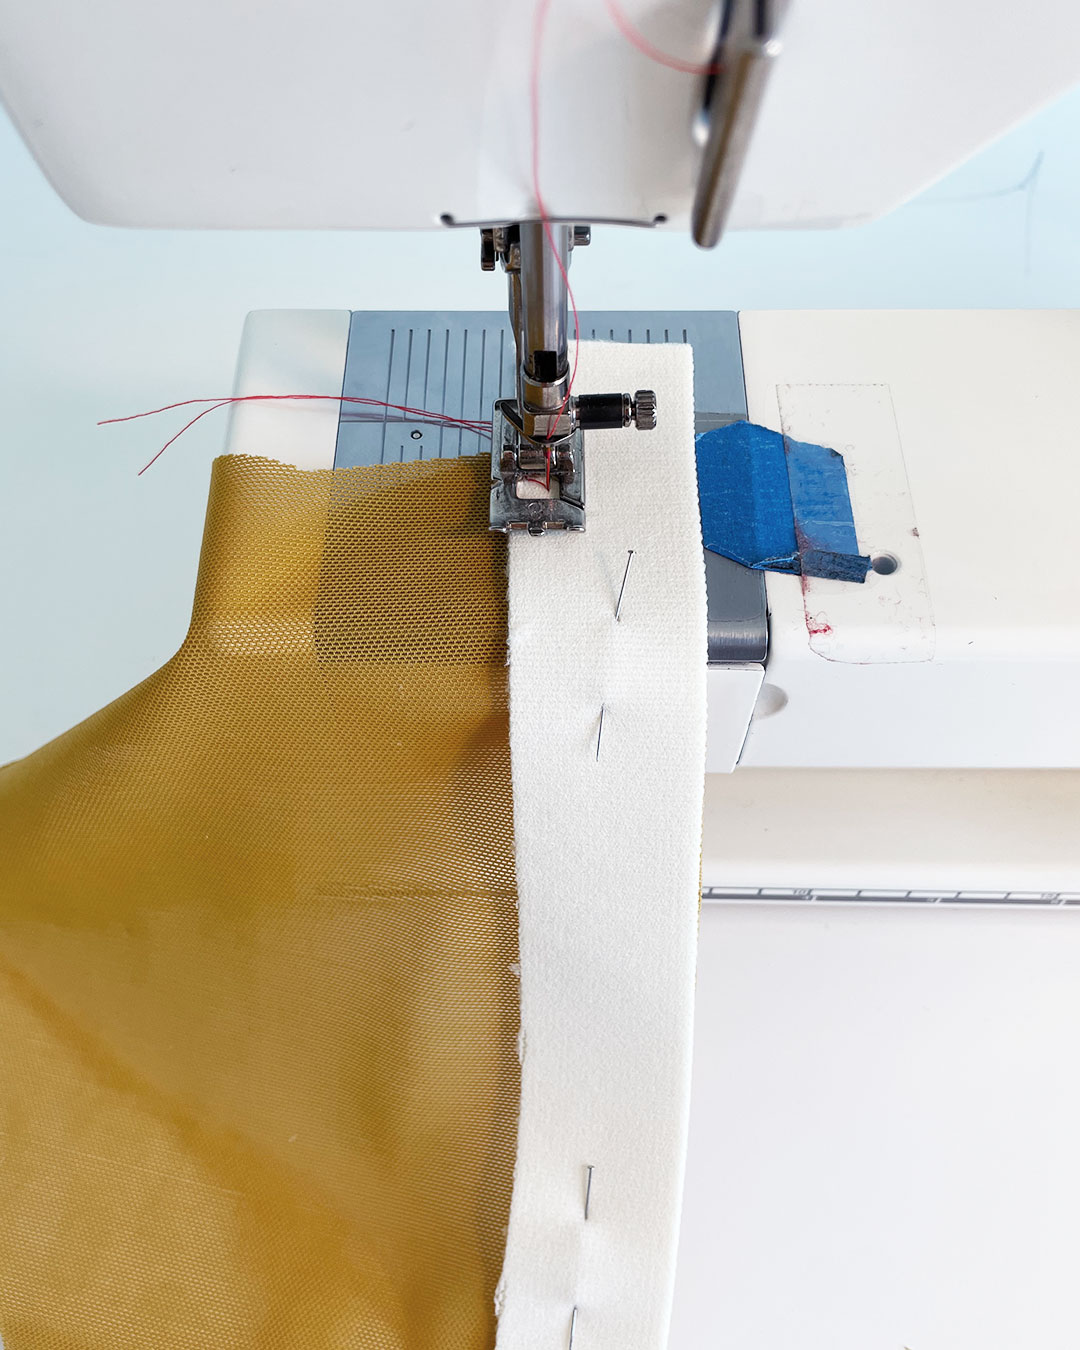


I did so with a zig zag stitch along the top edge of the wide plush elastic.
I believe that the stabilizer tricot piece is meant to be caught between the main body fabric and the band elastic, but mine seemed to be just a little short. This wasn’t a serious issue because the elastic gets folded into the power net twice later on.

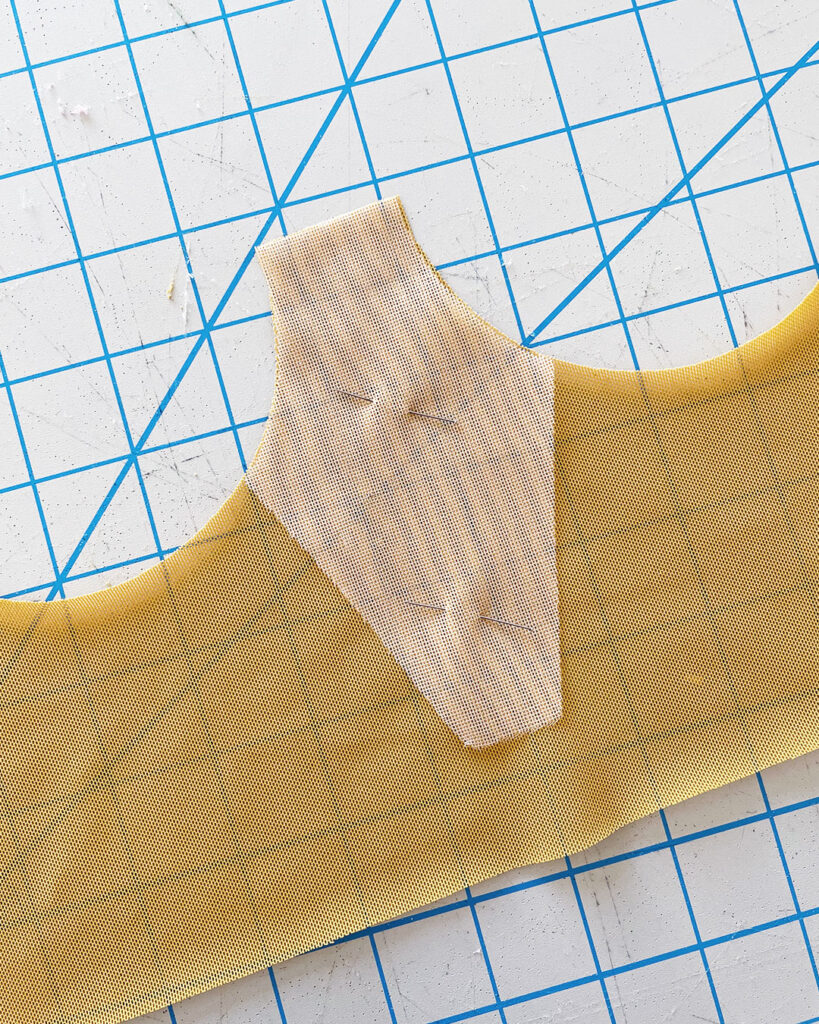
Assembling the Cups
This was my favorite part of the sewing process!
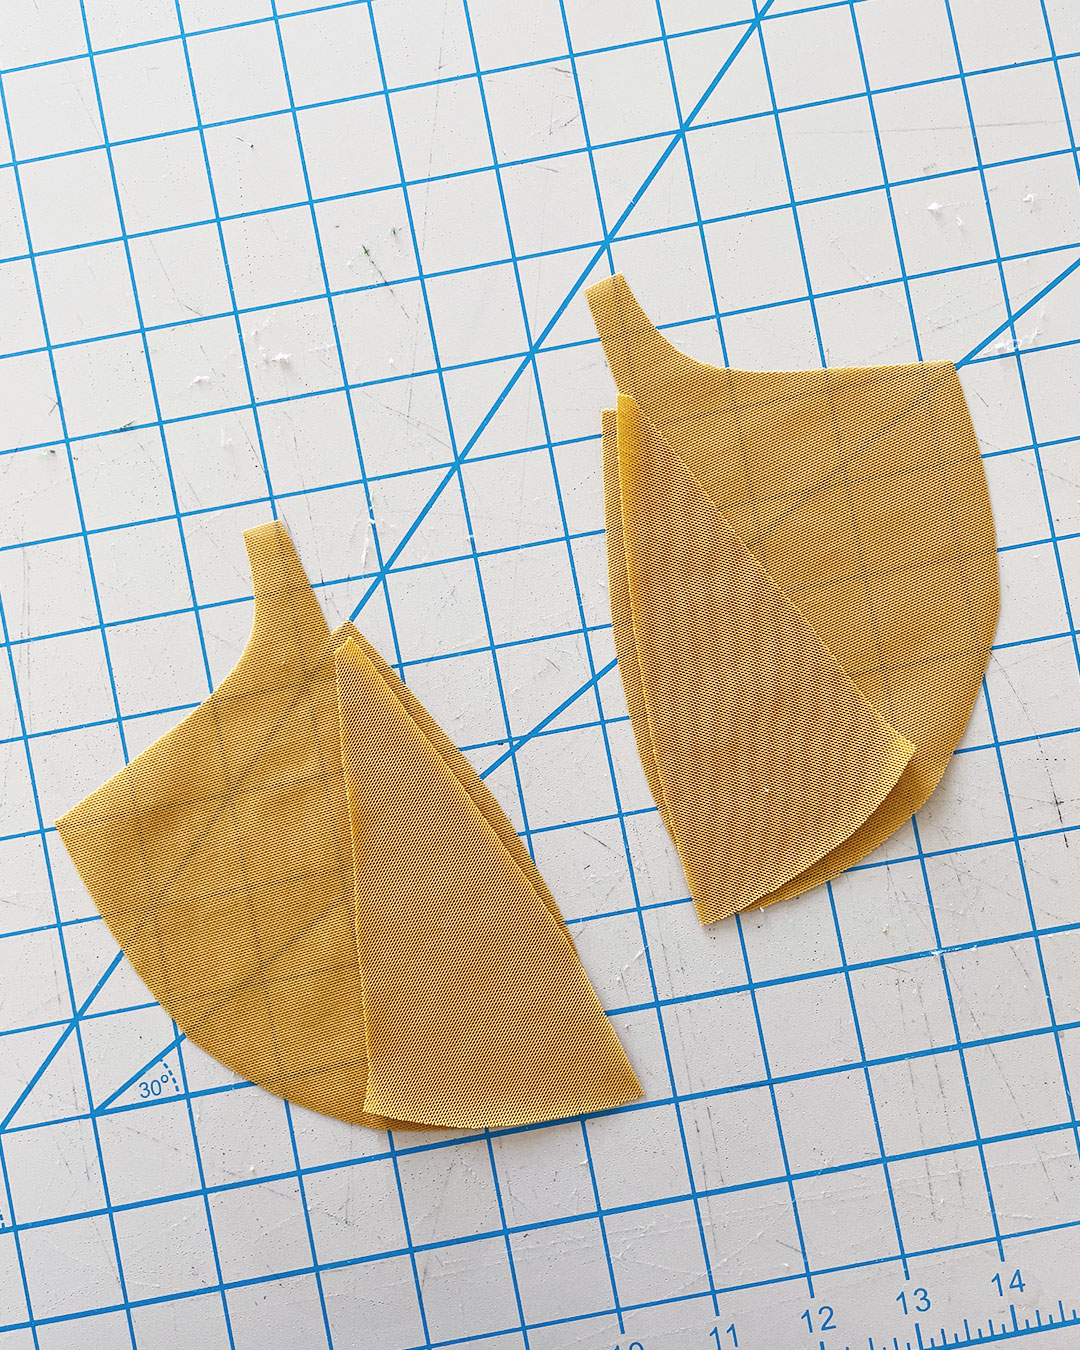
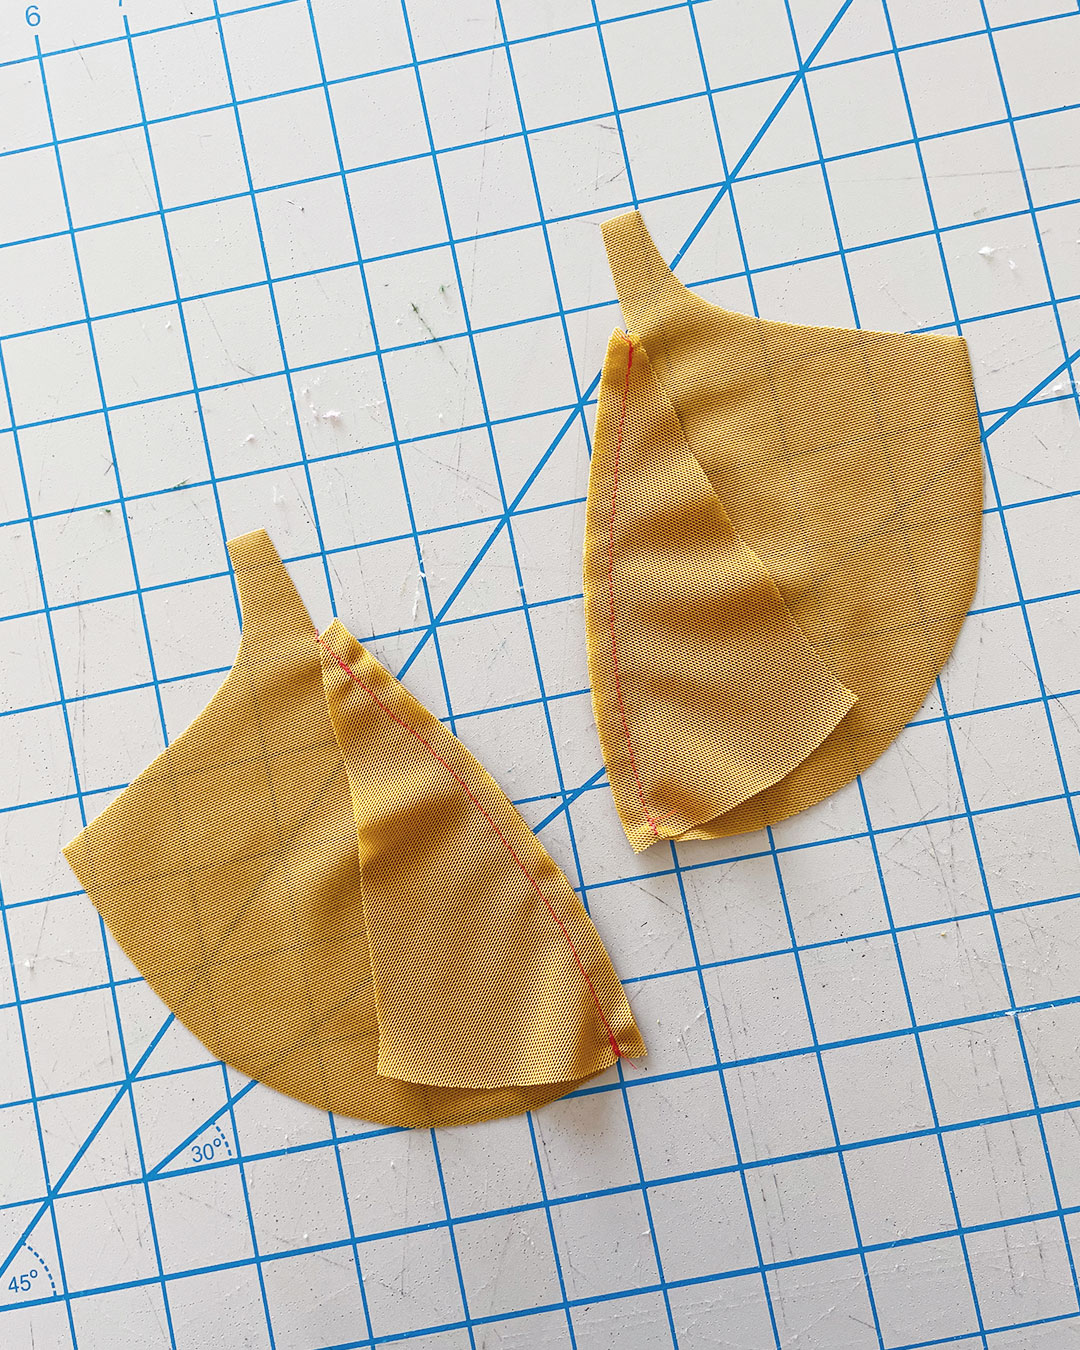
To assemble the cups, place the Outer and Inner Cup pieces together like so, wrong sides together:
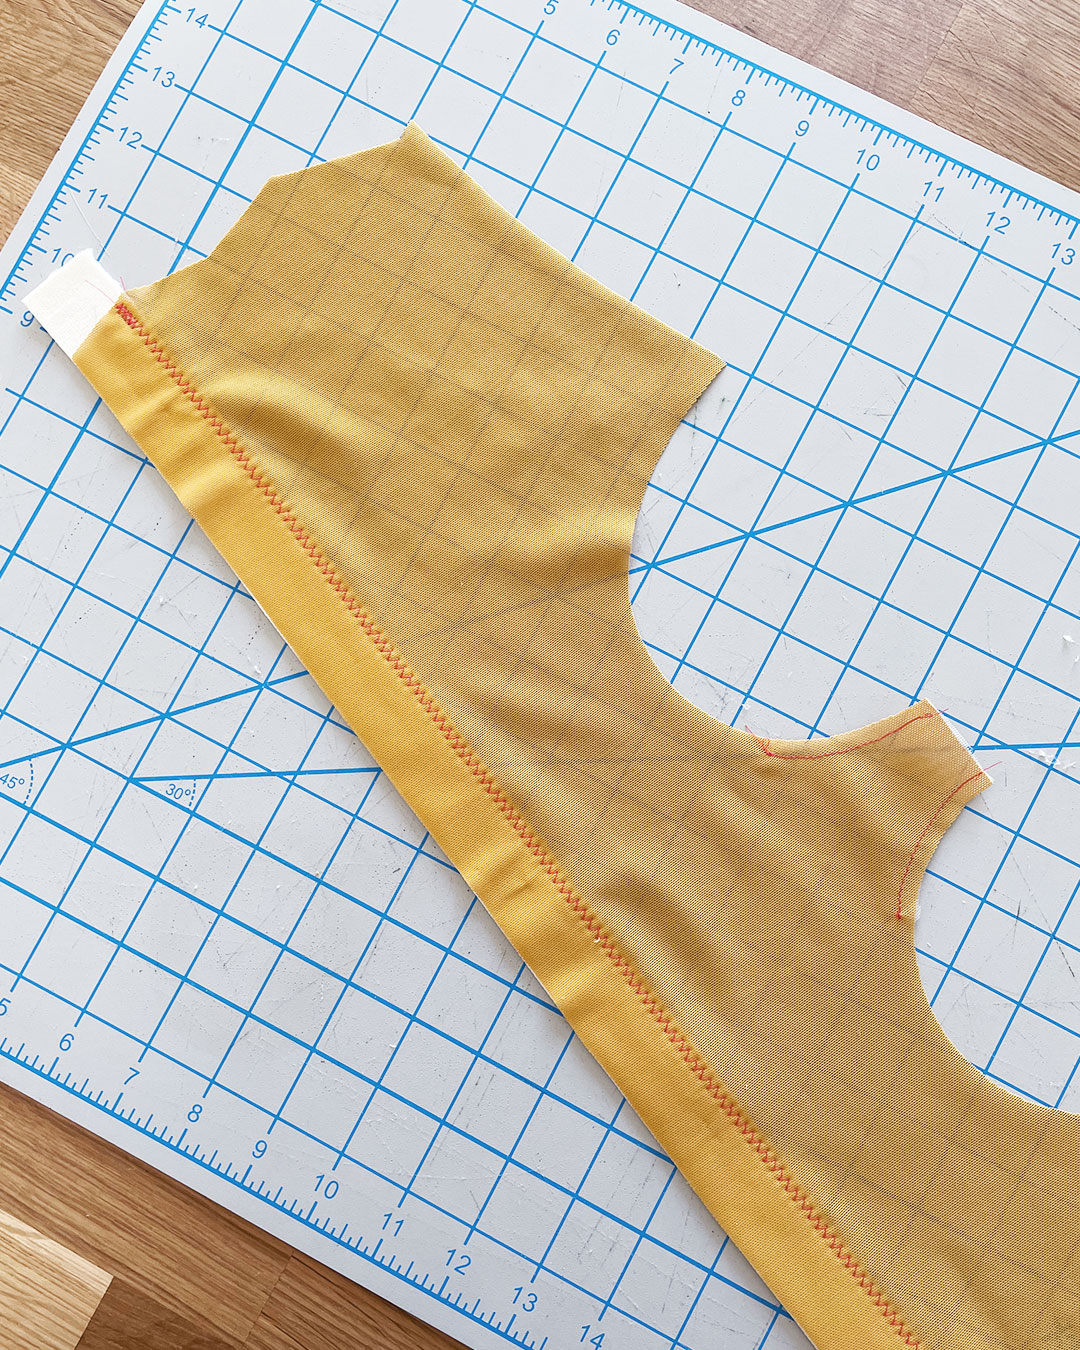
Working with one side at a time, I used a straight stitch to sew along the cup seam at a 1/4″ seam allowance.
If it helps, you can pin the pieces together along the seam before you sew.
Here’s what the pieces looked like after I sewed them together at the bust seams:

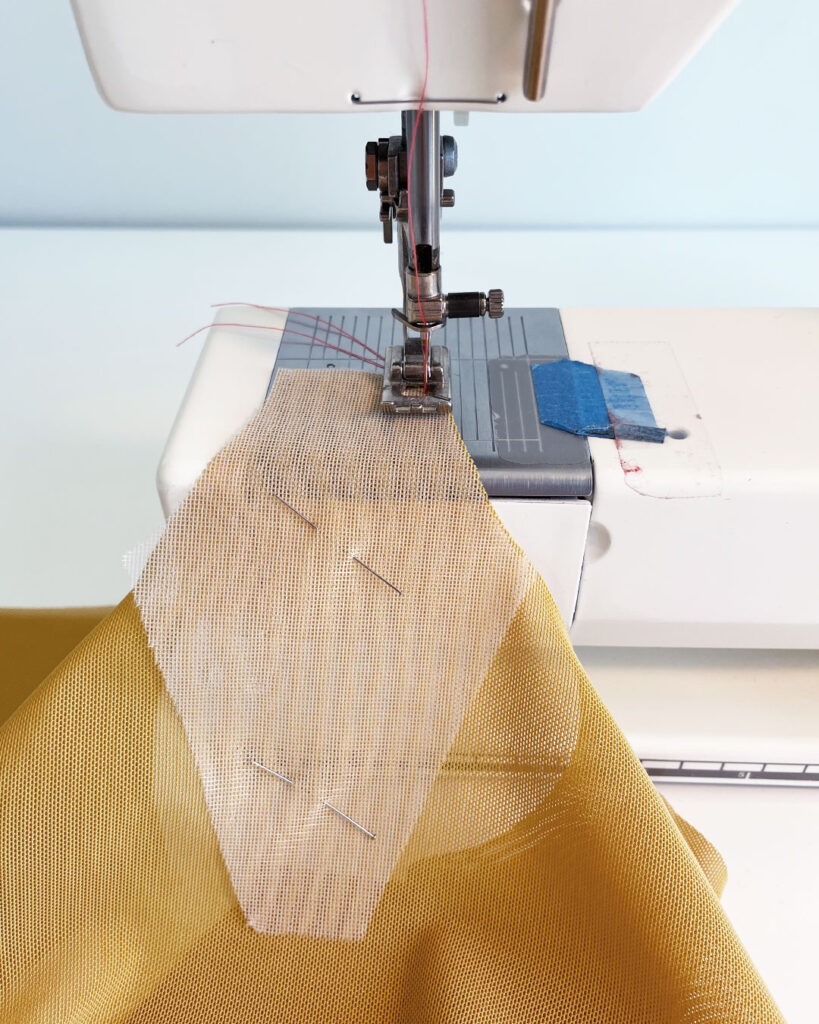
This next step is optional, but I found it super useful!

I gently pressed open the bust seams with my iron to help prepare them for the next step.
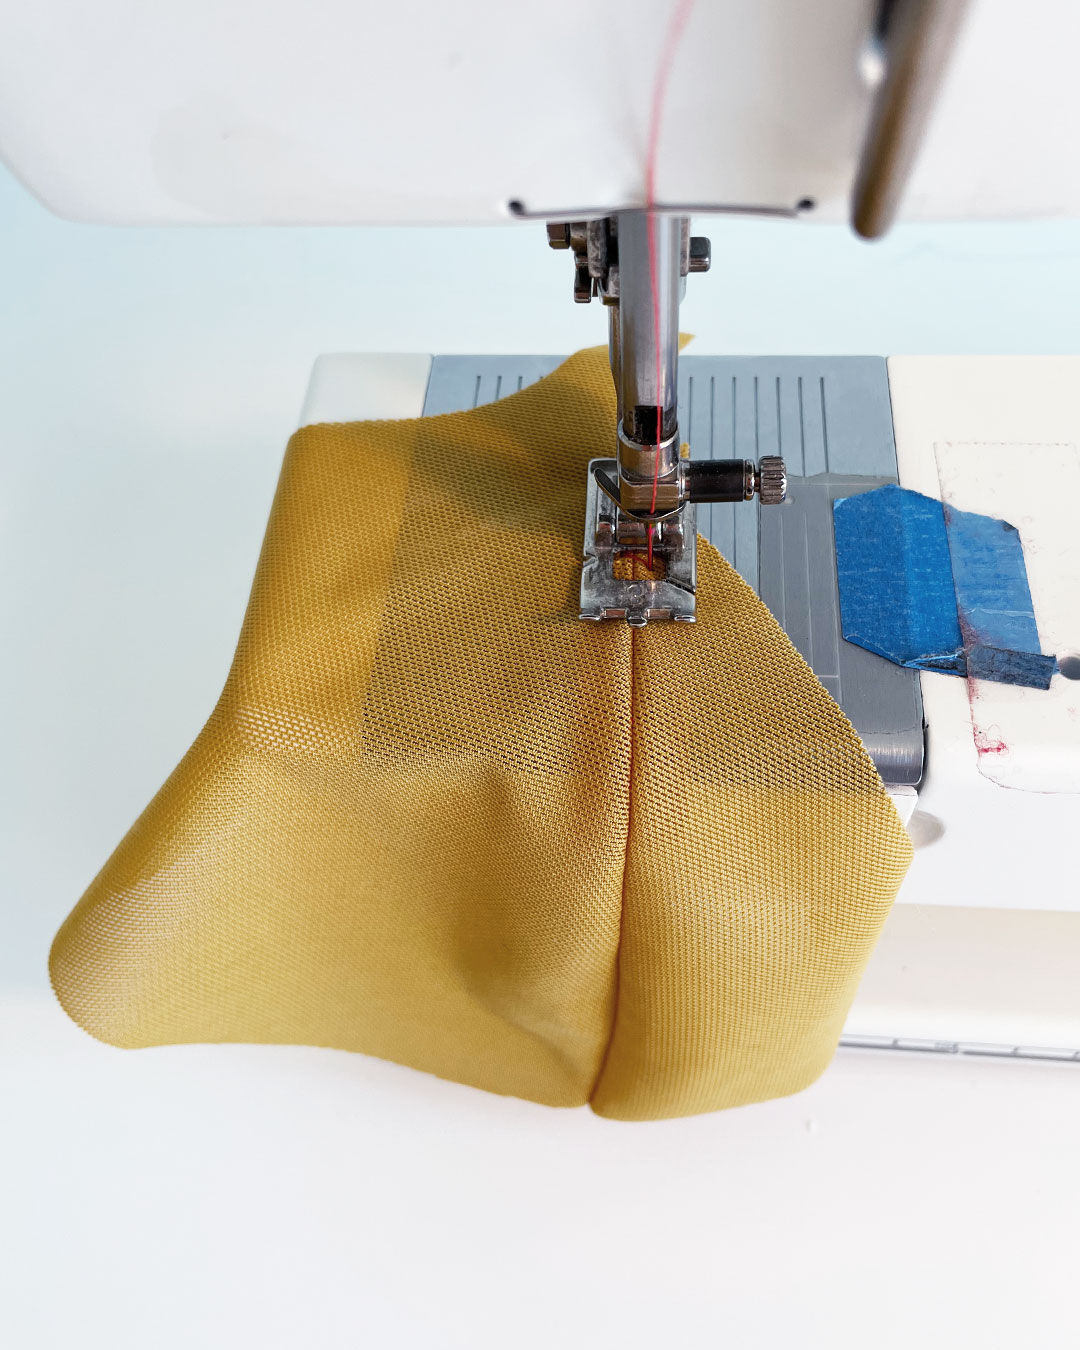

Using a zig zag stitch, I stitched over the right side of the bust seams to hold the seam allowances in place.

From the back side of the cups, I trimmed away the excess seam allowance.

I loved how the pink thread looked, zig-zagging along the bust seams!
Note: I only used one layer of fabric for the cups. If you cut a self and a lining for the cup pieces (as indicated by the pattern), all you have to do is sew this step the same way, but with two layers of fabric for both cup pieces.
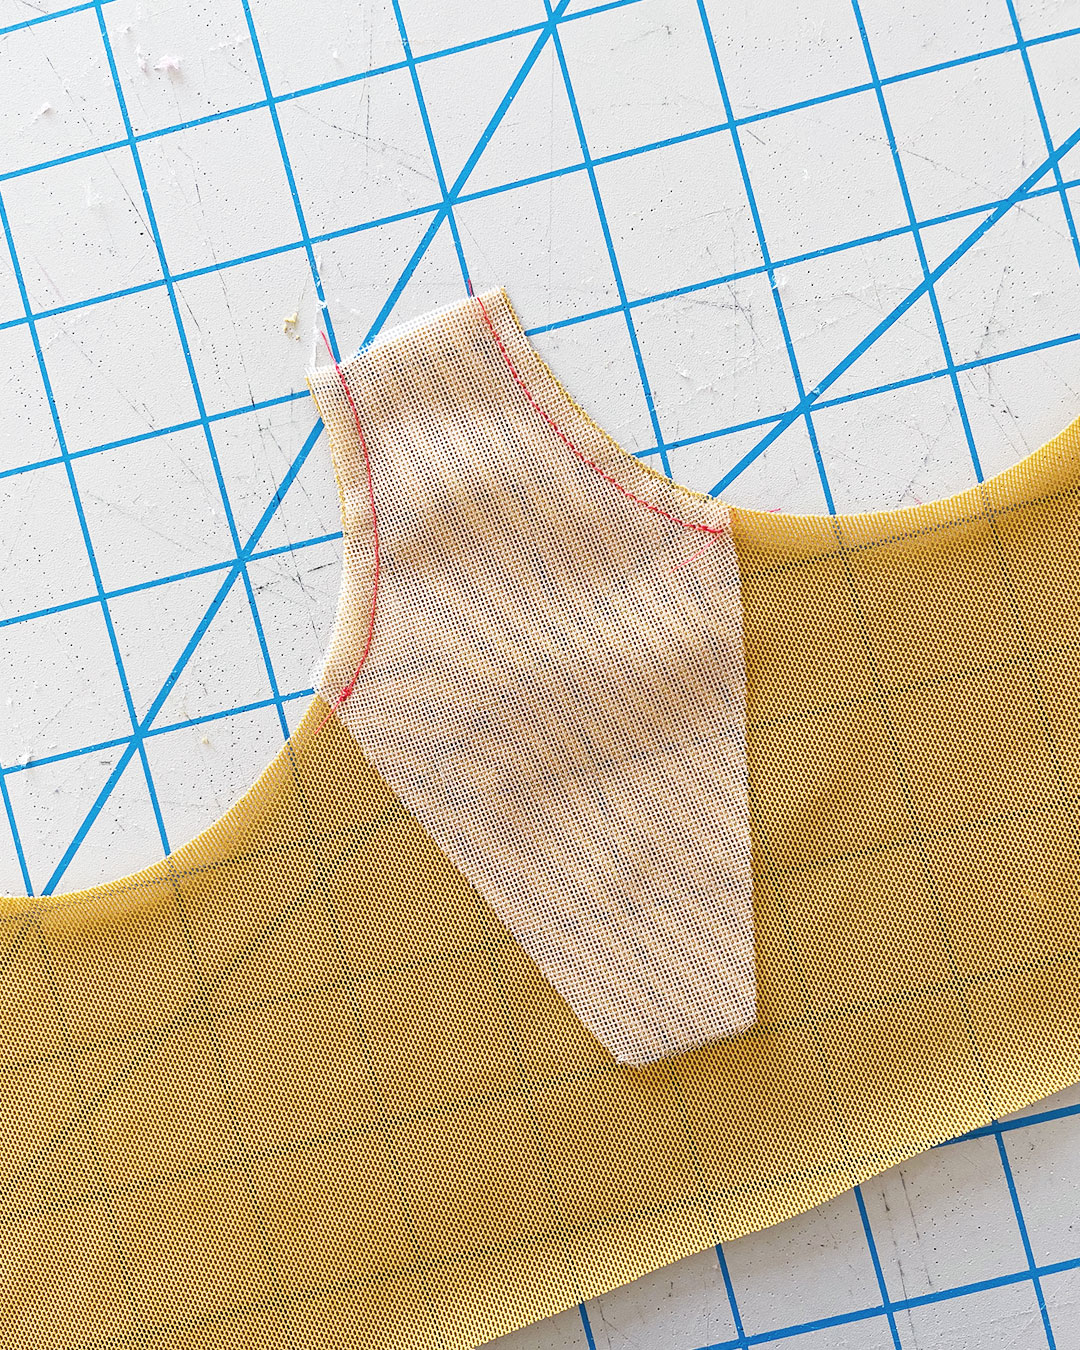
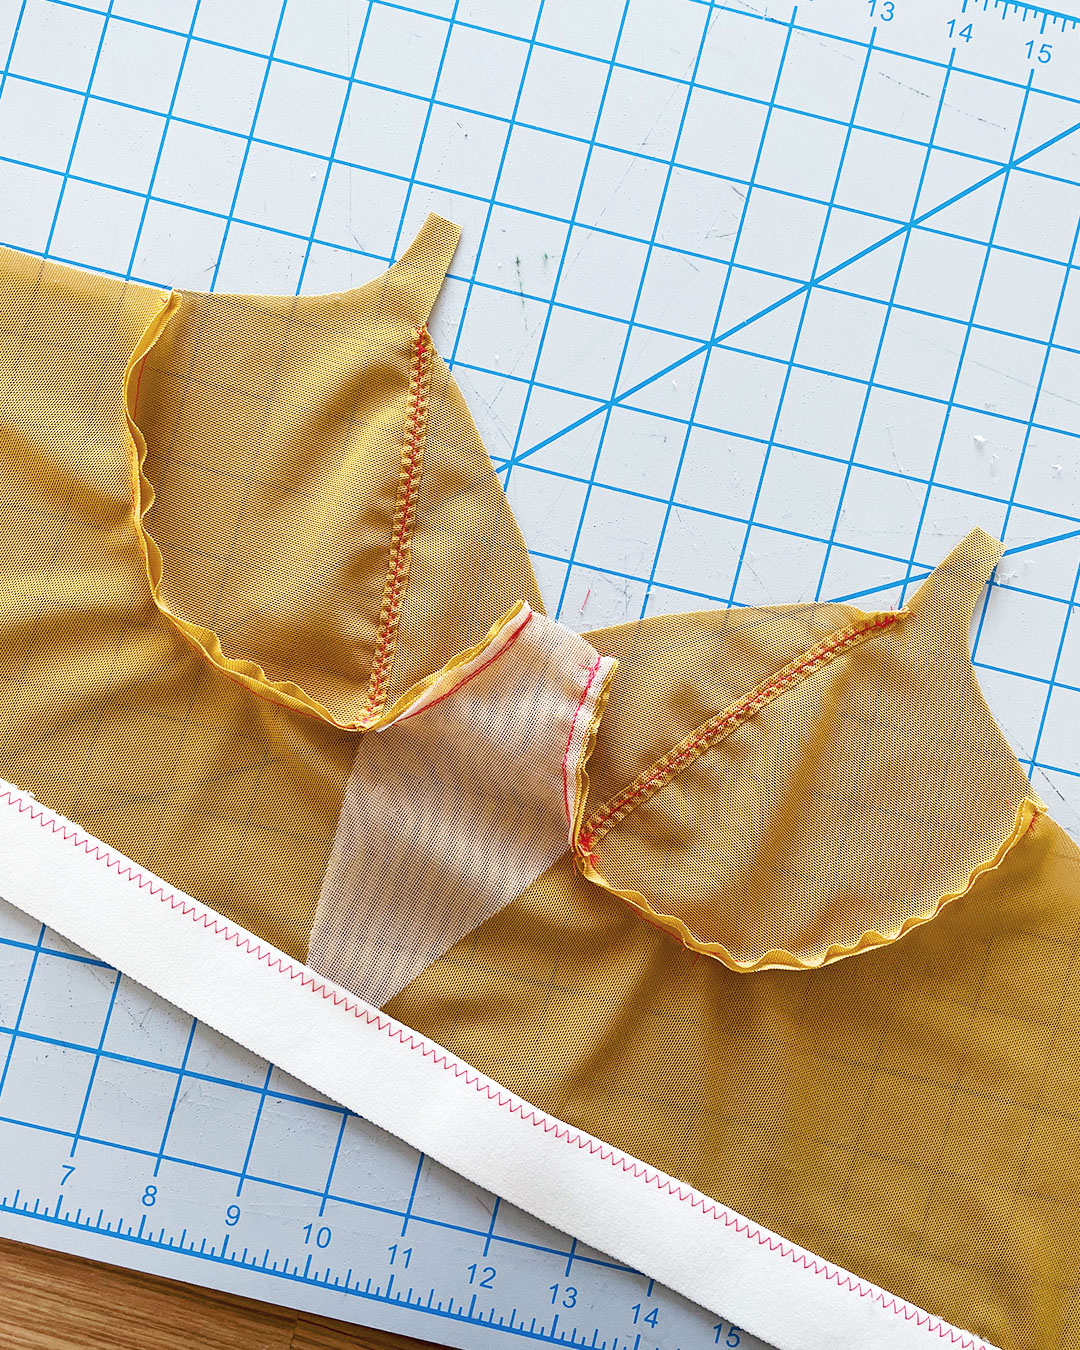
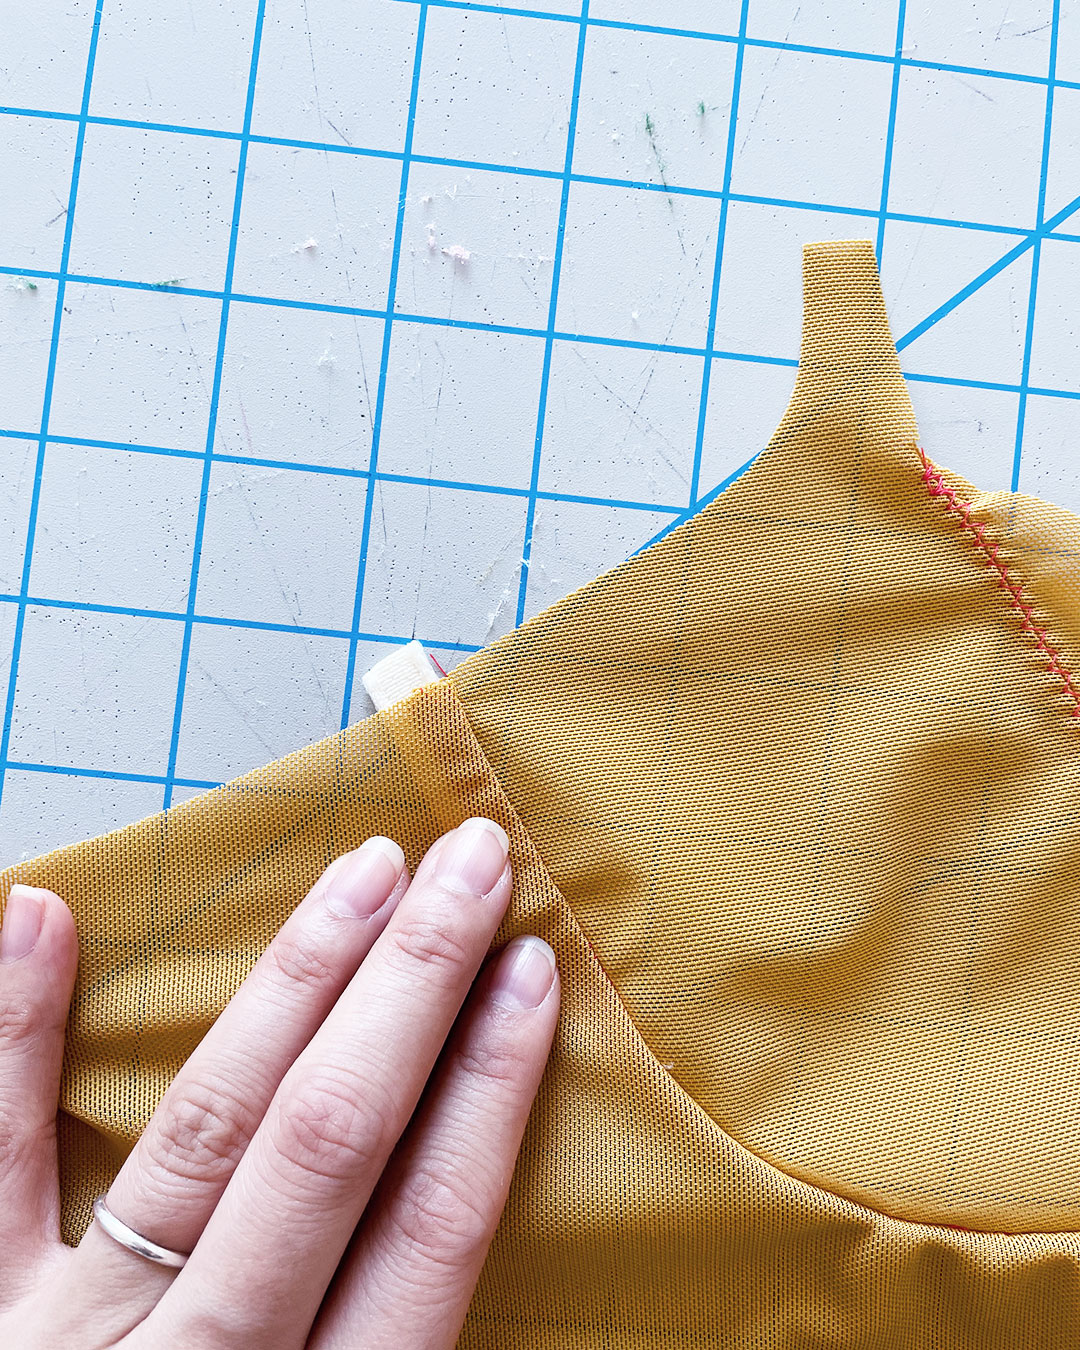
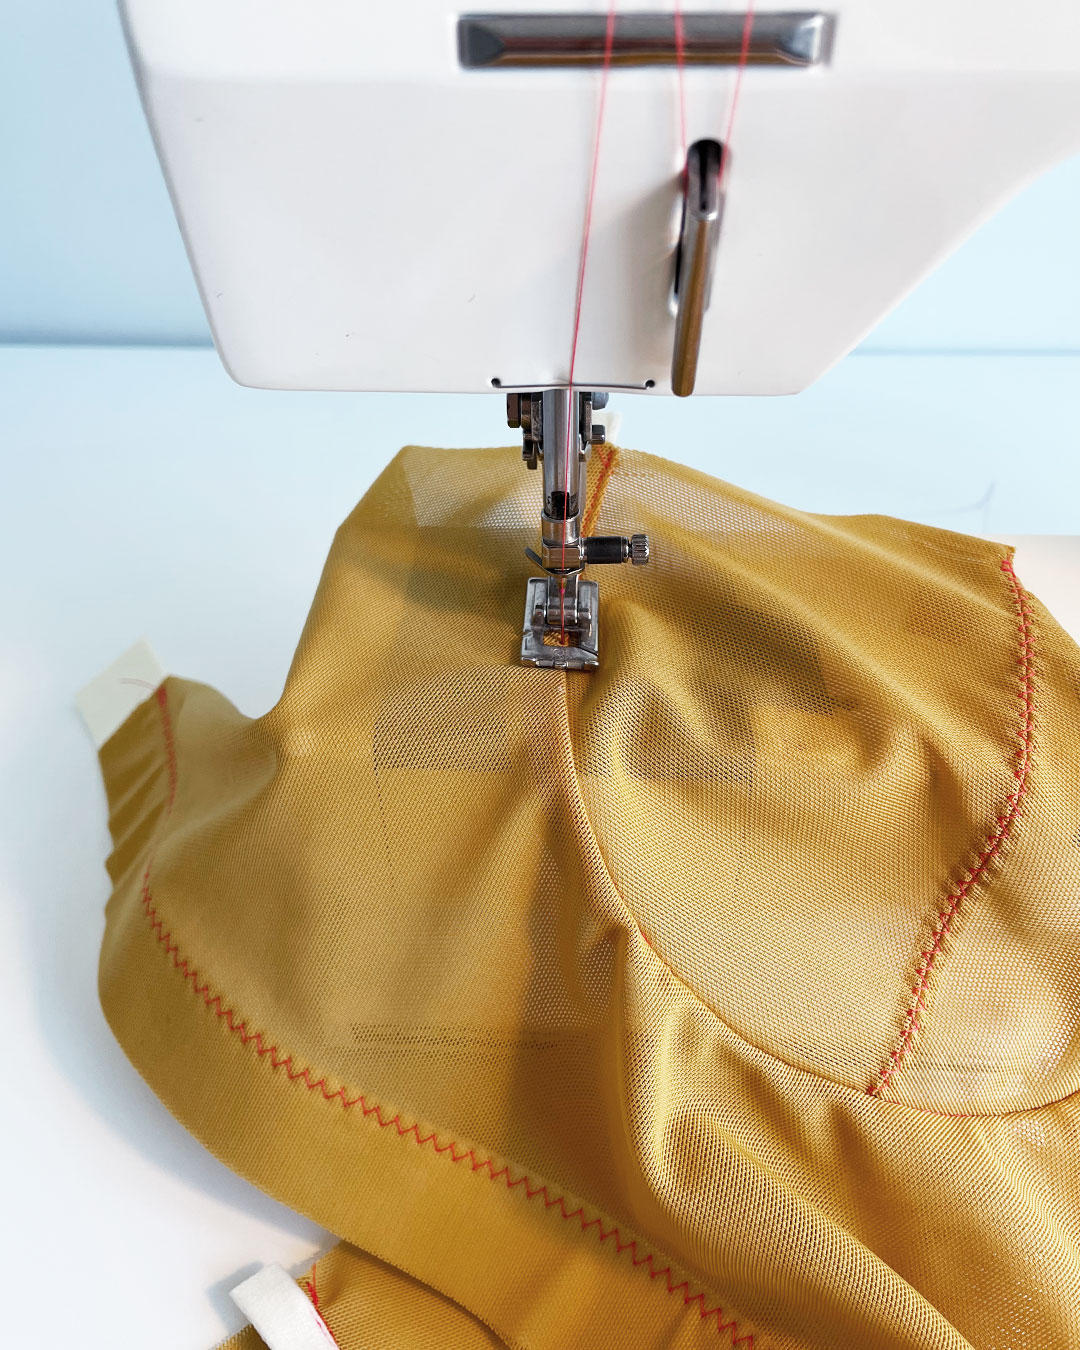
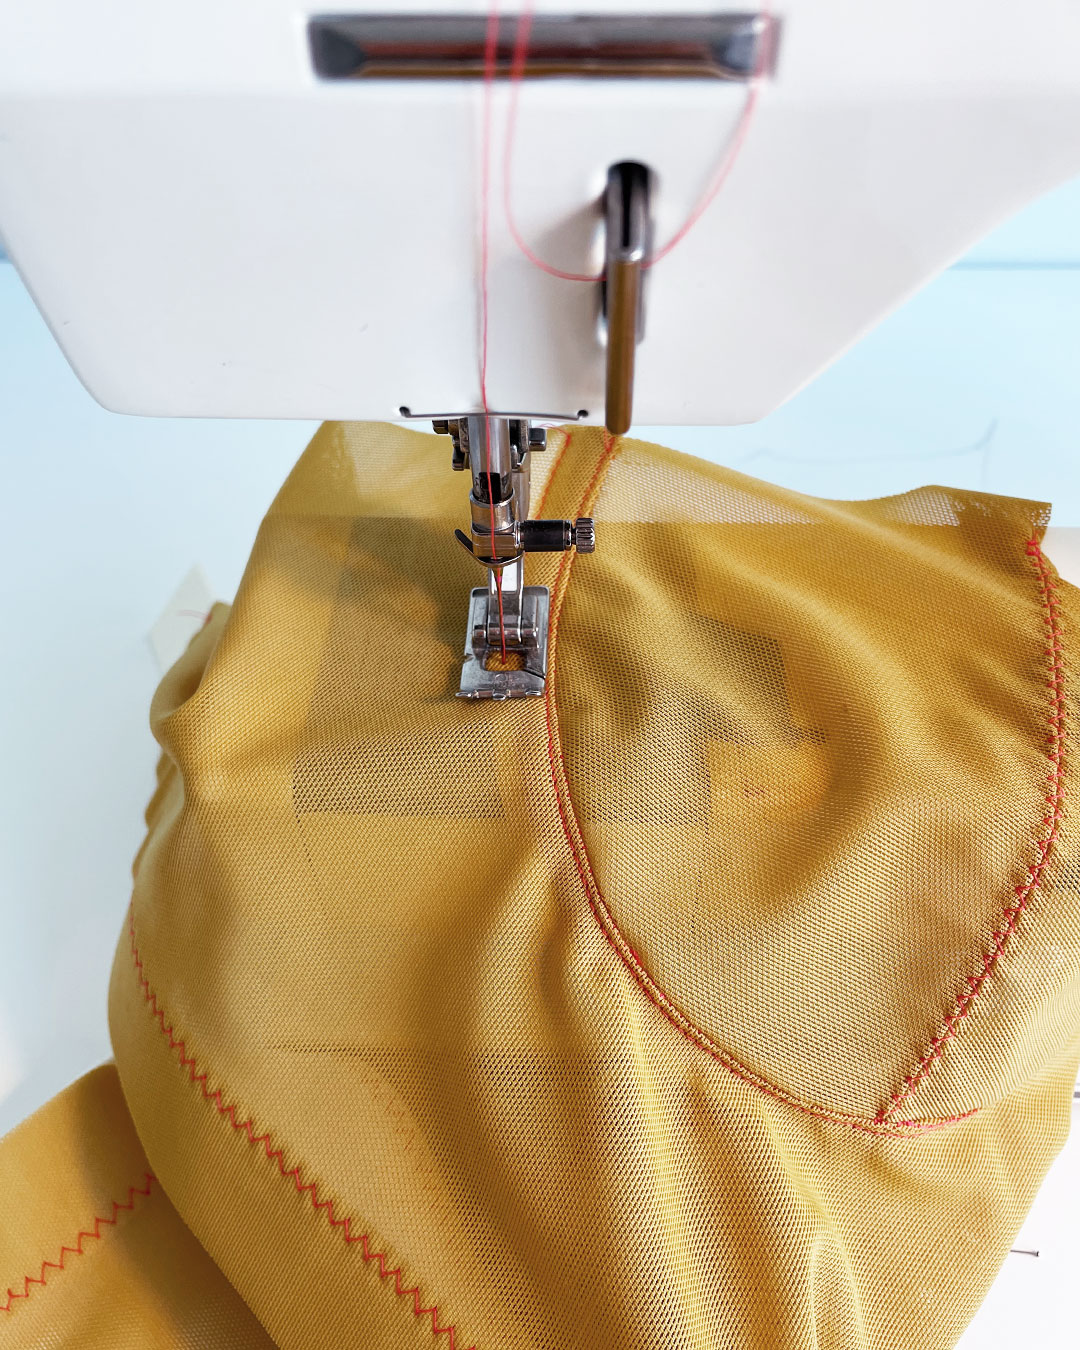
Inserting the Cups Into the Frame

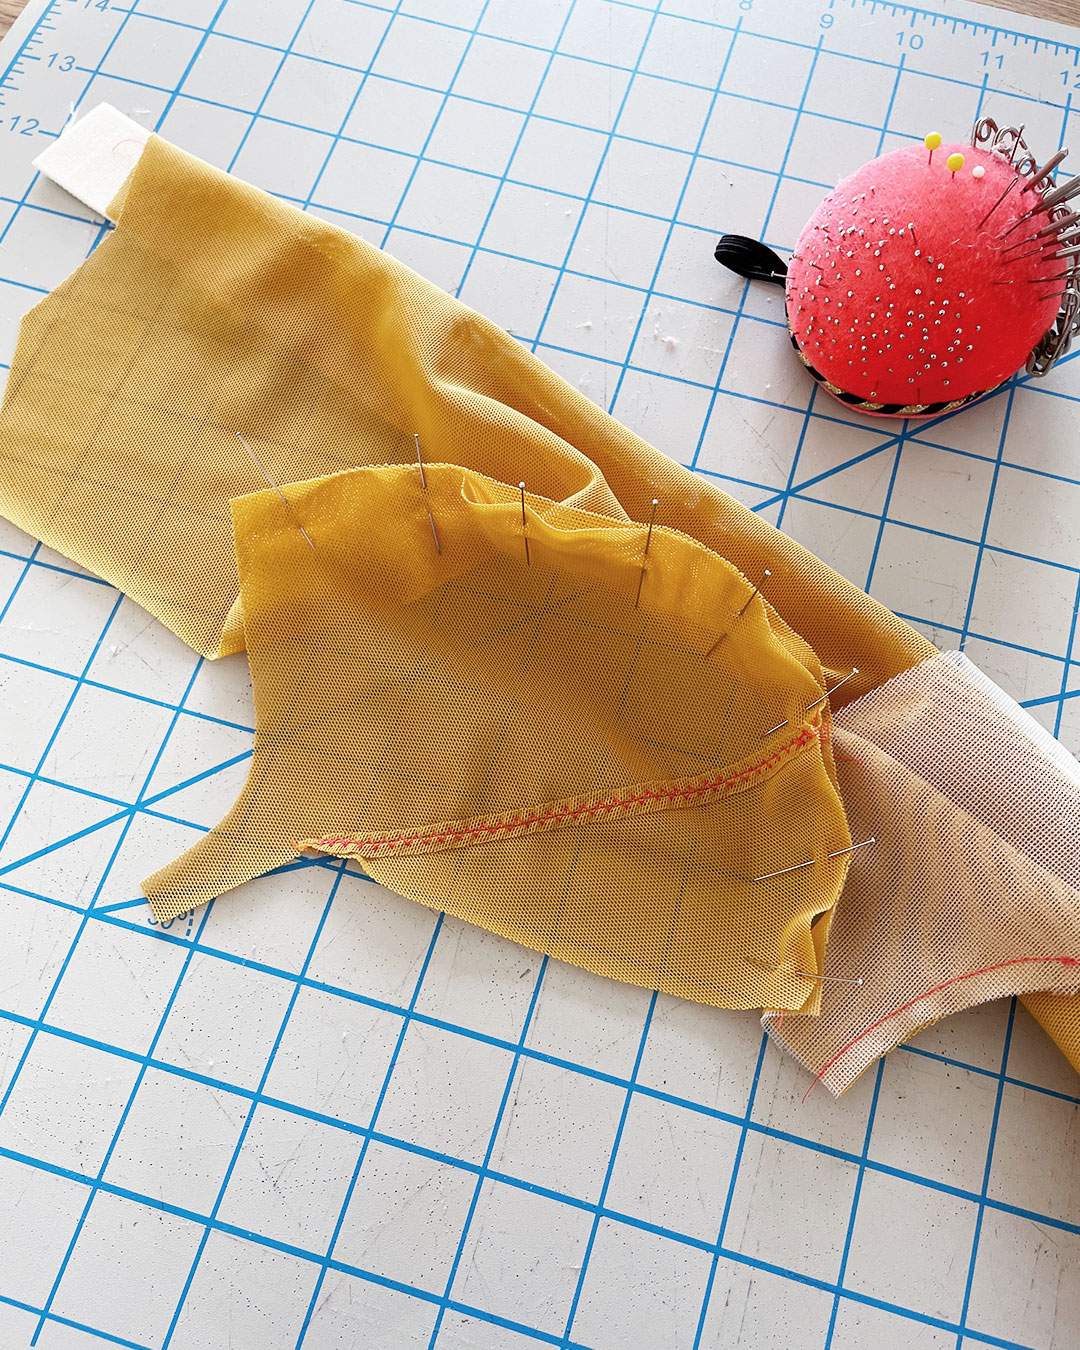
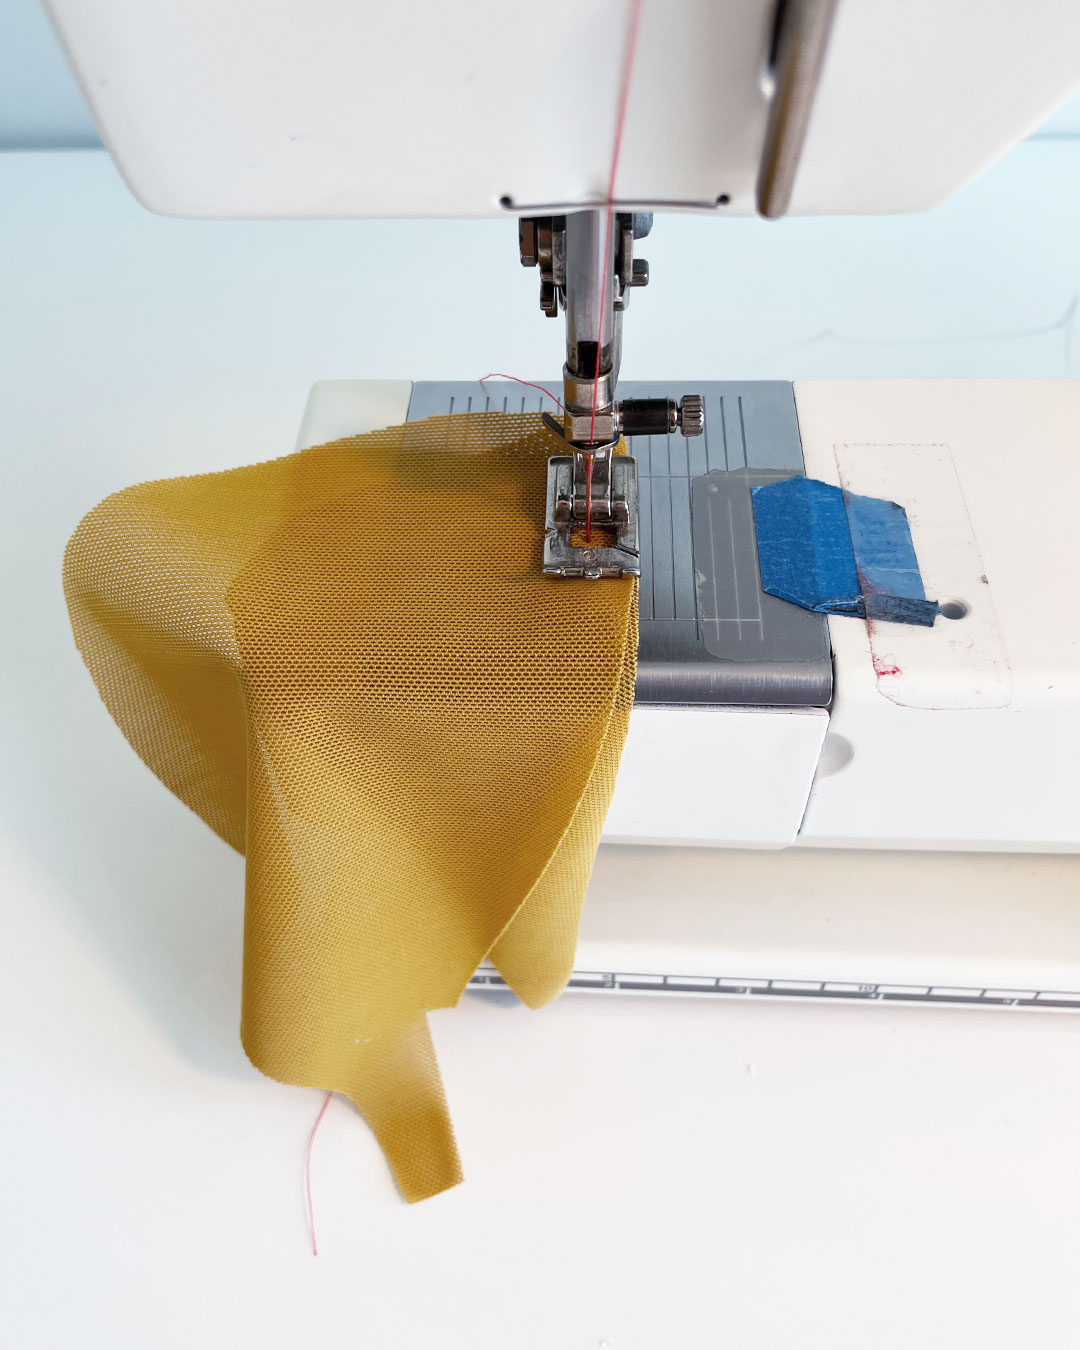
This was the step I found most challenging in the sewing process! I had never sewn power net on such a dramatic curve before, and it took a little time to ease and pin the pieces together.
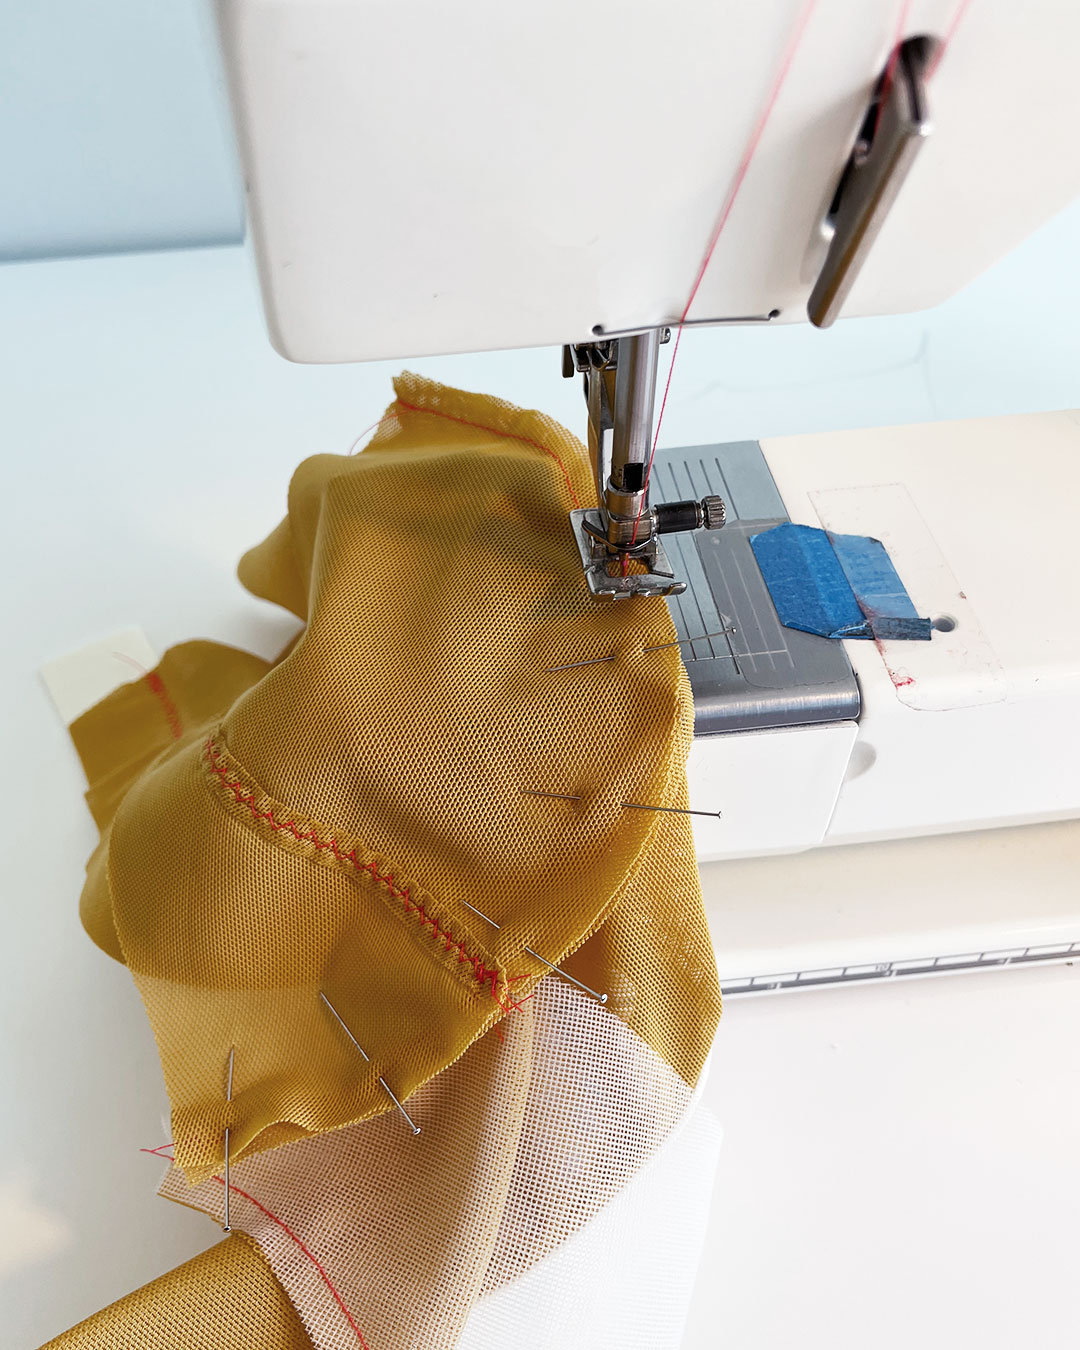
With some patience and one or two re-dos (shh), I managed to do it! Repeat on the other side:

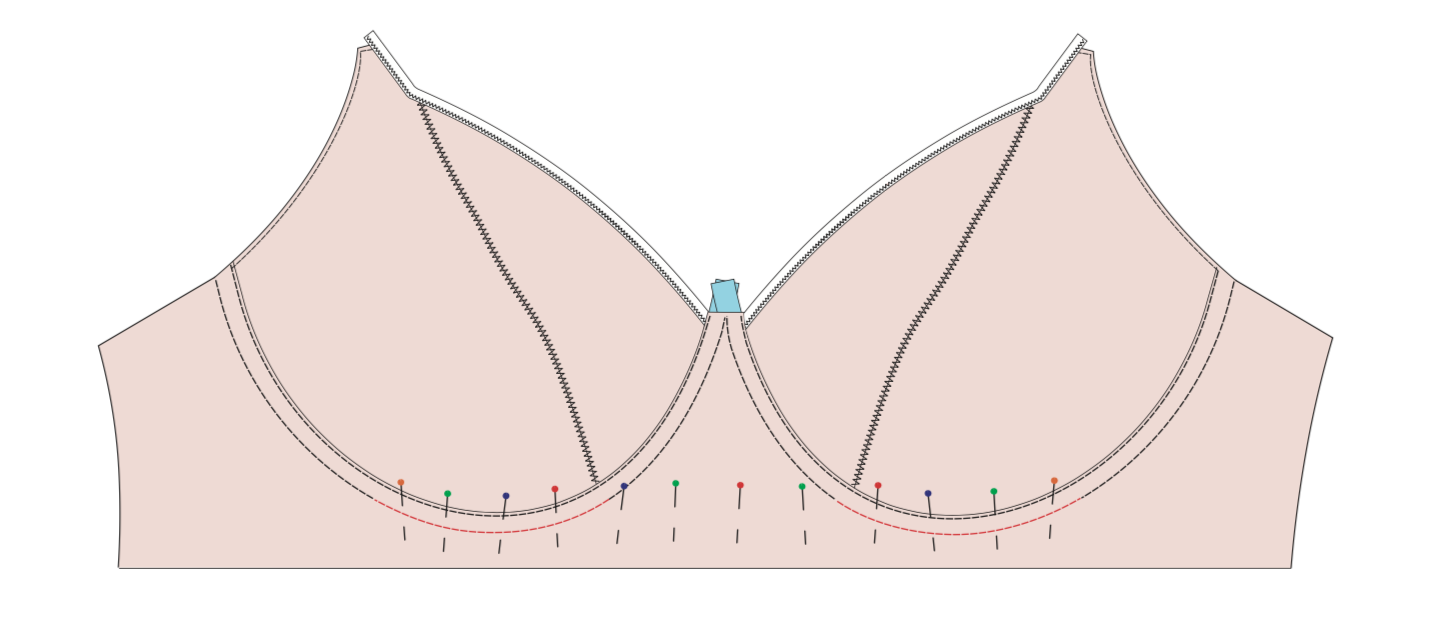
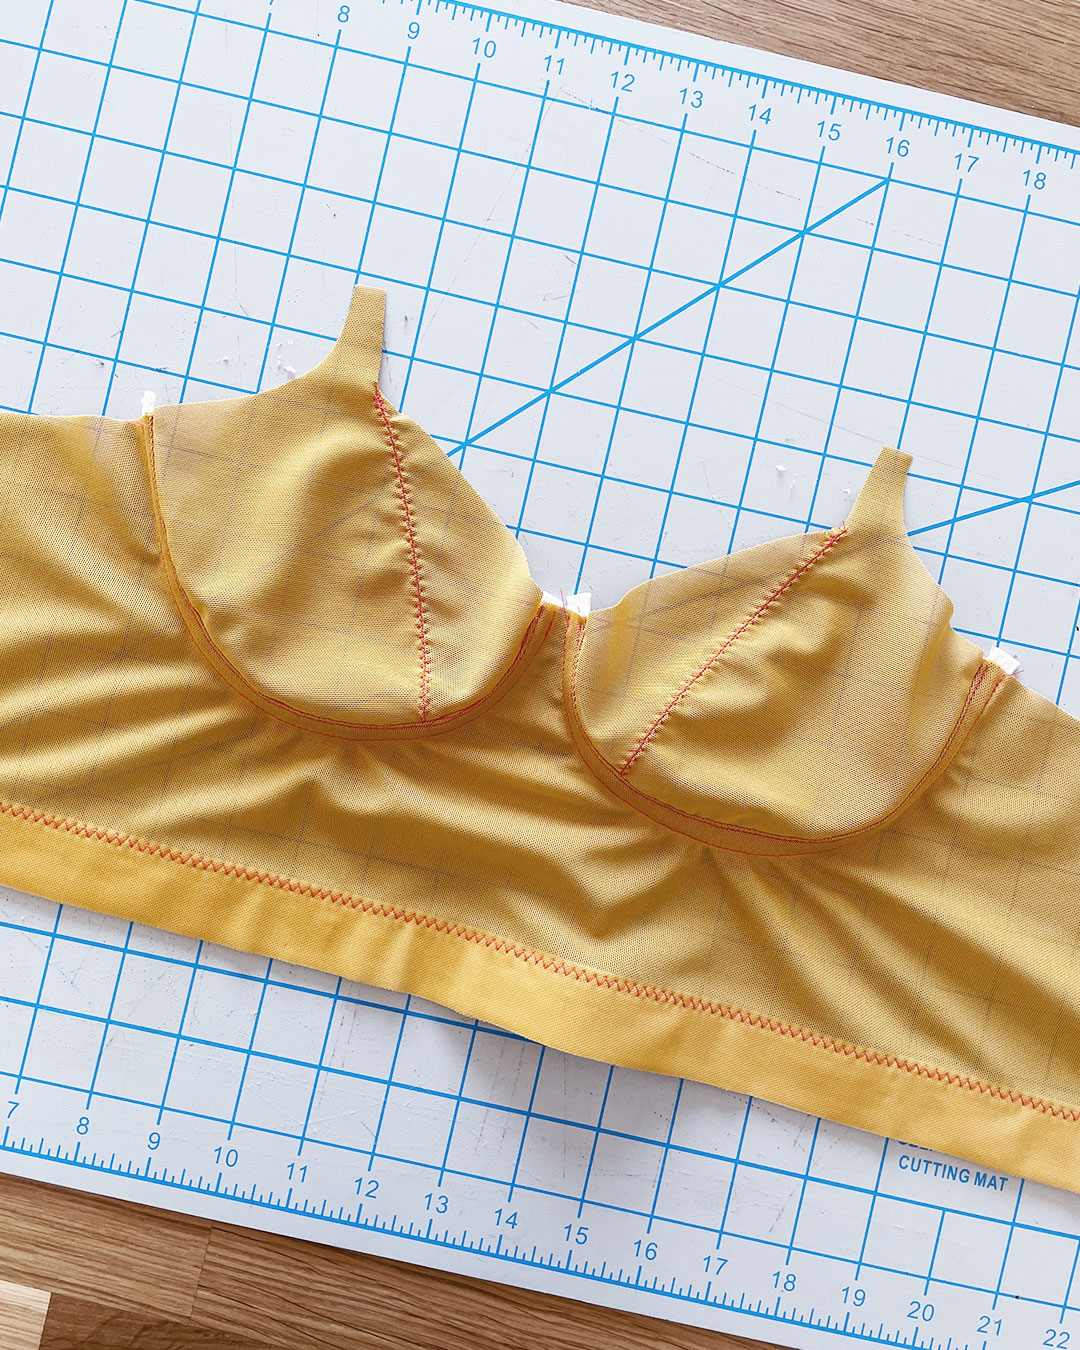
Attaching the Channeling
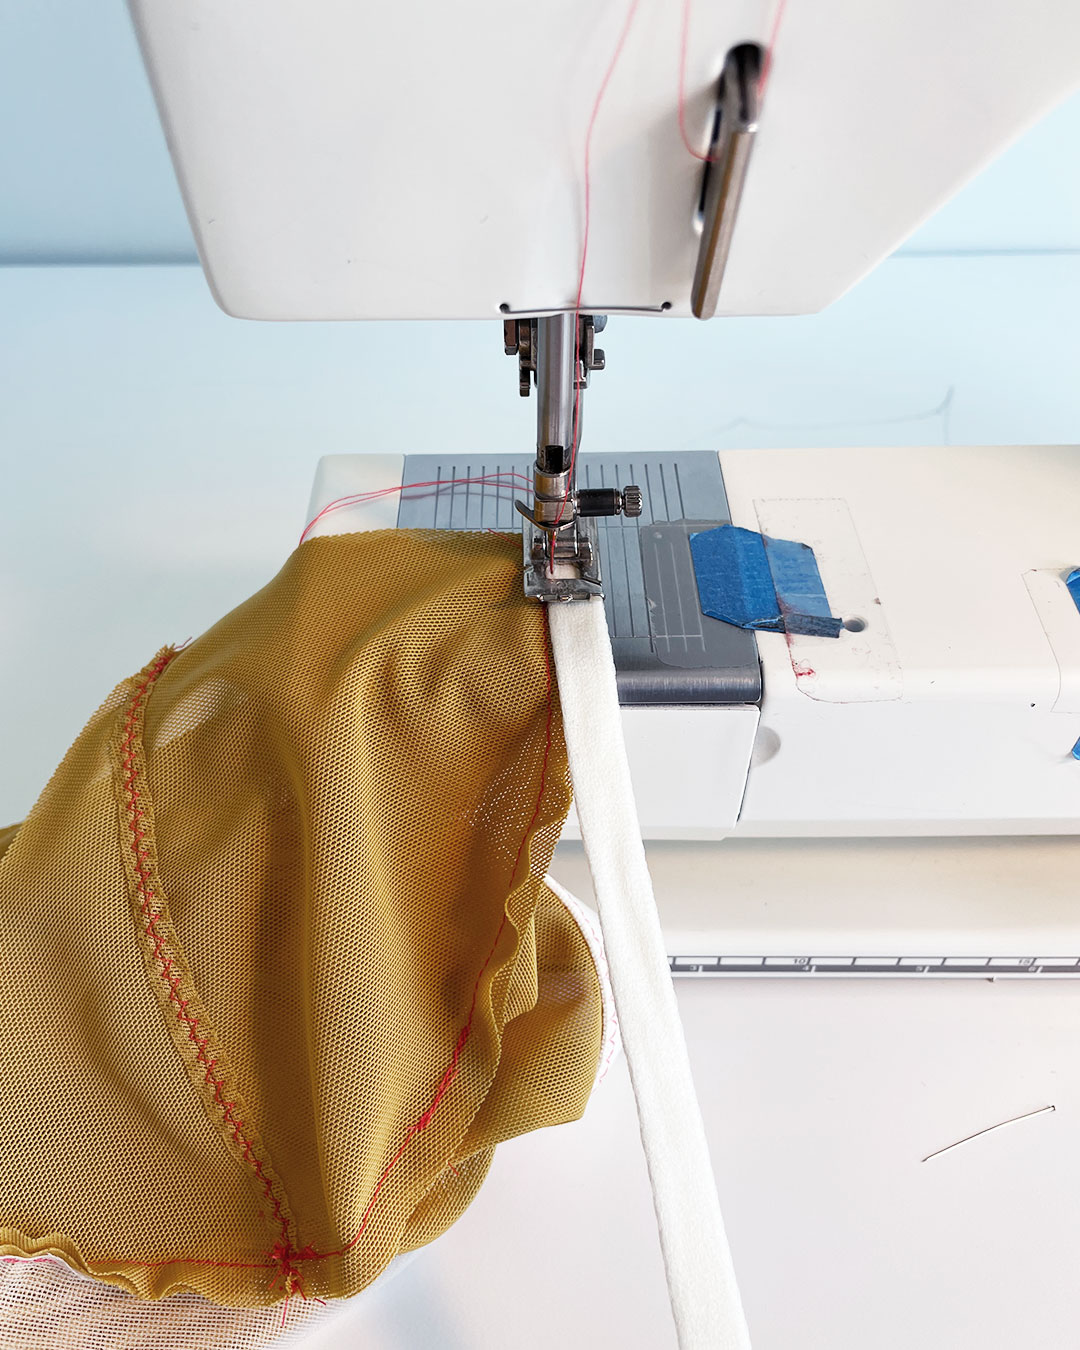
The channeling is applied to the seam allowance along the wire line, on the inside of the bra. To apply the channeling, I laid the channeling against the seam allowance with the plush side facing up, and stitched as close as I could to the inside edge of the channeling.
I sewed slowly and checked frequently to make sure that I was only sewing through the channeling and seam allowance layers, without catching other parts of the bra underneath.
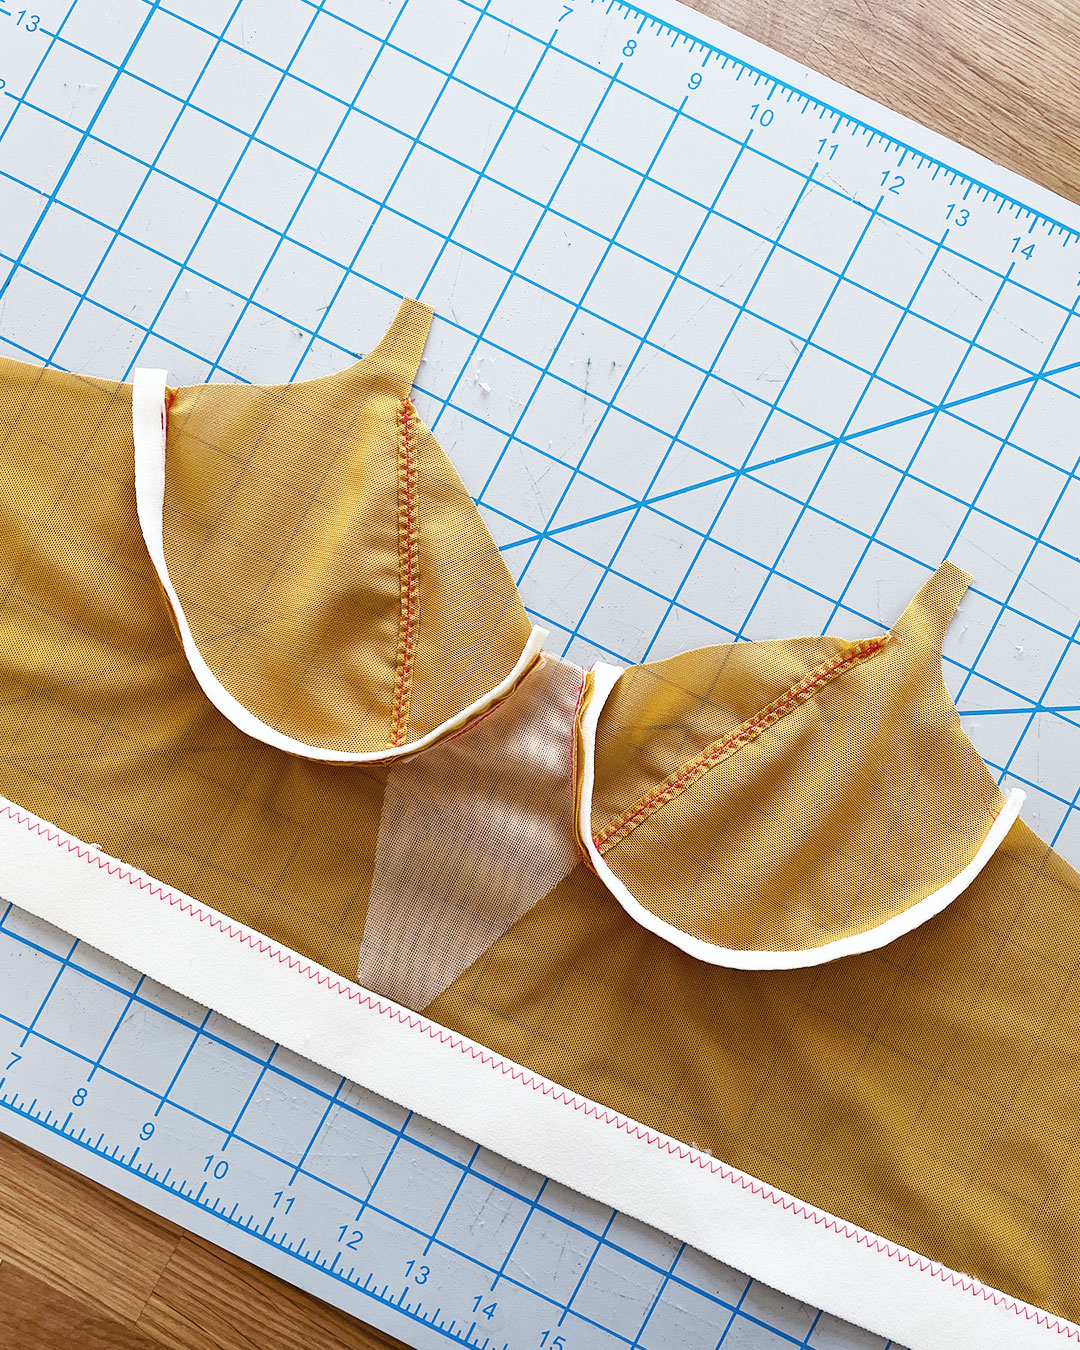
Applied channeling along both wire lines, and voila!

Top Stitching the Wire Line
To top-stitch the channeling to the frame of the bra, you stitch in two passes. The first pass is close to the seam along the wireline, about 1/16″ away from the seam. The second pass is about 1/4″ away from the first pass of stitching.

In our next post, we’ll finish sewing the rest of the bra!