Sew Comfy Bra Sew-Along – Part 4: Sewing Part 2
Hello and welcome back for Part 4 of this Sew Comfy Bra Sew-Along with Joy Mao!
In our last post, we attached our band elastic, assembled and inserted our bra cups, and attached our channeling. Today, we’ll finish sewing our Sew Comfy Bra!
Encasing the Band Elastic
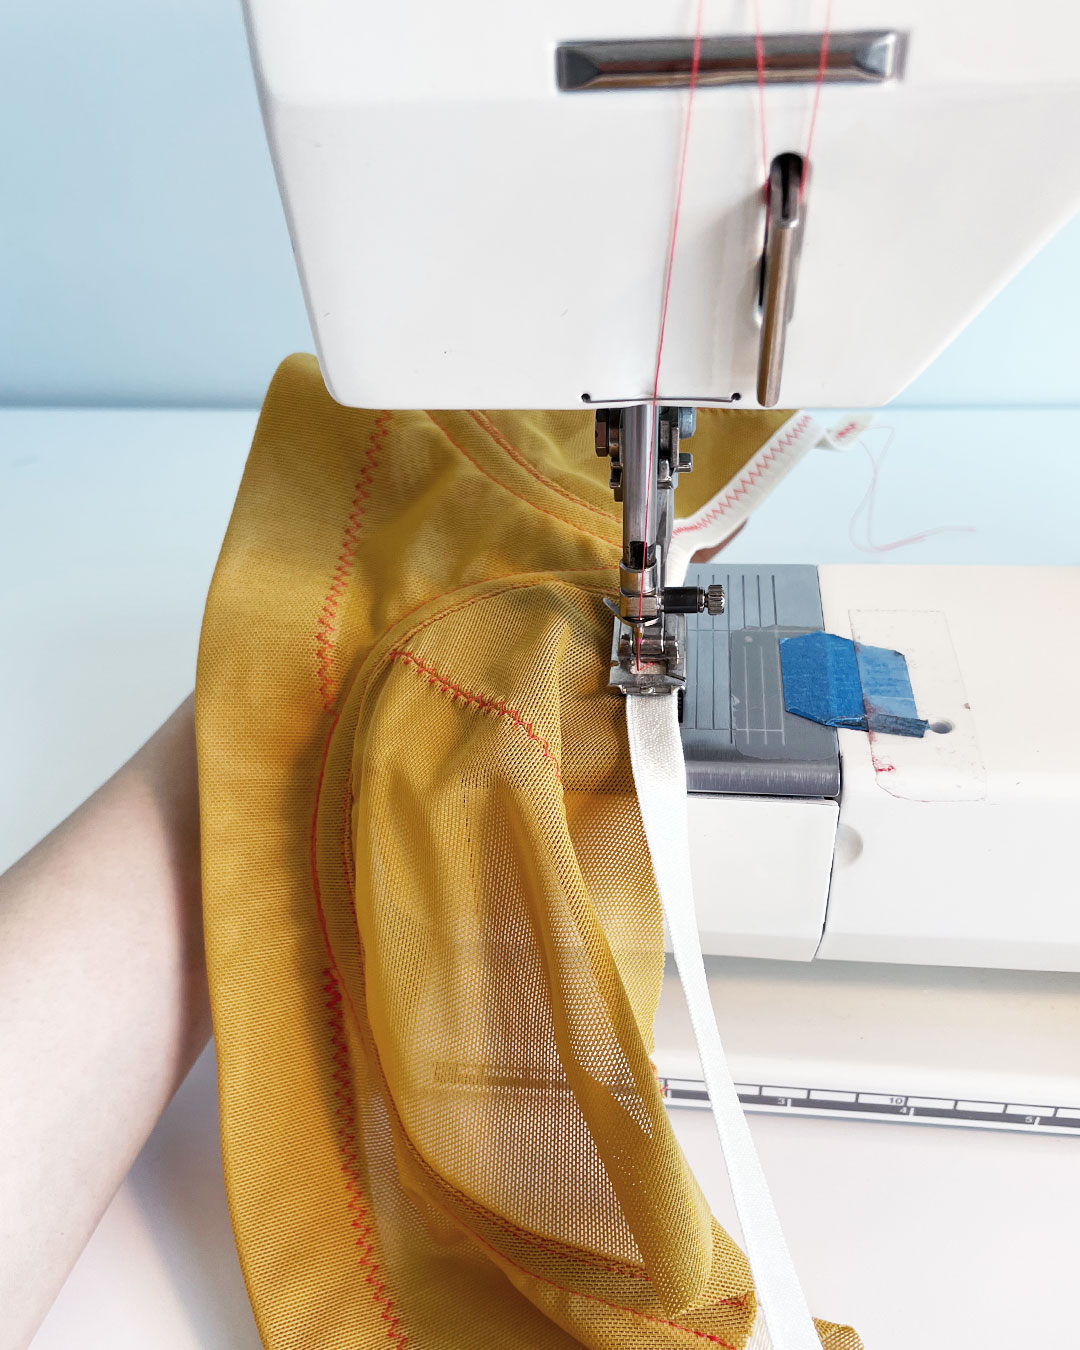
The first thing we’ll today is fold, pin, and stitch our band elastic into the main body fabric.


Following the pattern’s instructions, I folded the wide plush elastic twice, holding it taut with each fold, and pinned it in place for sewing.
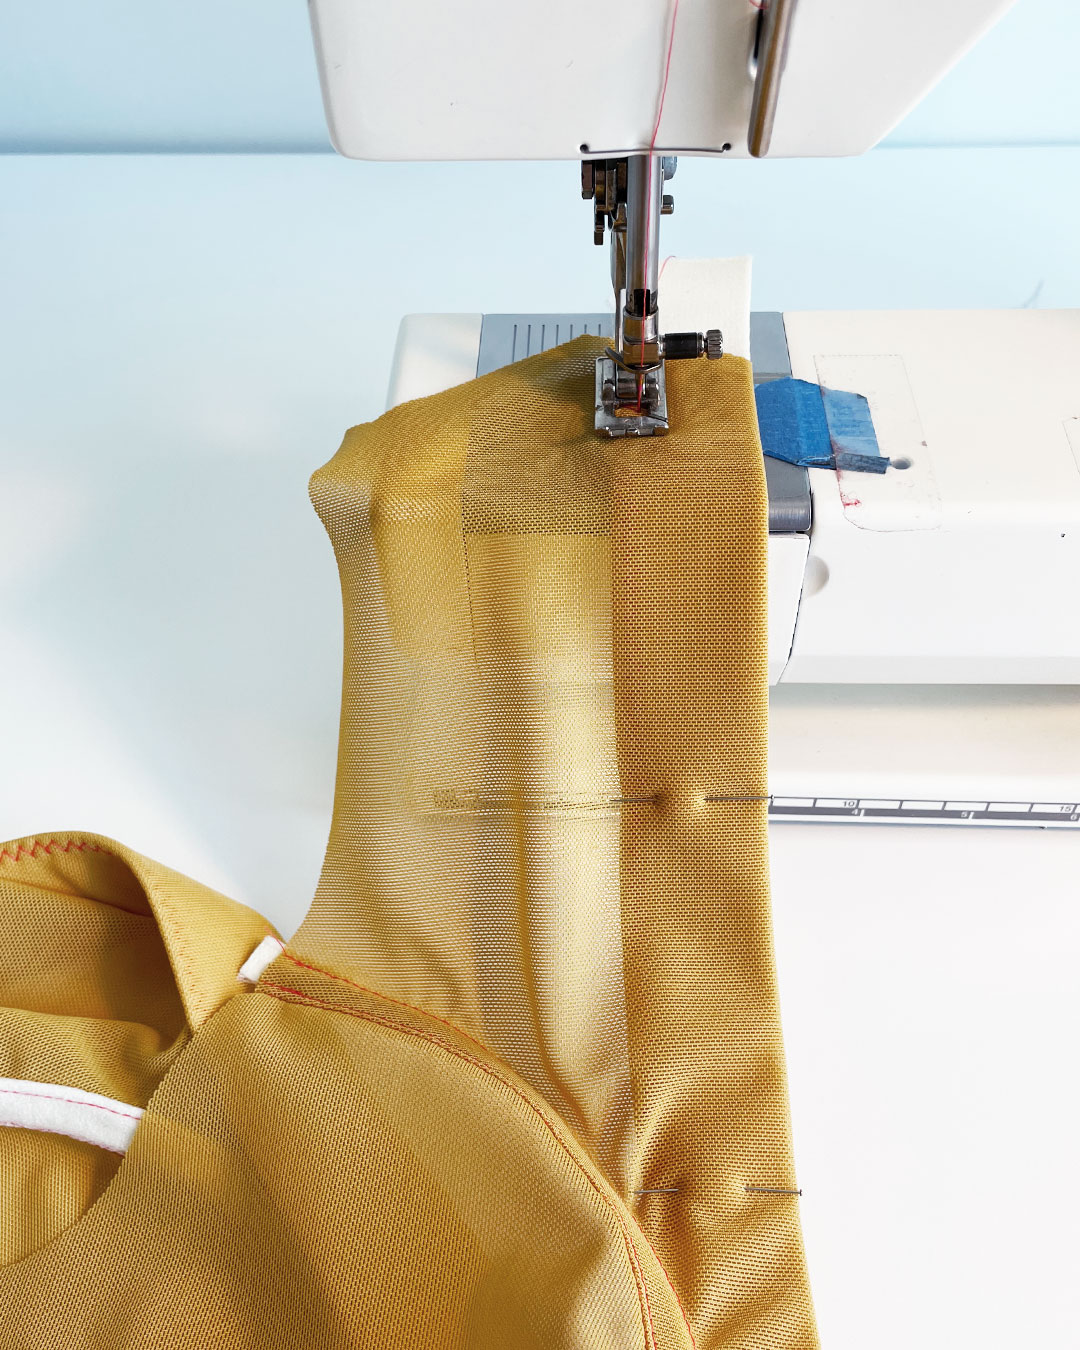
I used a zig zag stitch to sew along the top edge of the wide plush elastic, stitching all the layers together.
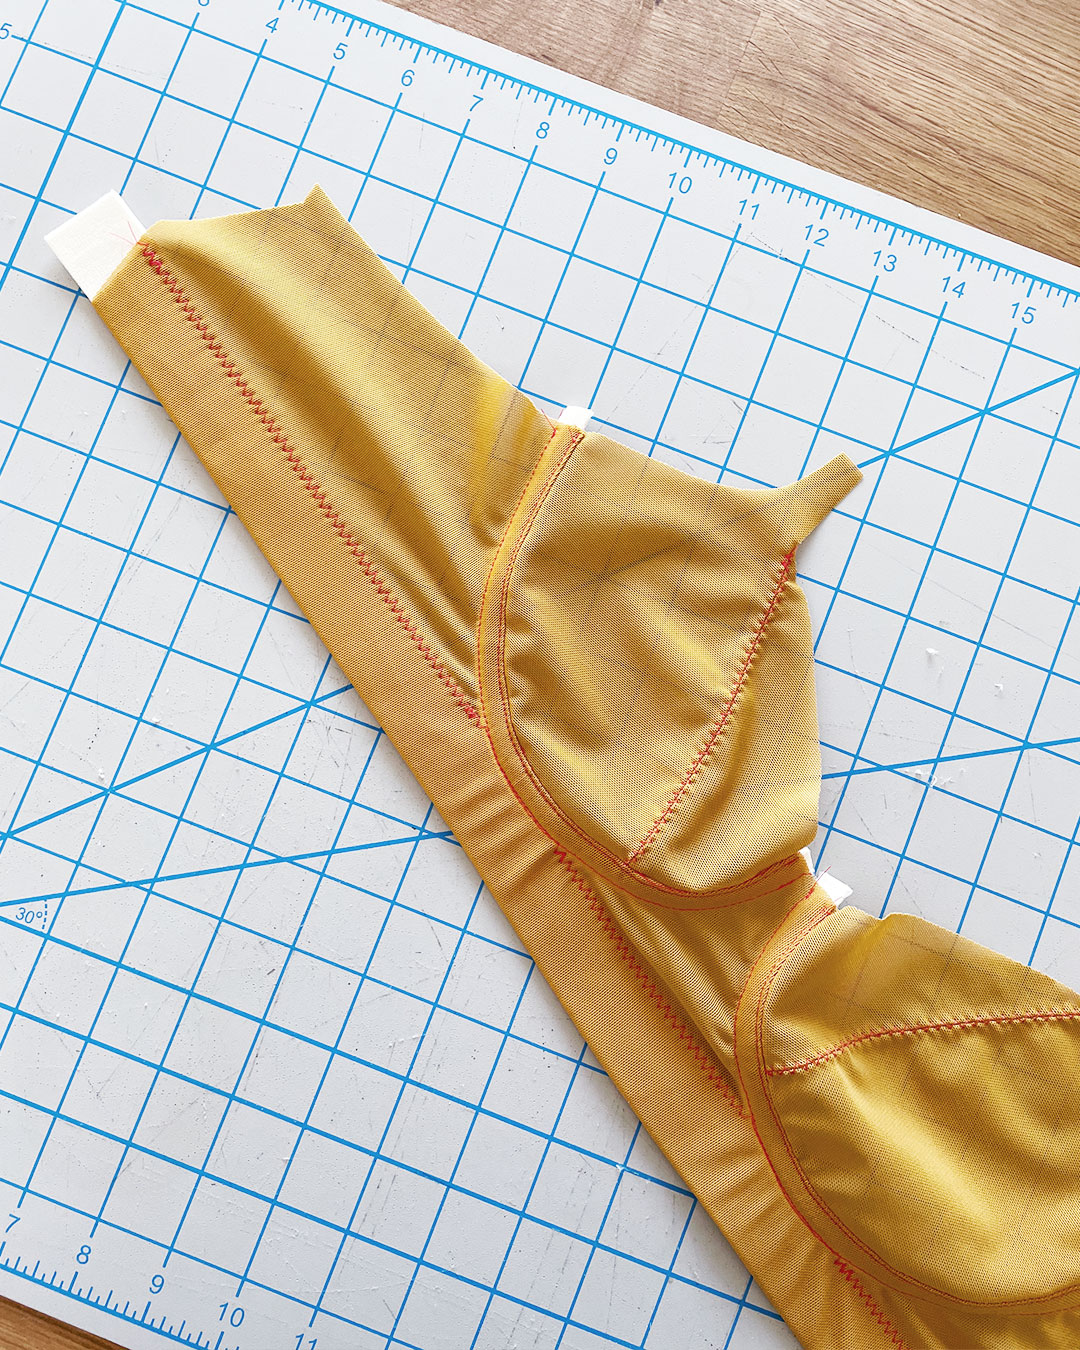
When I got to the curved areas of the wire line, I switched my machine to a straight stitch, and stitched over the existing line of stitching under the wire line.
Note: The pattern instructions do not have you stitching over the band elastic at the CF area. I chose to do so for stylistic reasons.

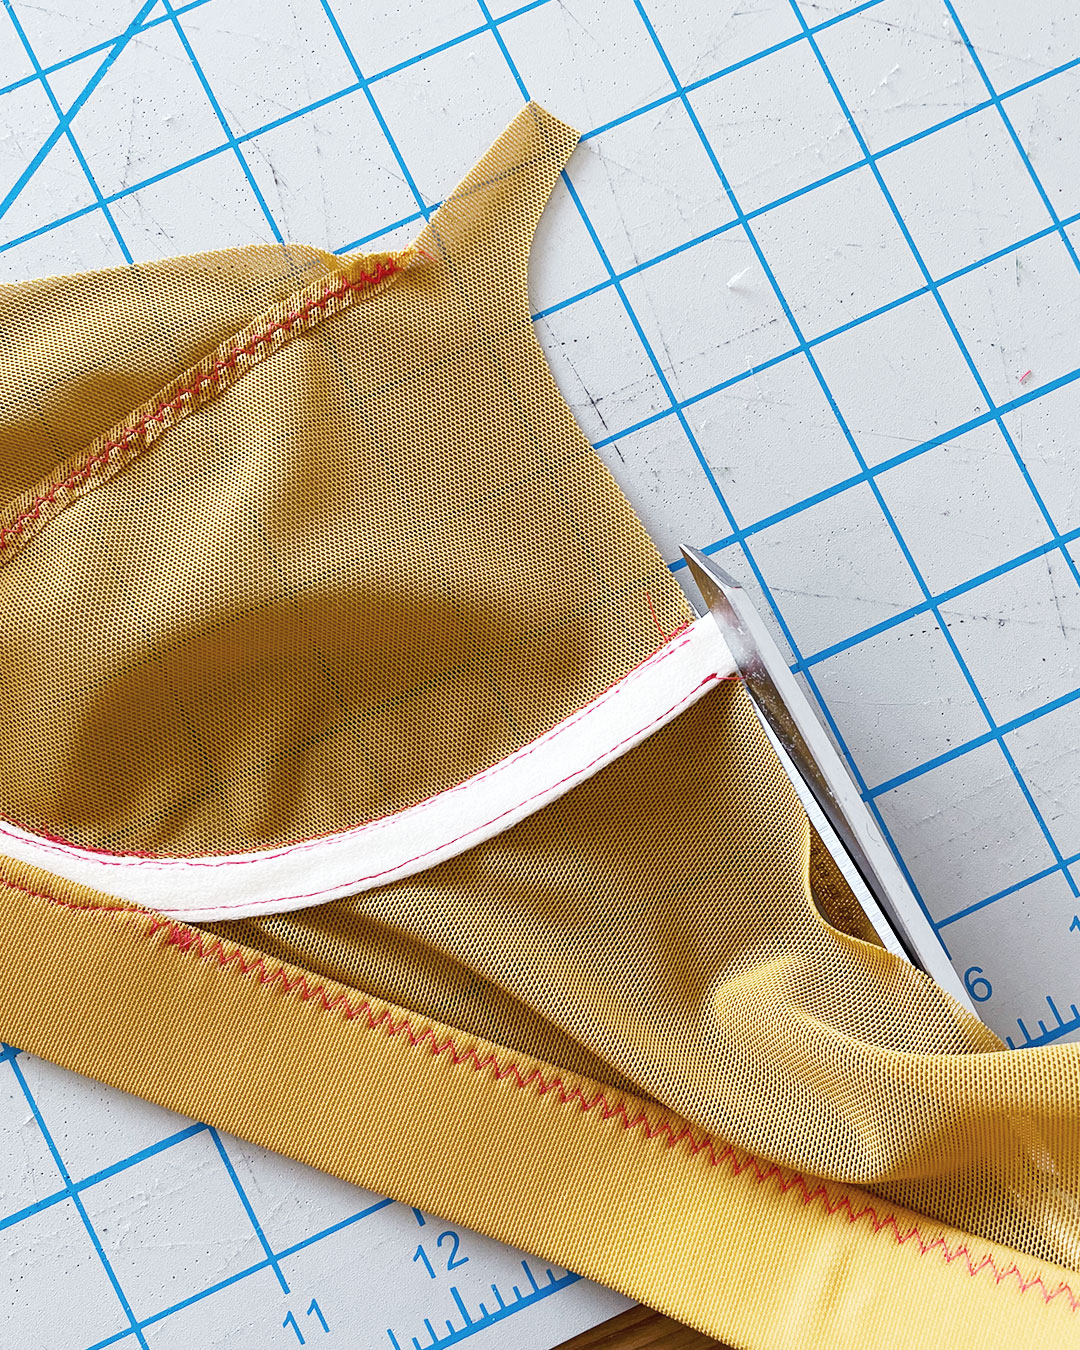
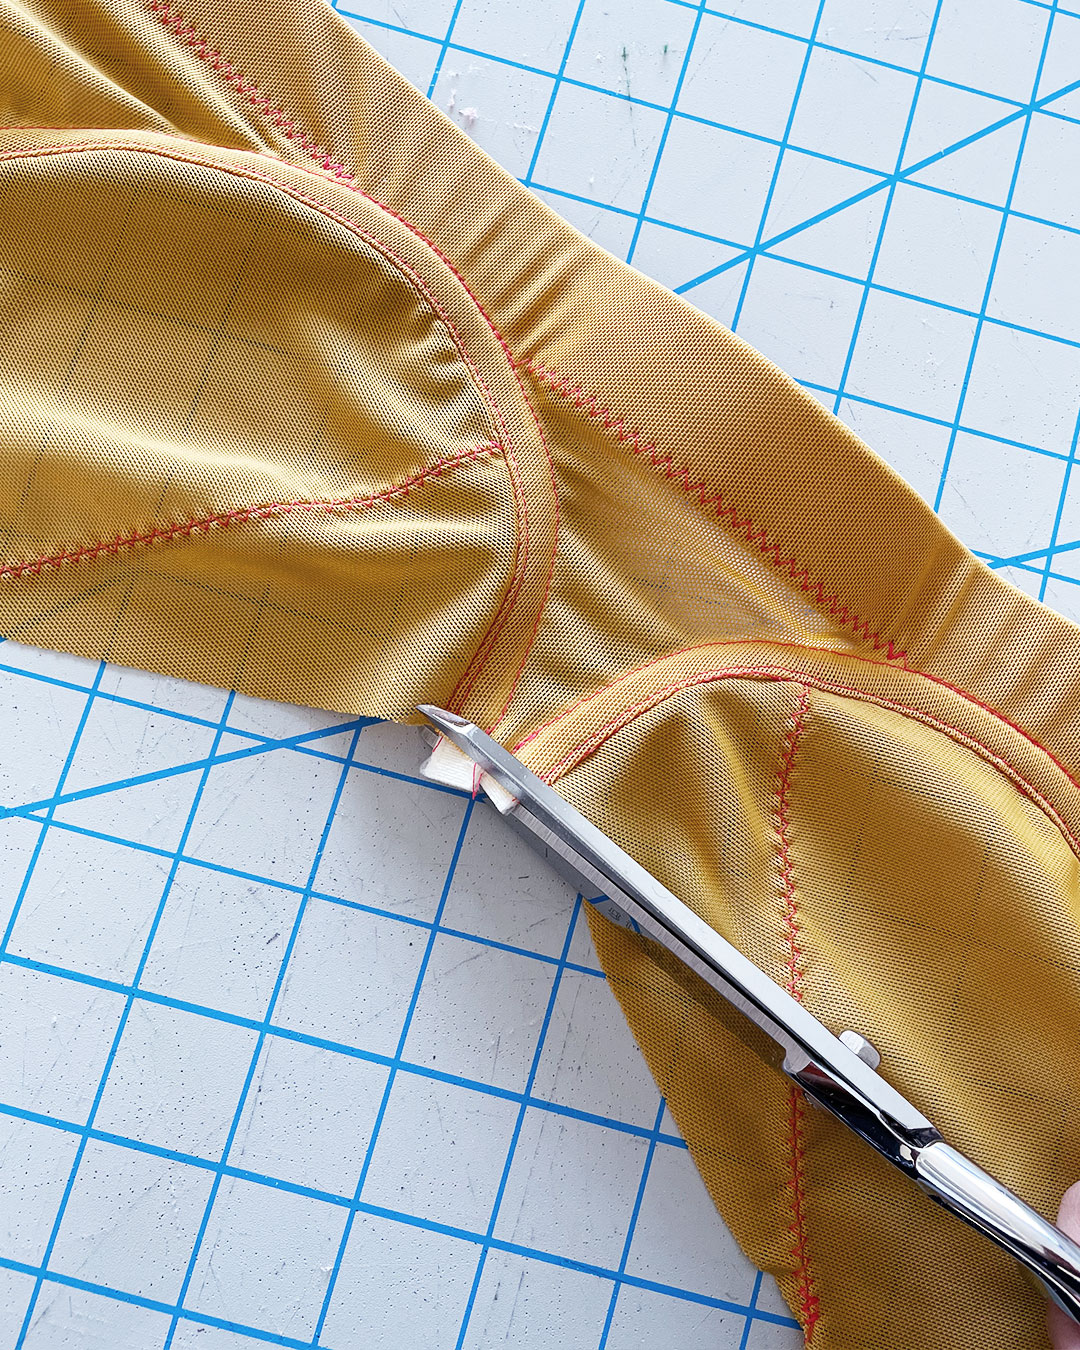
Trimming the Excess
To prepare for attaching the fold over elastics and hardware later on, I trimmed away the excess wide plush elastic and channeling to reveal smooth edges.

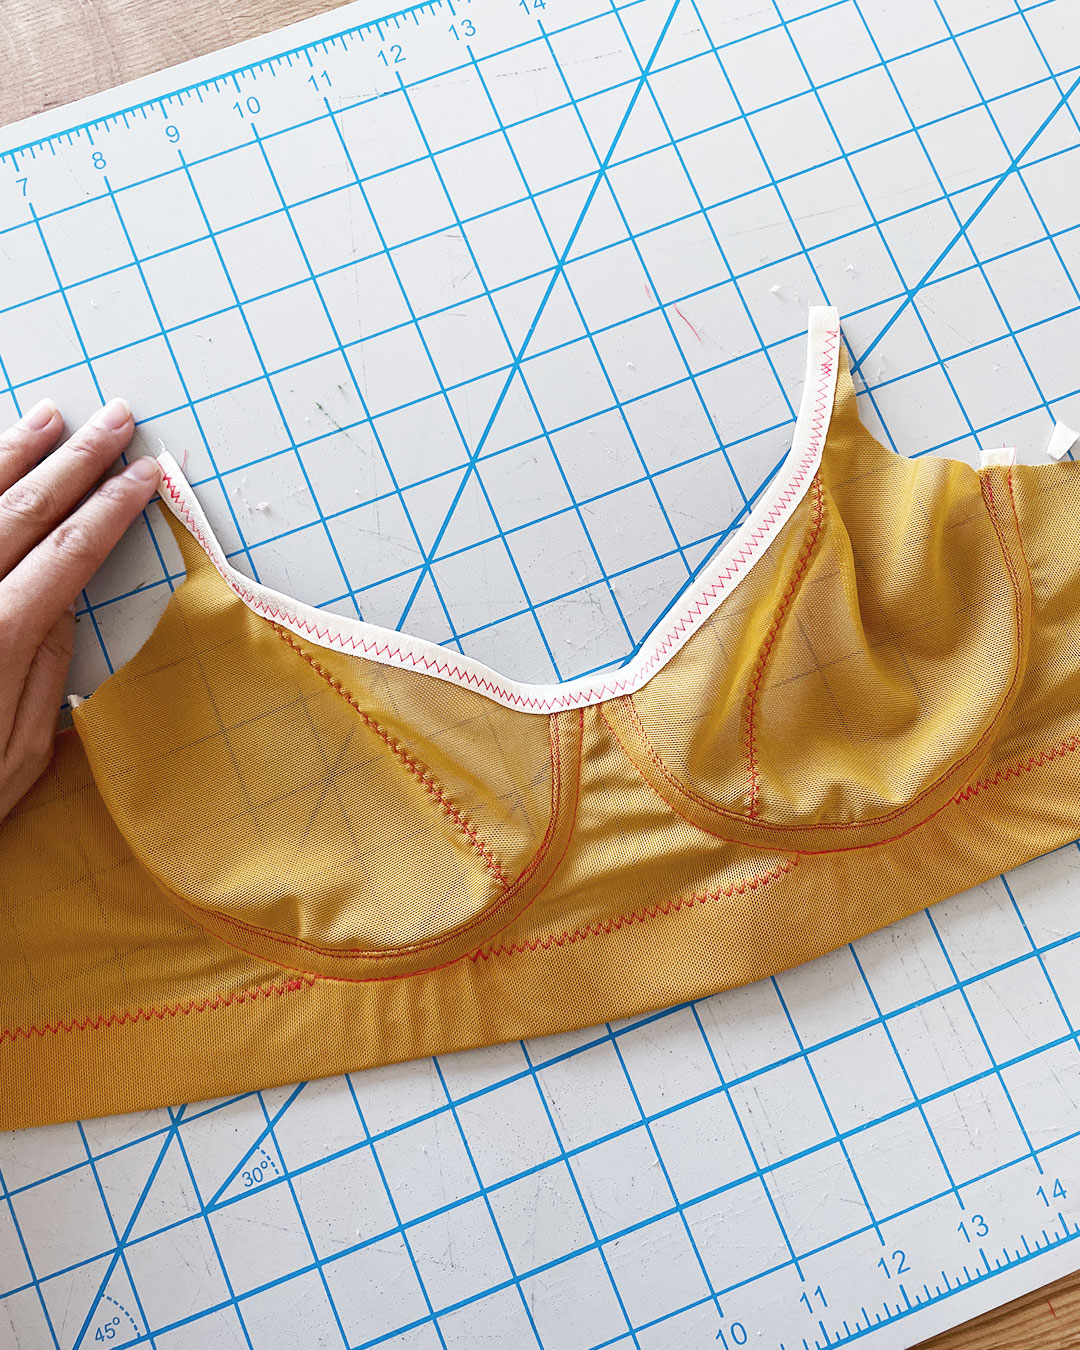
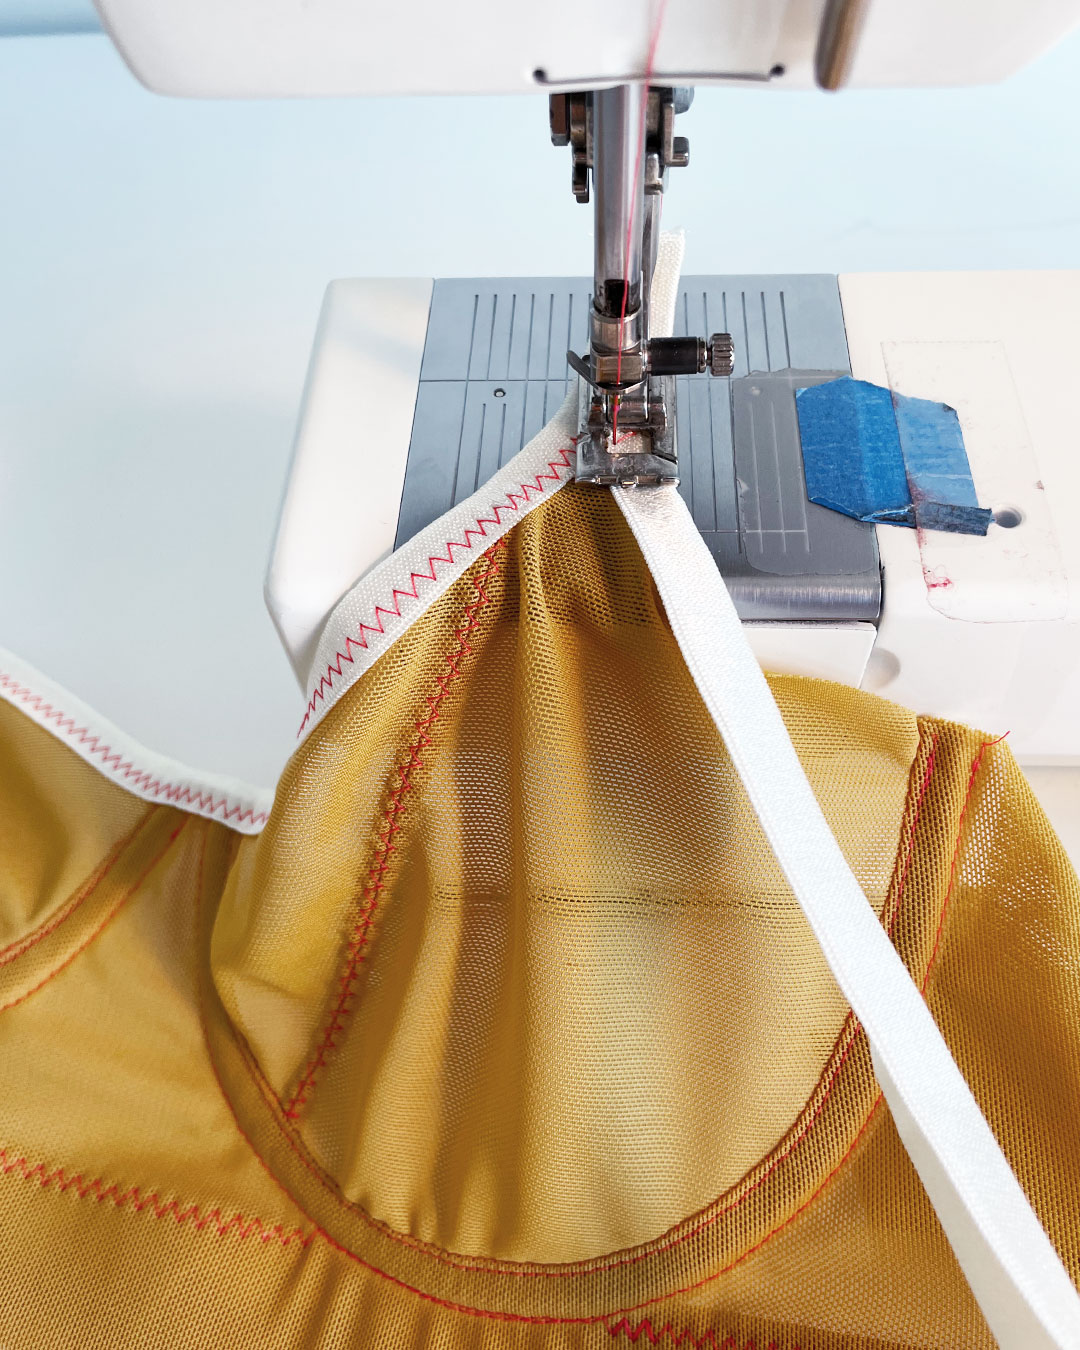
Applying Fold Over Elastic to Neckline
Although the pattern’s instructions have you applying the FOE to the neckline before inserting the cups, I had made a stylistic choice to sew FOE along the neckline in one continuous pass.
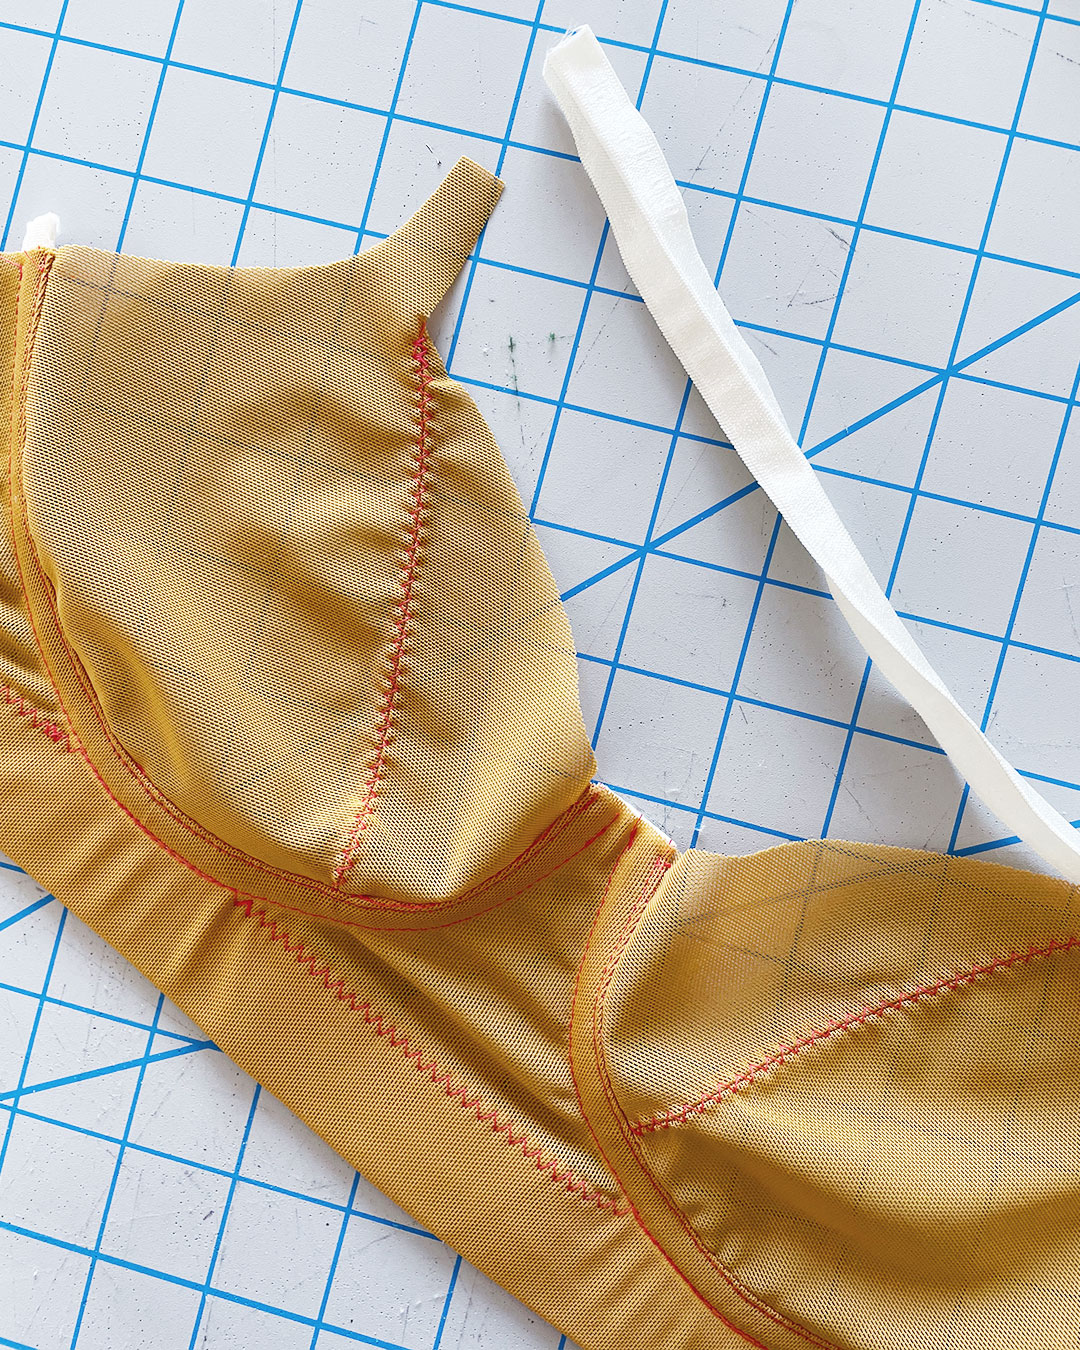
I applied the FOE from one end of the neckline all the way to the other end.
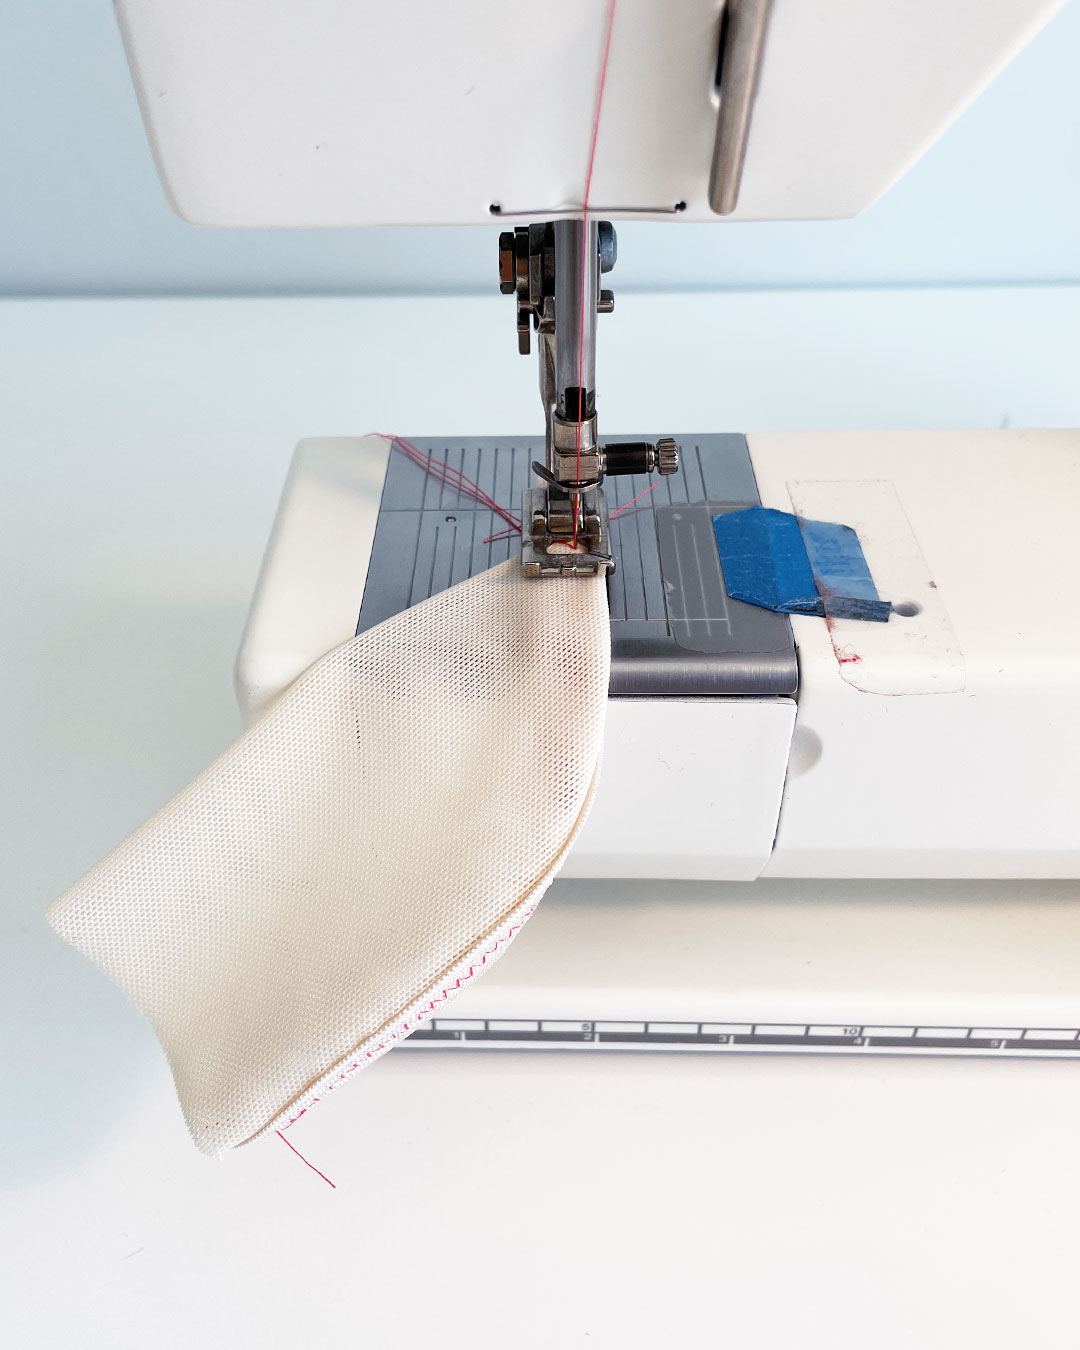
Alternative FOE Application
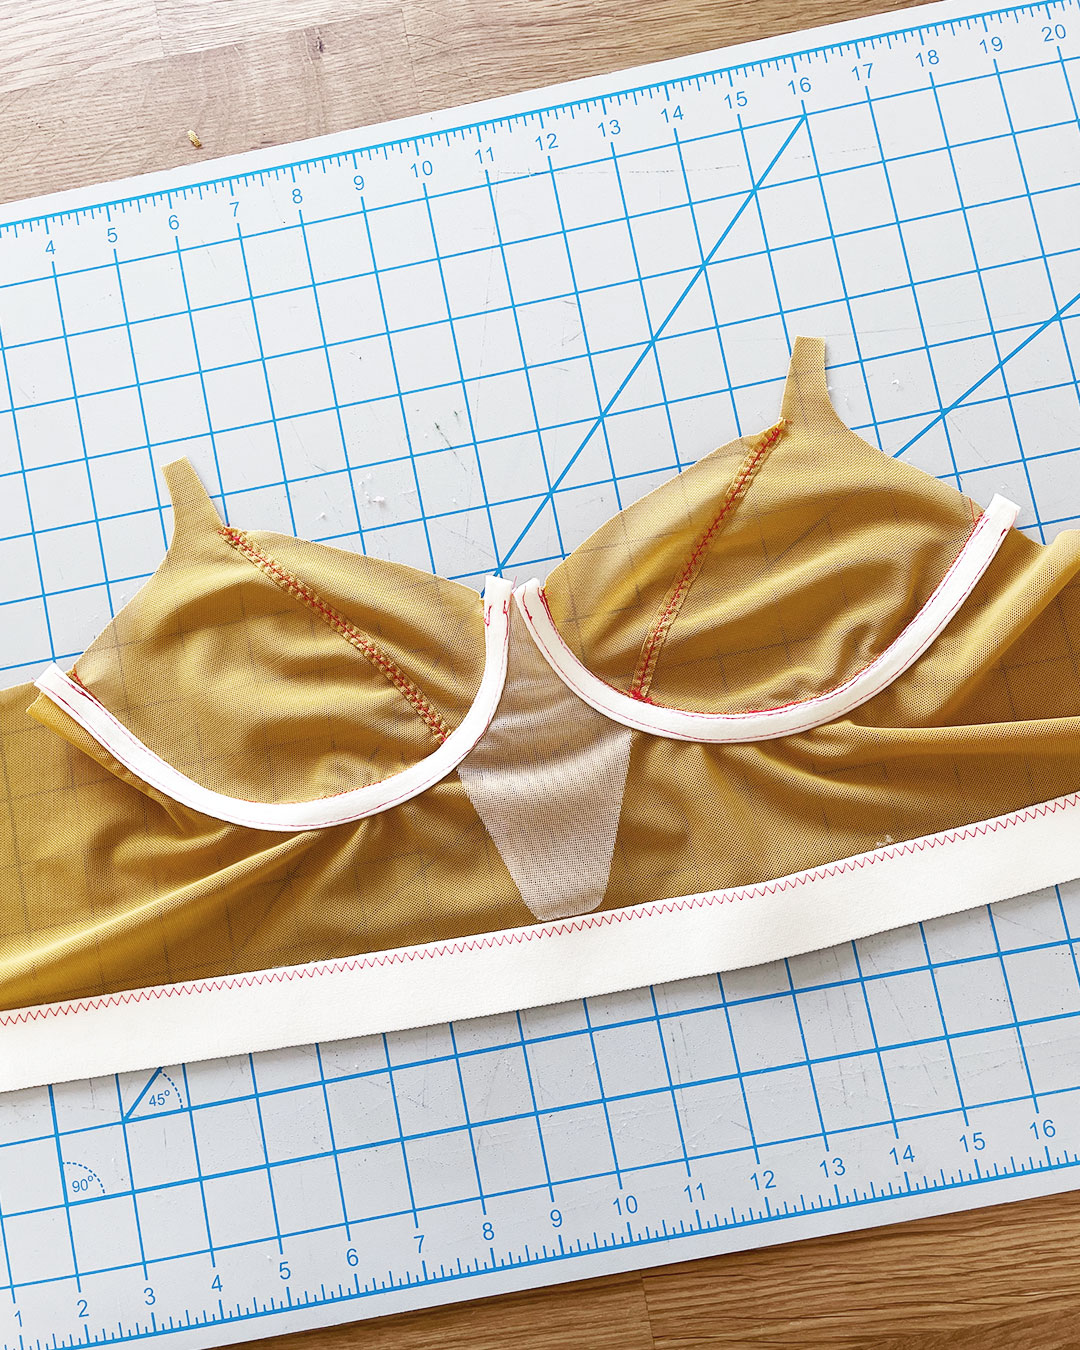
The pattern’s sewing instructions also present another option for finishing your neckline and armholes with FOE. I tested this method out on a swatch to share with you:

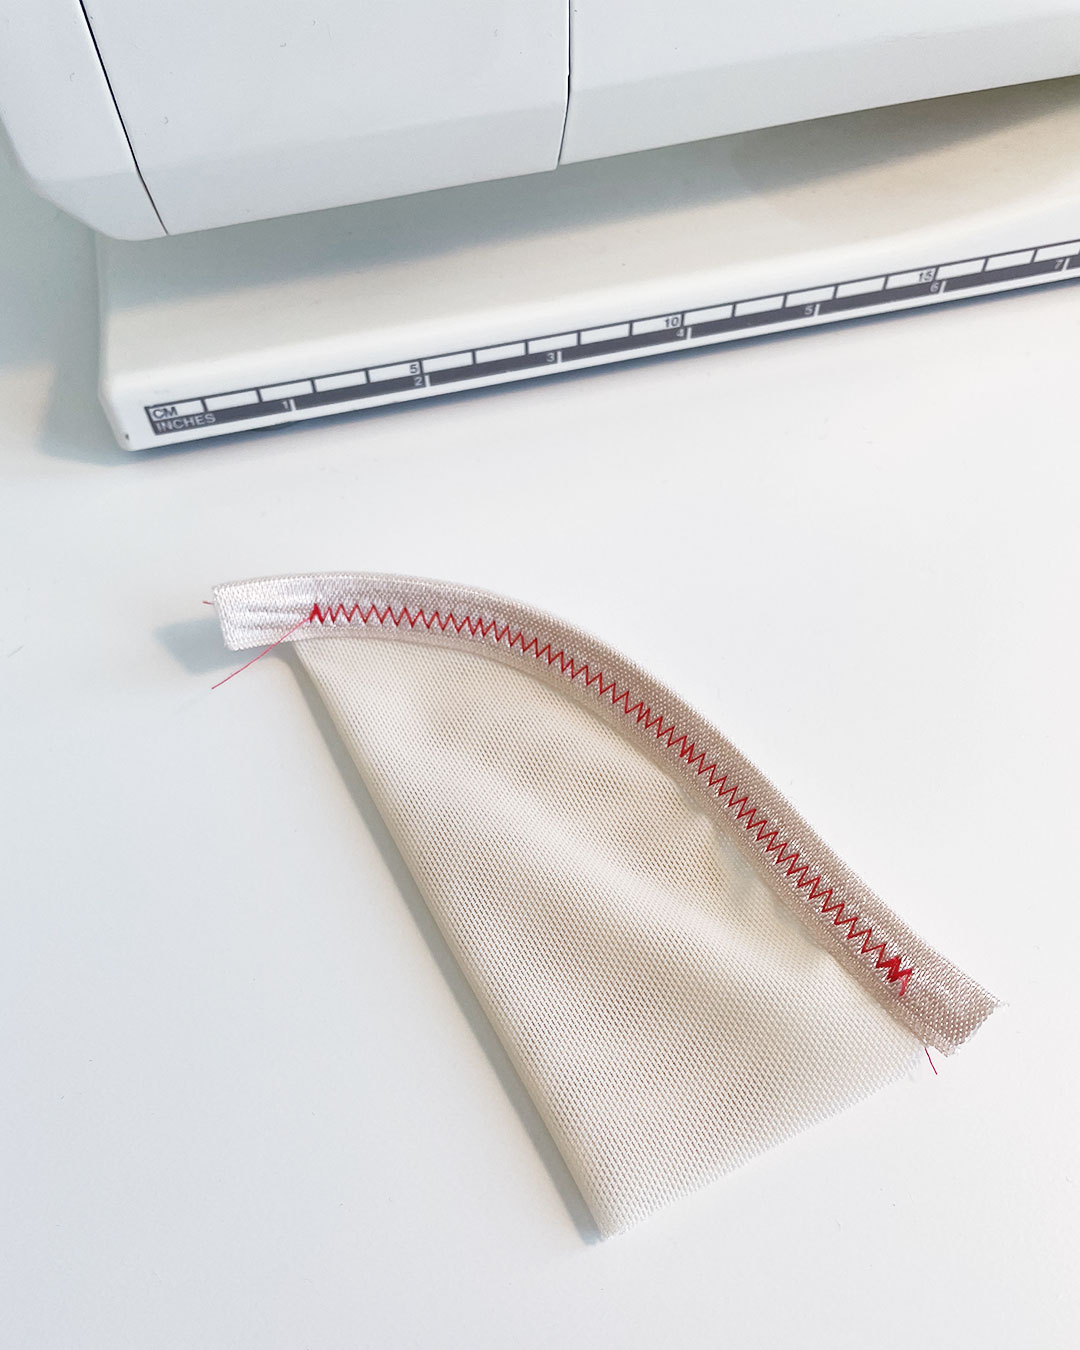
This method sews the FOE in two passes—first by attaching it the way I did, but then folding the attached FOE under the main fabric, and applying another row of zig zag stitches on top to hold it in place:
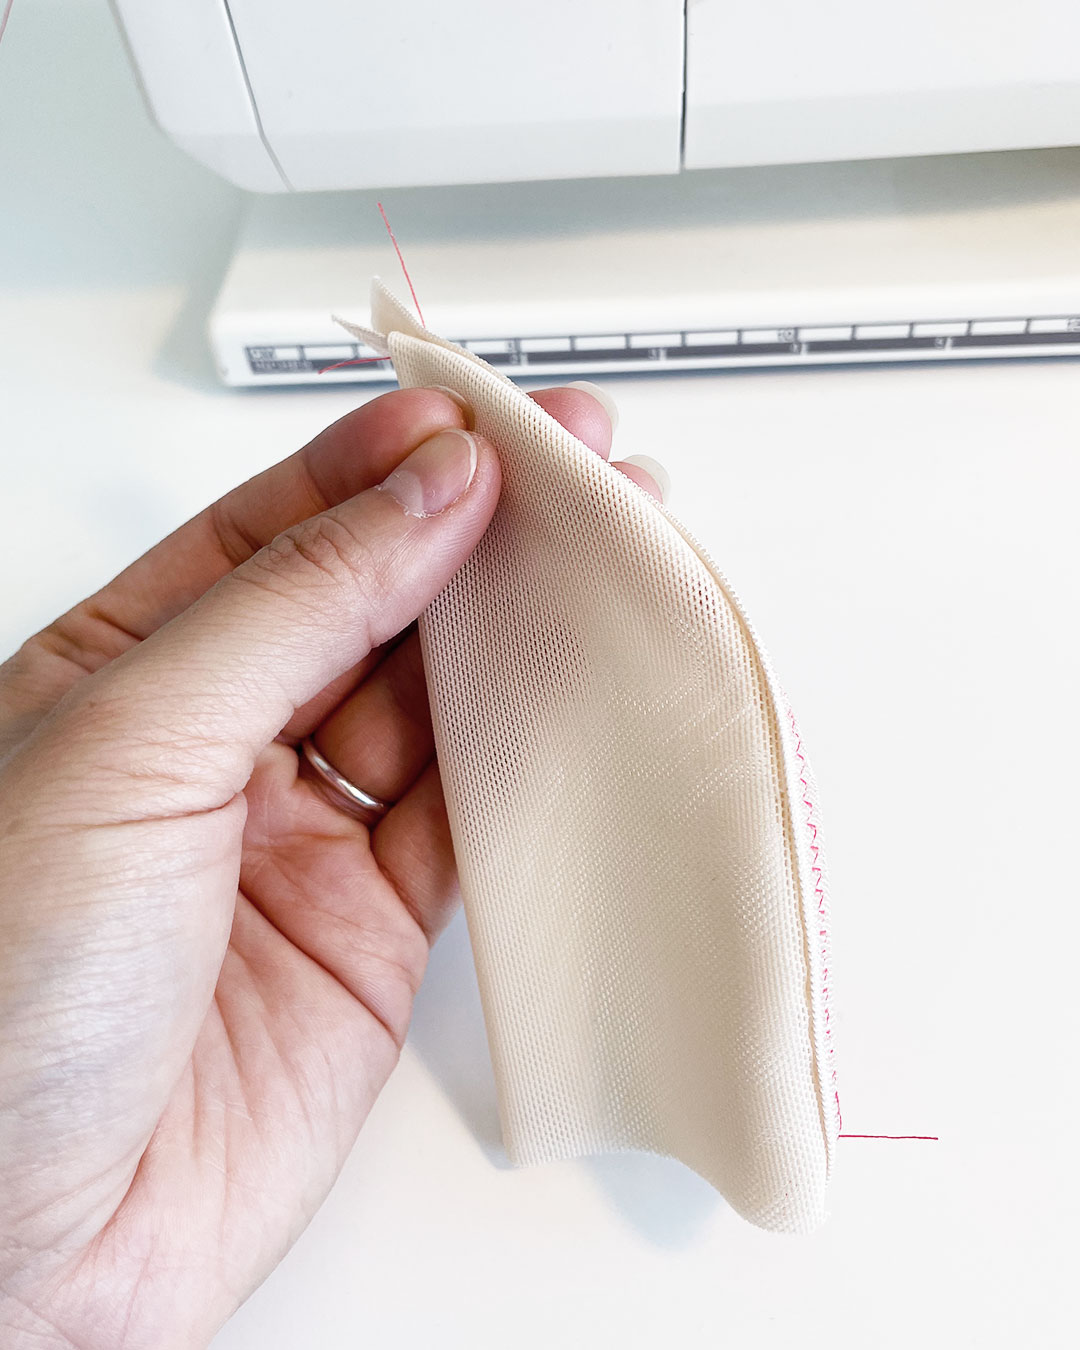
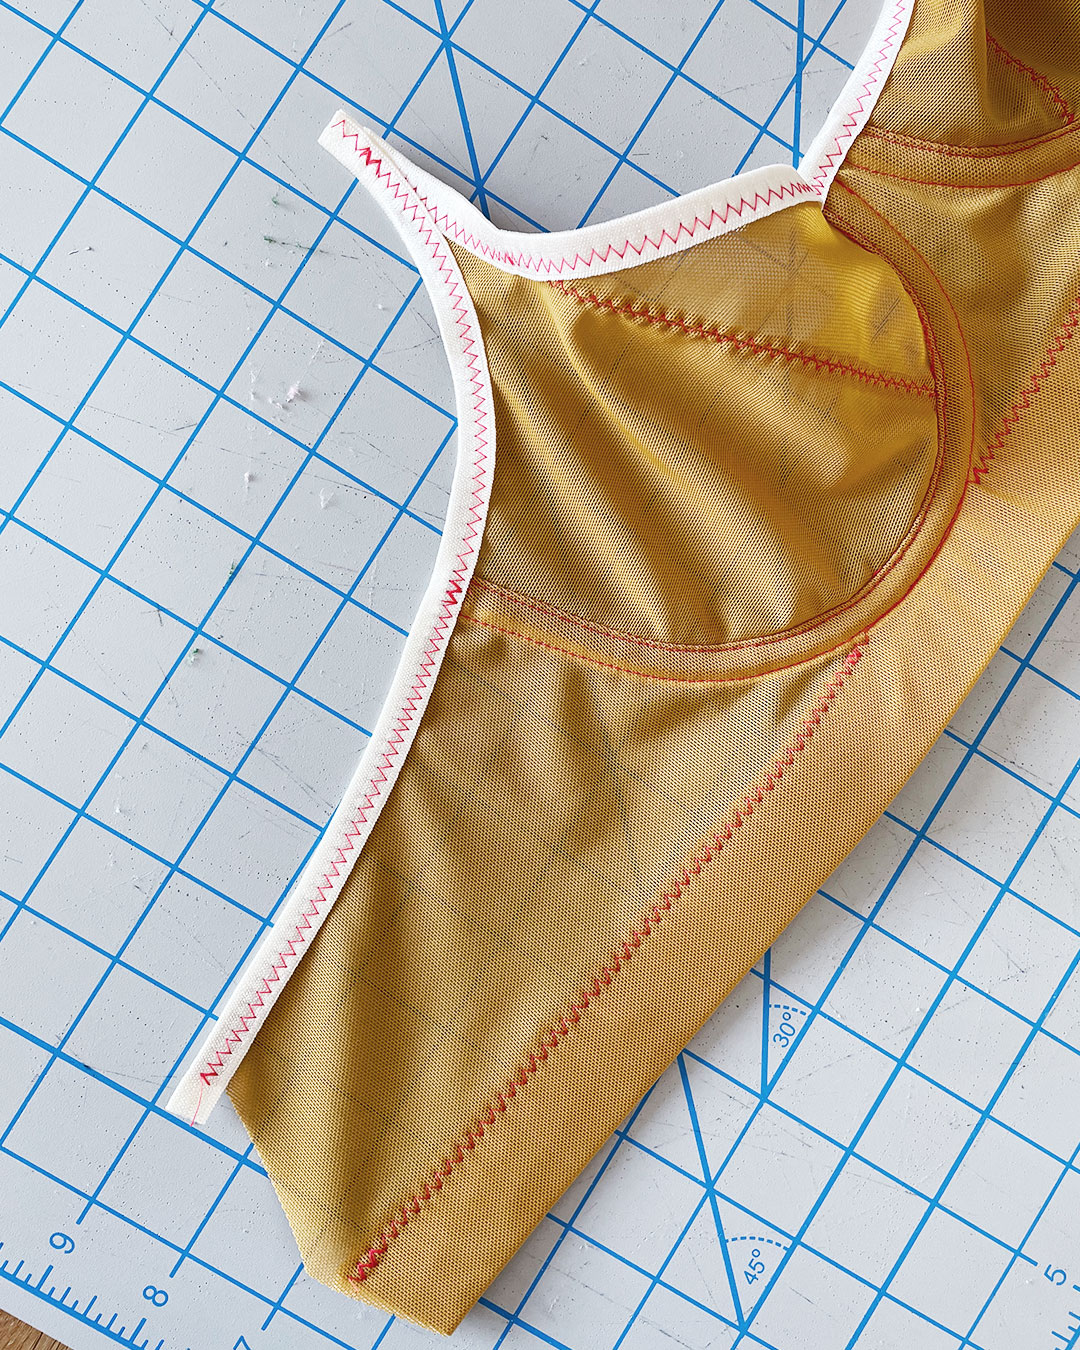
I think both ways are super cute, so it’s up to you which way you prefer to go!

Applying Fold Over Elastic to Armholes
Because my channeling was now sewn shut at center front, I needed to insert the underwires from the armhole side, and then apply FOE along the armholes.

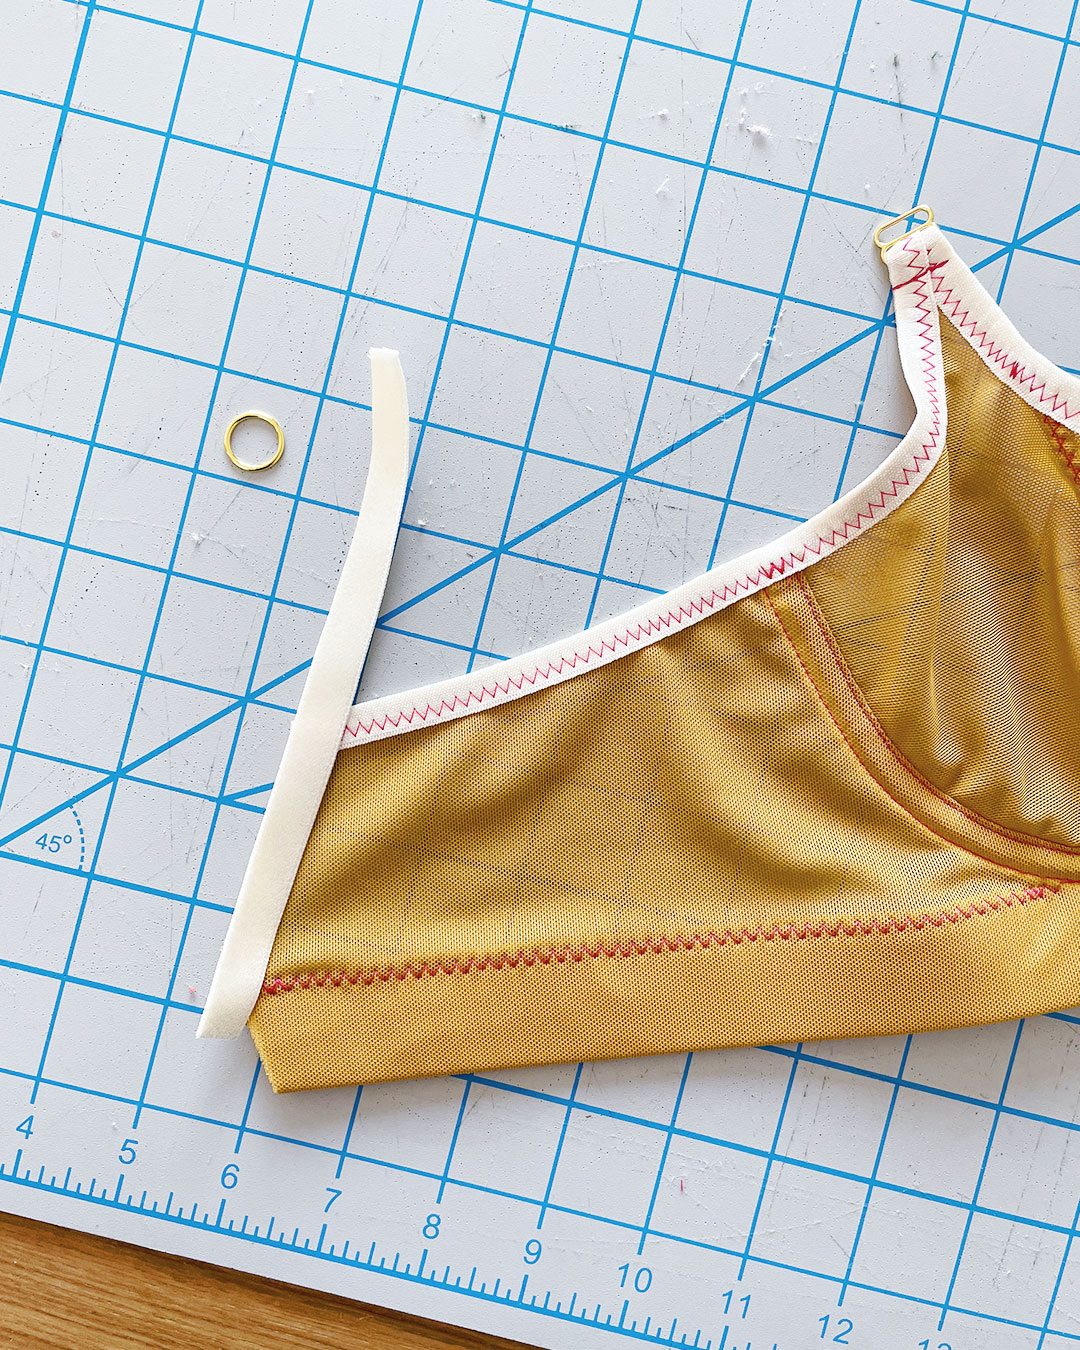
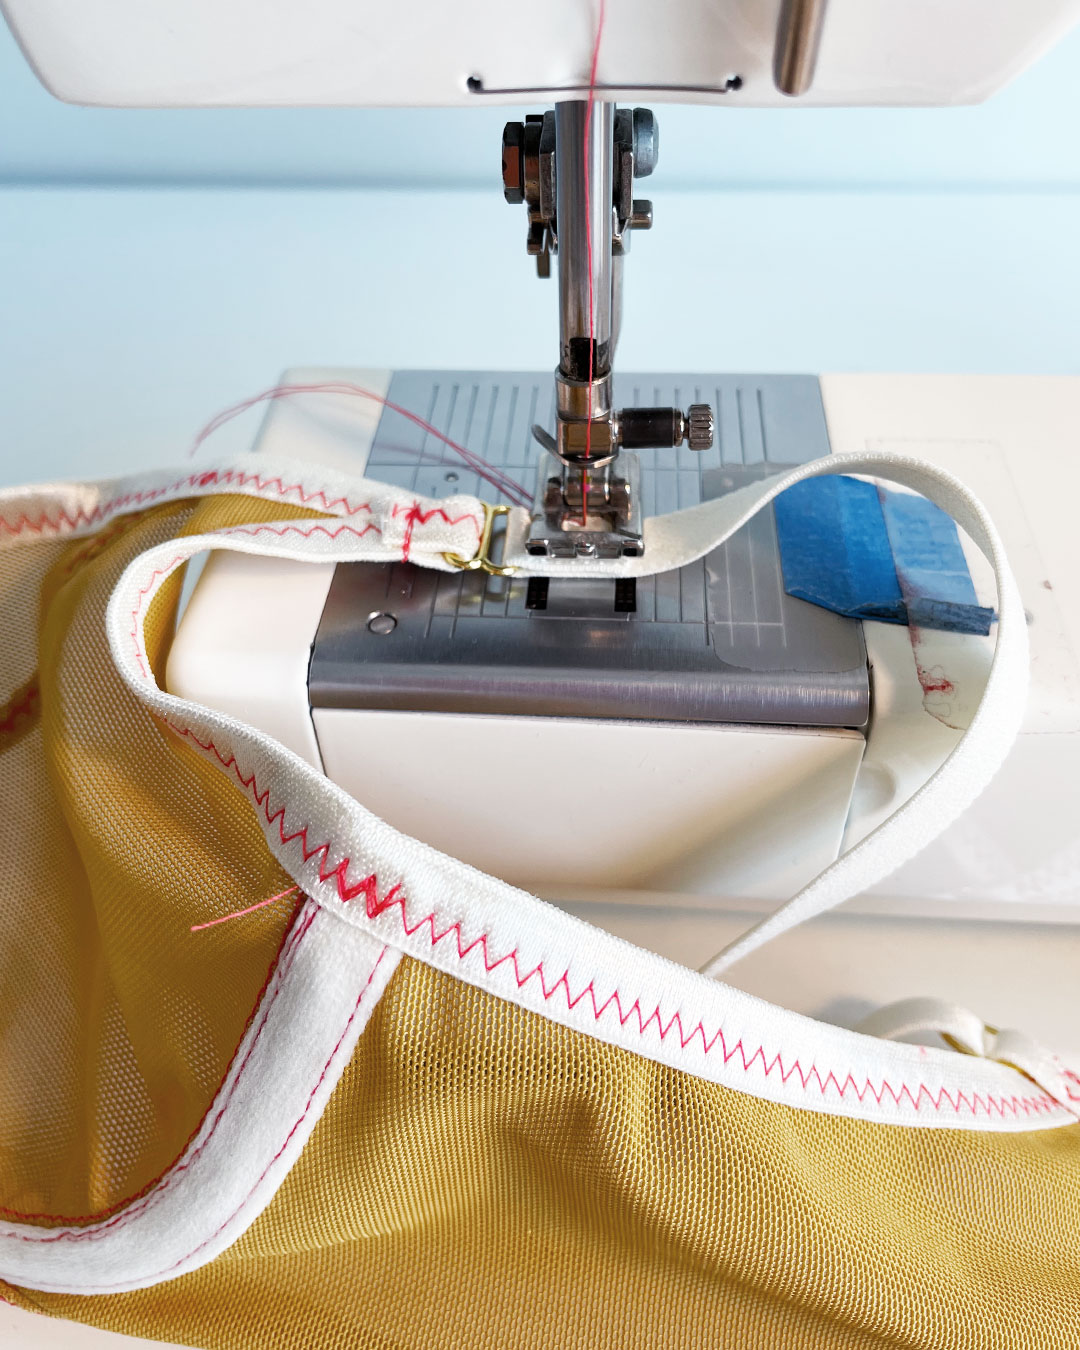
I sewed the FOE along the armholes the same that way that I did along the neckline, leaving a short tail (about 1″ long) at the top of the bra cups to use for attaching hardware in the following step.
Attaching Hardware and Assembling Straps
I love this step of the process! Cute hardware always seems to add a touch of polish and luxury to bras. <3

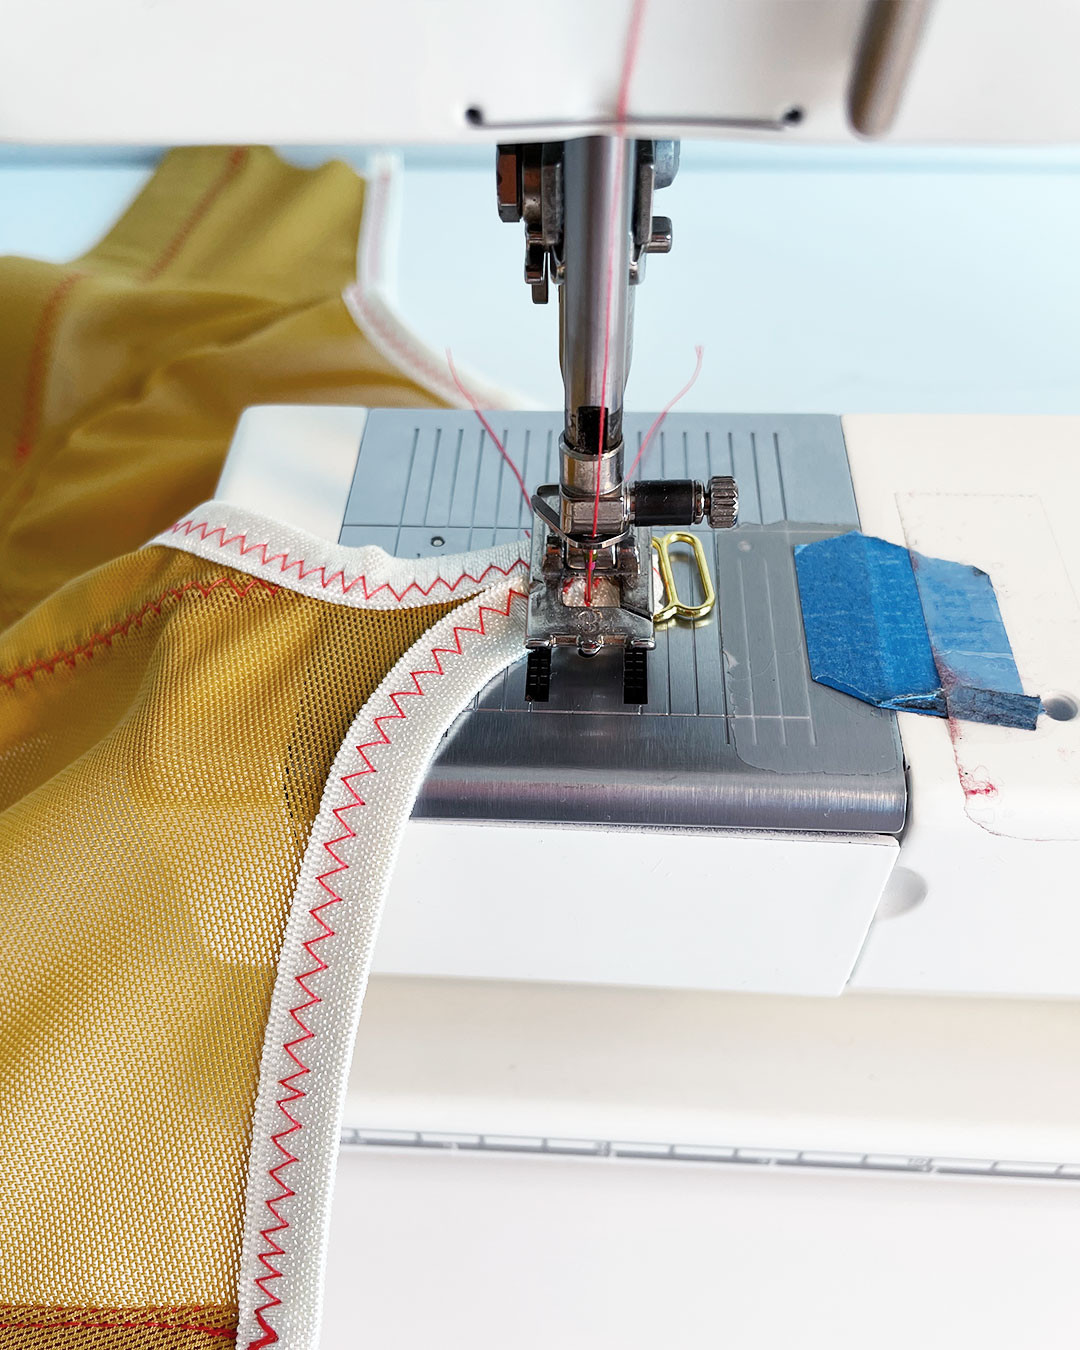
I started by attaching some sliders to the top of my bra cups. This is optional, as you can simply attach the strap elastic directly to this edge, but I love the look of an additional set of hardware here.

Next up, adding sliders to the front straps.
For more detail on how to assemble these types of straps, check out this post from my Black Beauty Bra View B Sew-Along: Adjustable Straps.
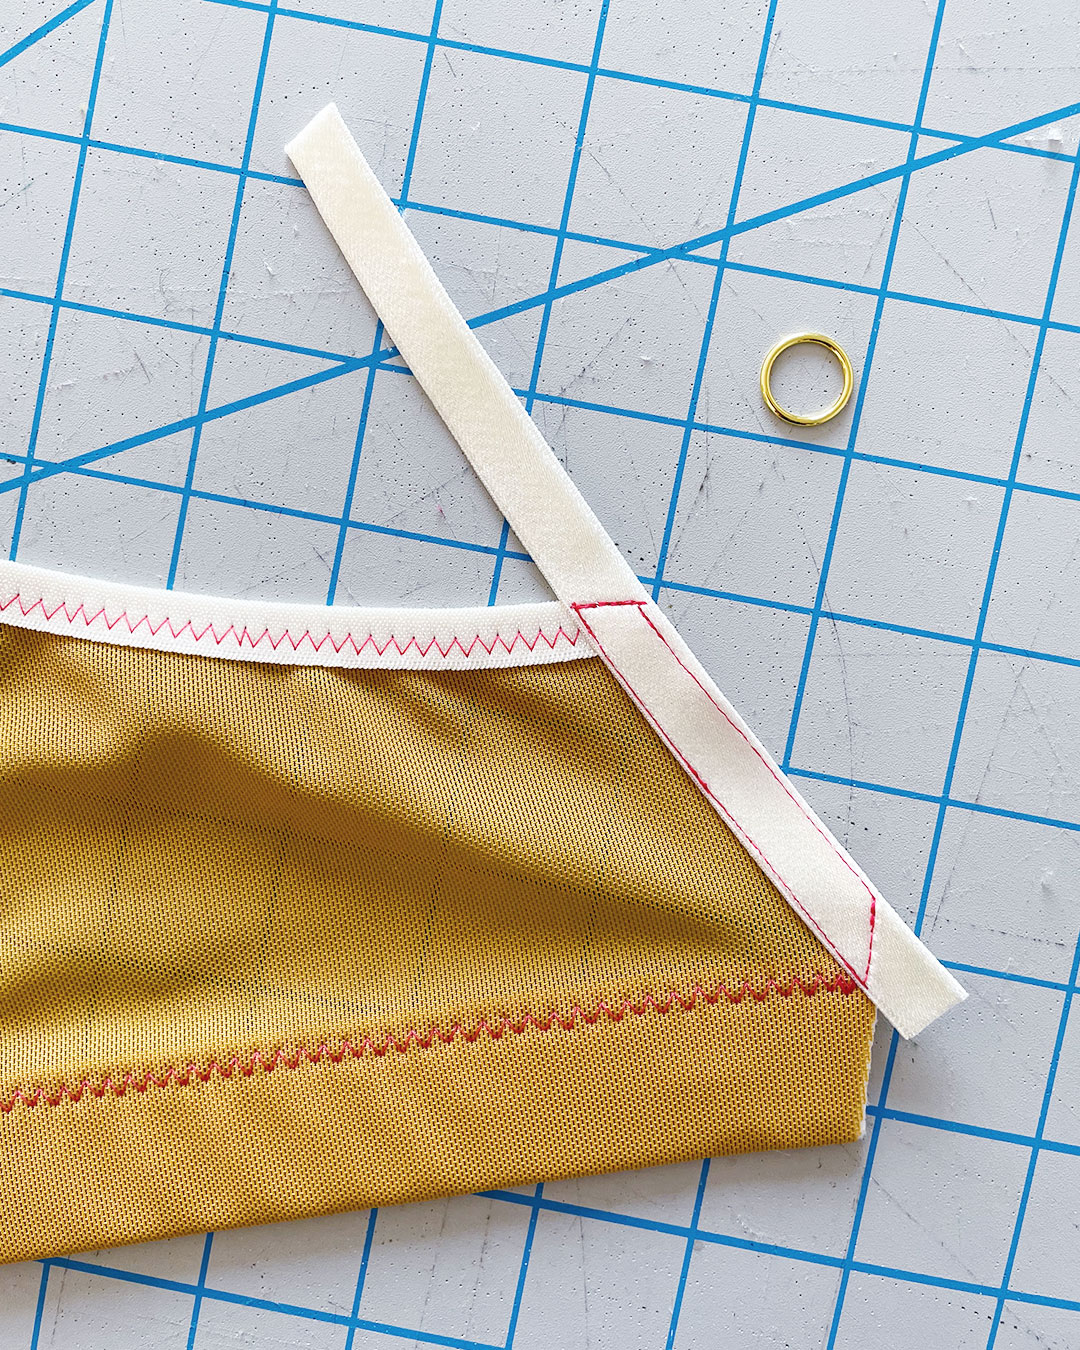
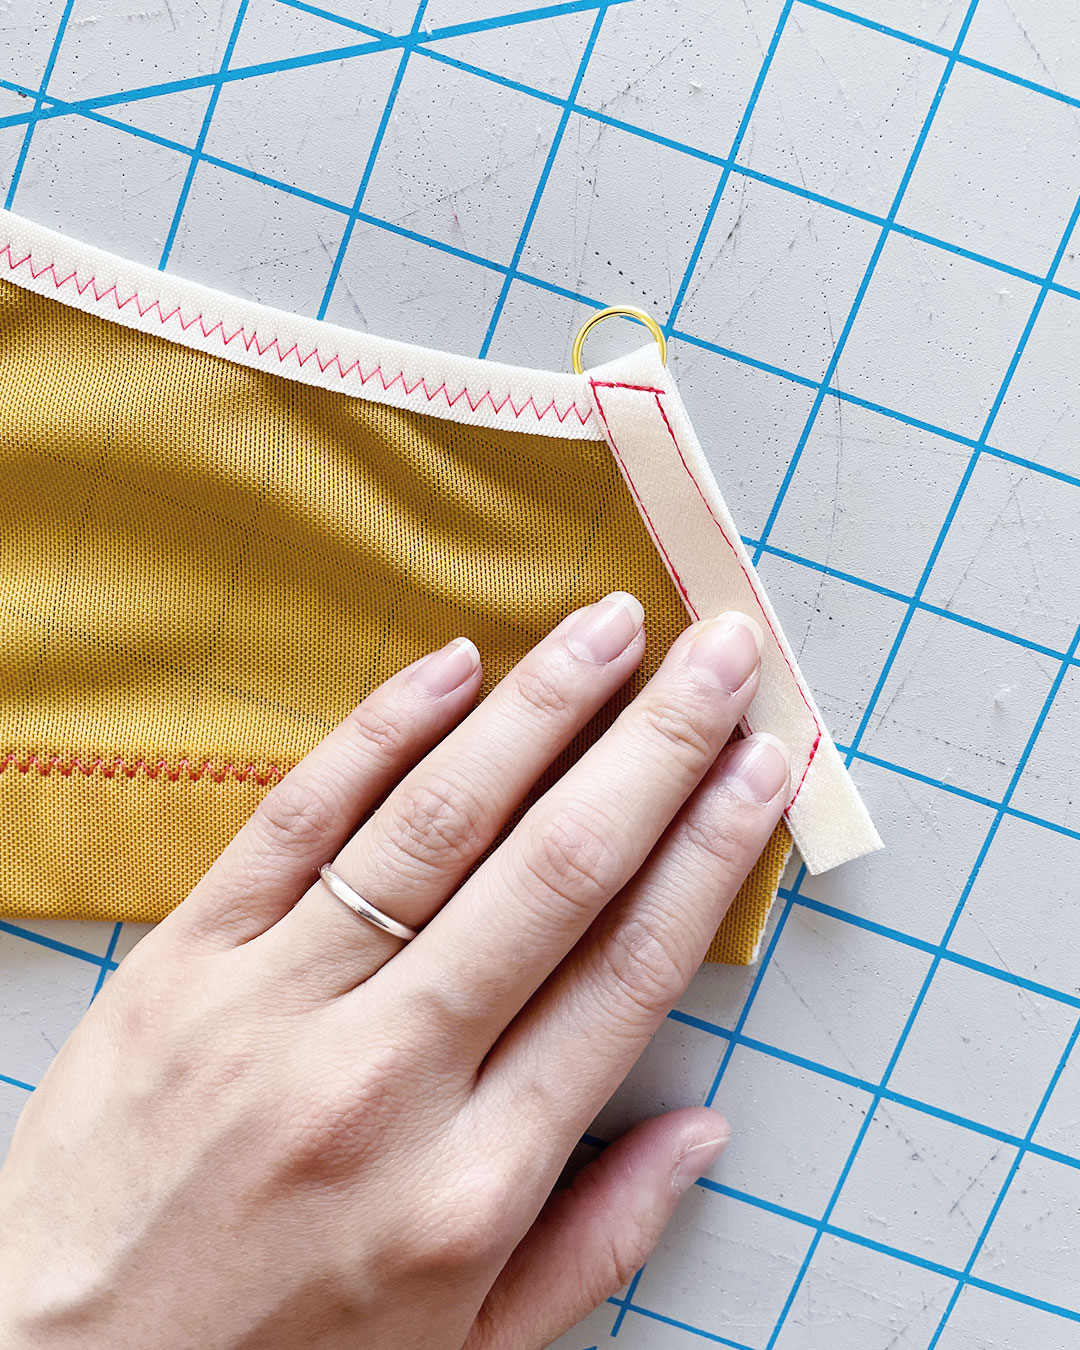
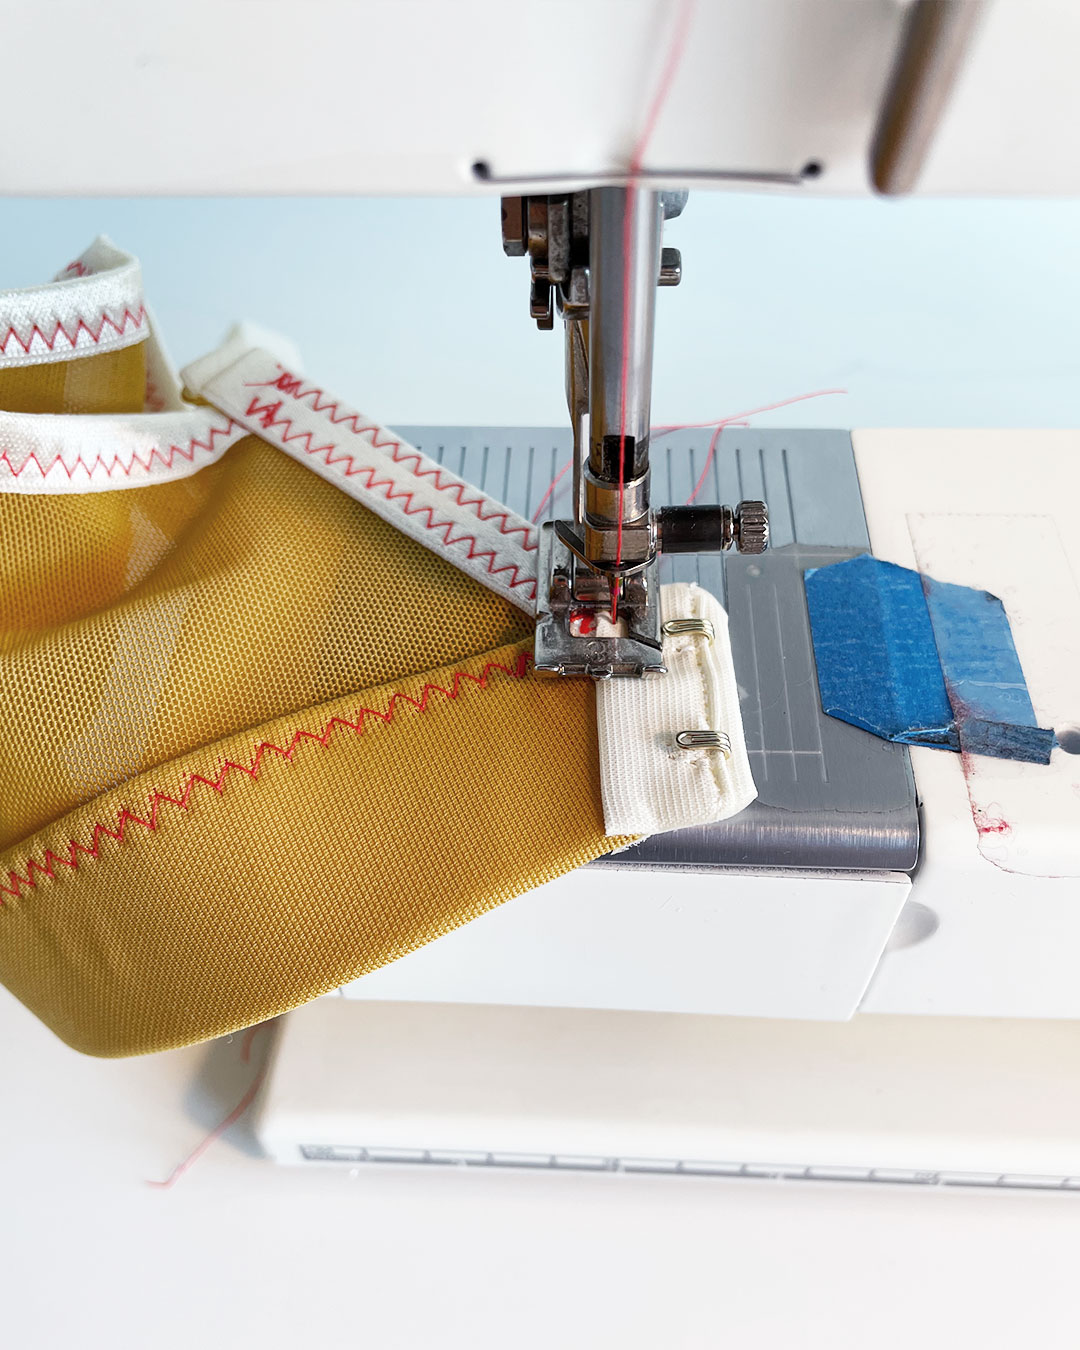
The back straps on the Sew Comfy Bra are super interesting!
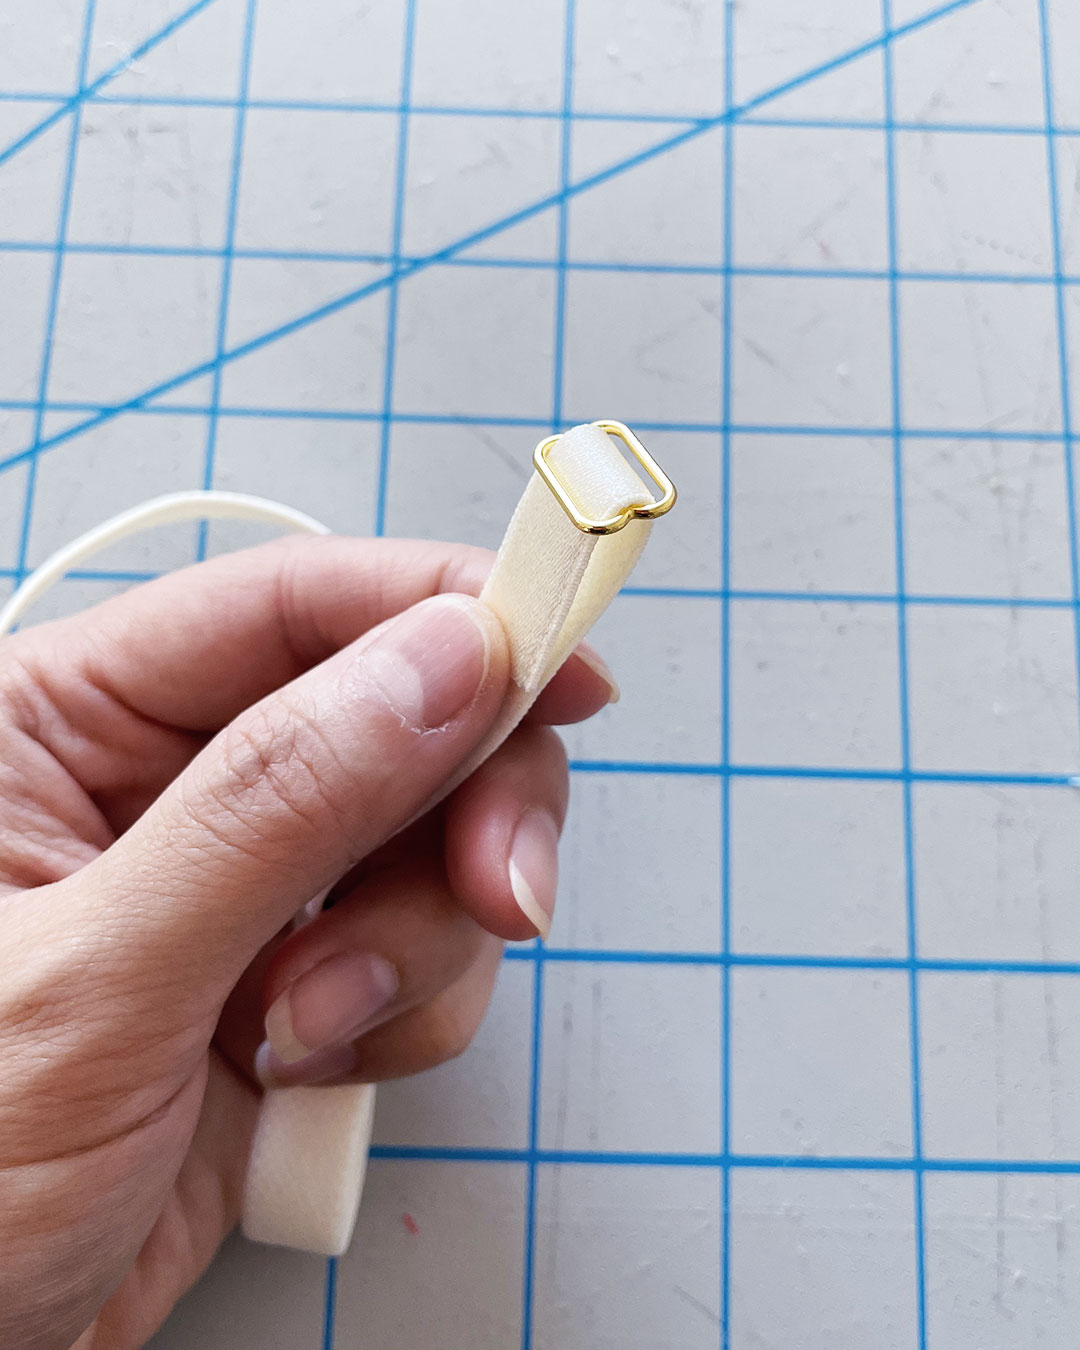
You first apply a short length of strap elastic to the back edge like so, with a straight stitch all around the perimeter:
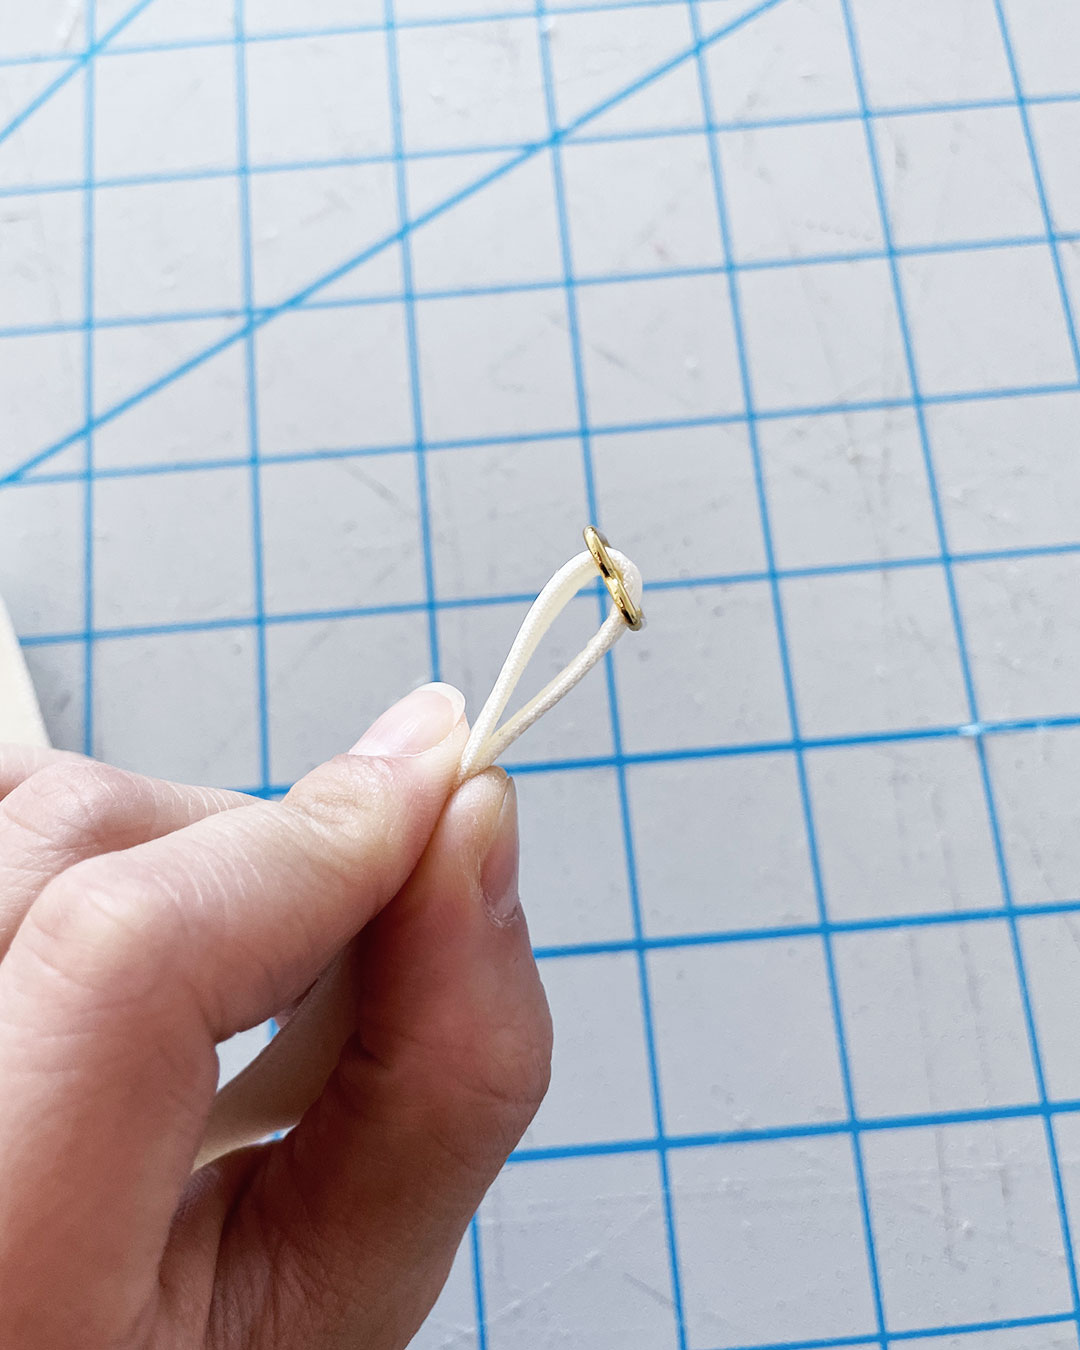
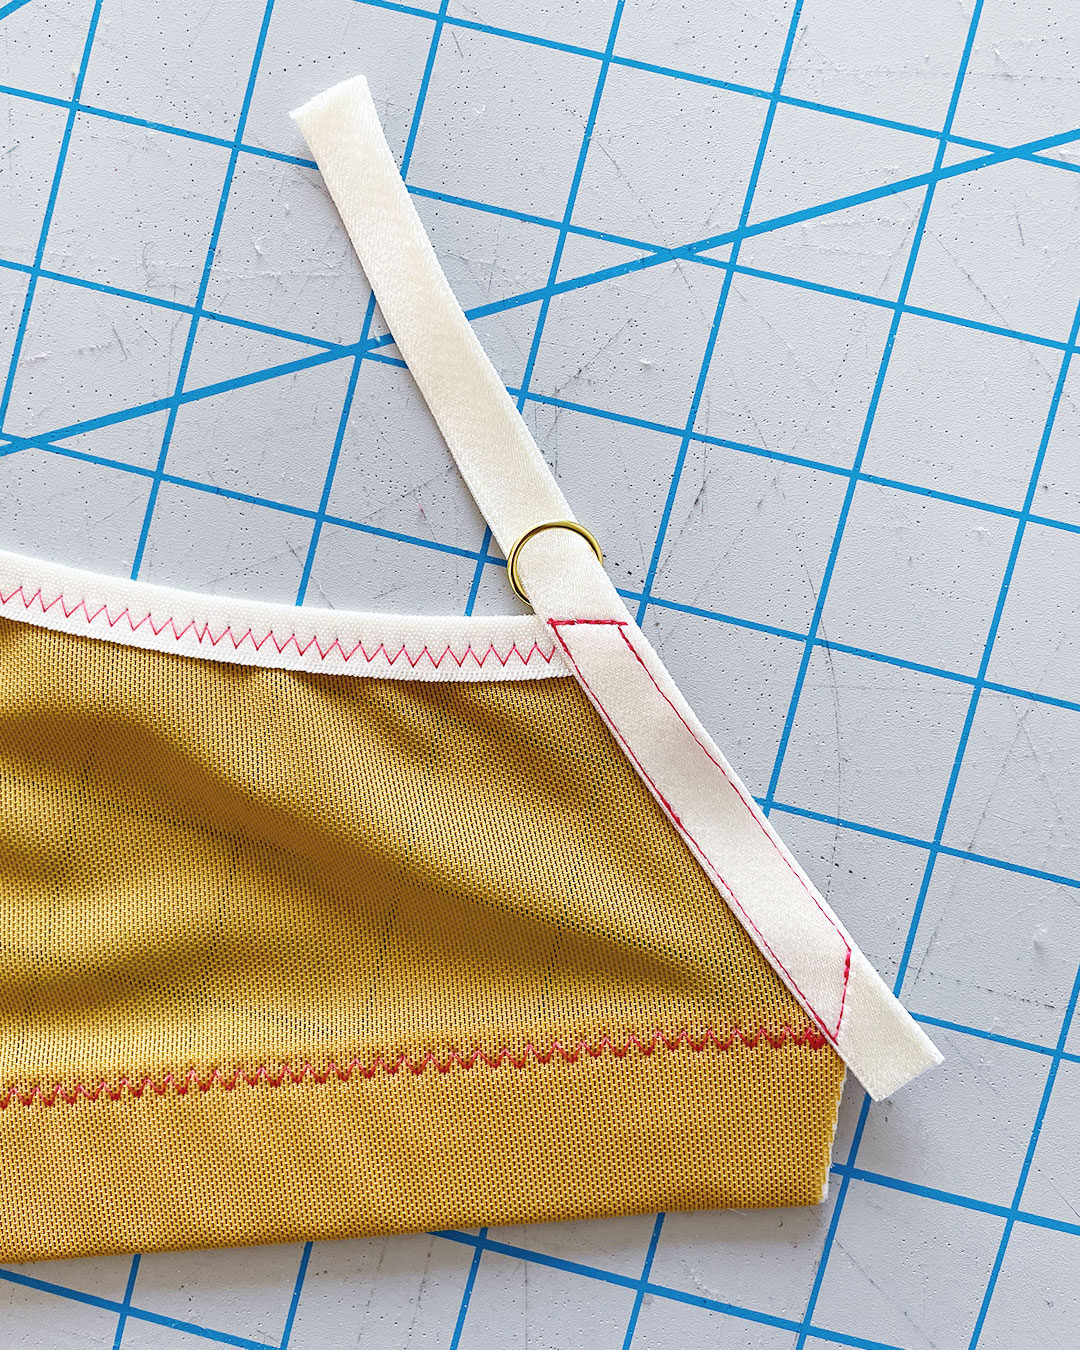
Then, you thread a ring through the strap:
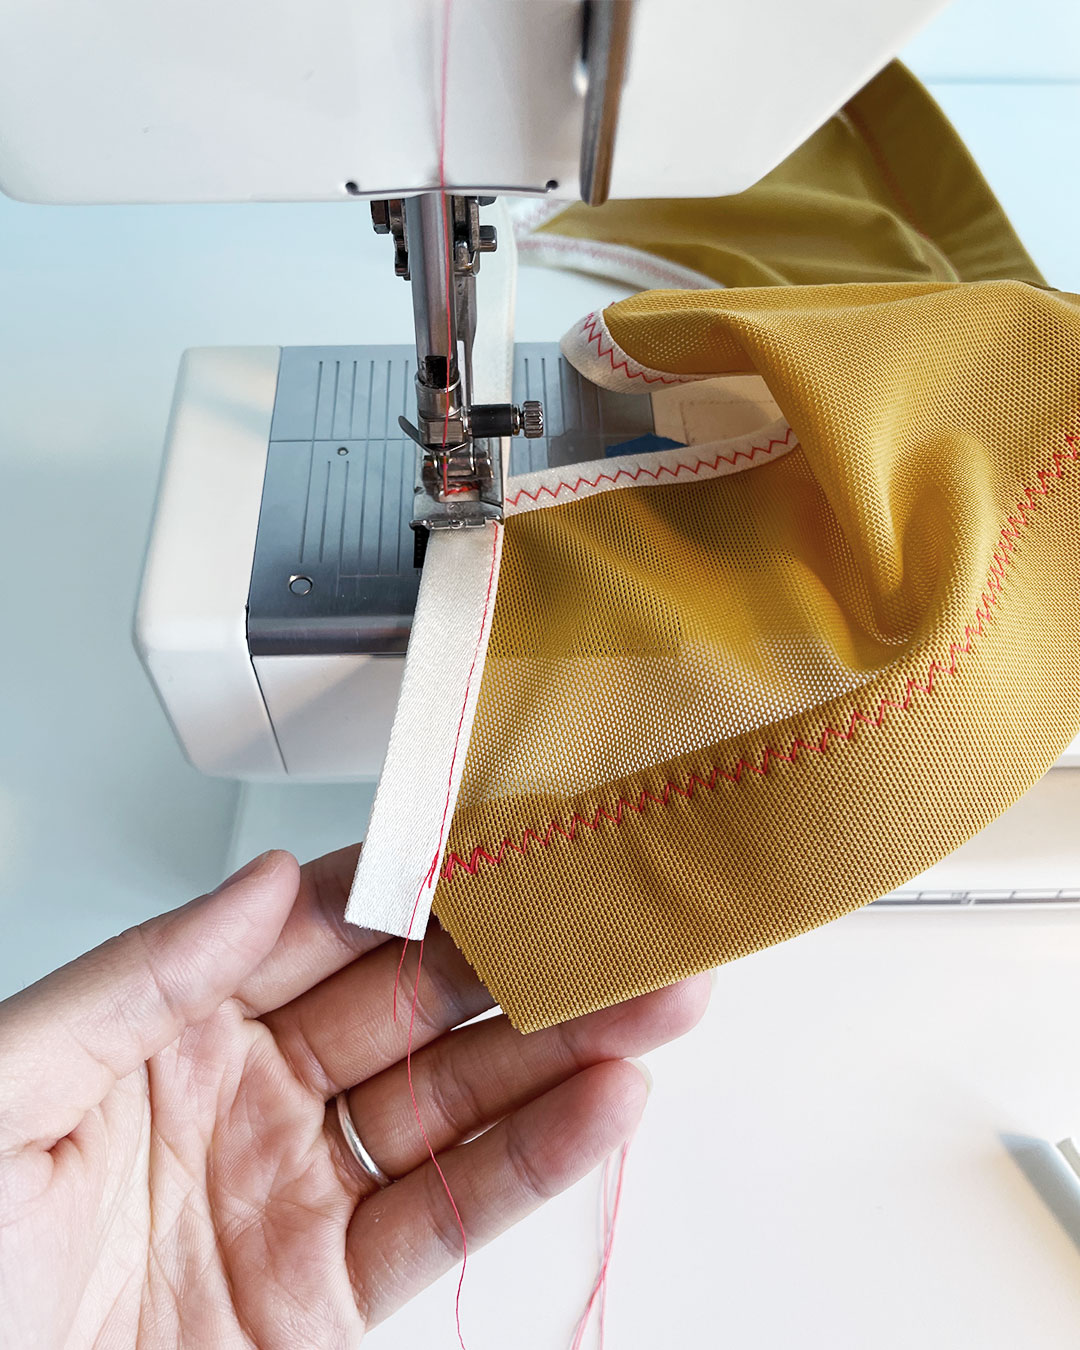
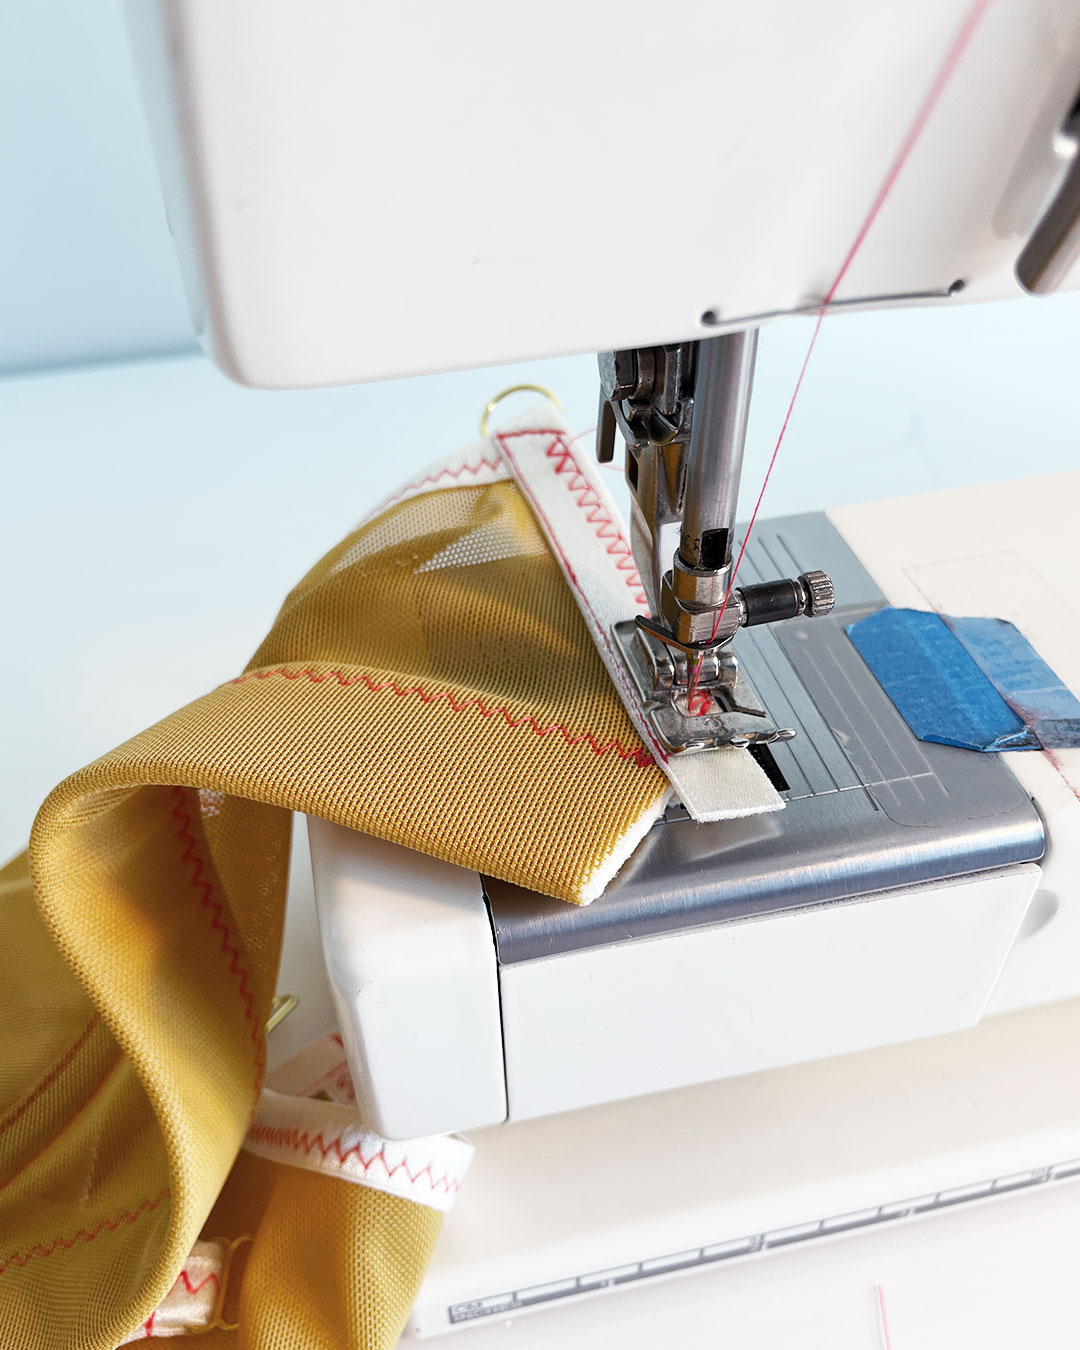
After threading the ring, you fold the strap elastic to the other side, sandwiching the body fabric in between:
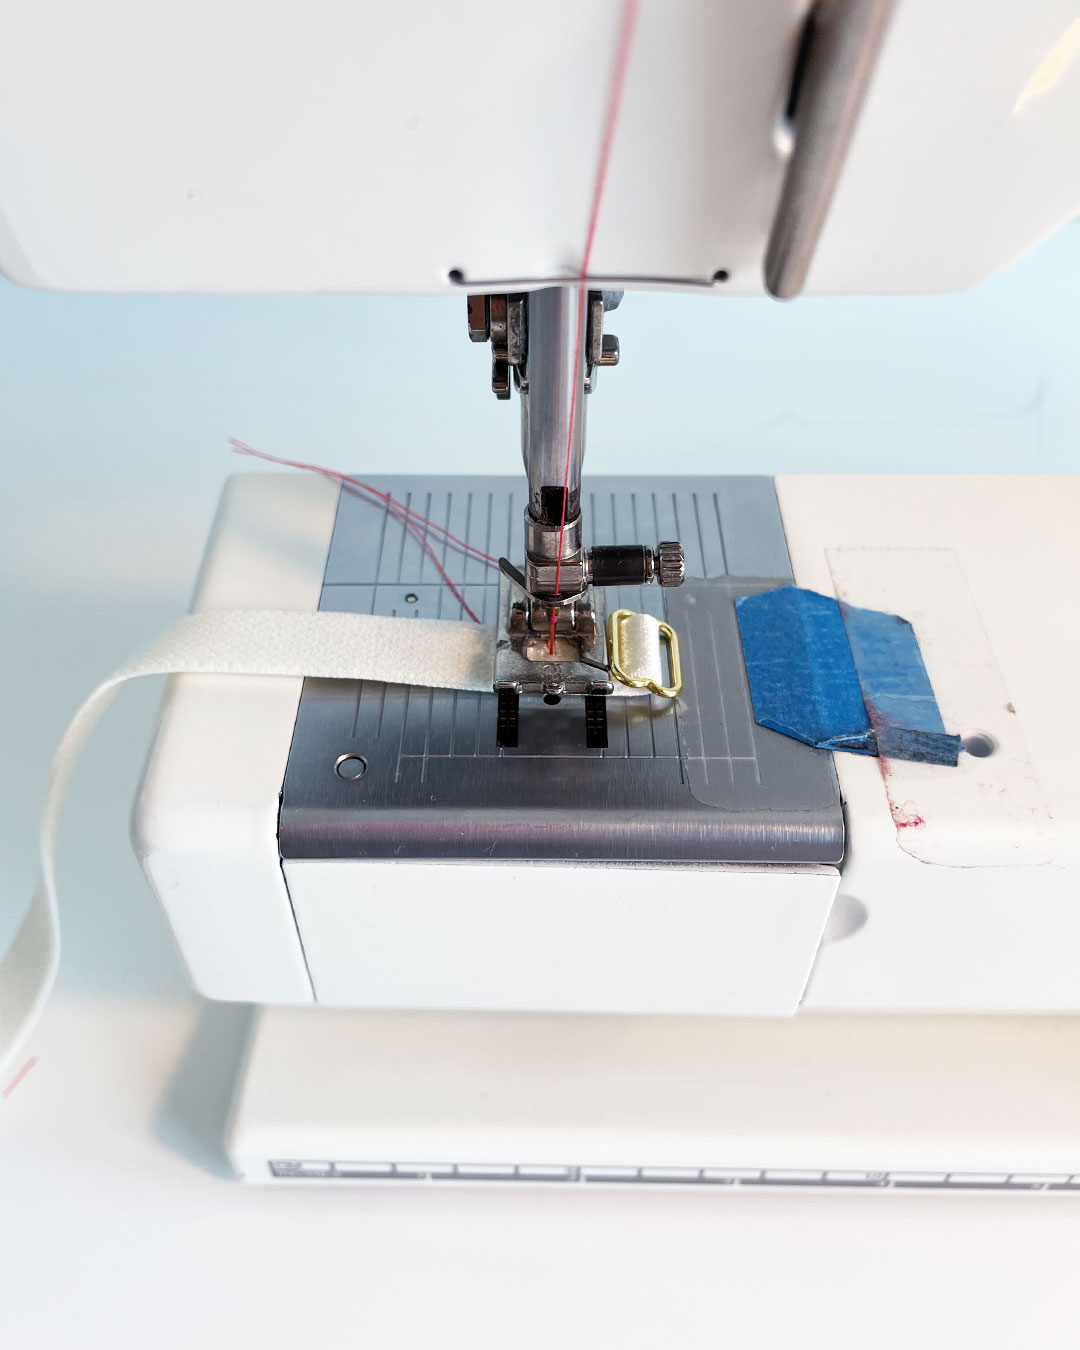
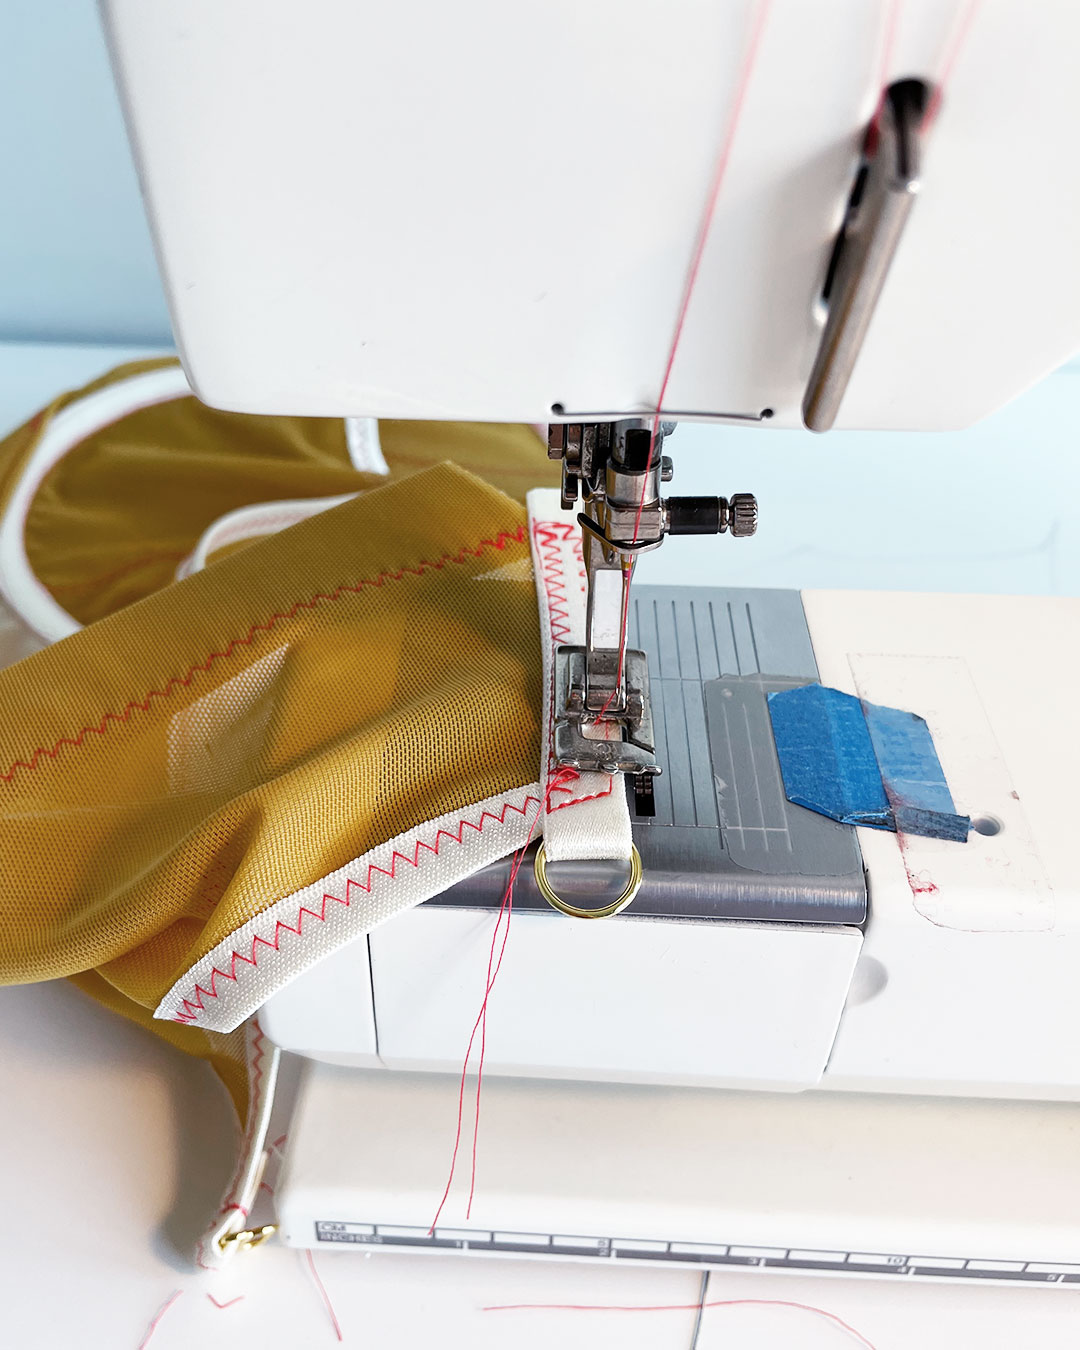
You then use a zig zag stitch to stitch everything together. I stitched along one side, pivoted at the end, and stitched down the other side.

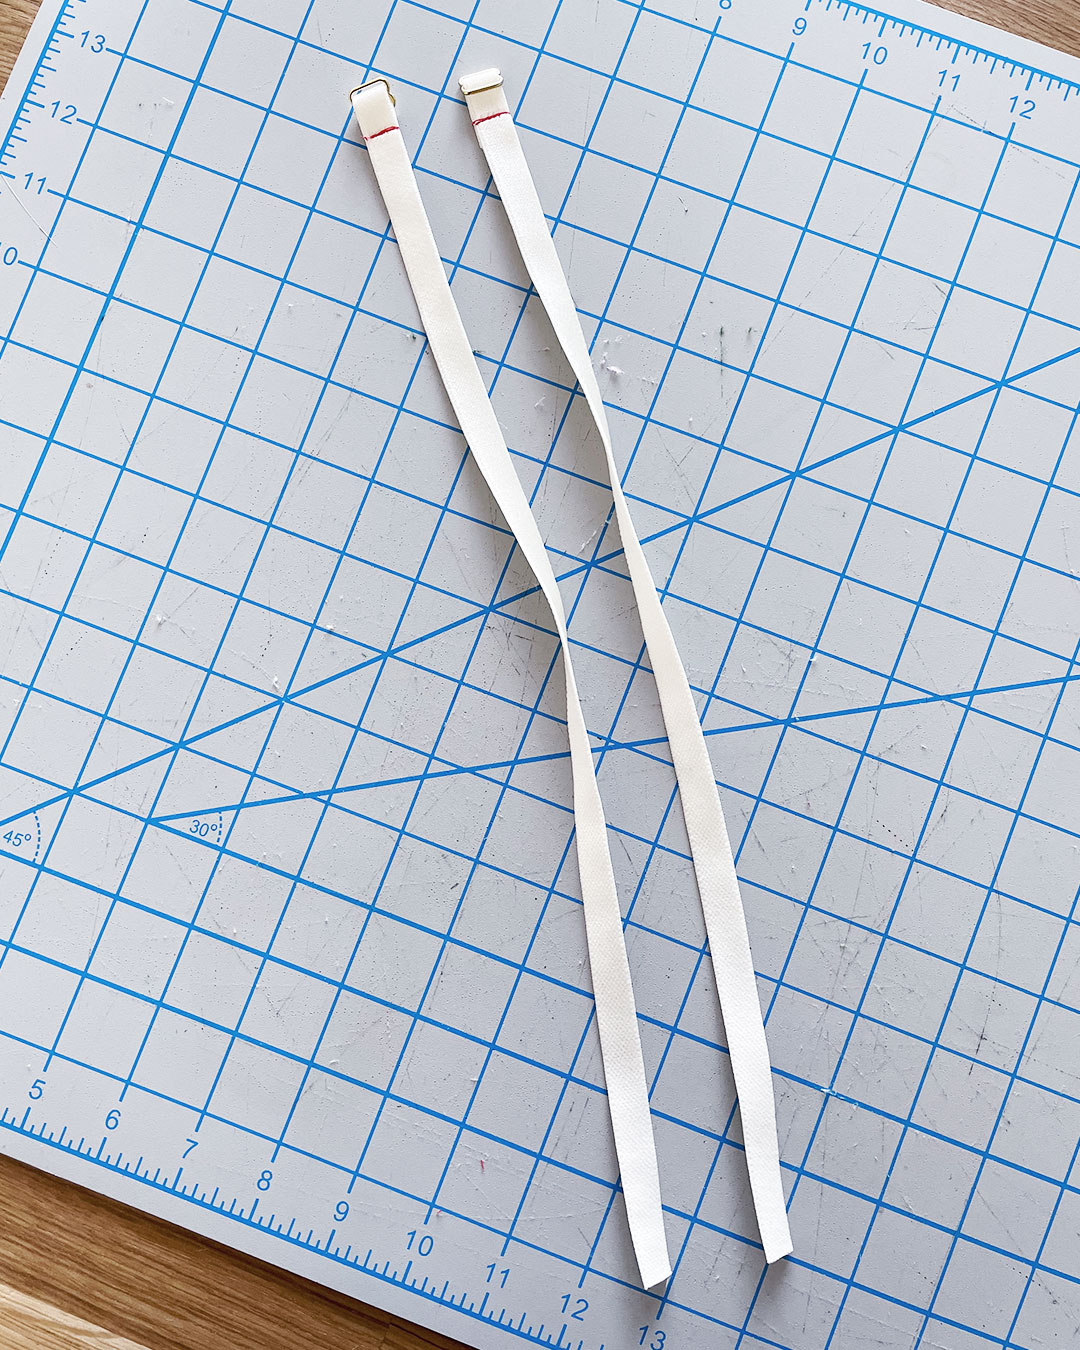
Finally, you thread the pre-assembled front straps through the rings on the back strap, and then again through the slider attached to the cups.

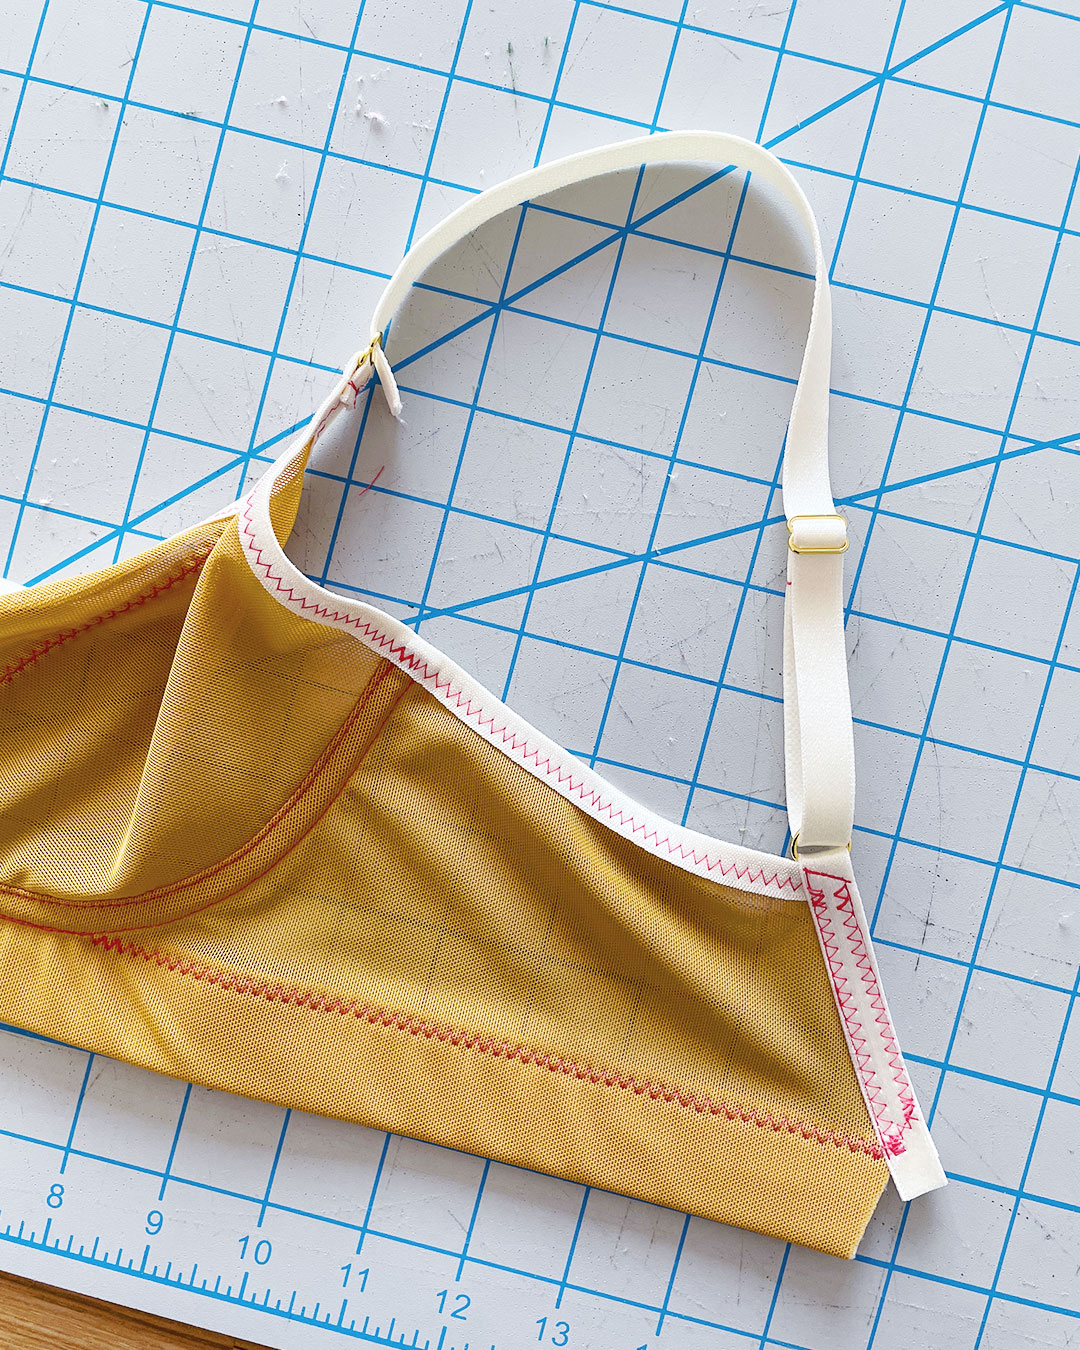
You use a straight stitch to close the loop, repeat on the other side, and your bra has straps!
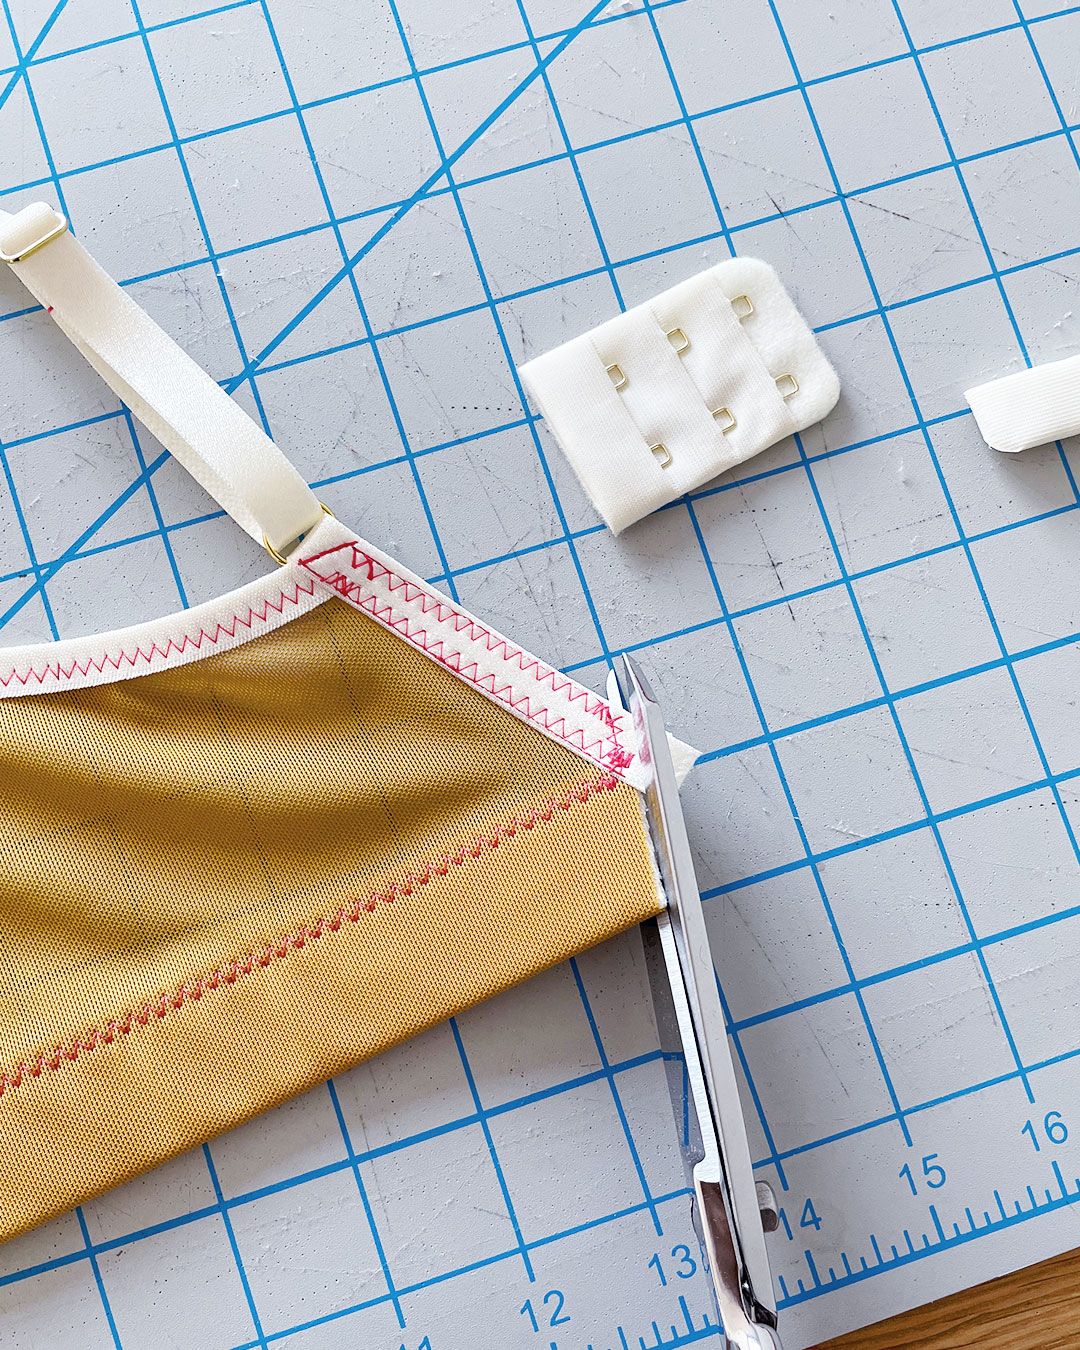
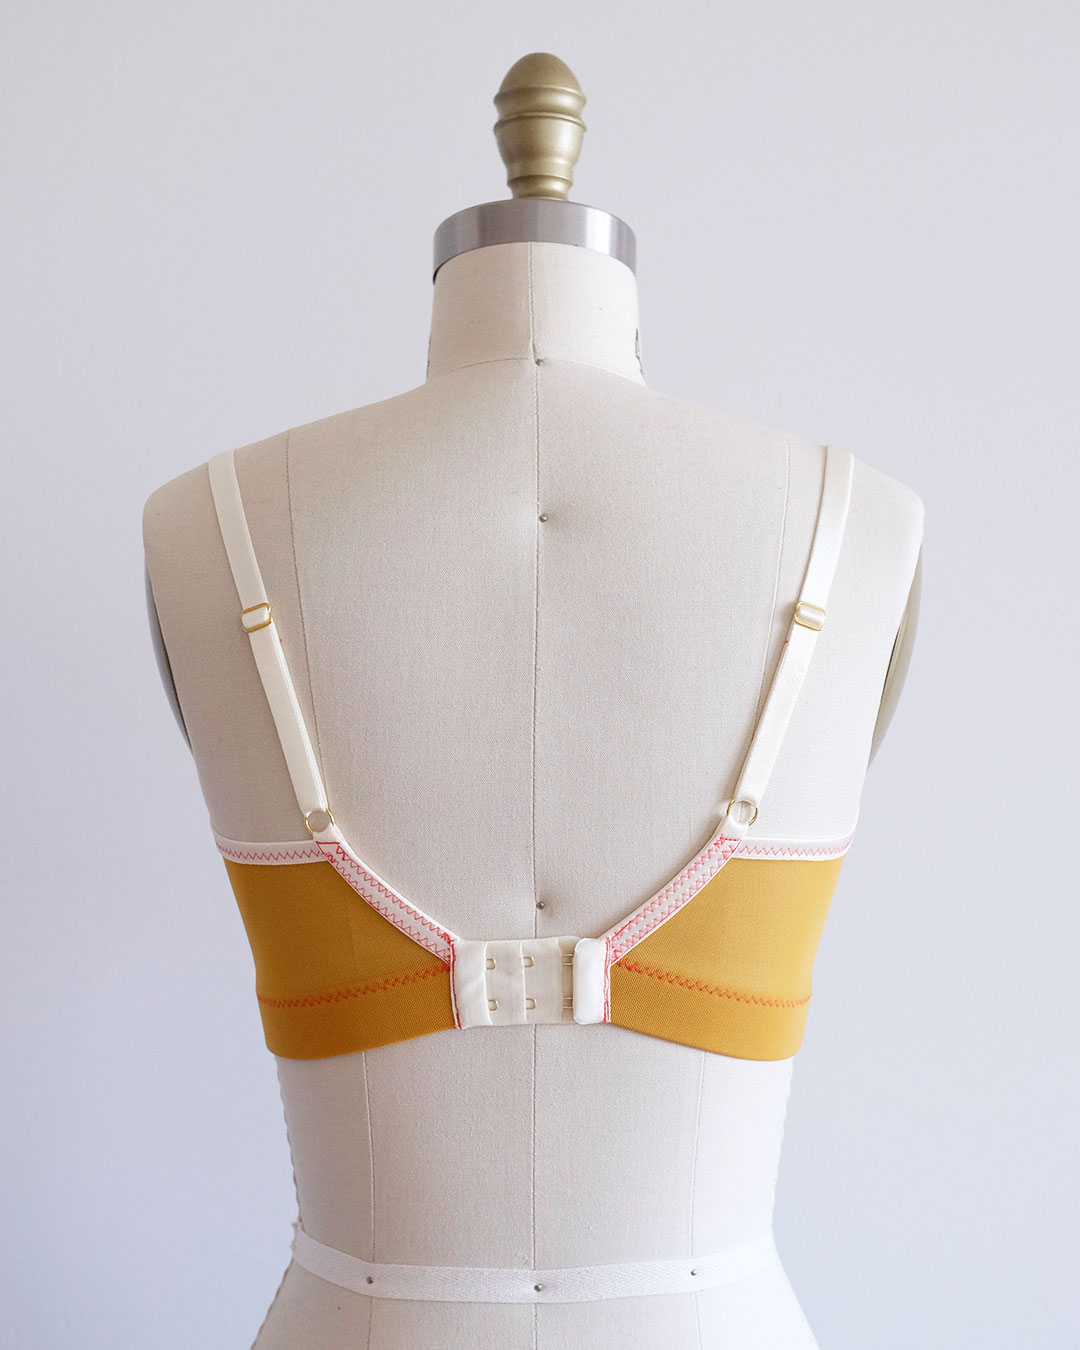
Attaching Hook and Eyes
Oh my goodness—the final step!!
The hook and eye comes in two parts, the shorter “hook” piece, and the matching “eye” piece that serves as an adjustable closure for the bra. A well-fitting bra should hook on the widest (outermost) setting, which allows you to tighten the band as the elastic stretches over time, increasing the lifespan of your bra.
After trimming the excess strap elastic sticking out where the hook and eyes would go, I positioned the raw edge of the back band (wearer’s left side) in between the pocket/opening of the eye piece. When viewing the exterior of the bra, the “eyes” should be facing outwards.
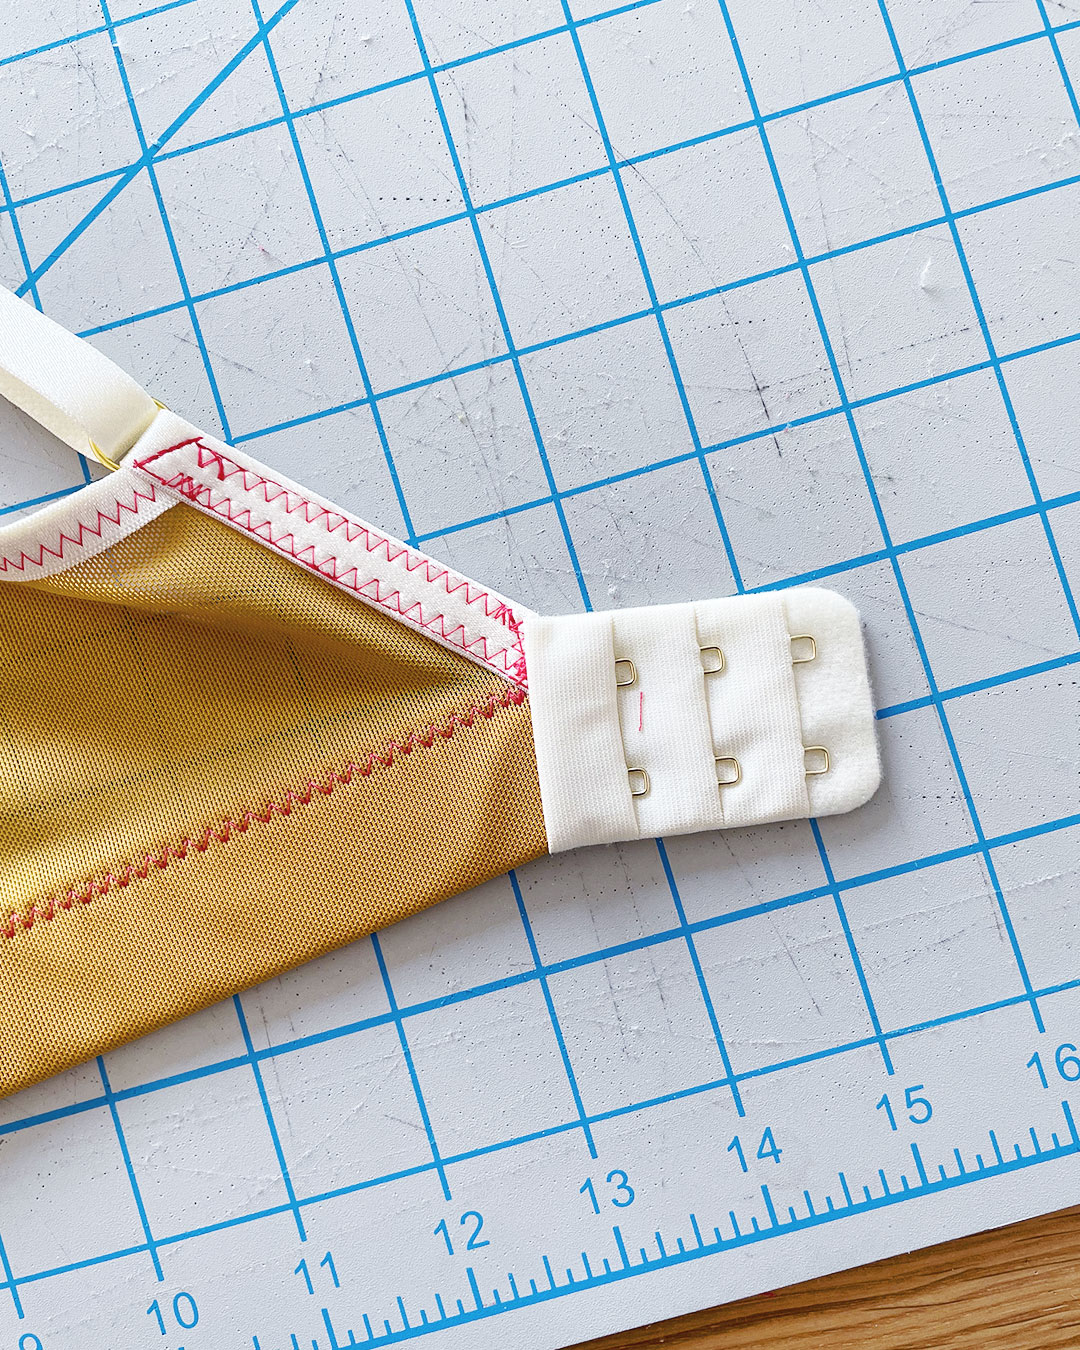
I sewed through all the layers with a straight stitch to hold this piece in place.
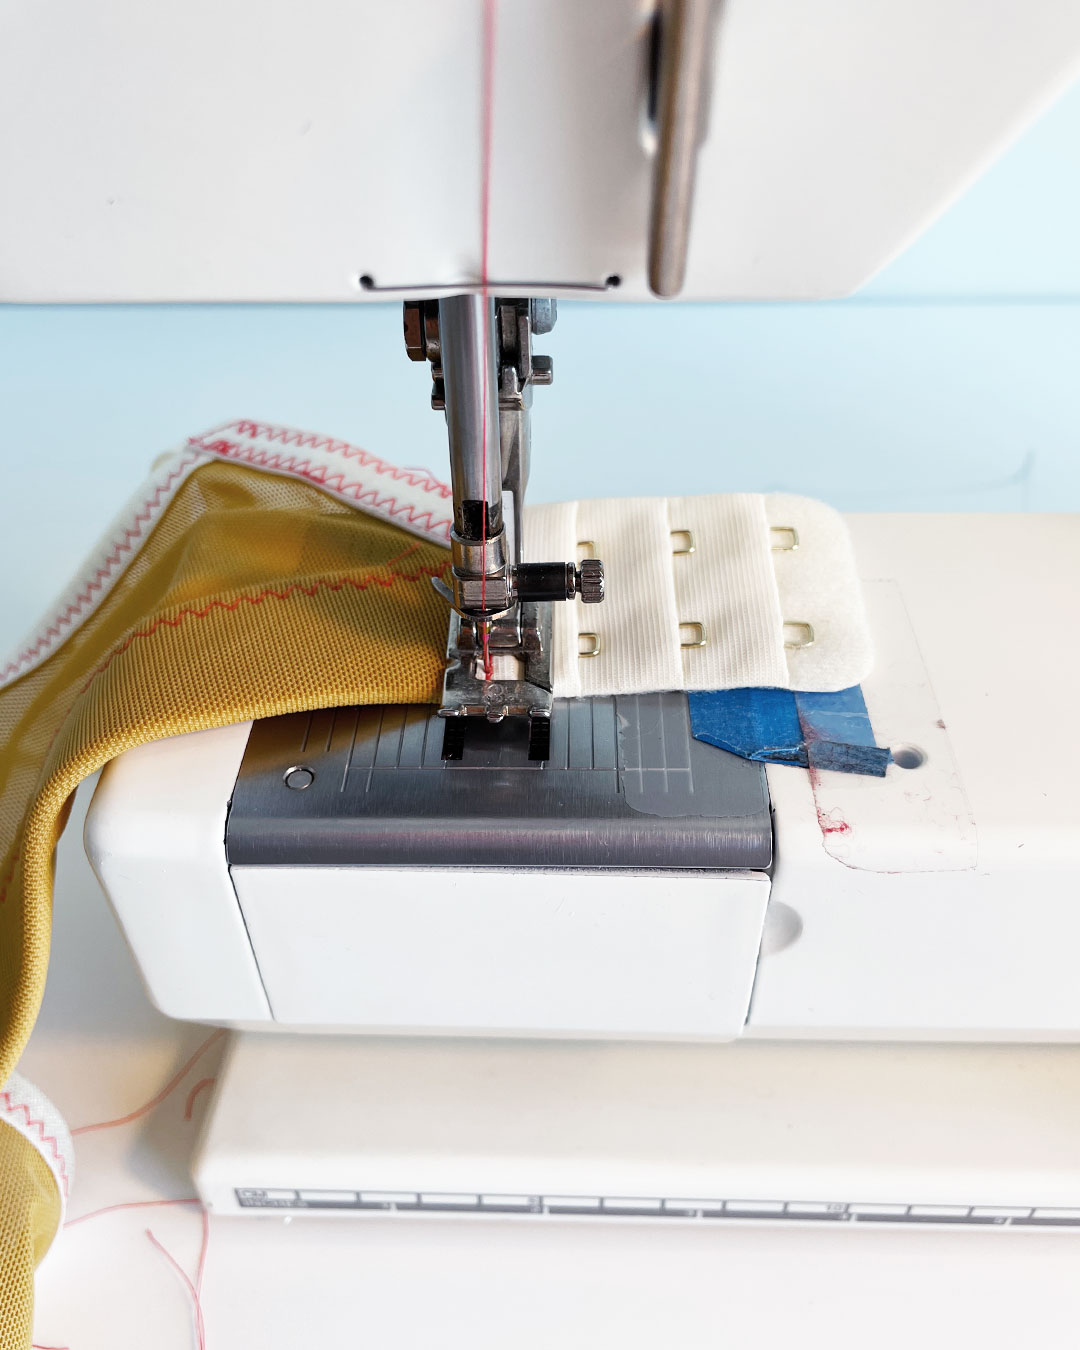
The “hook” piece usually goes on the wearer’s right. When viewed from the exterior of the bra, the hooks face in towards the body.

To attach the hook, I inserted the raw edge of the back band (wearer’s right side) in between the pocket/opening of the hook, and straight stitch over all the layers.
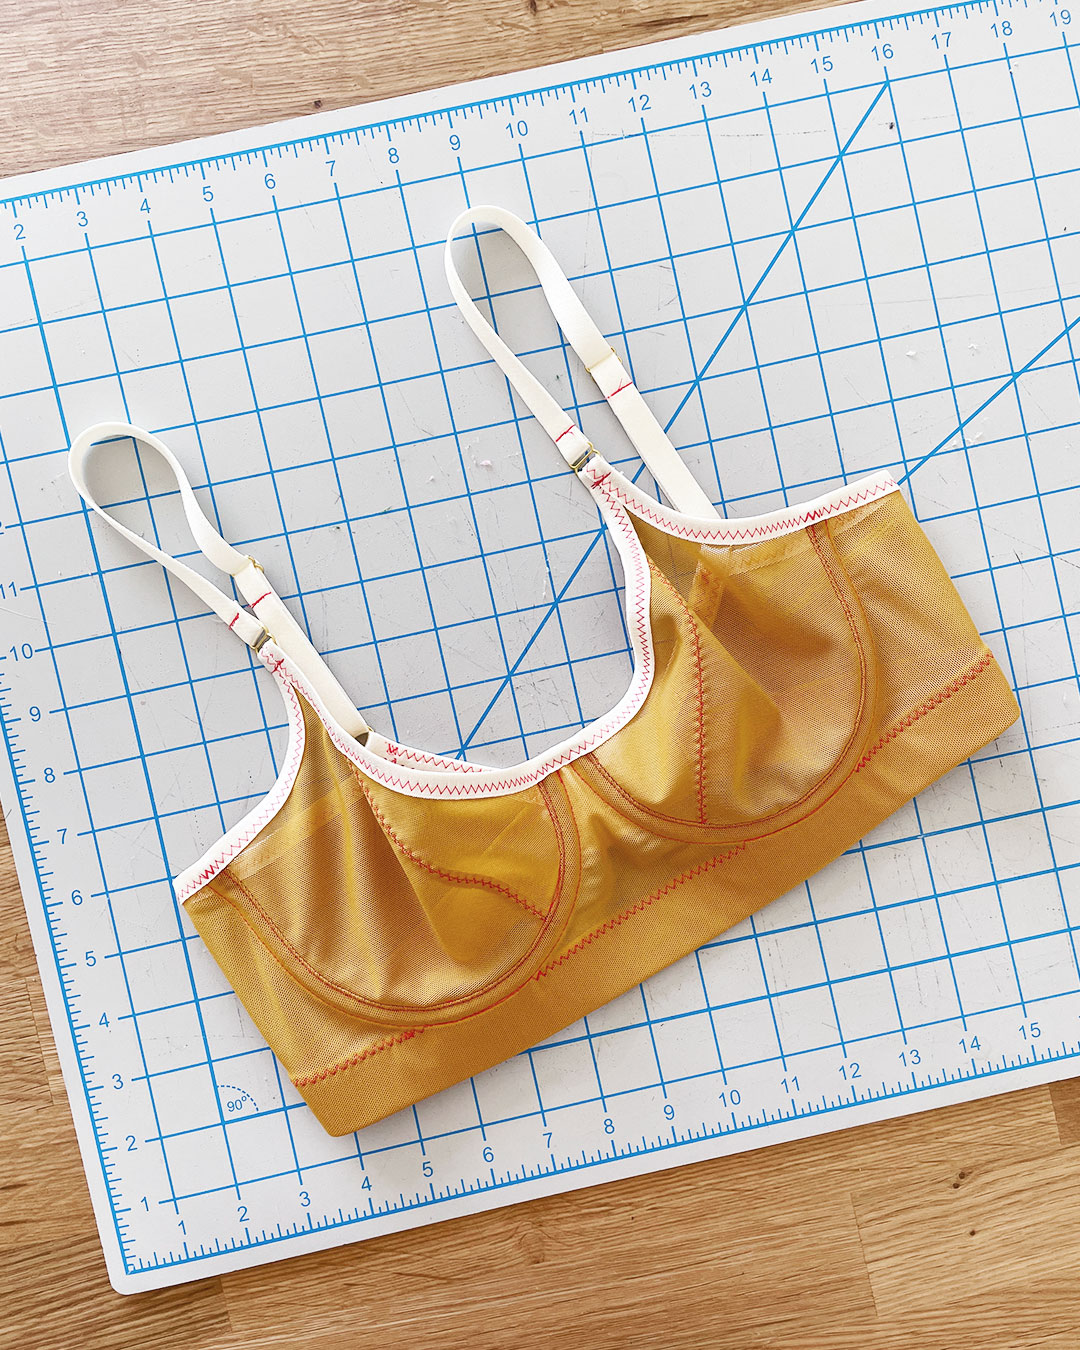
Ta-daaaaa!
Isn’t she lovely?

The verdict is in: this bra is indeed SEW COMFY!!
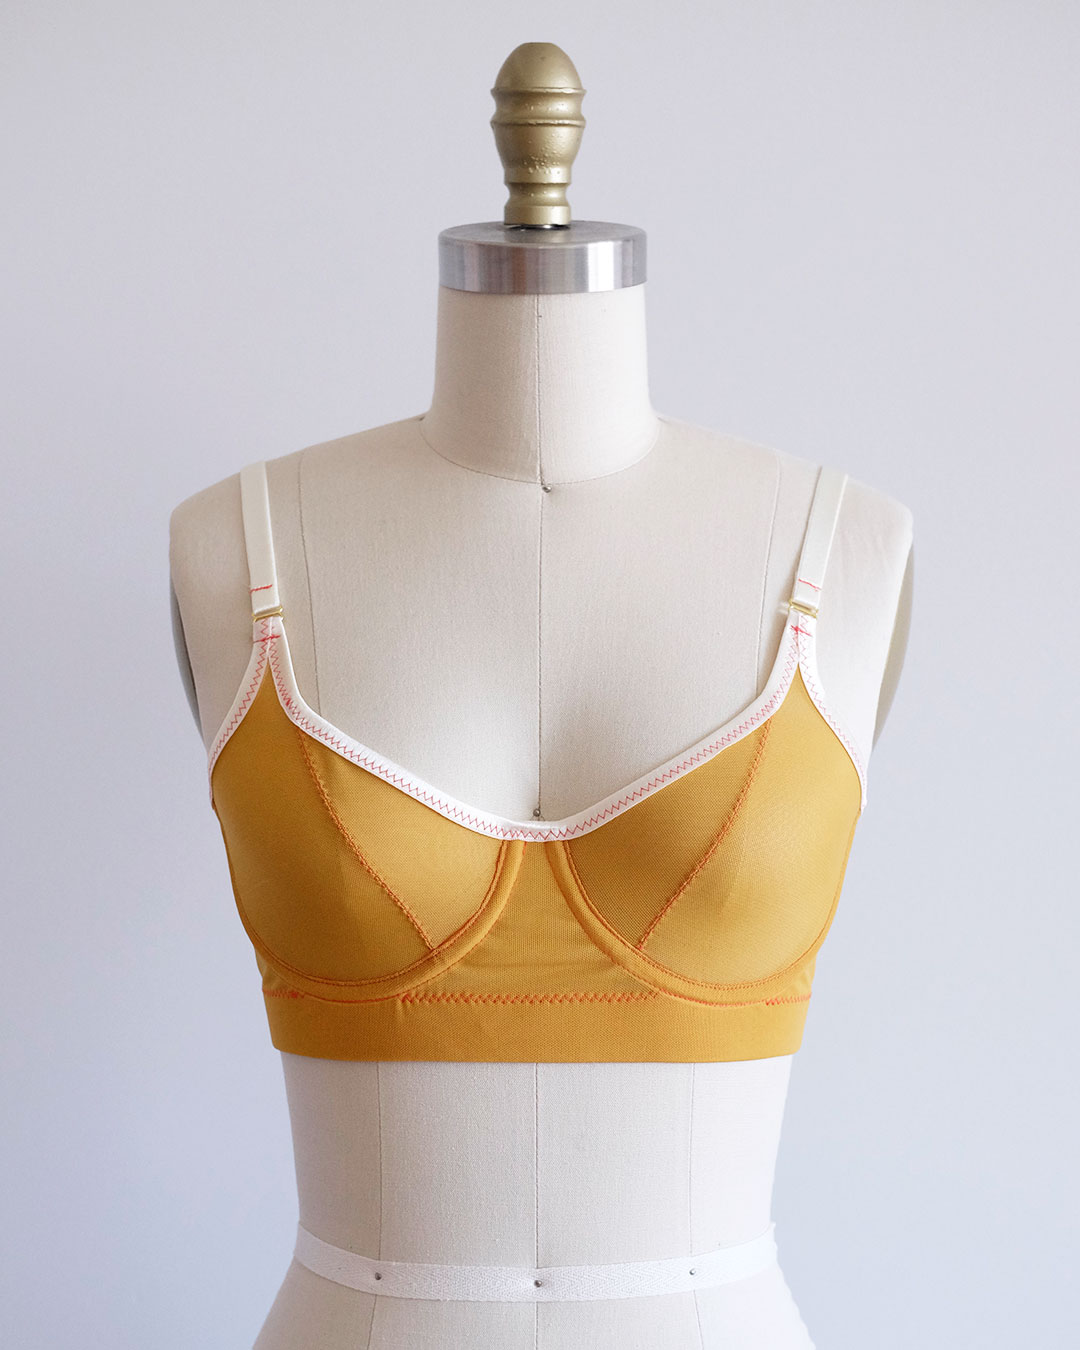
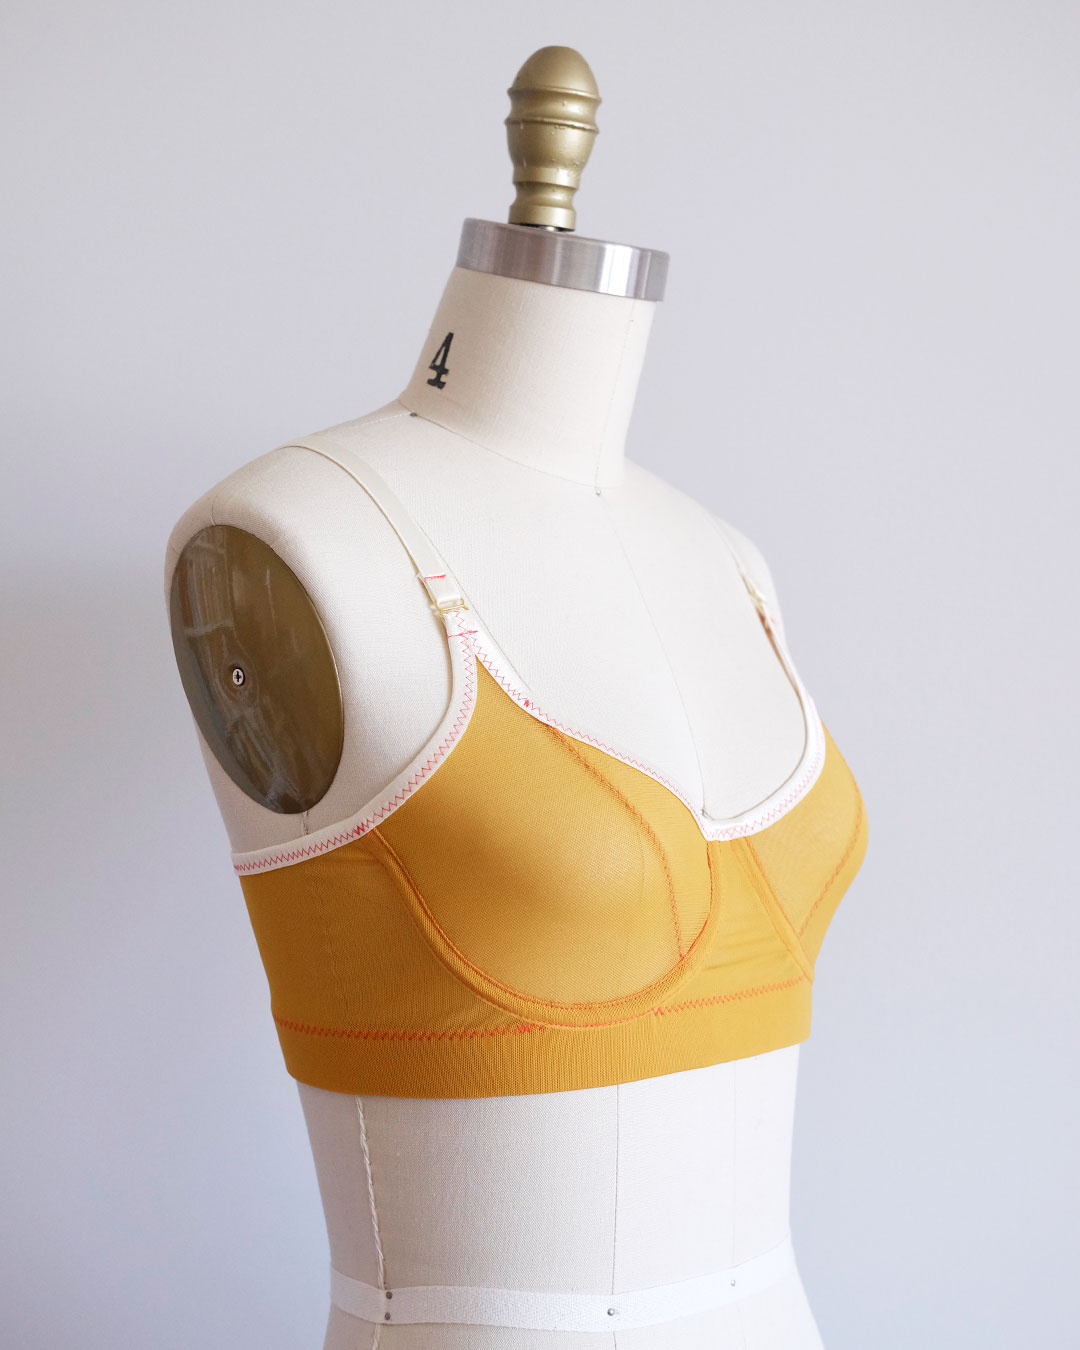
I’m quite impressed with how well it fits, despite all the confusion related to choosing a starting size! The stretch fabrics definitely make the bra very forgiving to sew and to wear, and the combination of the underwires + wide plush elastic band help add a lot of support.
As you can see, the Sew Comfy Bra is a fun sew that lends itself to many variations simply by changing up materials or construction details. In our next post, I’ll be sharing a fun pattern hack that I did by making a few materials changes and some easy pattern tweaks.
Thank you so much for following along with this series thus far! <3