Black Beauty Bra View B Sew-Along // Part Five: Sewing – Adjustable Back Straps
This post contains affiliate links.
Hello everyone! Welcome to Part 5 of our Black Beauty Bra Sew-Along with Joy (@byjoymao). Are you ready to start sewing?!
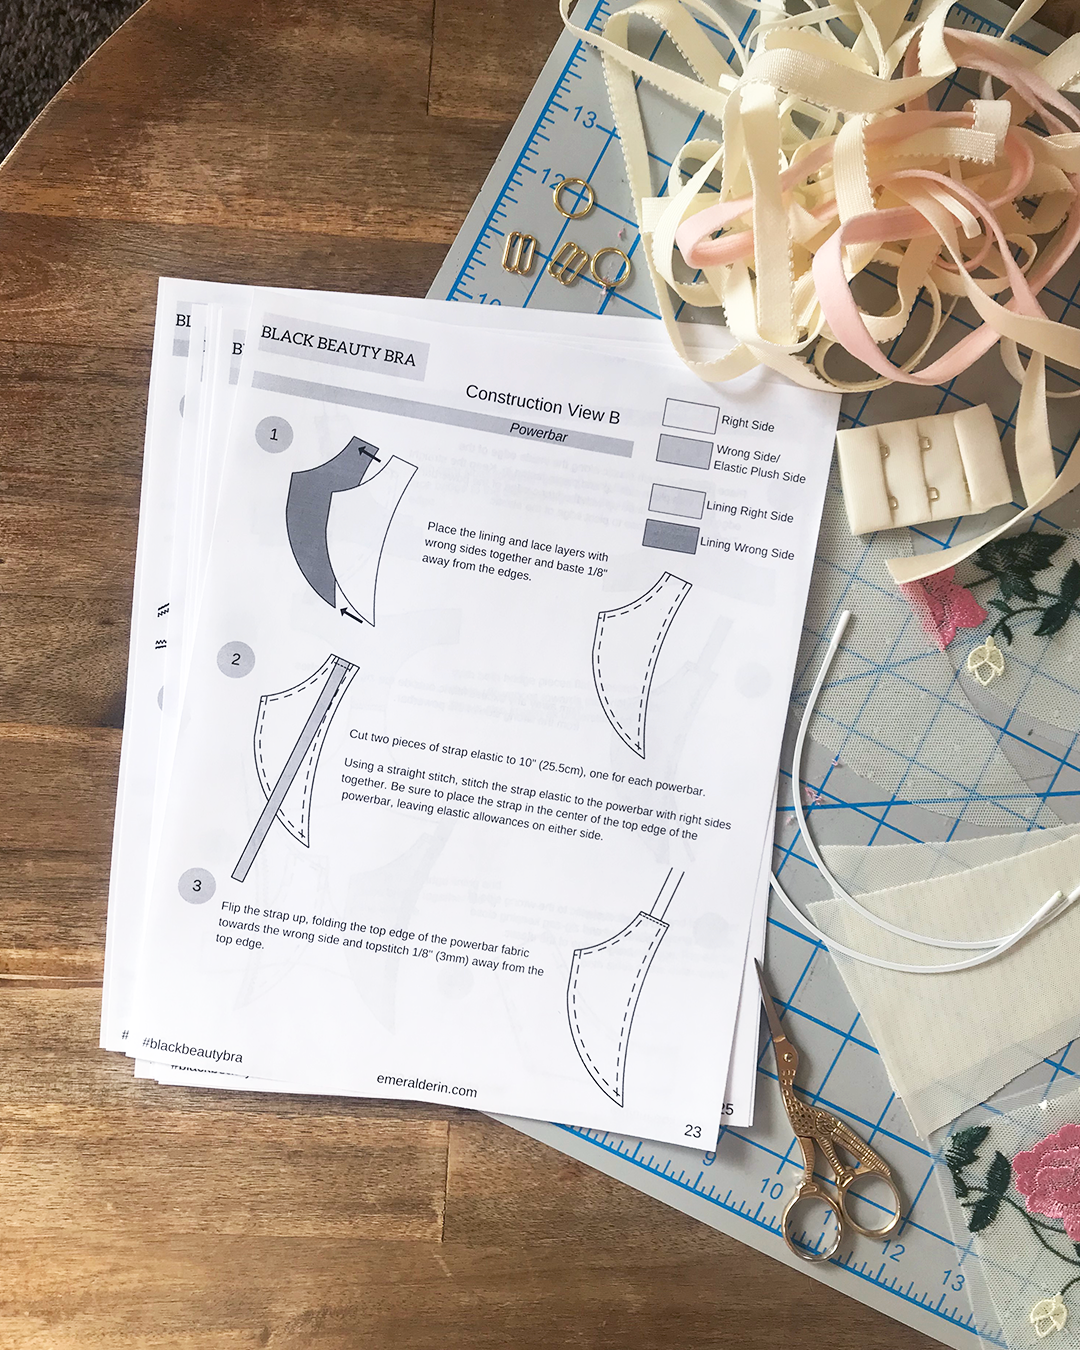
I thought that the construction instructions that came with Emerald Erin’s Black Beauty Bra pattern were super clear and easy to follow for a beginner like me. The illustrations are especially helpful, and I actually printed out a copy of the instructions so it was easy to reference while sewing.
In the next few posts, I’ll be detailing each step of the sewing process:
- Adjustable Straps
- Powerbar
- Frame
- Cups
- Cups into frame
- Channeling and elastics
- Straps and hook & eye
Assembling Adjustable Back Straps
The instructions actually have us starting with the powerbar, but I realized after sewing the Black Beauty Bra the first two times that I much prefer to start by assembling the back straps!
By the time I finish sewing the body of the bra, I’m usually a bit weary and have less patience for the straps—why can’t the bra just be done already?! When this happens, my straps tend to come out a little sloppy.
If this is an issue for you, you can try assembling the straps before you start sewing the bra!
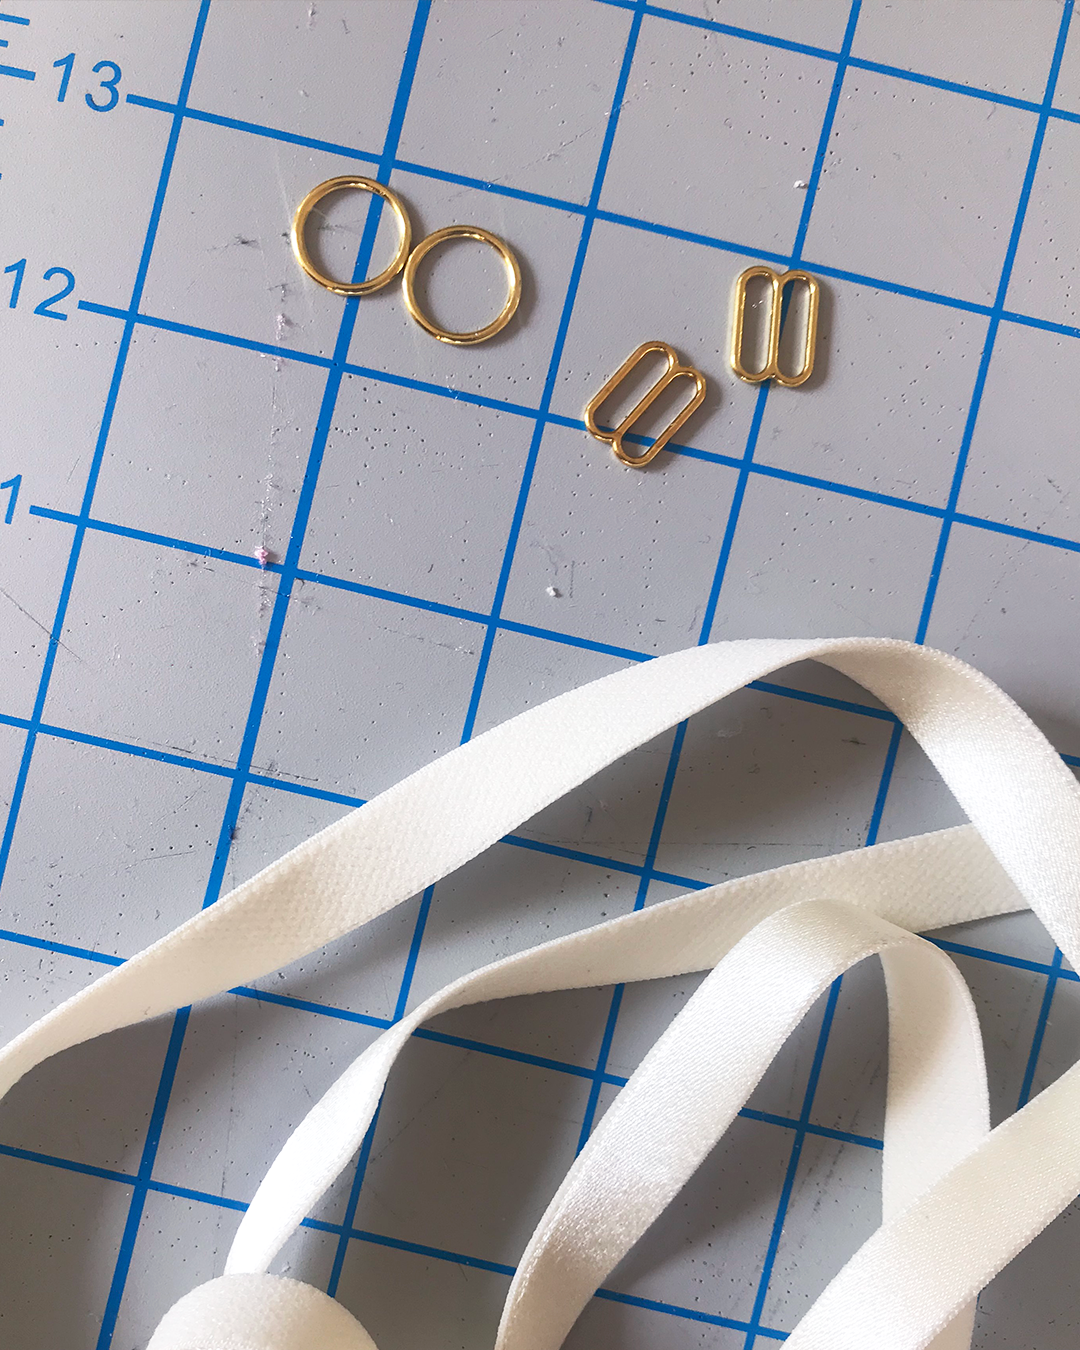
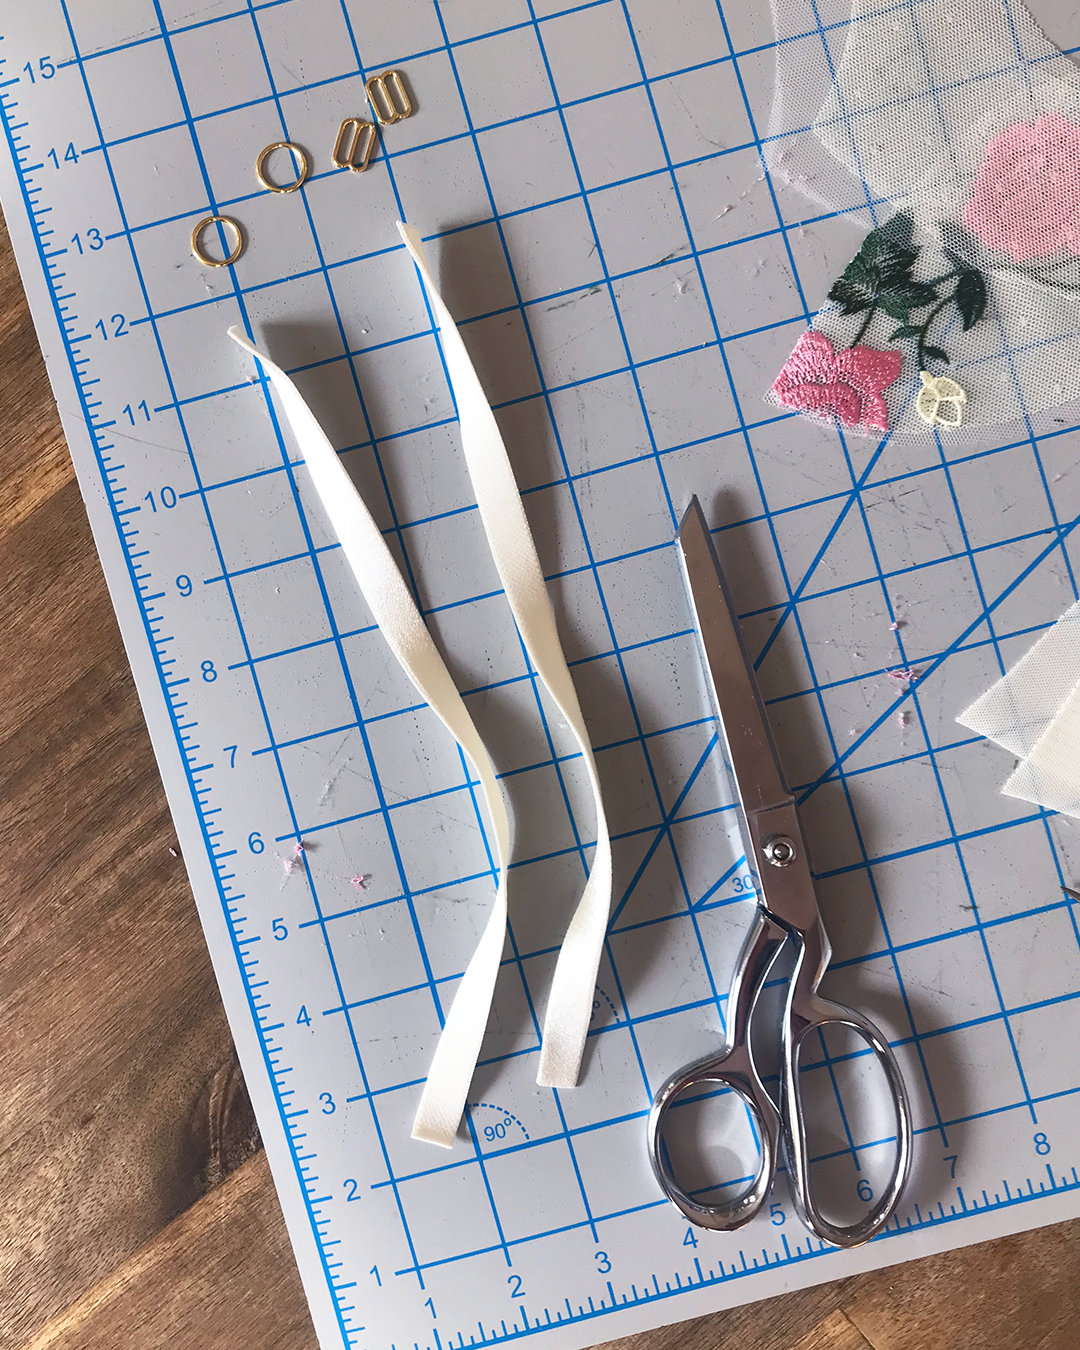
Cut Strap Elastic
To assemble the back straps, you start by cutting two 10-inch lengths of your strap elastic. The straps are adjustable, and a 10” length should work well for most sizes with this particular pattern.
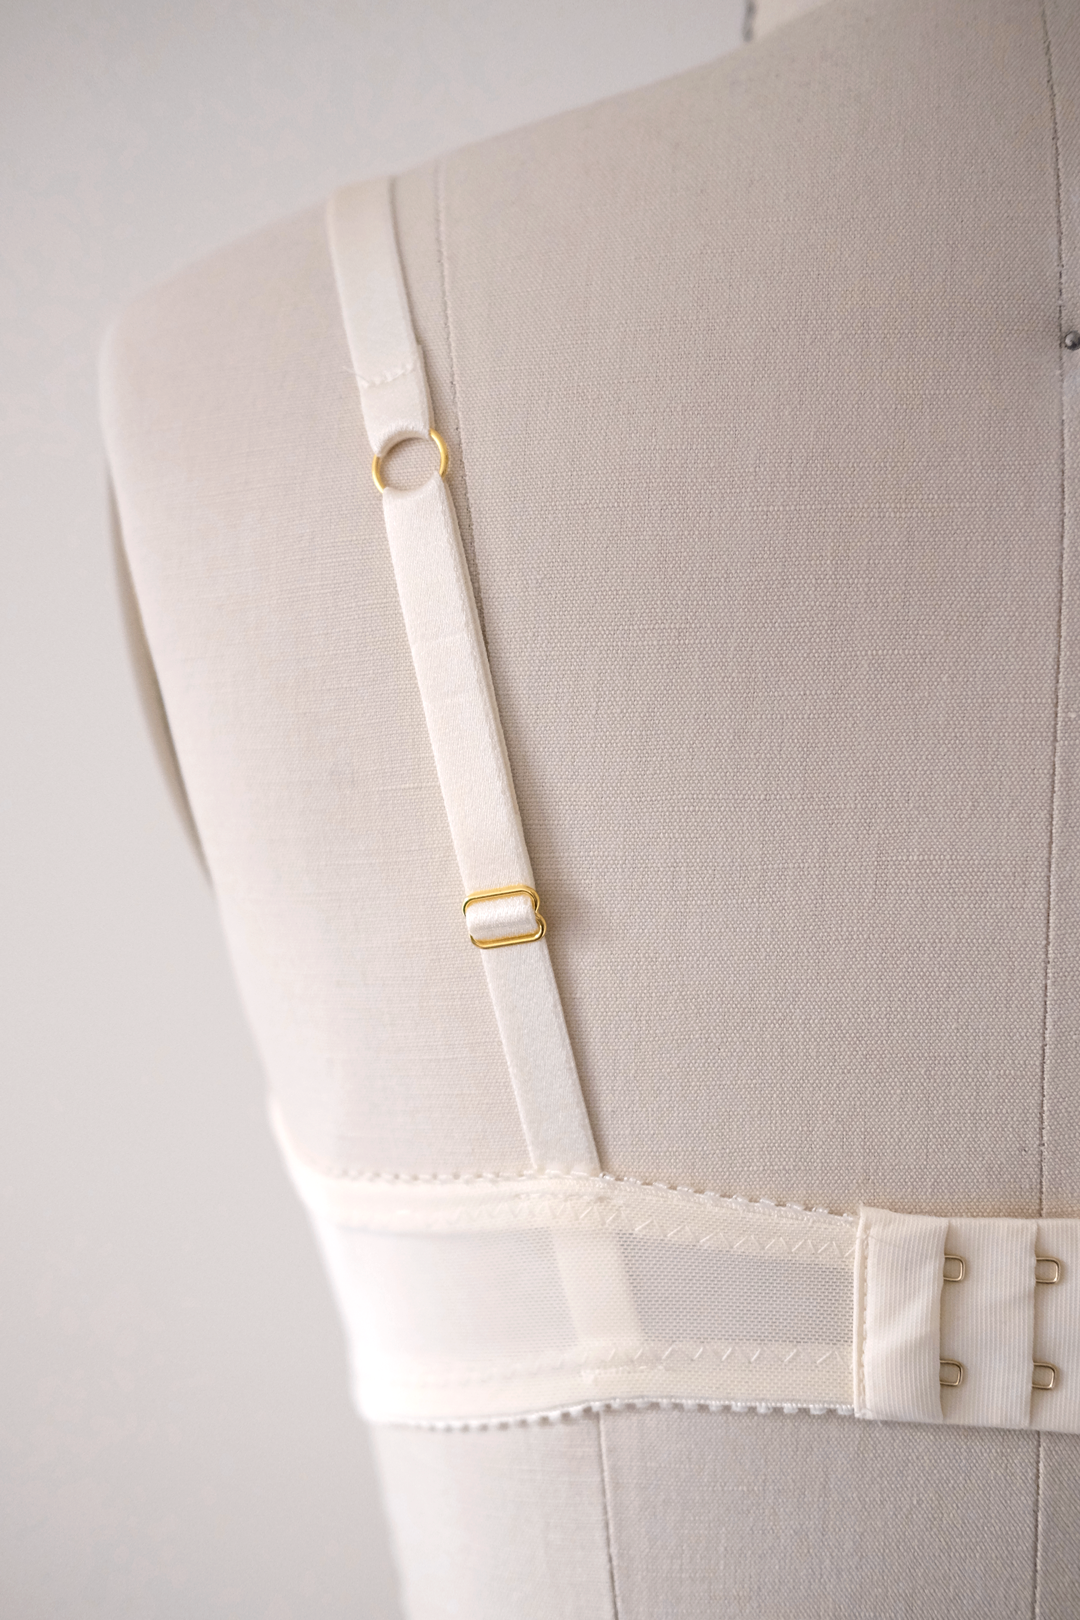
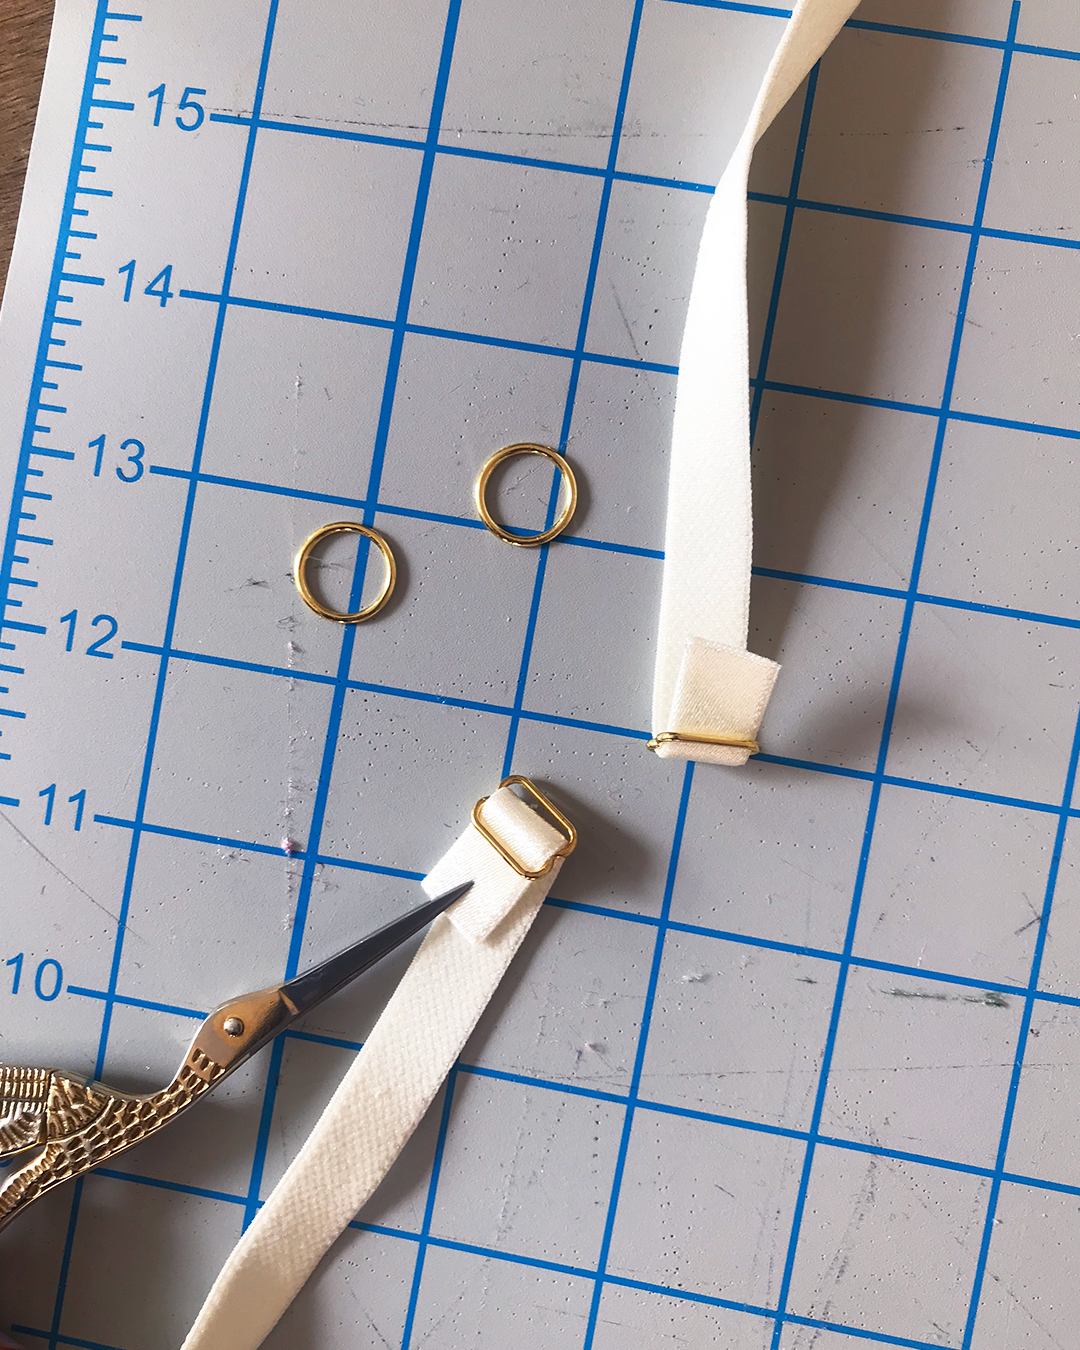
Attach Sliders
To begin, loop one end of the strap around the center bar of the slider. The shiny side of the elastic should be on the outside, and the plush sides of the elastic are touching.
Next, sew the end of the strap with a small straight stitch to hold the slider in place.
I folded the end of the strap over with about ½” overlap, and placed it under my foot so that the needle was positioned roughly in between the edge of the elastic and the edge of the slider.
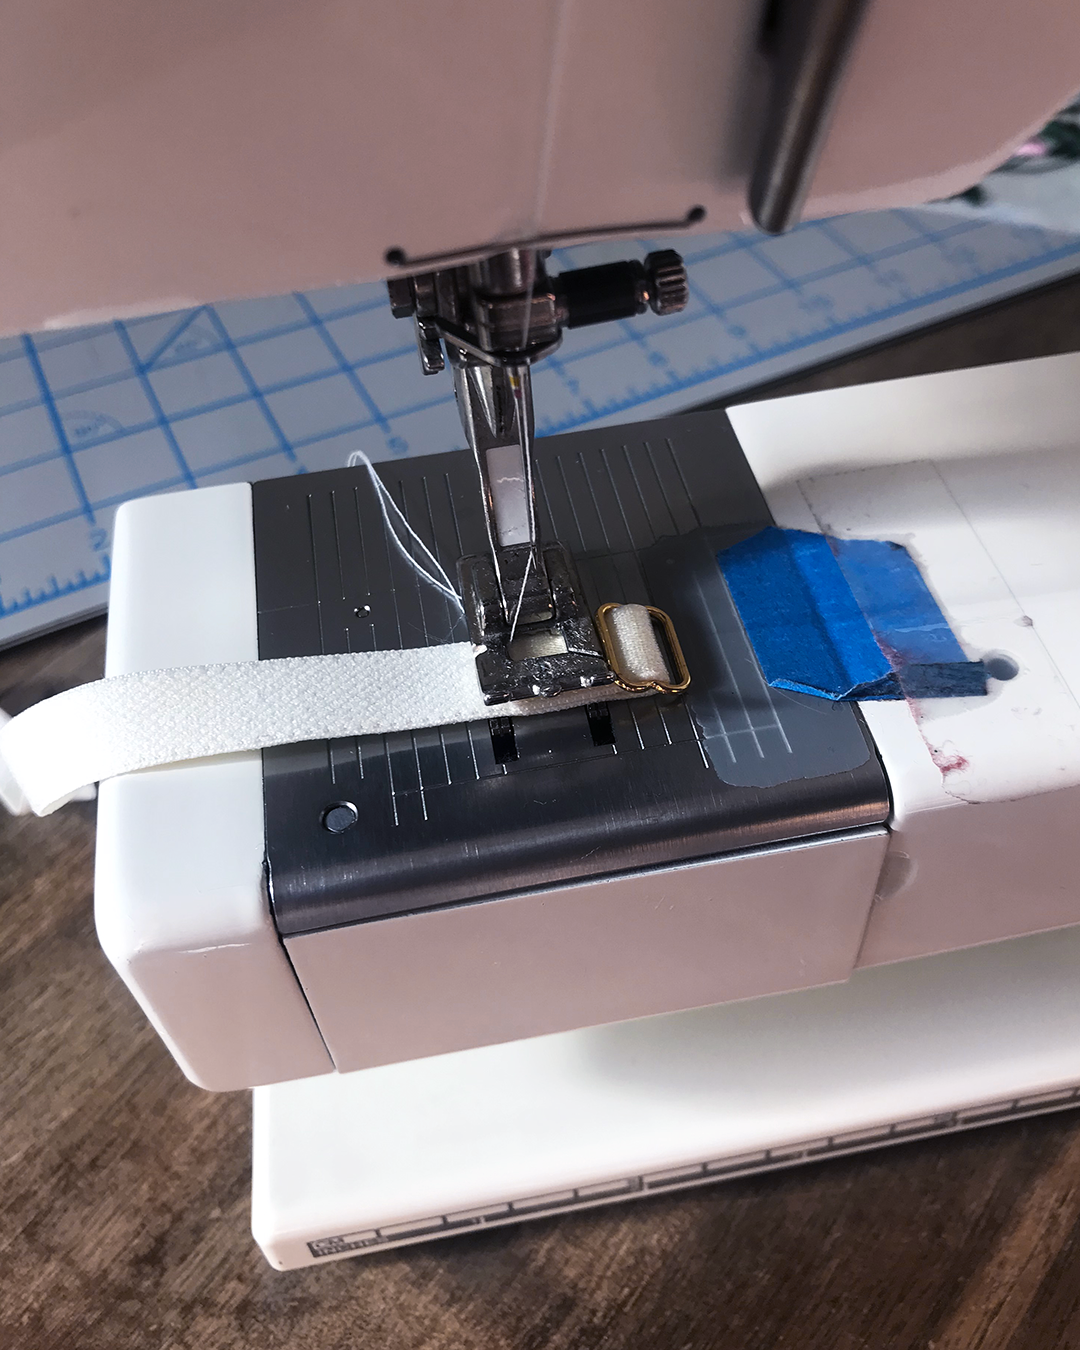
This is a moment where being able to adjust the position of your needle could come in handy. I shifted my needle in order to sew closer to the slider, and at the same time allowed me to position the slider off of the feed dogs.
(Ying tip: I actually like to position the needle so it’s right in the middle of the strap elastic when I start sewing. I also put the needle down into the elastic before I start stitching. I find that this prevents the elastic from shifting too much.)

Repeat for both straps!
Add Rings
Next, slide the rings onto the strap elastic from the other (unsewn) edge of the elastic.

Take the same end of the elastic, fold it over itself with plush sides together, and thread it under the bottom edge of the slider, over the center, and under the top edge.

Repeat for both sides, and voila! Your straps are assembled and ready to attach to the bra in the final stages of sewing.

Final Thoughts
Although I preferred to assemble my back straps before beginning to sew the fabric portions of my Black Beauty Bra, you can certainly choose to assemble your straps later on in the process.
Our next blog post will begin with the first step from Emerald Erin’s instructions: sewing the powerbar!
If you want a deep dive on sewing adjustable bra straps, check out Ying’s post on “How to Sew Adjustable Bra Straps”.