Black Beauty Bra View B Sew-Along // Part Four: Machine Settings
Hello and welcome to Part 4, where we make sure that our machine is set up for a smooth sewing experience!
In this section, we will cover:
- Stitch settings: length, width, and tension
- Needle positions
- Trouble-shooting
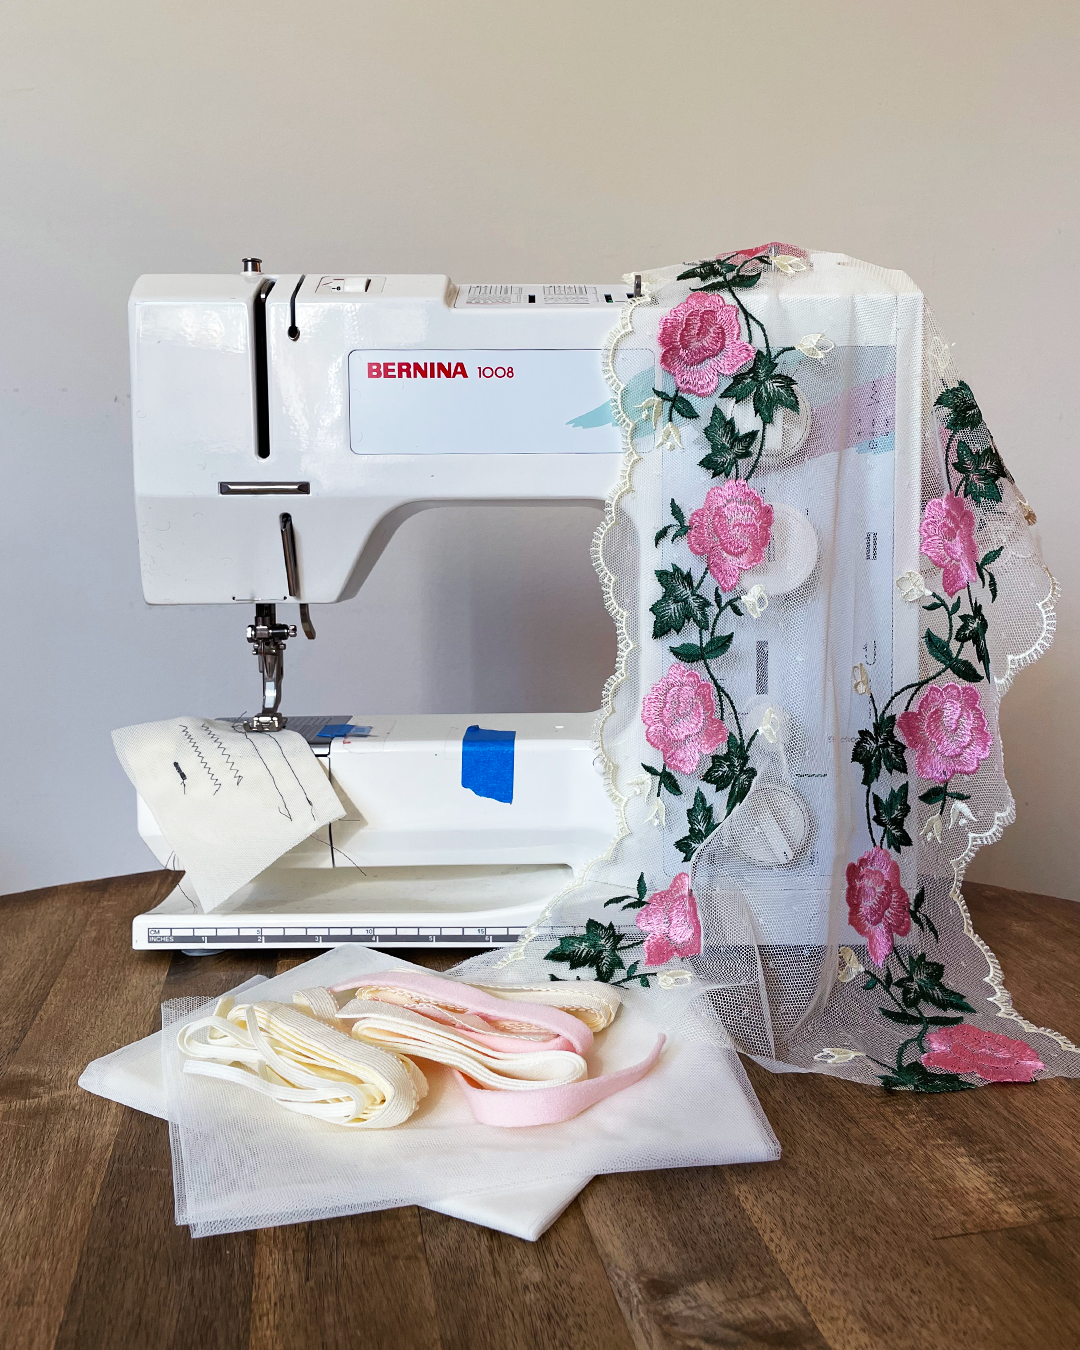
Thankfully, you don’t need a complicated machine in order to construct your Black Beauty Bra.
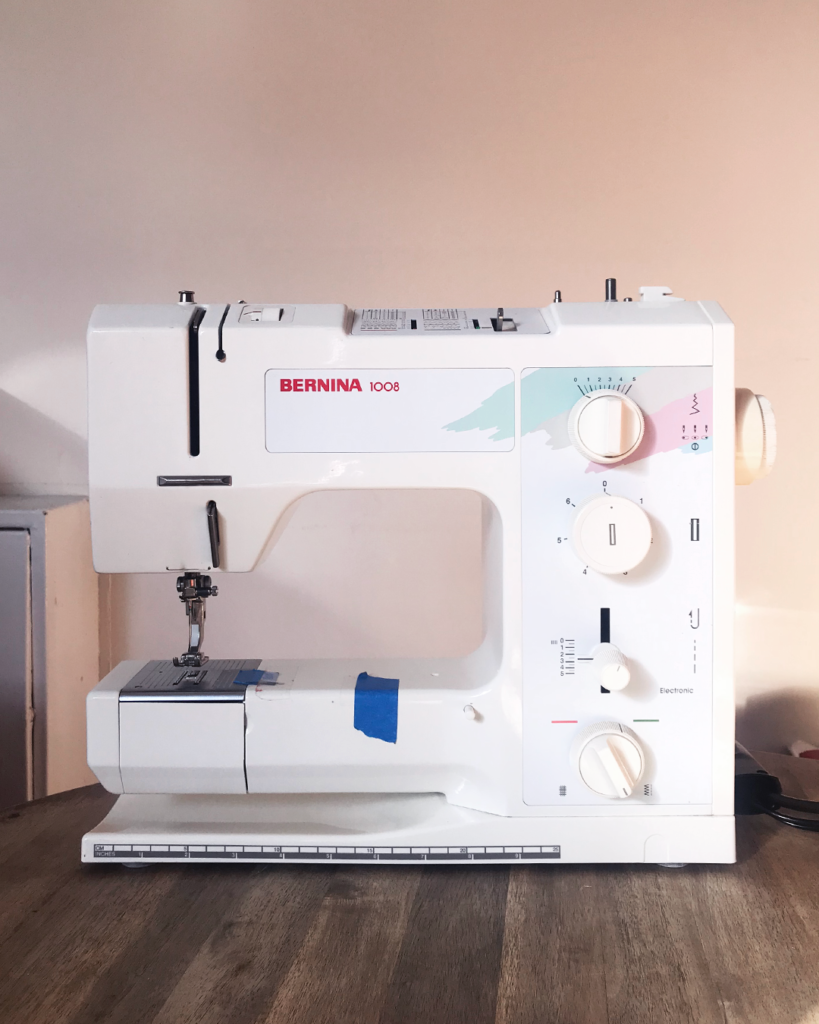
The machine I used is a Bernina 1008 home sewing machine, which has both straight stitch and zig zag stitch capabilities.
Most home sewing machines should be able to perform these basic functions, and with some testing, you can figure out what settings will work best for your project.
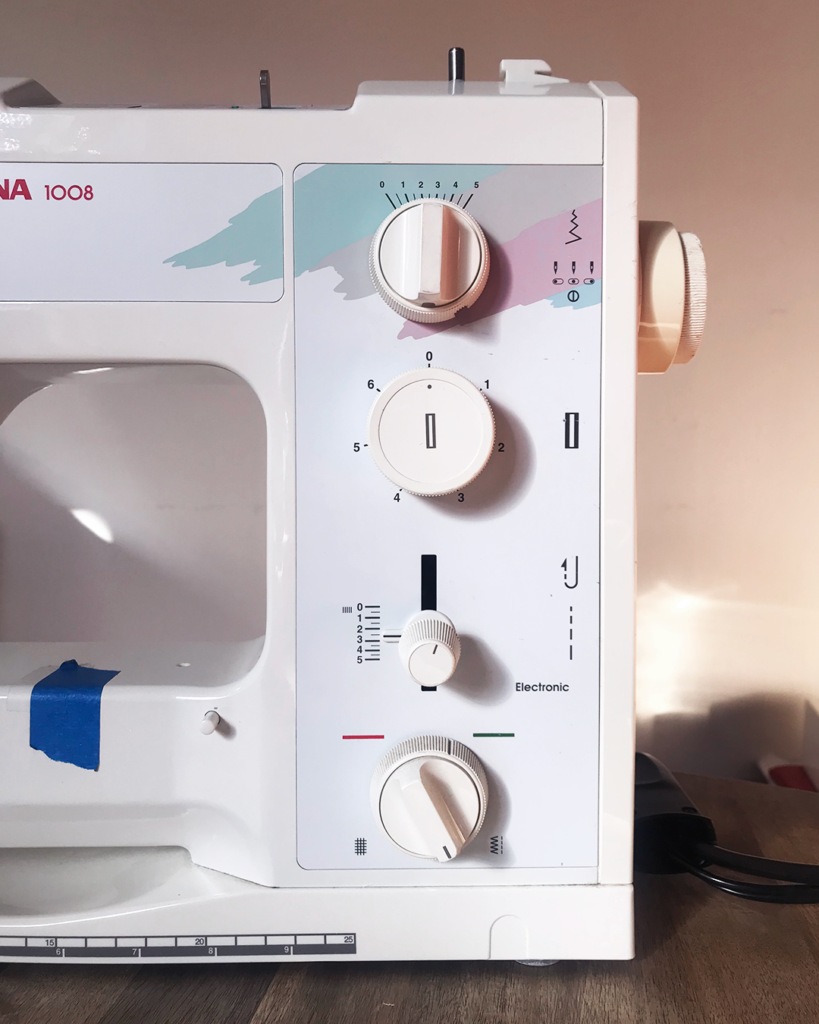
Stitch Settings
To change the type of stitch you make with your machine, you can adjust the stitch length (how long each stitch is), stitch width (how wide it is), and stitch tension (how tight it is).
Different combinations yield different stitch types which work for different materials.
Before you begin, use a test swatch of your fabrics to determine your optimal machine settings for the following stitches you’ll need for the Black Beauty Bra:
- Basting stitch
- Straight stitch
- Zig zag stitch
- Bar tack
I tested a bunch of different combinations on a folded piece of power net:
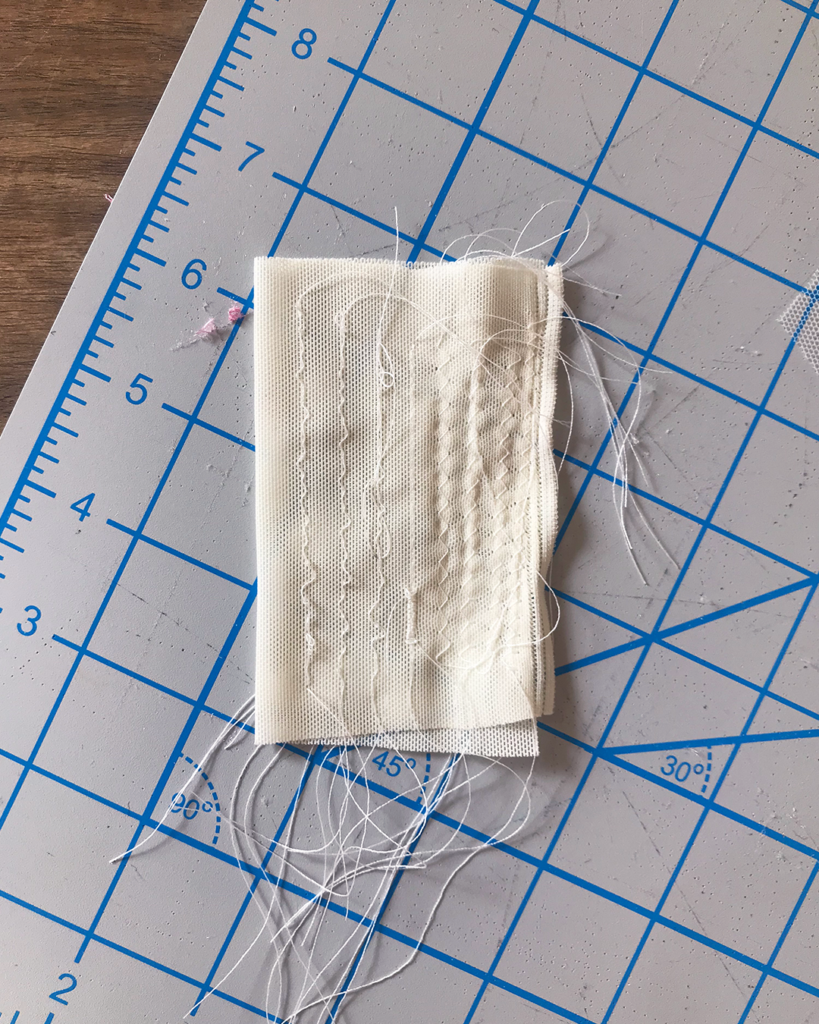
Below are the combination of settings that worked well for me:
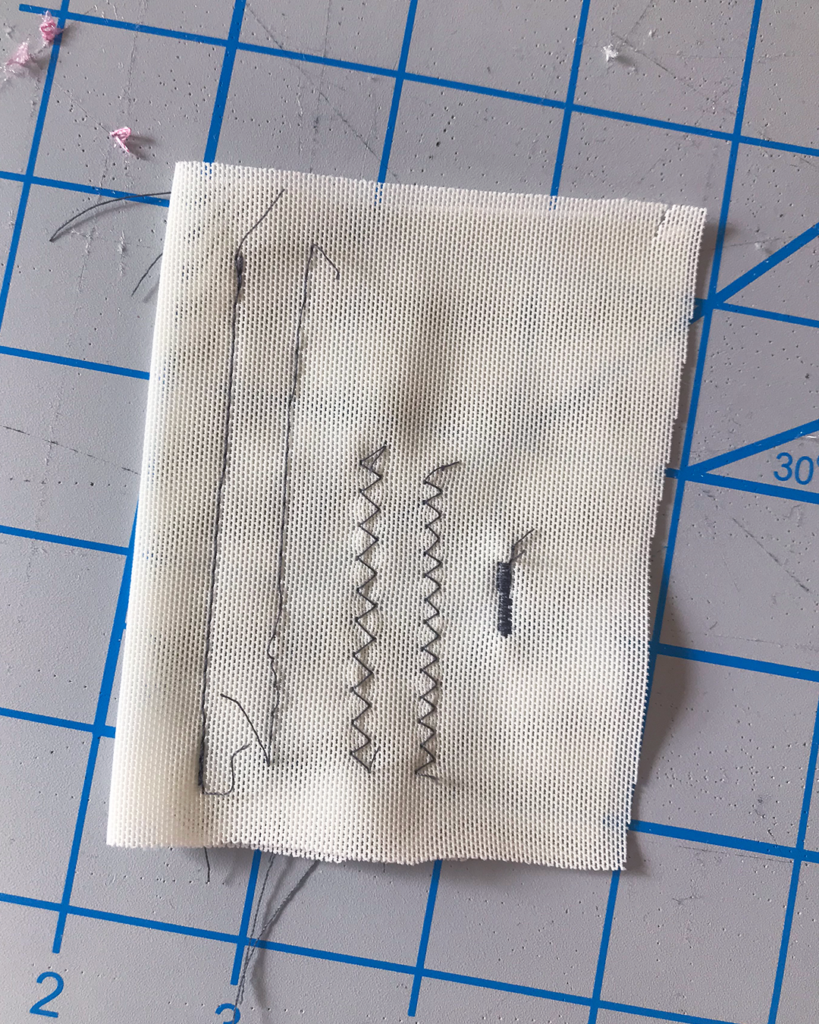
From left to right:
| Type of Stitch | Length | Width | Tension |
| Straight Stitch | 2.5 | 0 | 5 |
| Basting Stitch (Straight Stitch) | 4 | 0 | 2 |
| Large Zig Zag | 2.5 | 3.5 | 5 |
| Small Zig Zag | 2 | 3 | 5 |
| Bar Tack (Zig Zag) | 0.5 | 2 | 5 |
Needle Positions
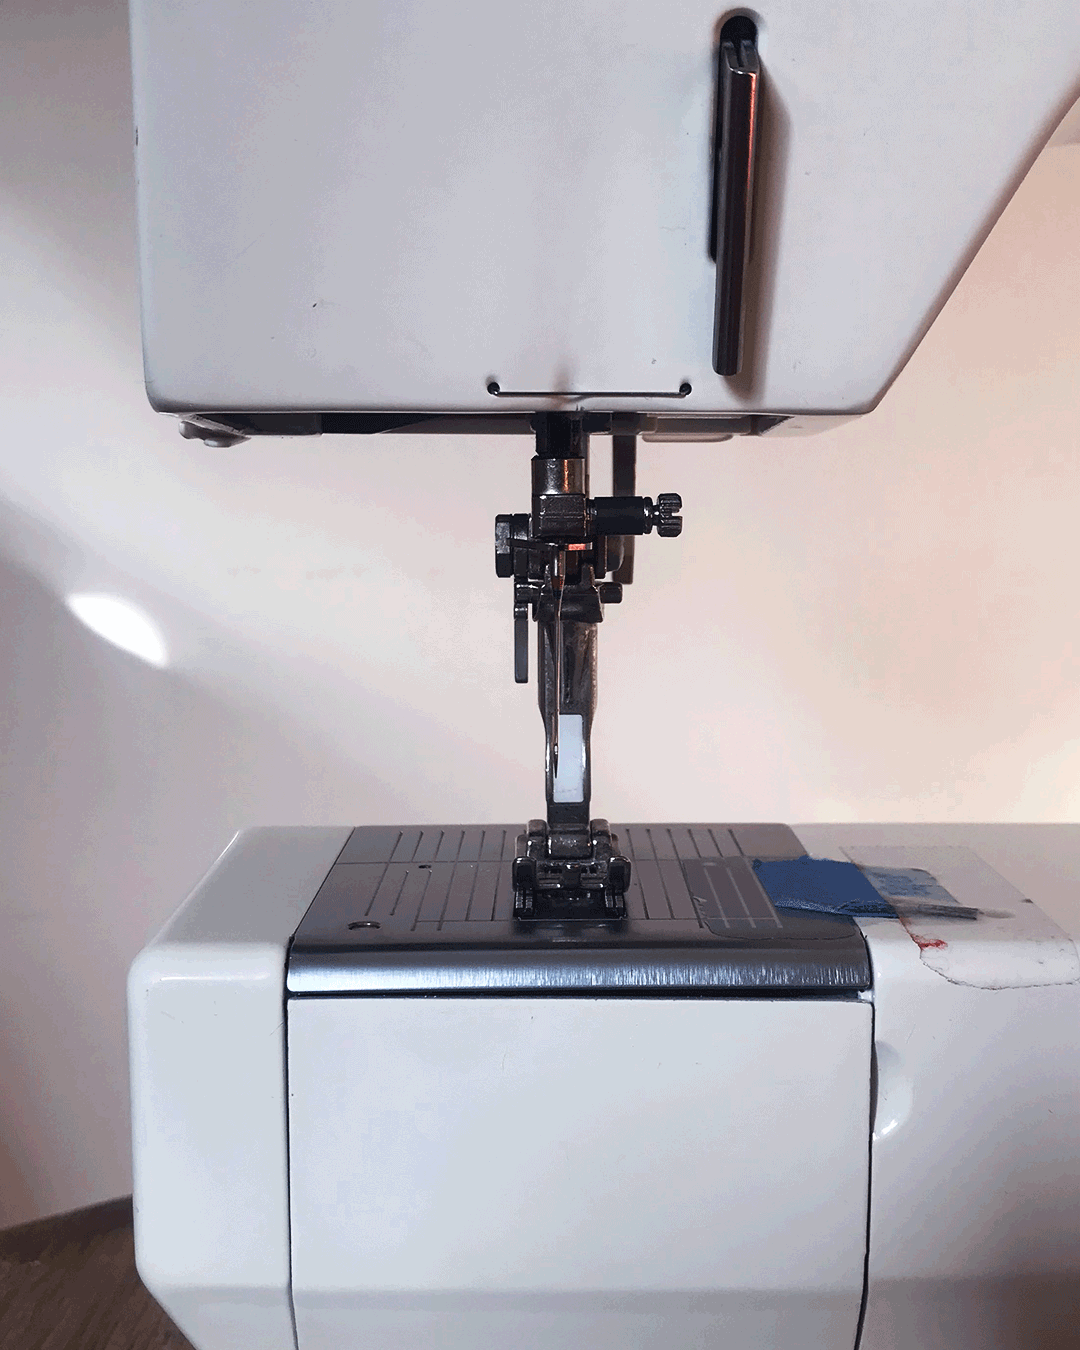
If your machine allows you to change the position of your needle, this can help a lot during the sewing phase, especially for getting really close to certain edges when basting and top-stitching.
Get familiar with your needle positions by test-sewing on a swatch.
Trouble-Shooting
There are a few common issues that can come up when sewing with bra-making materials:
My fabrics are getting eaten by the machine
A few things could be happening. Firstly, your presser foot strength may be too high for the fabric; if this is adjustable on your machine, you can loosen the presser foot tension slightly to allow the fabric to glide more easily between the foot and feed dogs.
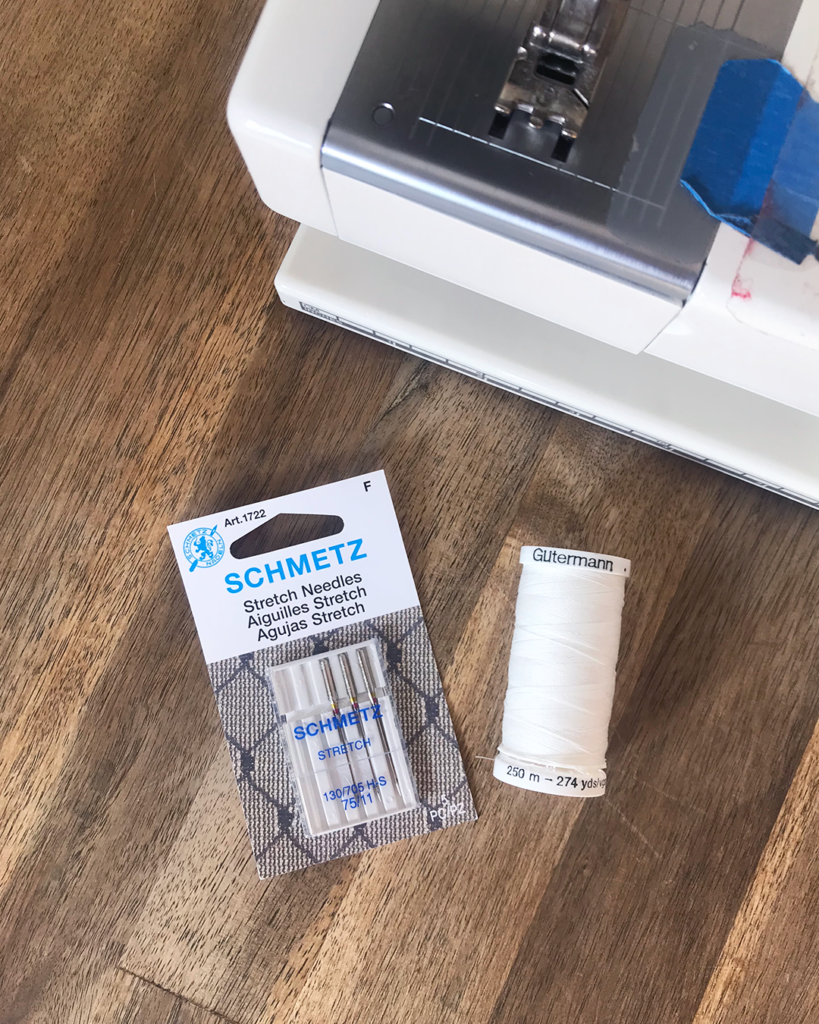
It’s also possible that your needle is too thick or too dull to penetrate the fabric, and is instead pushing it into the feed dogs as you sew. Check to make sure you’re using a new, sharp needle. Emerald Erin’s recommendation for the Black Beauty Bra is a size 11 stretch needle, which is what I used successfully.
You might be starting and ending your stitches too close to the edge of the material, and there is not enough material between the foot and feed dogs for your machine to grip the fabric. You can start your stitching a little further in from the edge of the fabric (shifting needle position can help with this), or you can try sewing with a piece of tissue paper under your fabric. You can also try placing scrap material against the edges of your fabric at the beginning and end of your sewing, which would allow you to start and end your stitching on the scrap materials instead of on the actual piece itself.
My machine is skipping stitches
Bra-making fabrics can be a bit slippery when they are stretchy or silky in nature, so your machine’s foot and feed dogs may have trouble gripping it as your sew. Try slowing down your sewing speed to give the machine time to move the fabric at its preferred pace, and don’t pull too hard on the materials as you are sewing.
Sometimes, skipped stitches have more to do with the needle you are sewing with. Before you begin your project, make sure you’re using a new, sharp needle. Emerald Erin’s recommendation for the Black Beauty Bra is a size 75/11 stretch needle, which is what I used successfully.
Final Thoughts
Taking the time before you start sewing to test your machine on swatches of your and make note of your favorite stitch settings goes a long way to make your sewing experience smoother and more successful.
I had my machine settings written down on a notebook next to my sewing machine, so that I could easily reference them and toggle the controls back and forth as needed.
Get ready! In our next post, we’ll be diving into sewing.