Black Beauty Bra View B Sew-Along // Part Six: Sewing – Powerbar
This post contains affiliate links.
Hello and welcome back for Part 6 of our Black Beauty Bra Sew-Along with Joy (@byjoymao).
Next step in our Black Beauty Bra sewing journey: assembling the powerbars!
The powerbars are a piece of the Black Beauty Bra that is designed for support and shaping. Powerbars can be external or internal or even seamed into the bra cup. They’re cute but also functional!
In this step of the sewing process, you will:
- Baste the powerbar’s lace and lining layers together
- Attach strap elastic to the top edge
- Apply picot elastic to the front edge in two passes

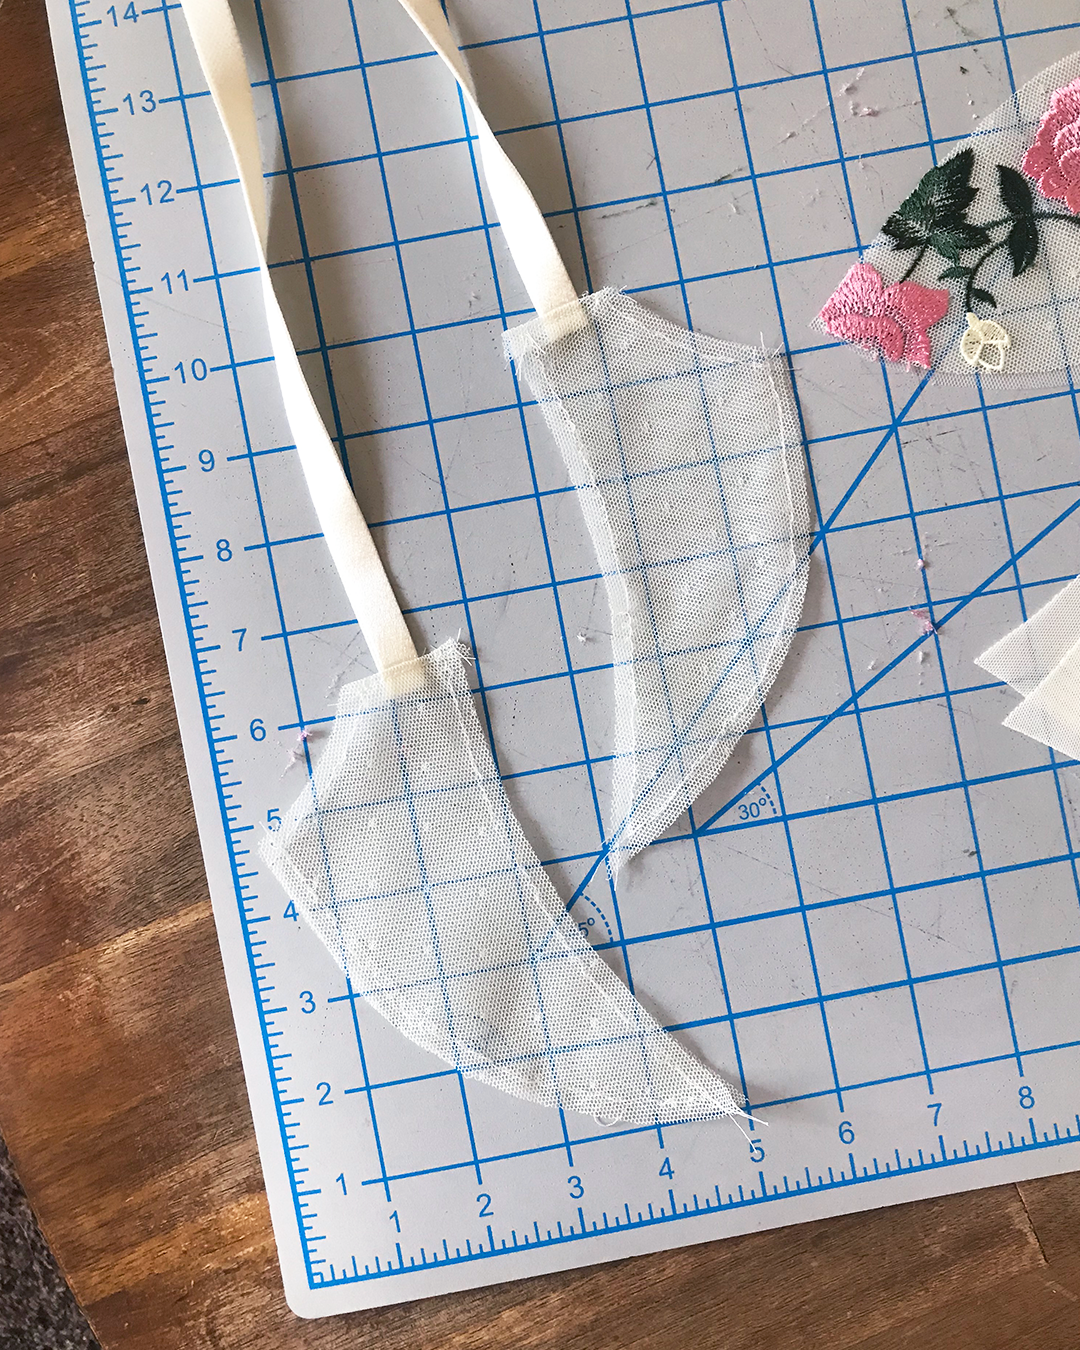
Before you begin, prepare the following materials:
- Two sets of power bar pieces, with lace on top of lining (bra tulle), wrong sides together
- Two 10” lengths of strap elastic
Baste Layers Together
The first step is to baste the lace and lining together.
Although experienced bra sewers will sometimes skip this step, beginners like me often benefit from the added stability that basting stitches provide. Personally, I love basting! It helps me sew much more accurately, especially when attaching curved edges.
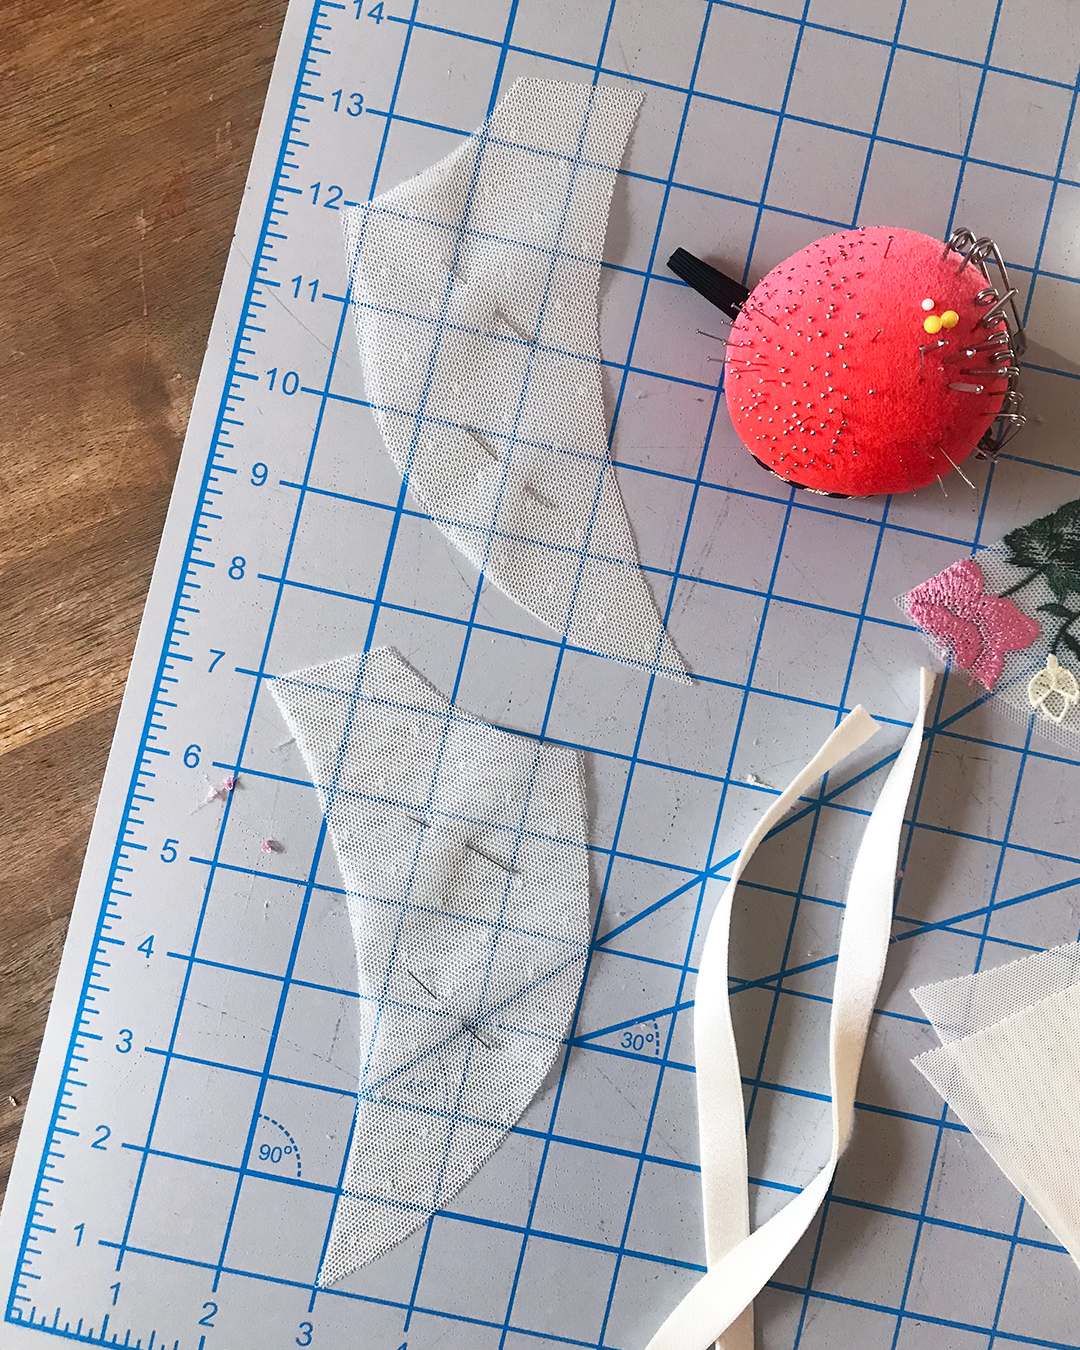
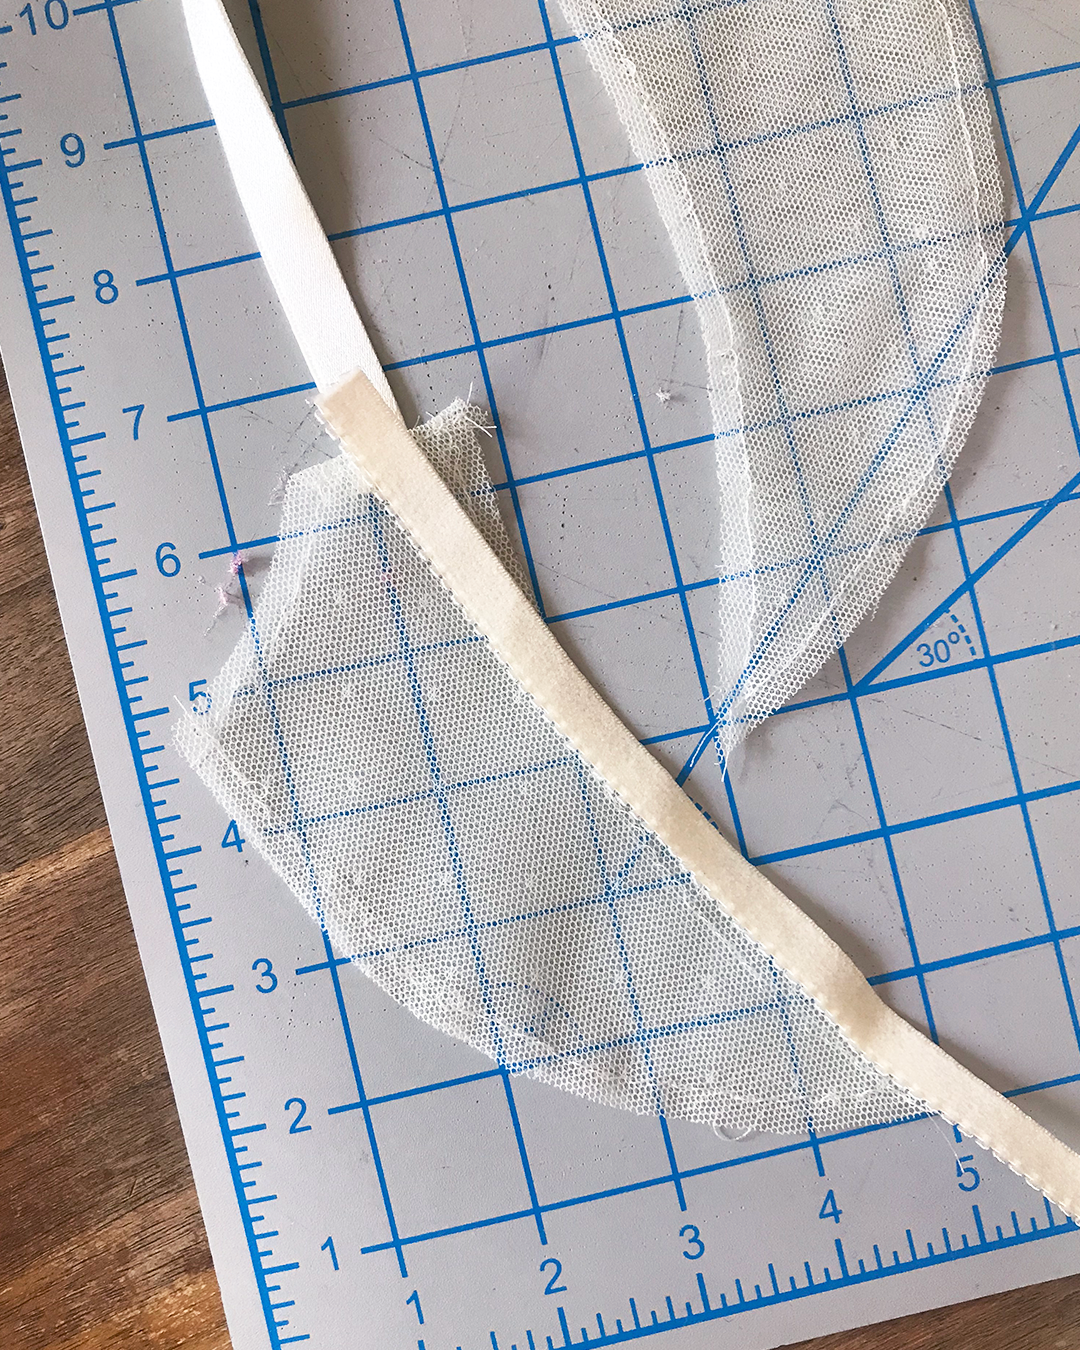
If it helps, start by pinning together the pieces that you want to baste. How you prefer to do this is up to you—you can pin diagonally across the layers like I did, or you can place your pins closer to the edge you’ll be sewing, perpendicular to the cut edge.
Set your machine to the settings you chose for your basting stitch. Leave a long tail before you start sewing, and slowly stitch around the edge at a ⅛” seam allowance.
Different machines will handle this step differently depending on the pressure of the presser foot and feed dogs.

In my case, a lot of bunching happened when sewing my basting stitches. Don’t worry if this happens to you!
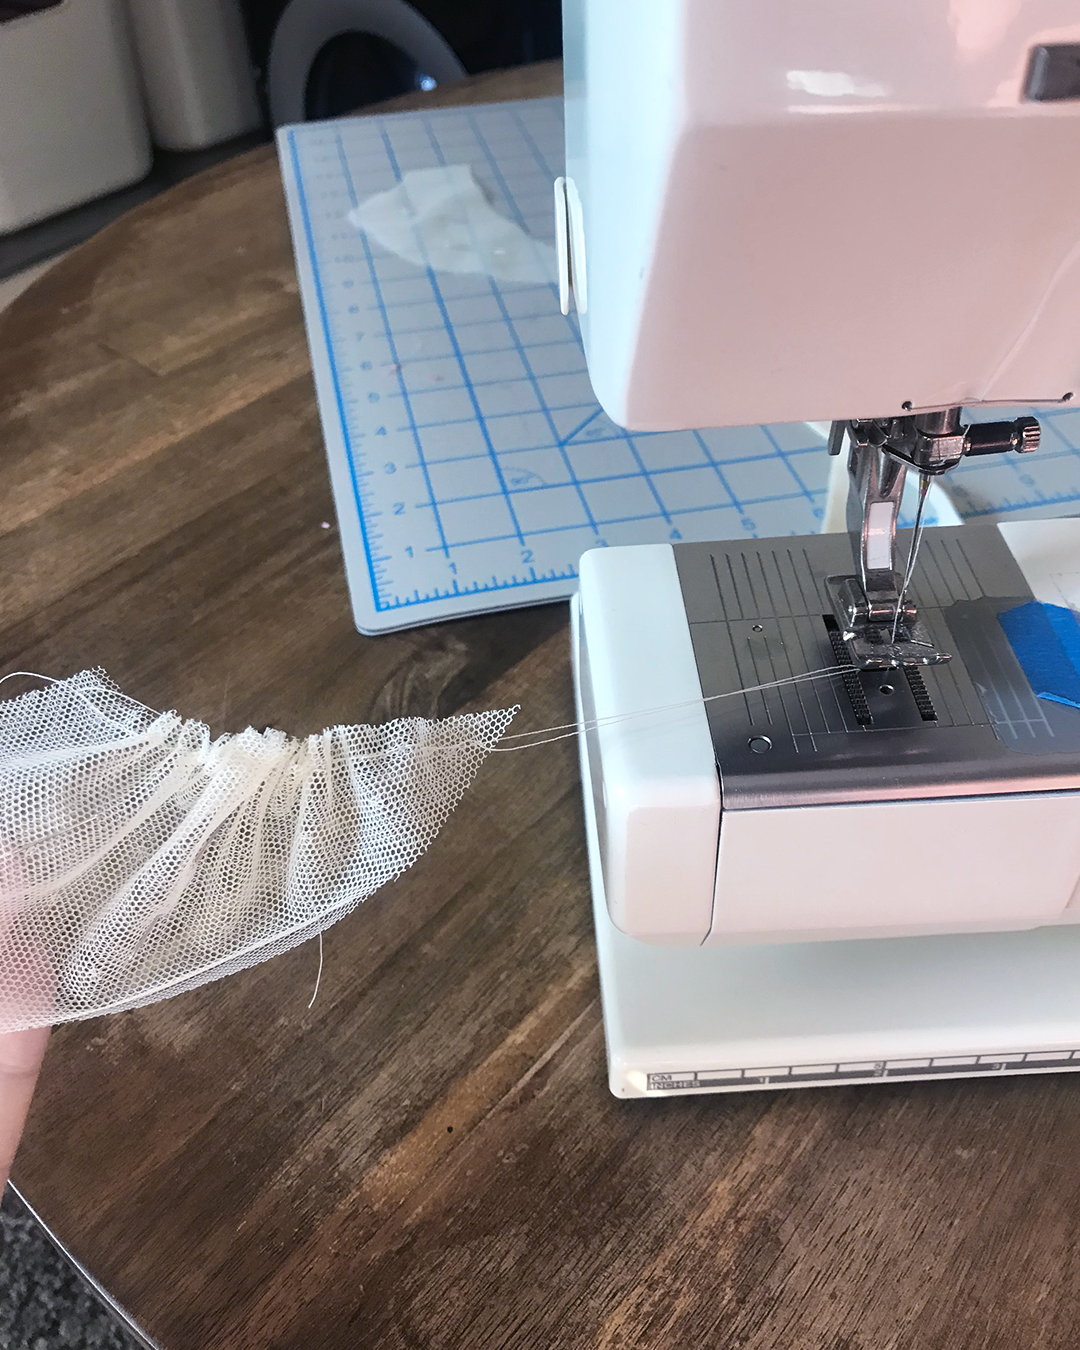
When you finish sewing one seam, simply pull out enough thread to leave a long tail (at least 1.5x the length of the seam itself) before cutting the thread.

After you’ve cut the thread, you can gently ease the piece flat over the extra thread.
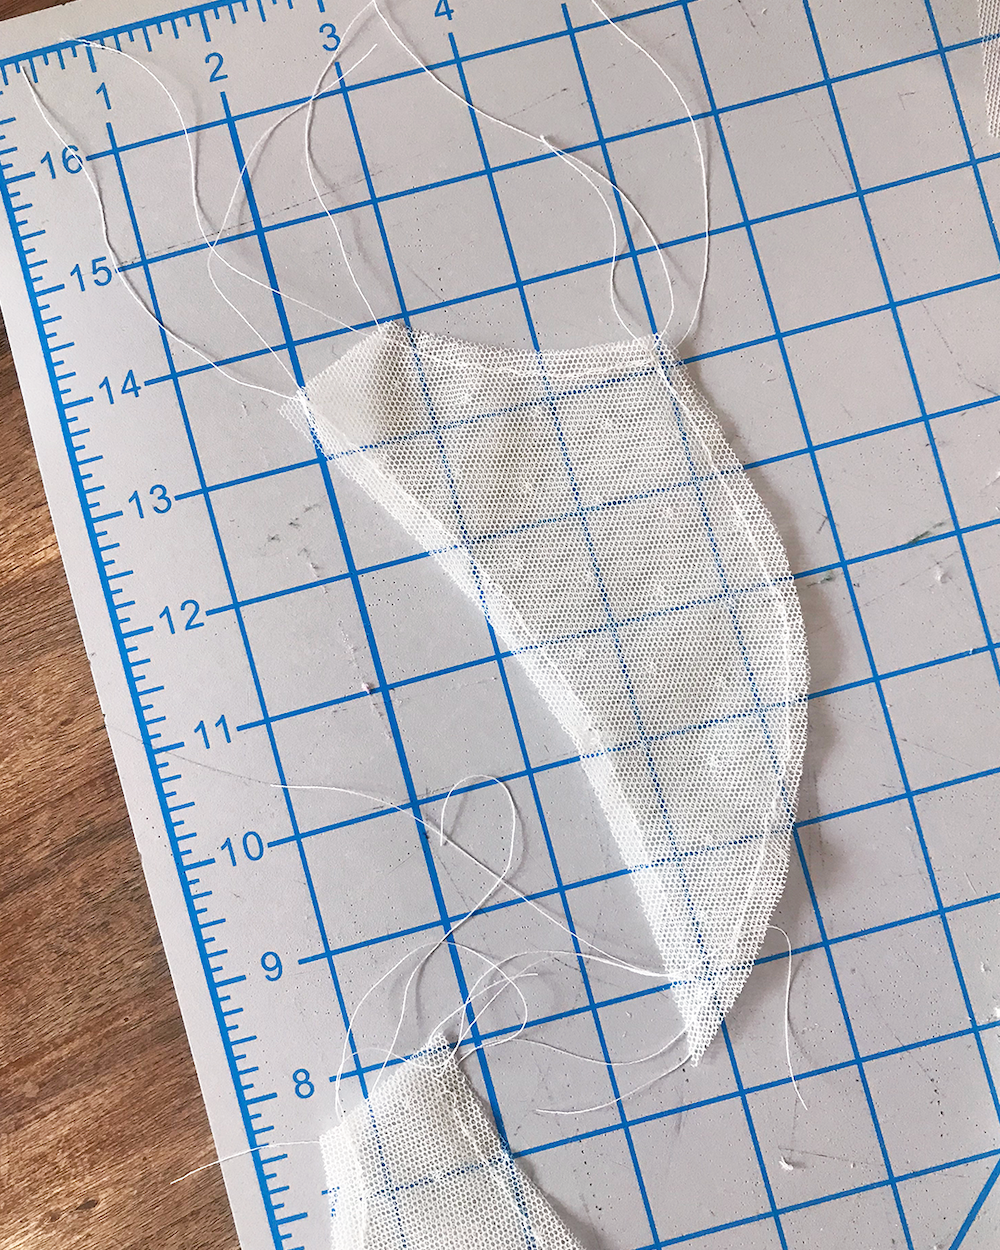
Complete your basting around all three edges of the powerbar, and repeat the process for the other side’s powerbar.
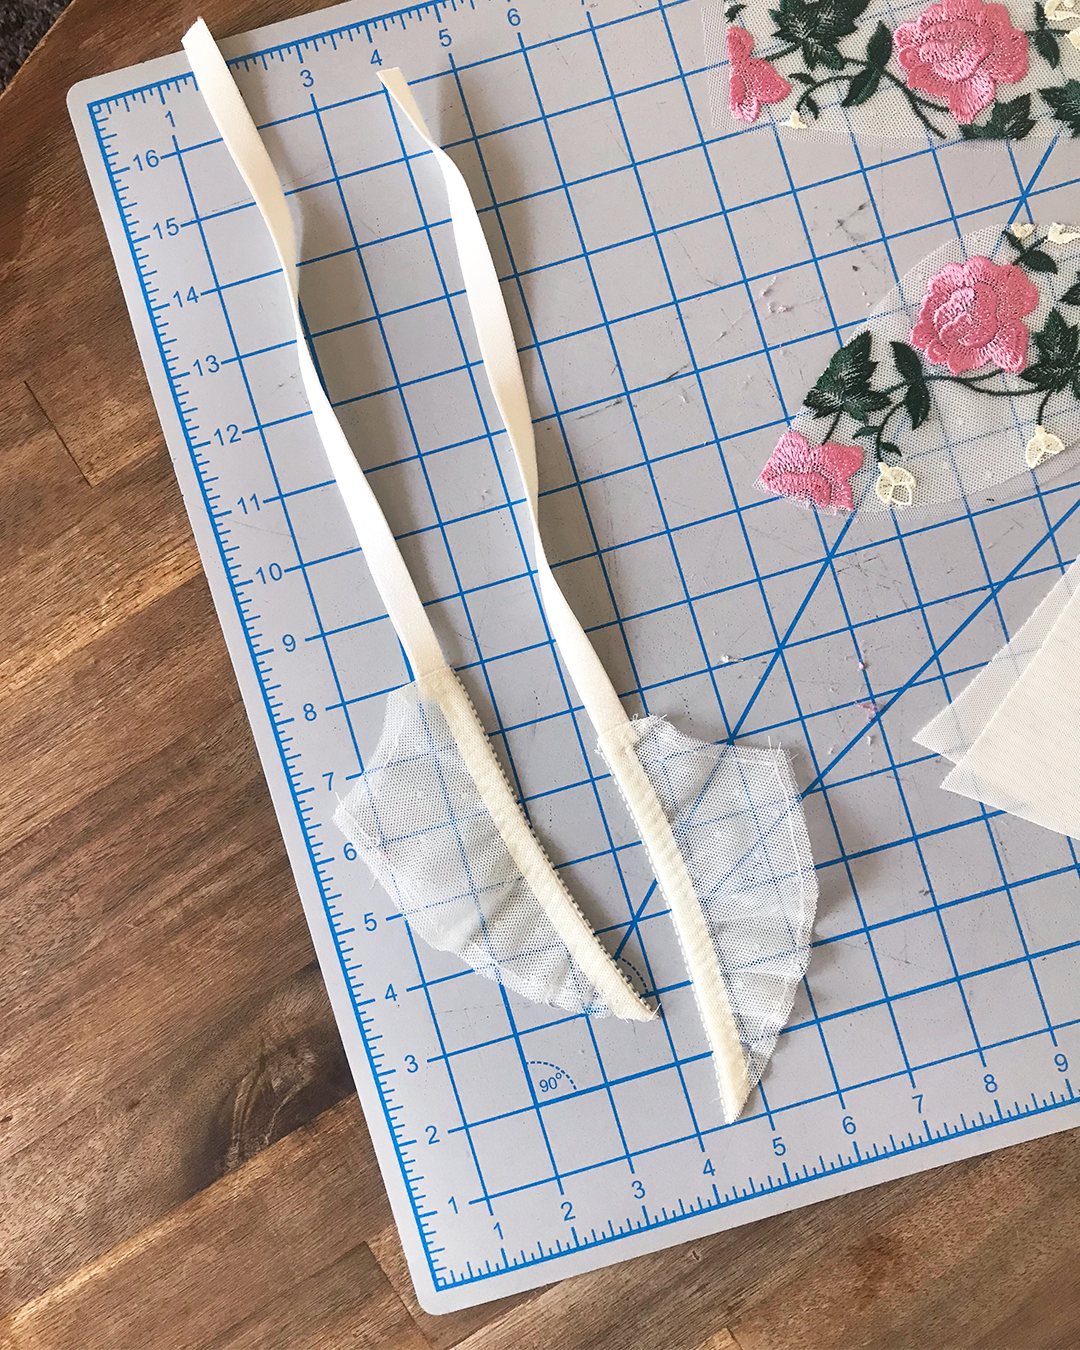
Attach Strap Elastic
Start by lining up one edge of your 10” piece of strap elastic along the top edge of the powerbar piece.
The right side of the powerbar’s lace should be against the right side (shiny) of the strap elastic. The elastic should be positioned in the center of the powerbar edge.
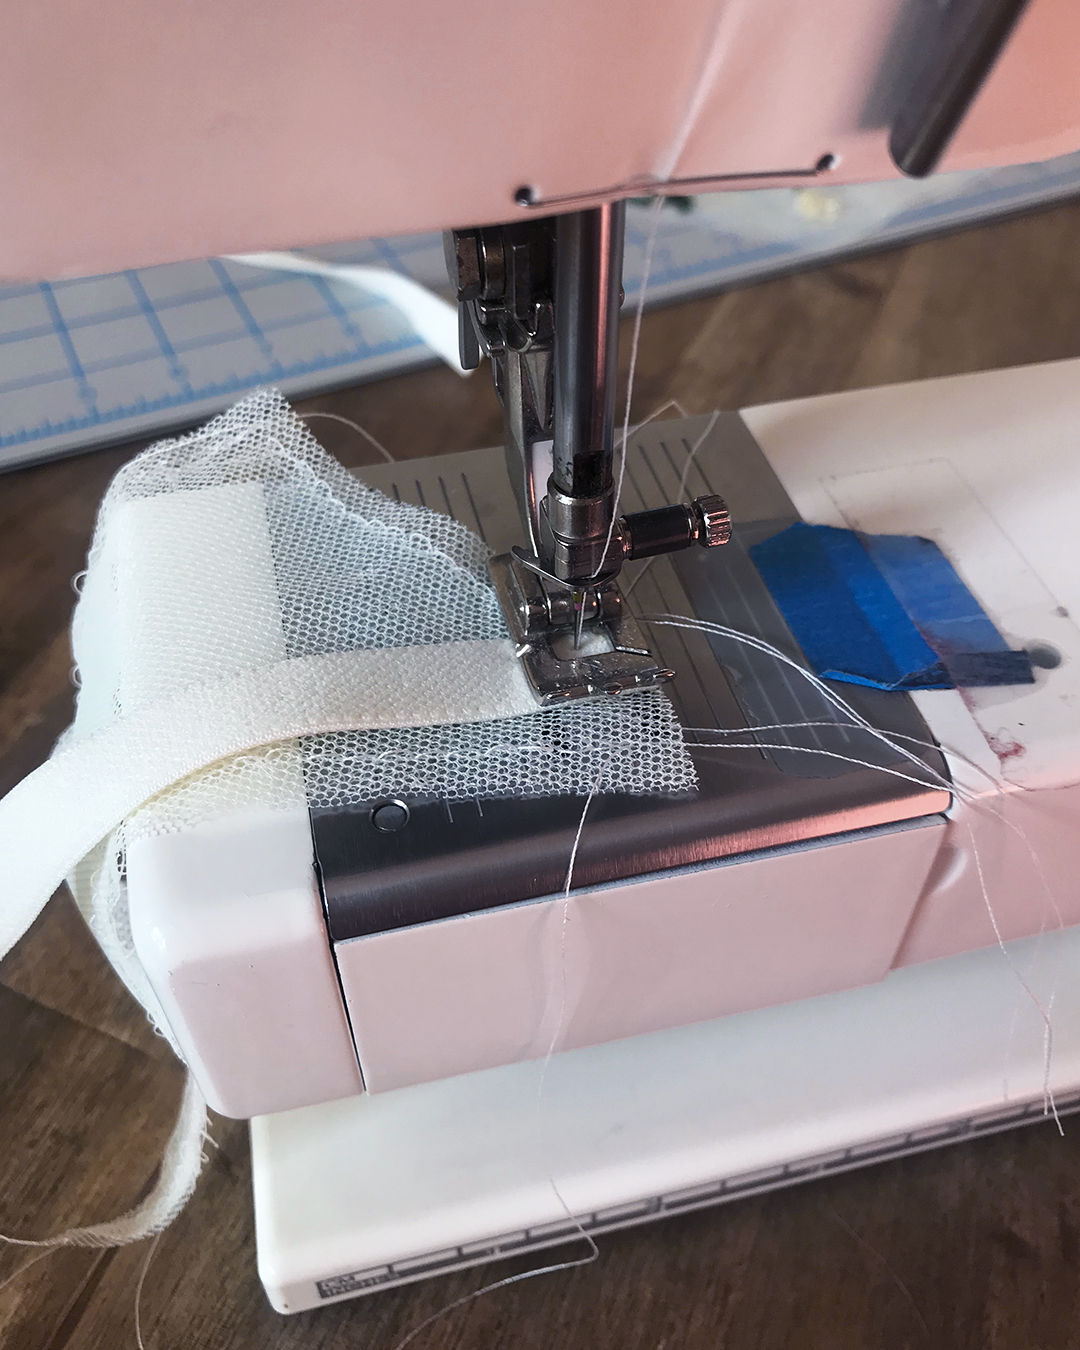
Using a straight stitch, sew the strap elastic to the top edge of the power bar at ¼” seam allowance.
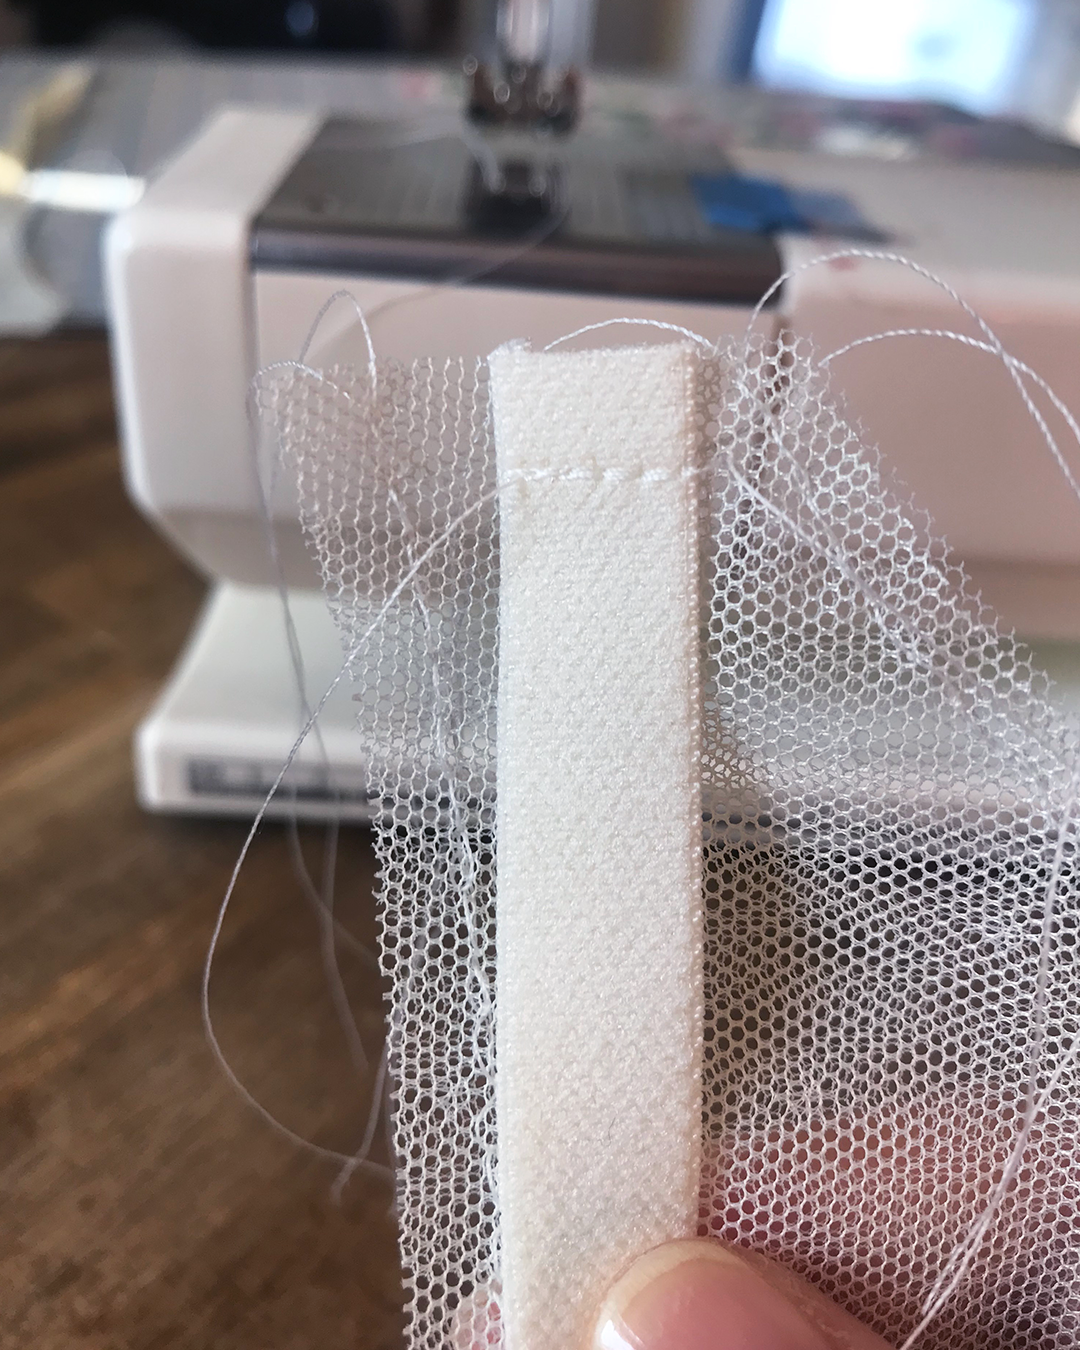
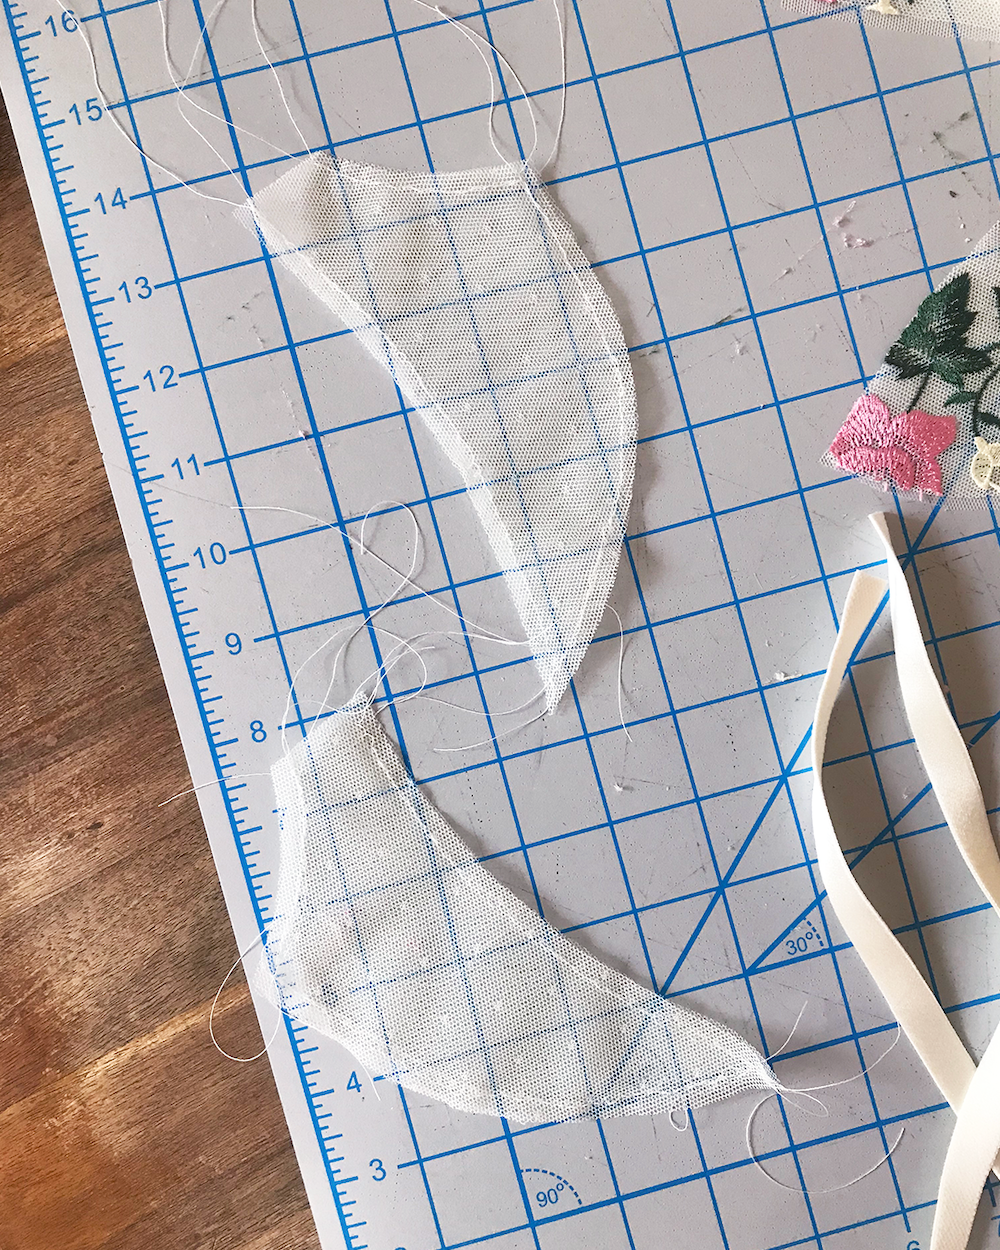
Flip the strap elastic upwards (away from the powerbar) and fold the seam allowance down. Stay-stitch the top edge so that the finished product look like this:
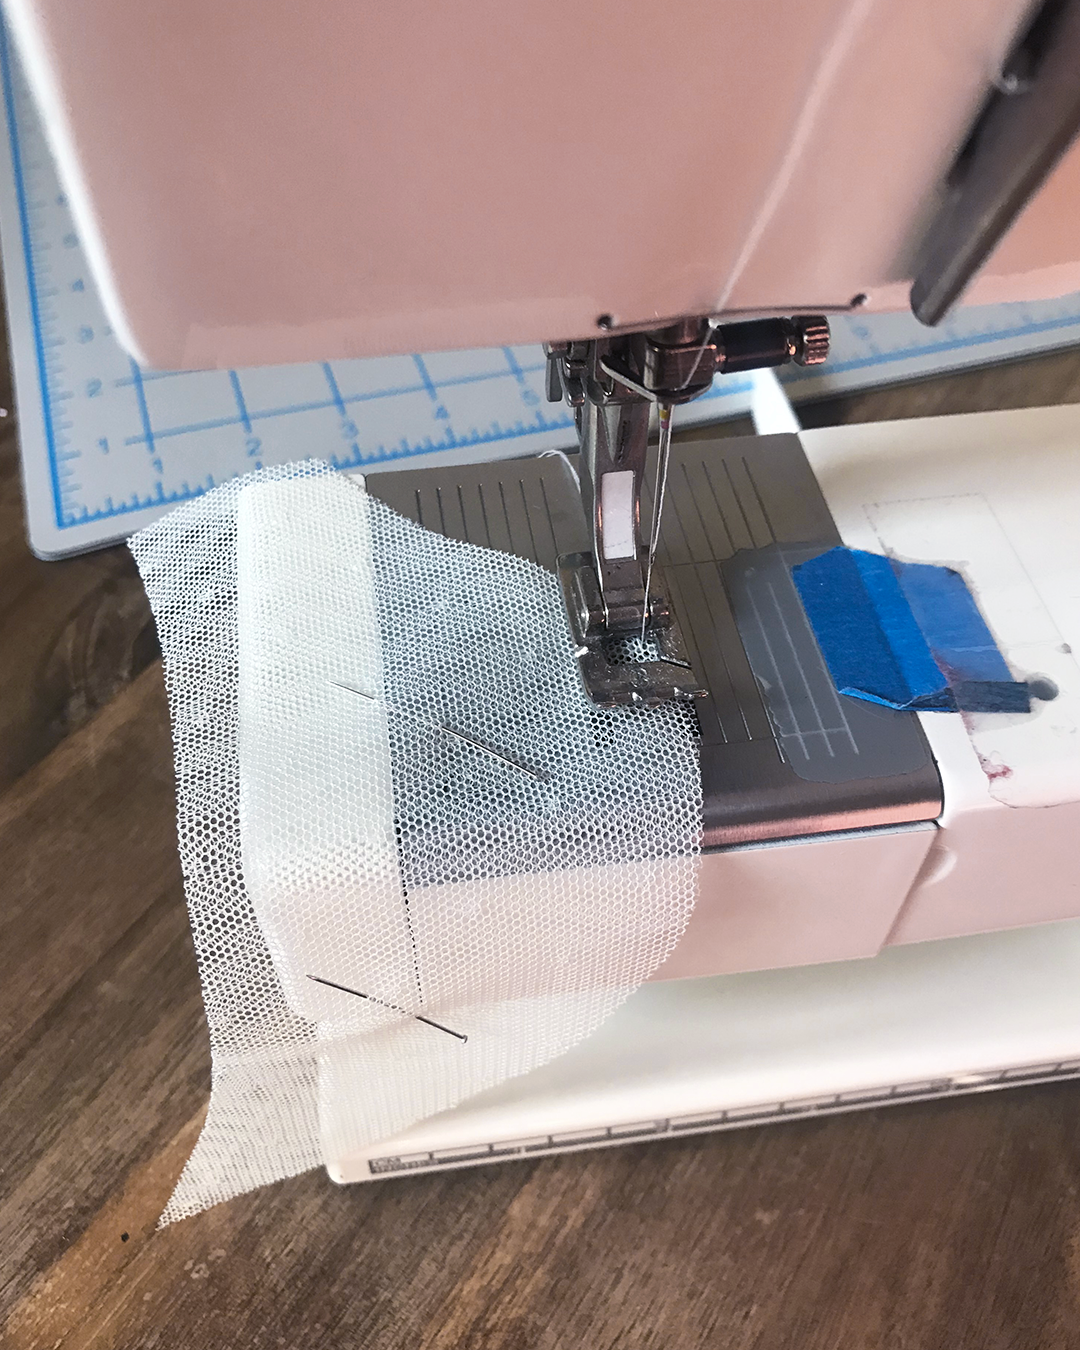
Apply Picot Elastic
Next up – applying picot elastic to the front edge of the powerbars!
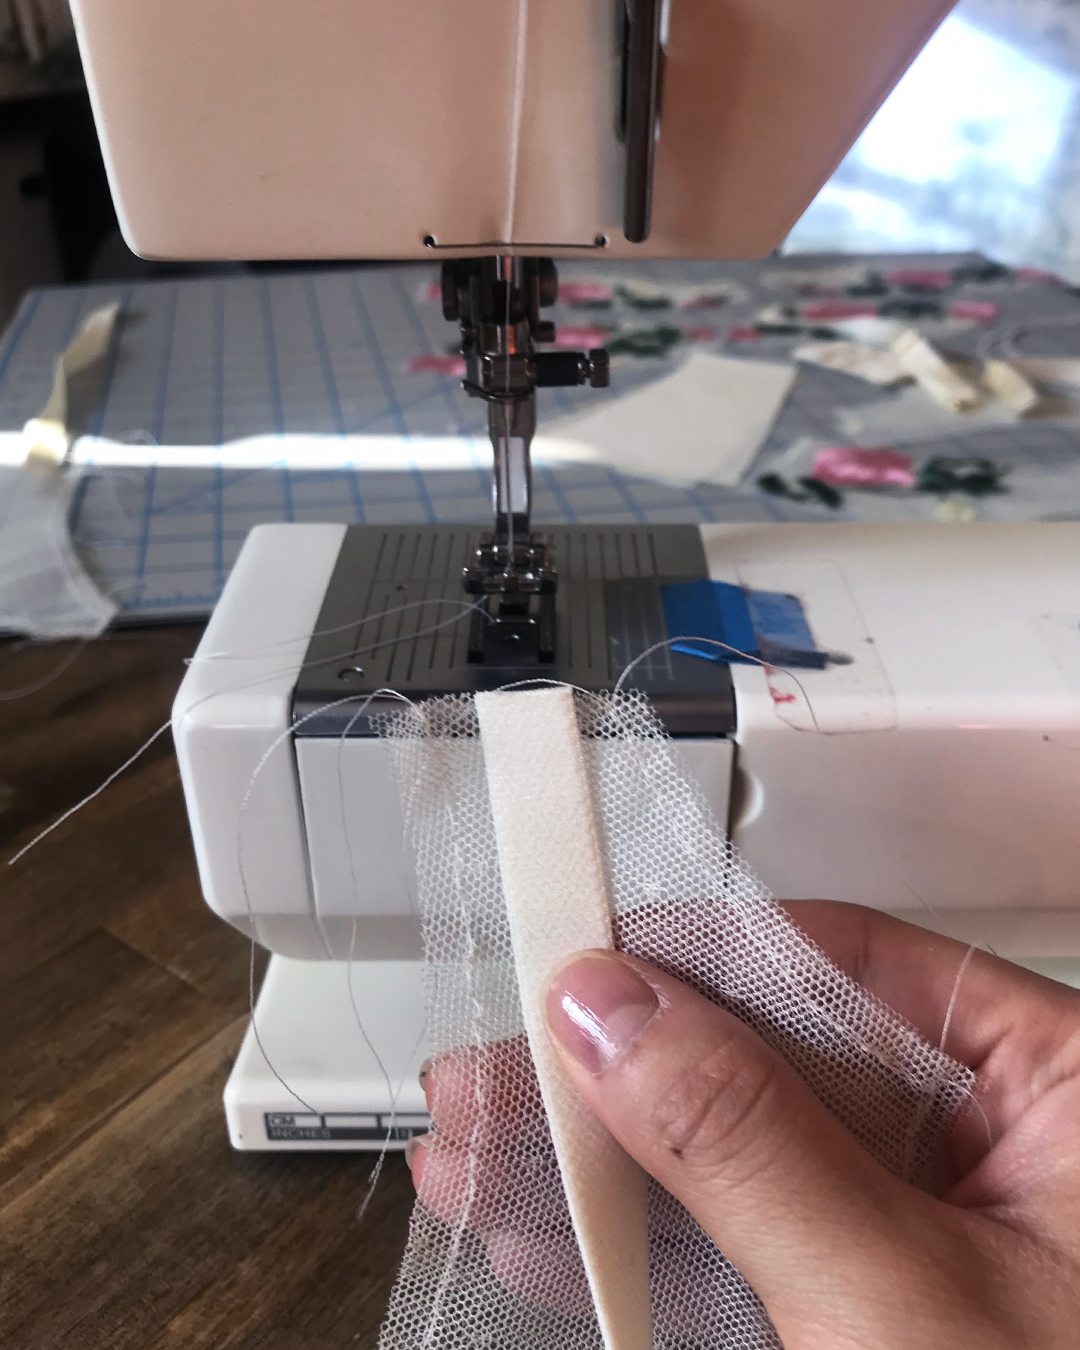
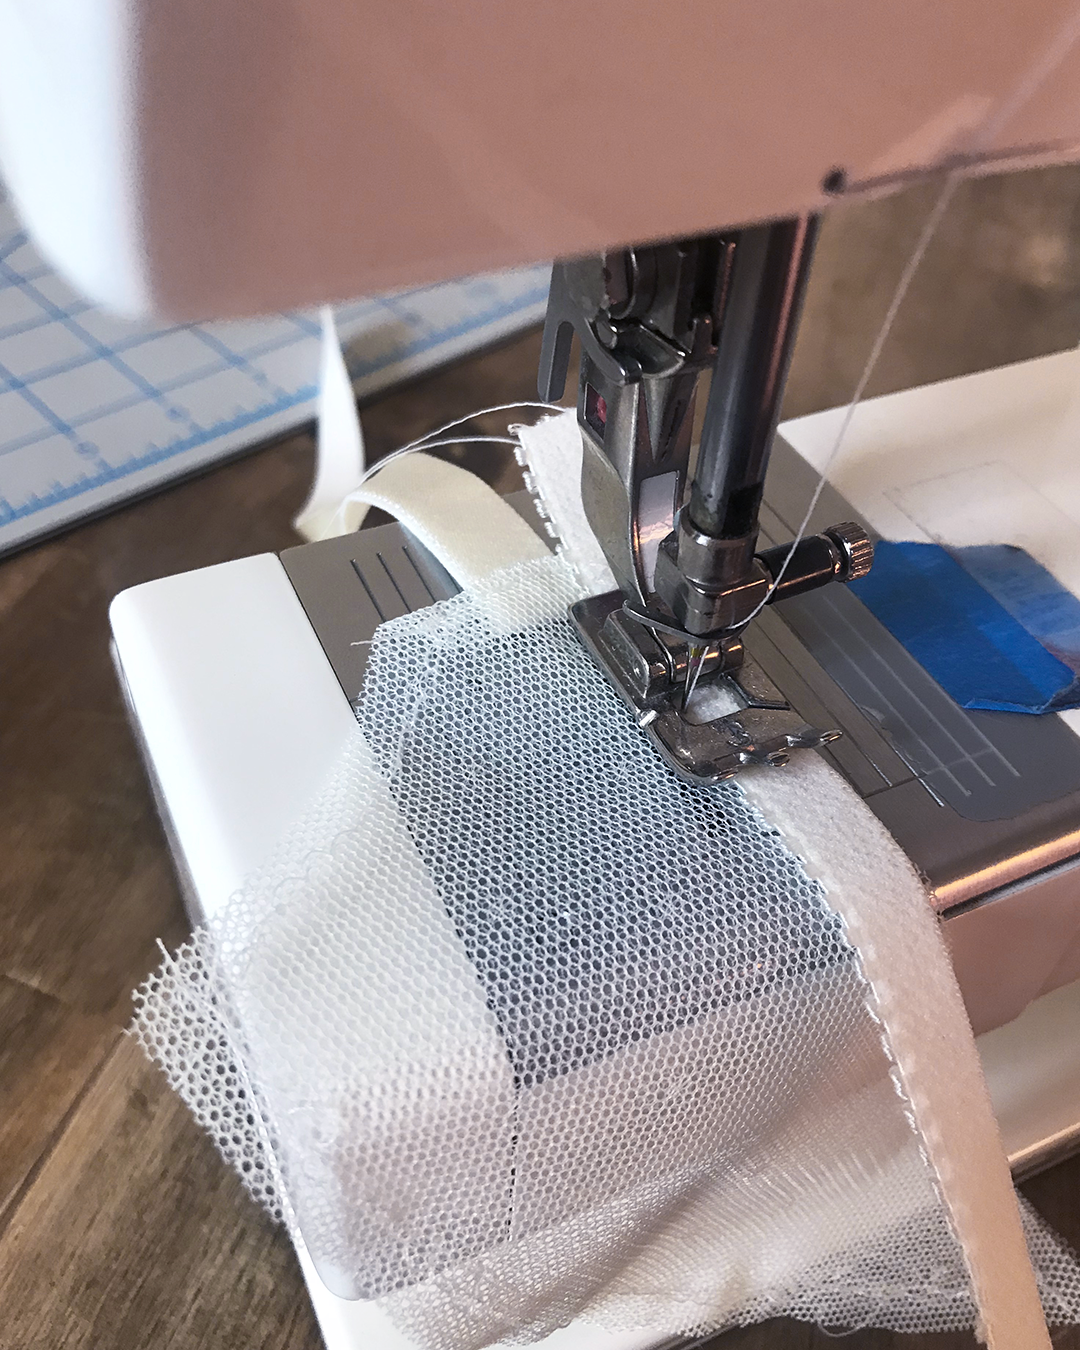
To apply picot elastic, you don’t necessarily need to pre-cut the elastic. I just used the length of ⅜” picot elastic that was in my bra kit, and lined it up along the front edge of the powerbar like so:’
Make sure that the plush side of the picot elastic is facing towards you, and the picots are pointing to the left.
To sew, I left about ½” of extra elastic extending past the edge of the powerbar for easier sewing; it can be trimmed away later.
Set your machine to the zig zag settings that you chose, and carefully sew as close as you can to the picot edge.
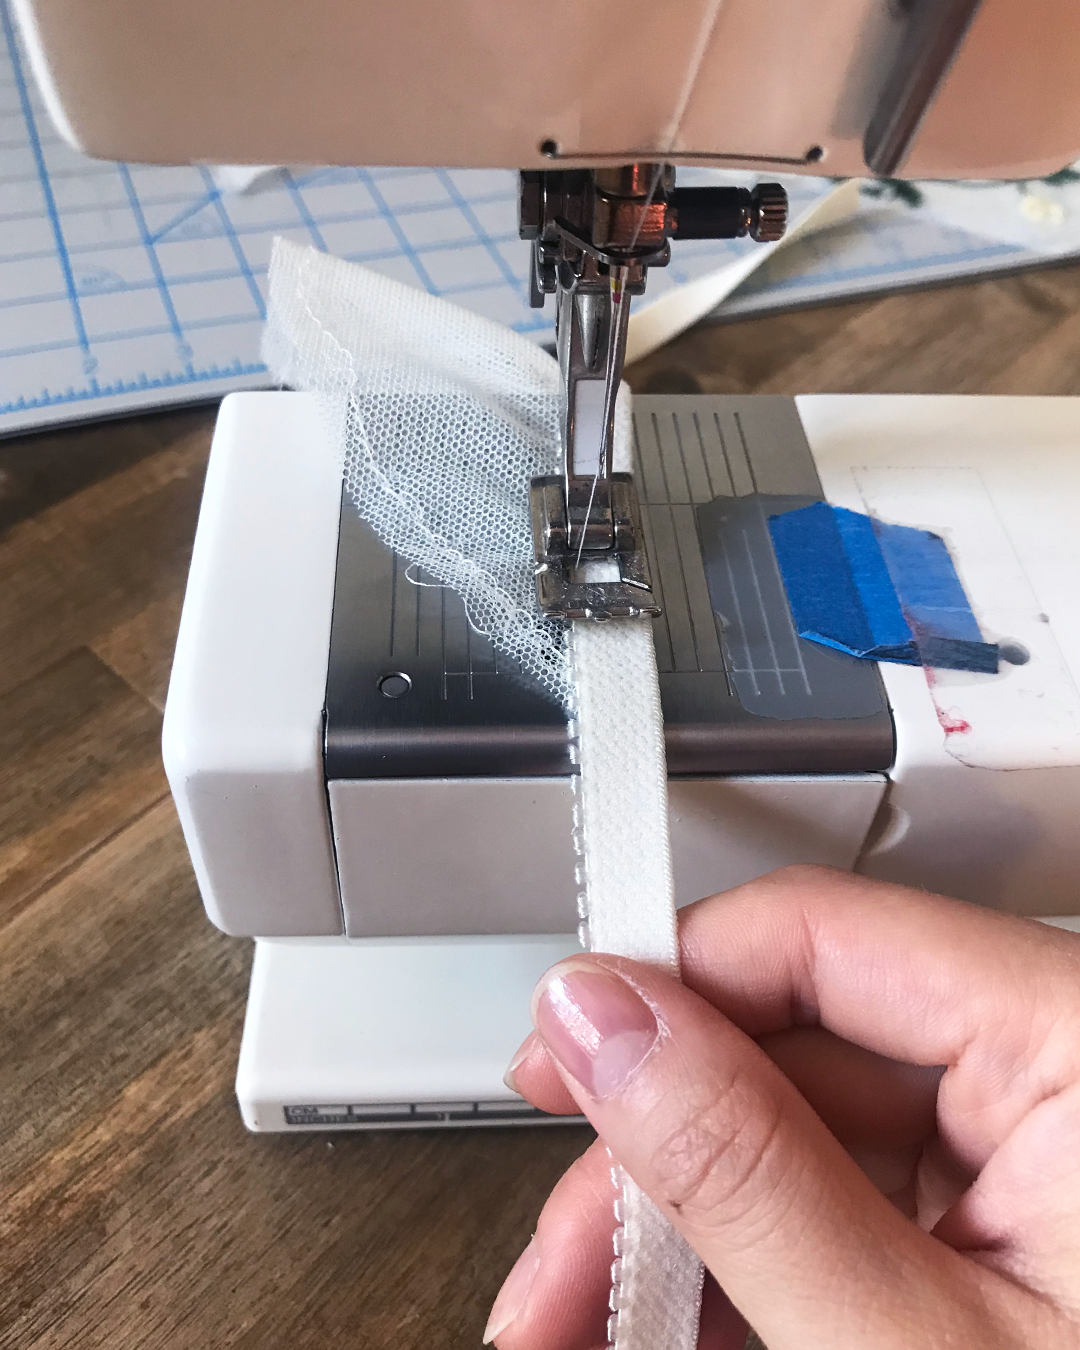
I held the elastic taut as I sewed, being careful not to pull too hard.
This is what the elastic looked like after the first pass of zig zag stitching:

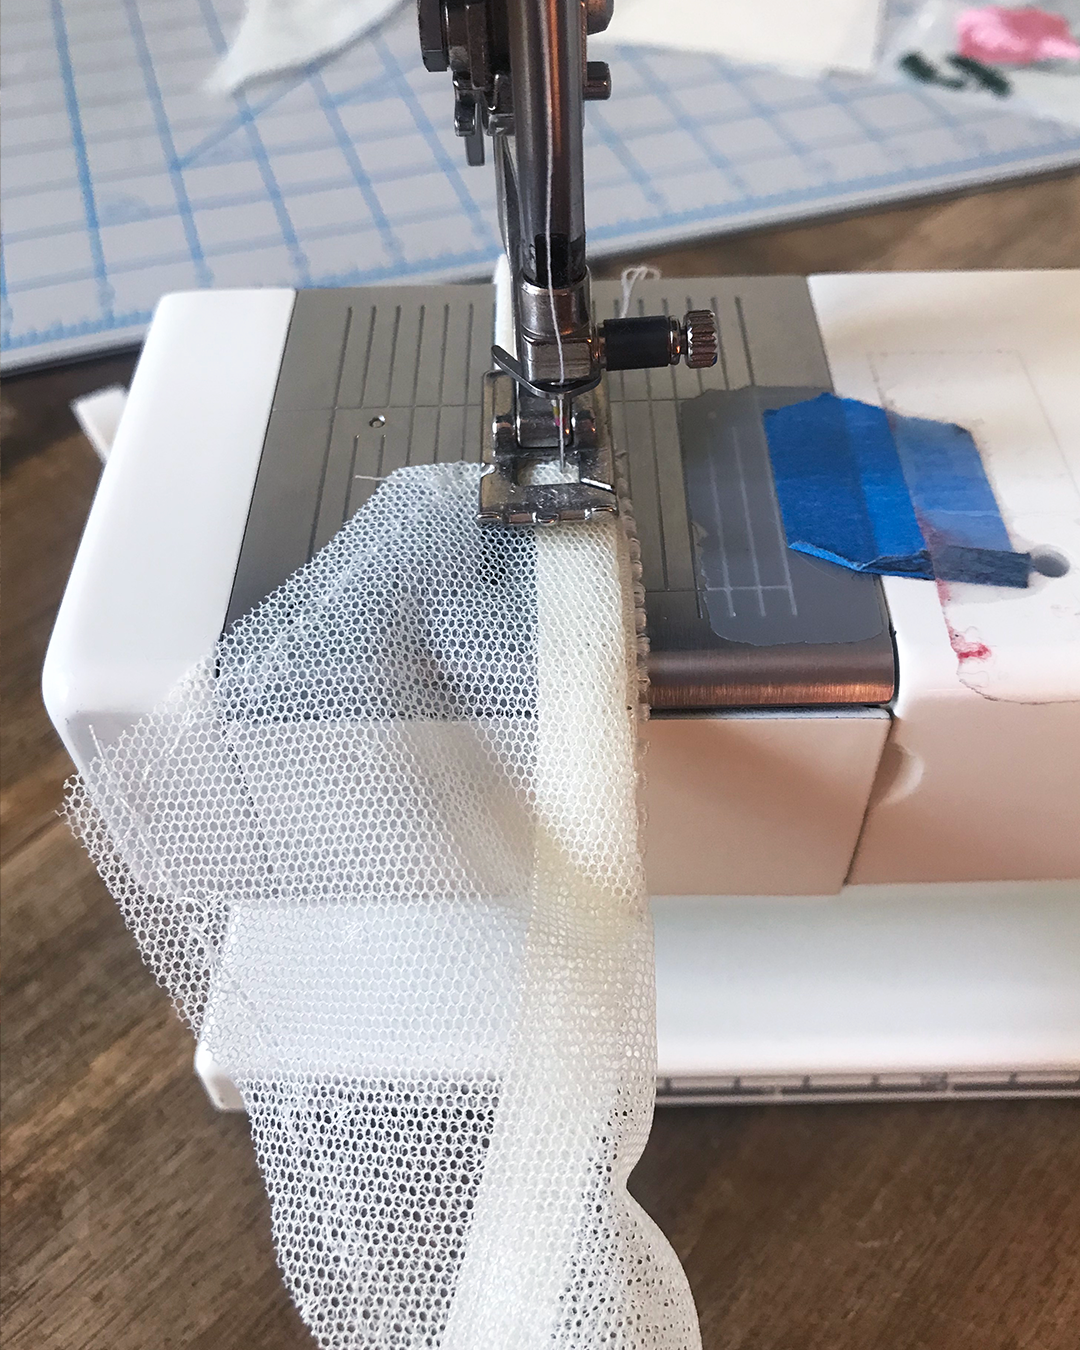
Before sewing your second pass, you’ll need to trim away some of the excess lace and lining fabric.

I used my small embroidery scissors to carefully snip away the excess, about 1/16”.

Next, fold the picot elastic under the lace and lining layers to prepare to sew a second pass of zig zag stitching. If done correctly, the decorative picot edge of the elastic should peek out from under the fabric.
To sew the second pass, carefully zig zag stitch close to the straight edge of the elastic.
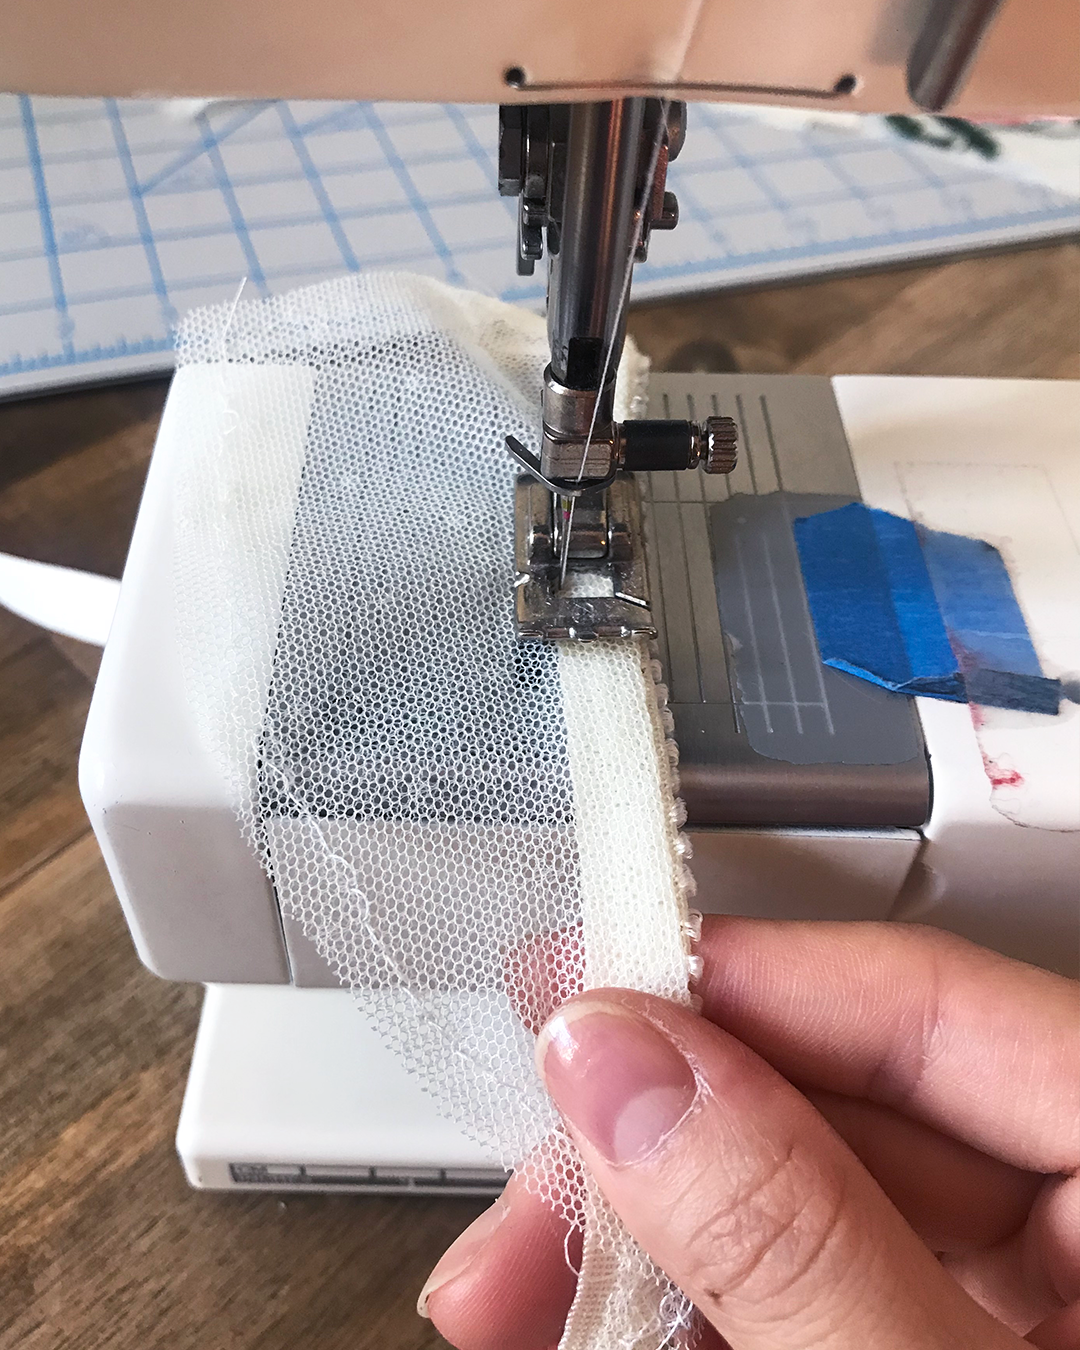
Give it a gentle pull so that the elastic and fabrics lie flat as you sew.
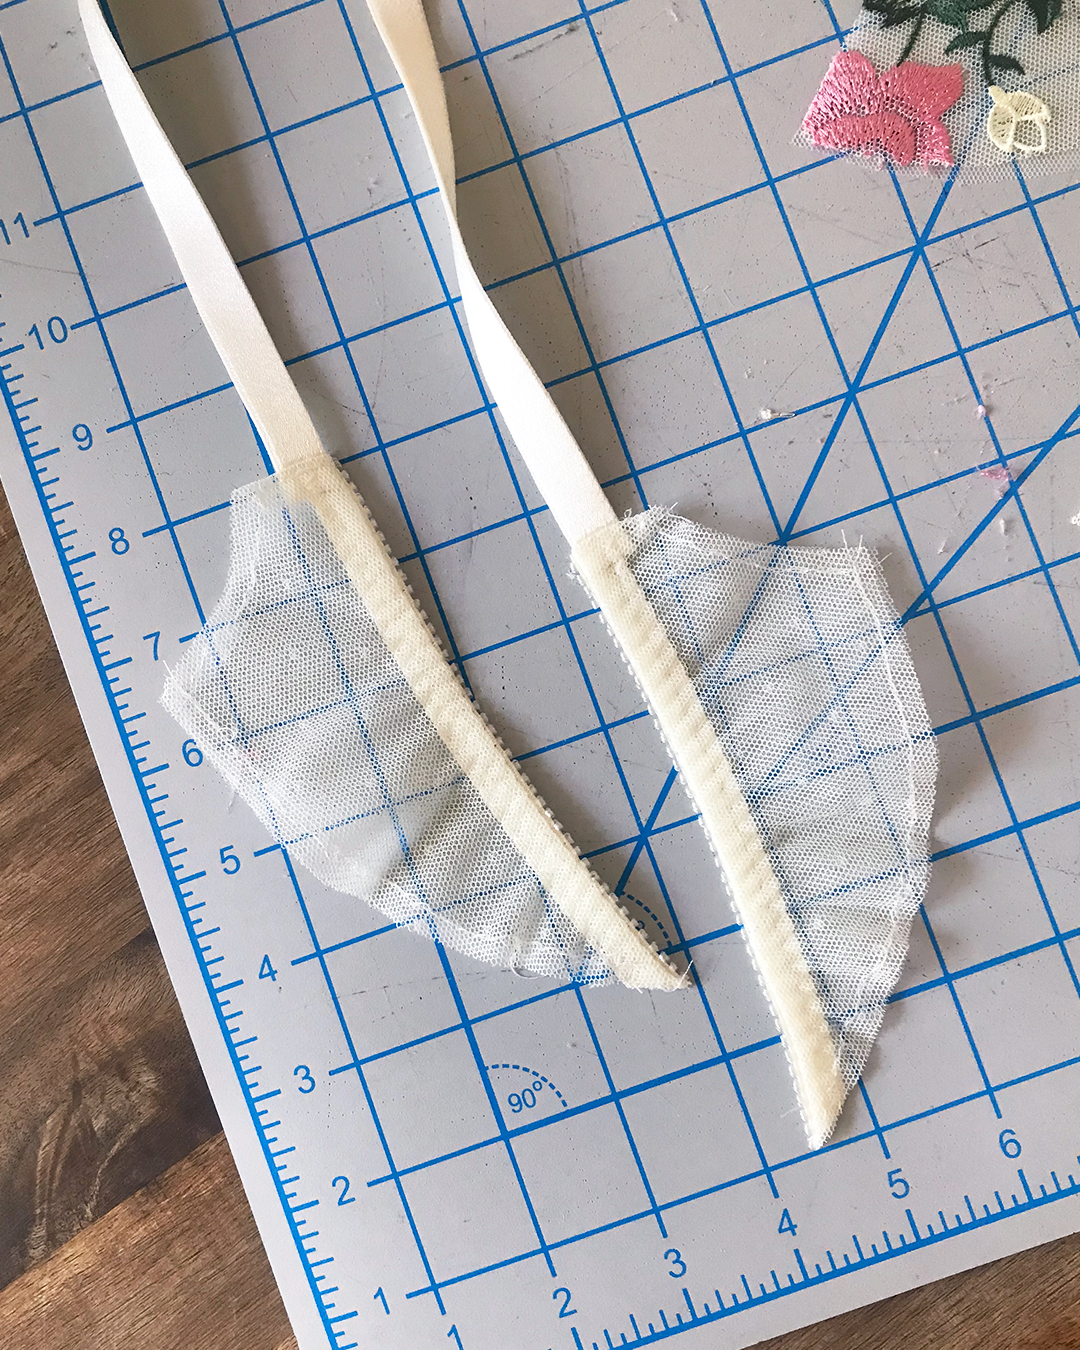
Repeat on the other side, and your powerbars are complete!
Final Thoughts
The skills that you used in this portion of the sewing process—basting, attaching strap elastic, and applying picot elastic—will come up again in the remainder of the construction process. If it helps, practice these skills on scrap materials before you begin constructing your bra.
In the next post, we’ll be assembling the frame!