Sew Comfy Bra Sew-Along – Part 2: Materials and Cutting
Hello and welcome to Part 2 of this Sew Comfy Bra Sew-Along with Joy Mao!
Today, we’ll be going over the materials I used for my Sew Comfy bra, and how to cut them in preparation for sewing.
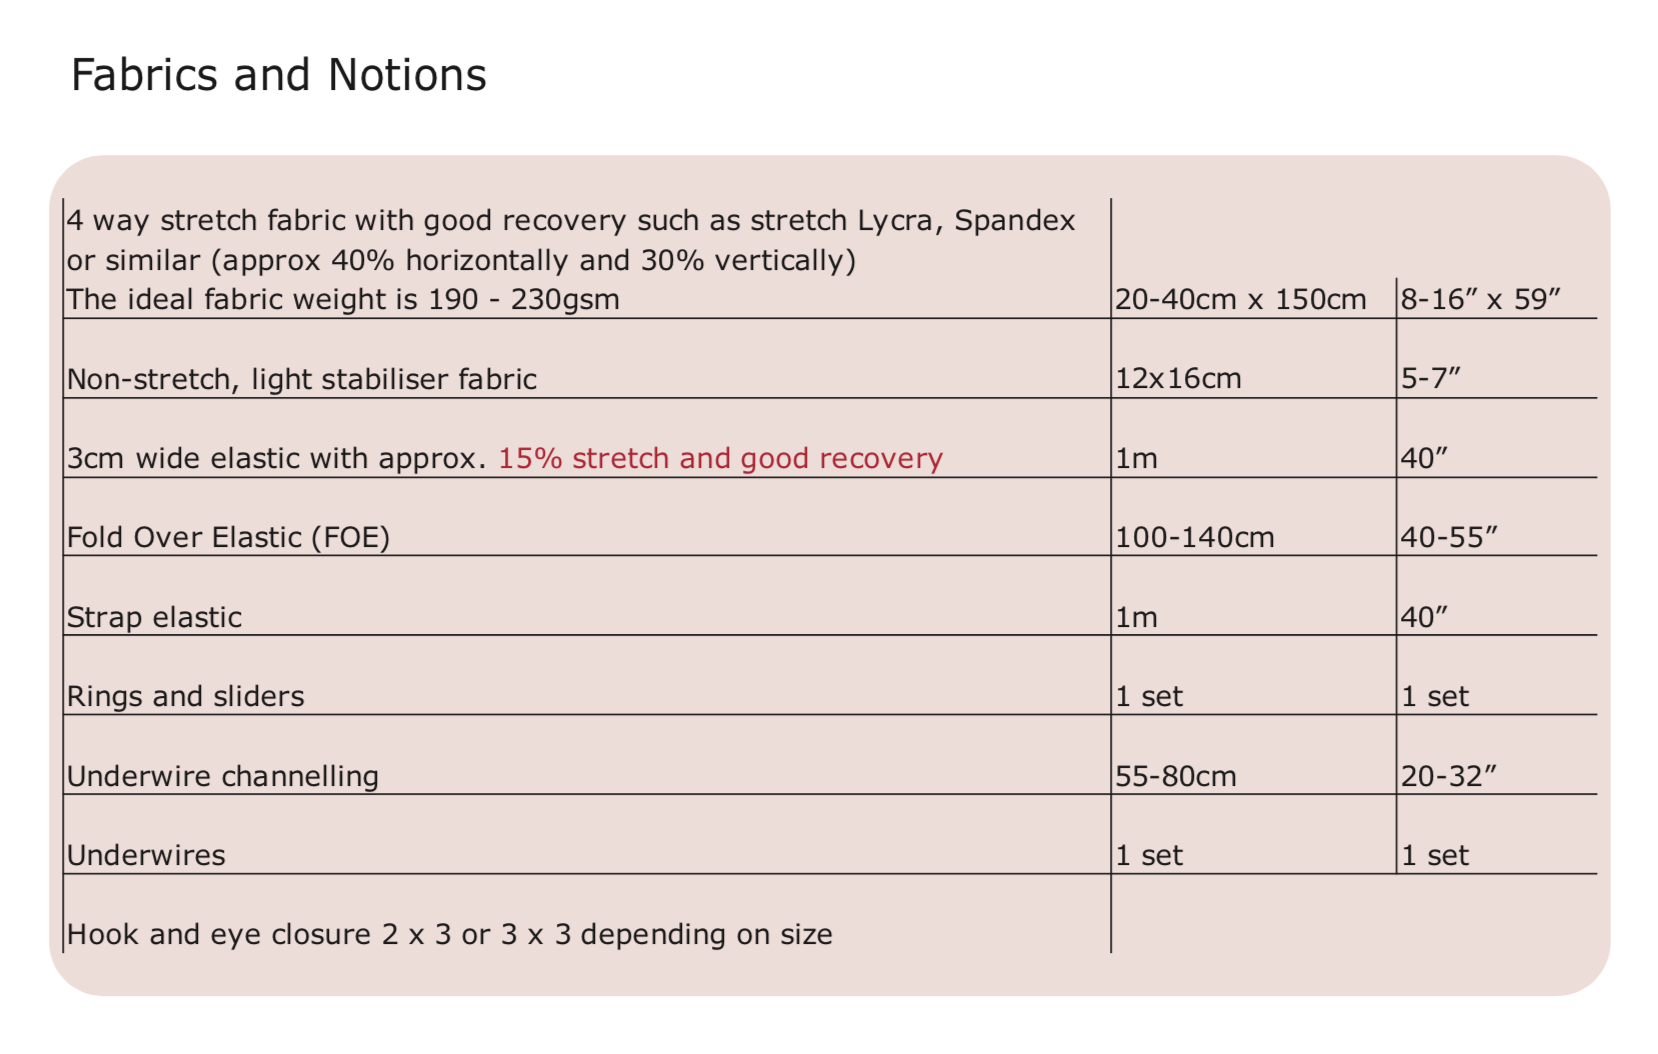
The Sew Comfy Bra pattern was created for stretch fabrics with good recovery (usually something with lycra or spandex content).
Here are the materials recommended in the pattern instructions:
The pattern is incredibly versatile, and can lend itself to a variety of styles just by varying material choices.
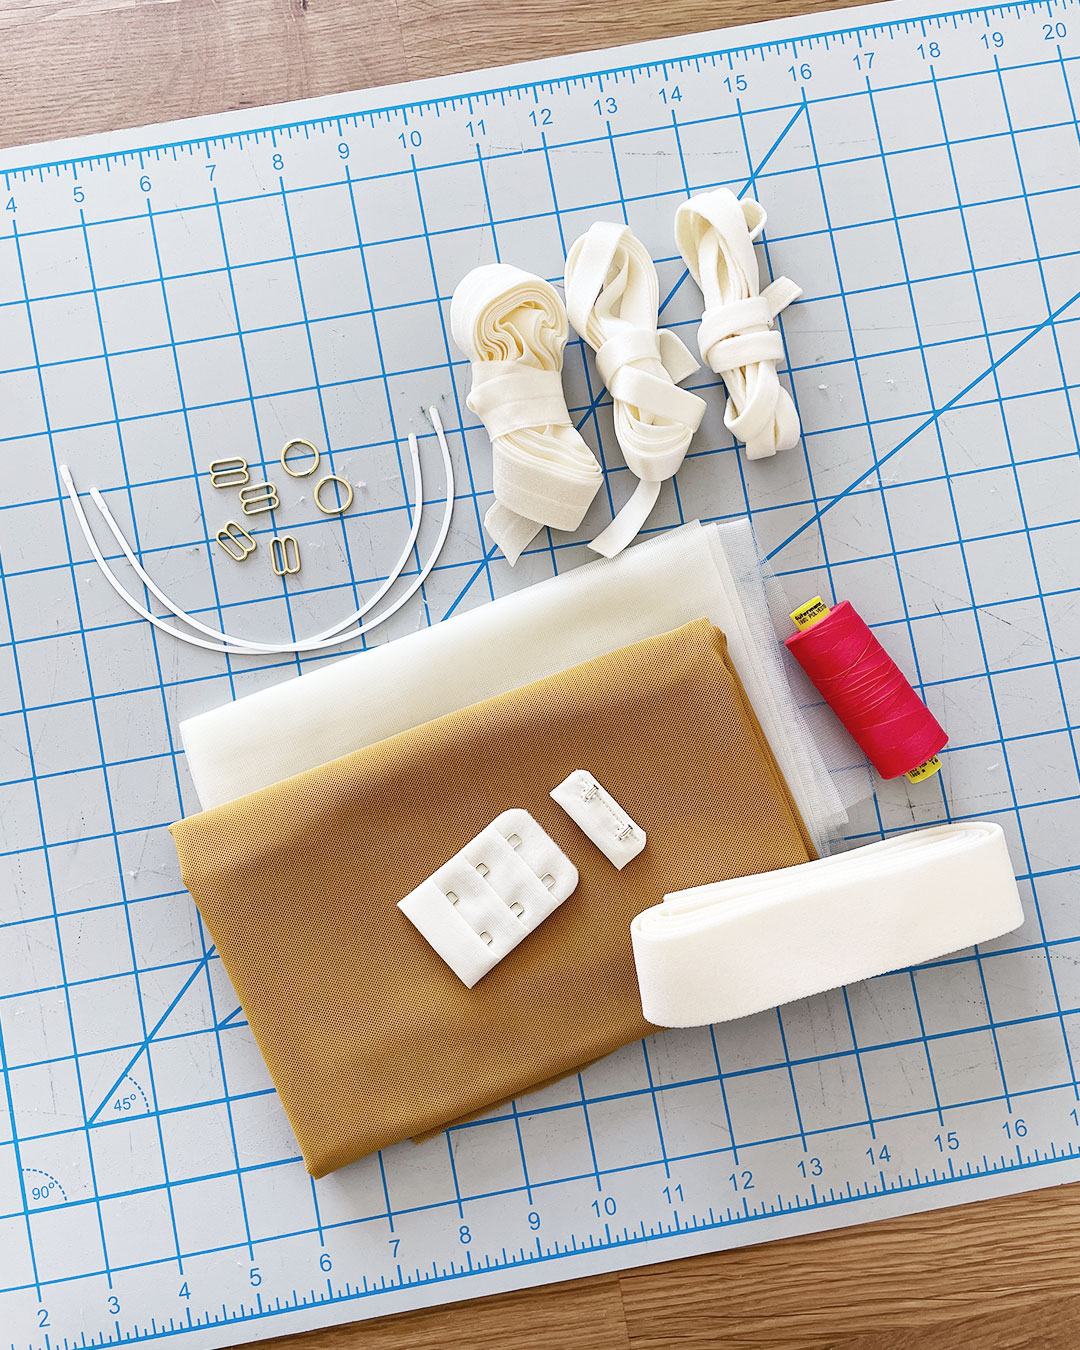
Here are the materials I chose for my Sew Comfy Bra, all from Tailor Made Shop:
| RECOMMENDED MATERIAL | WHAT I USED |
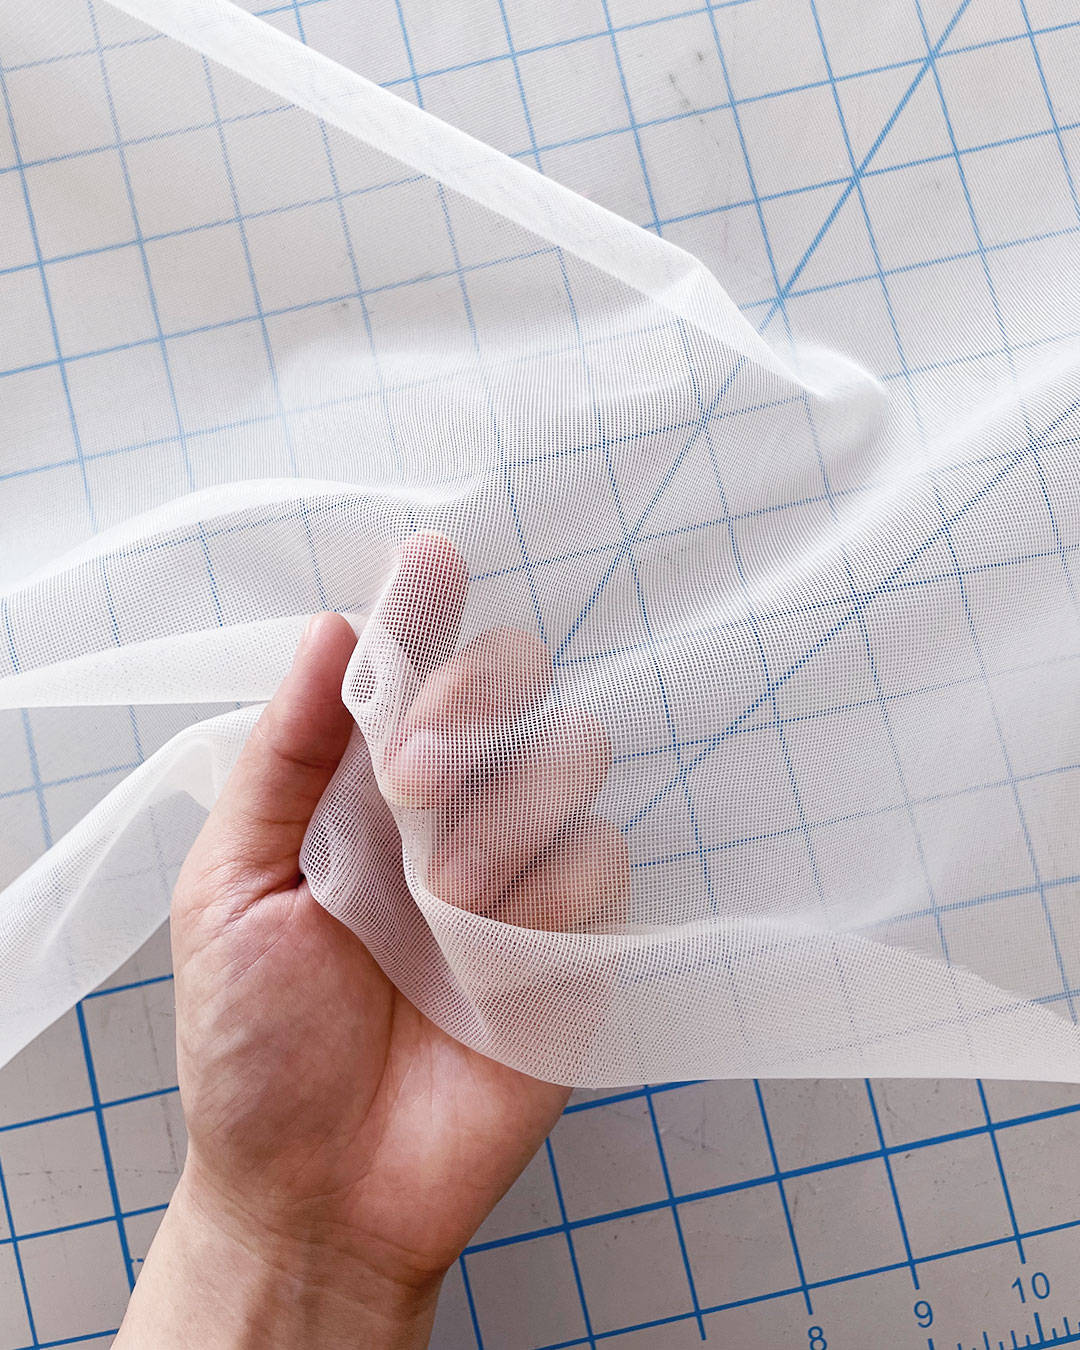
| 4-Way Stretch Fabric | Mustard Power Net |
| Non-Stretch Light Stabilizer Fabric | Ivory Stabilizer Tricot |
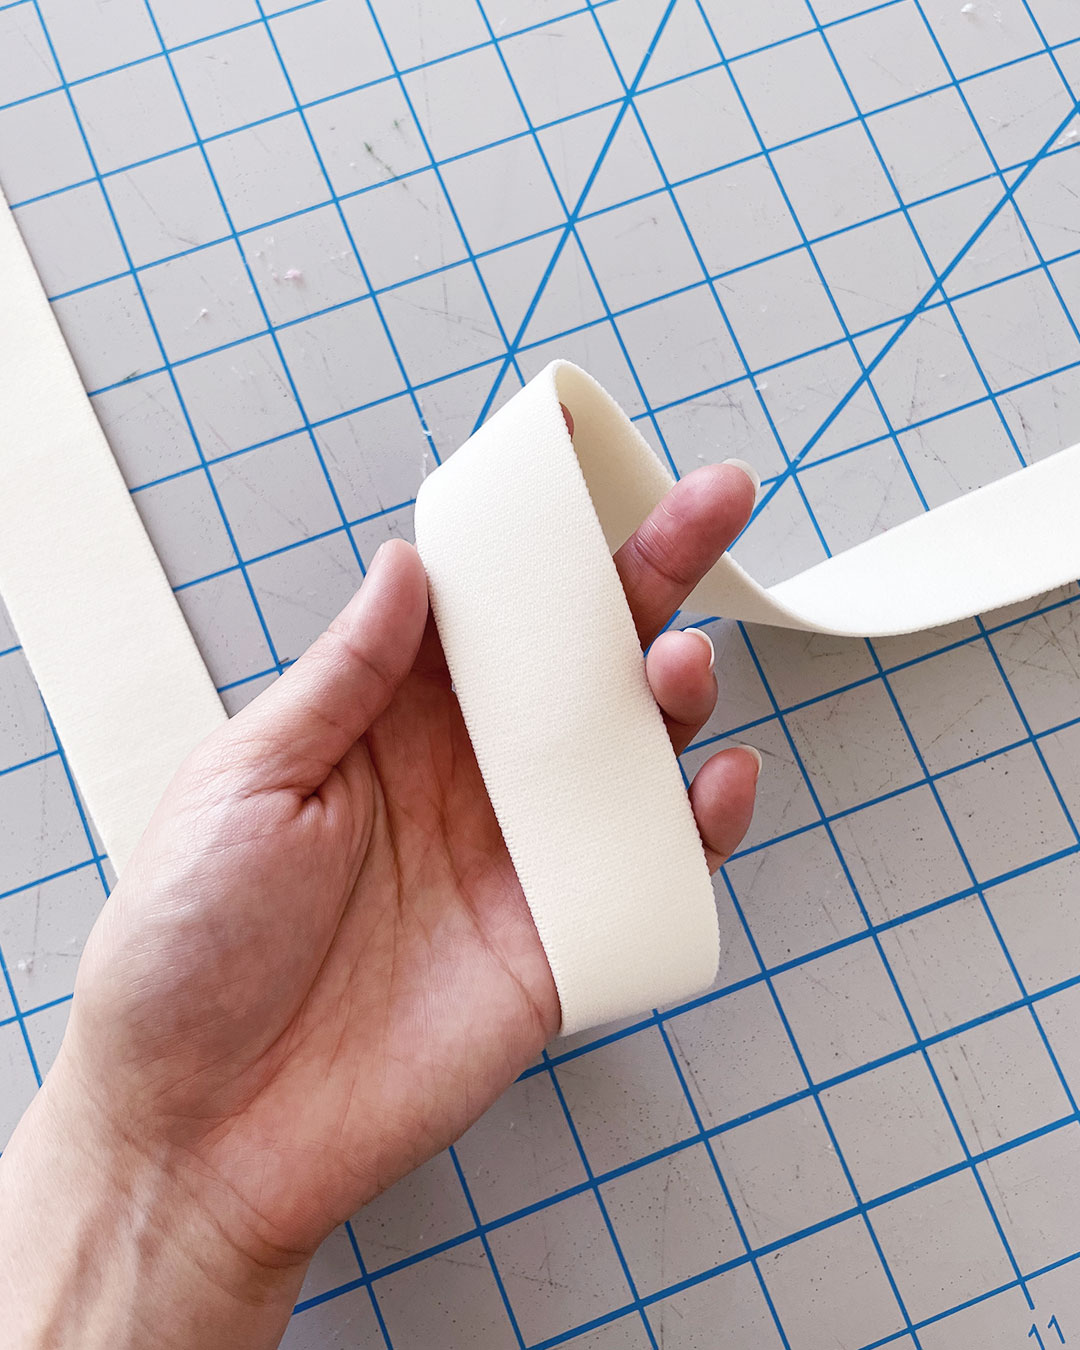
| 3CM Wide Elastic | 1 3/8″ (35mm) Wide Plush Elastic |
| Fold Over Elastic | 3/4″ Ivory Fold Over Elastic |
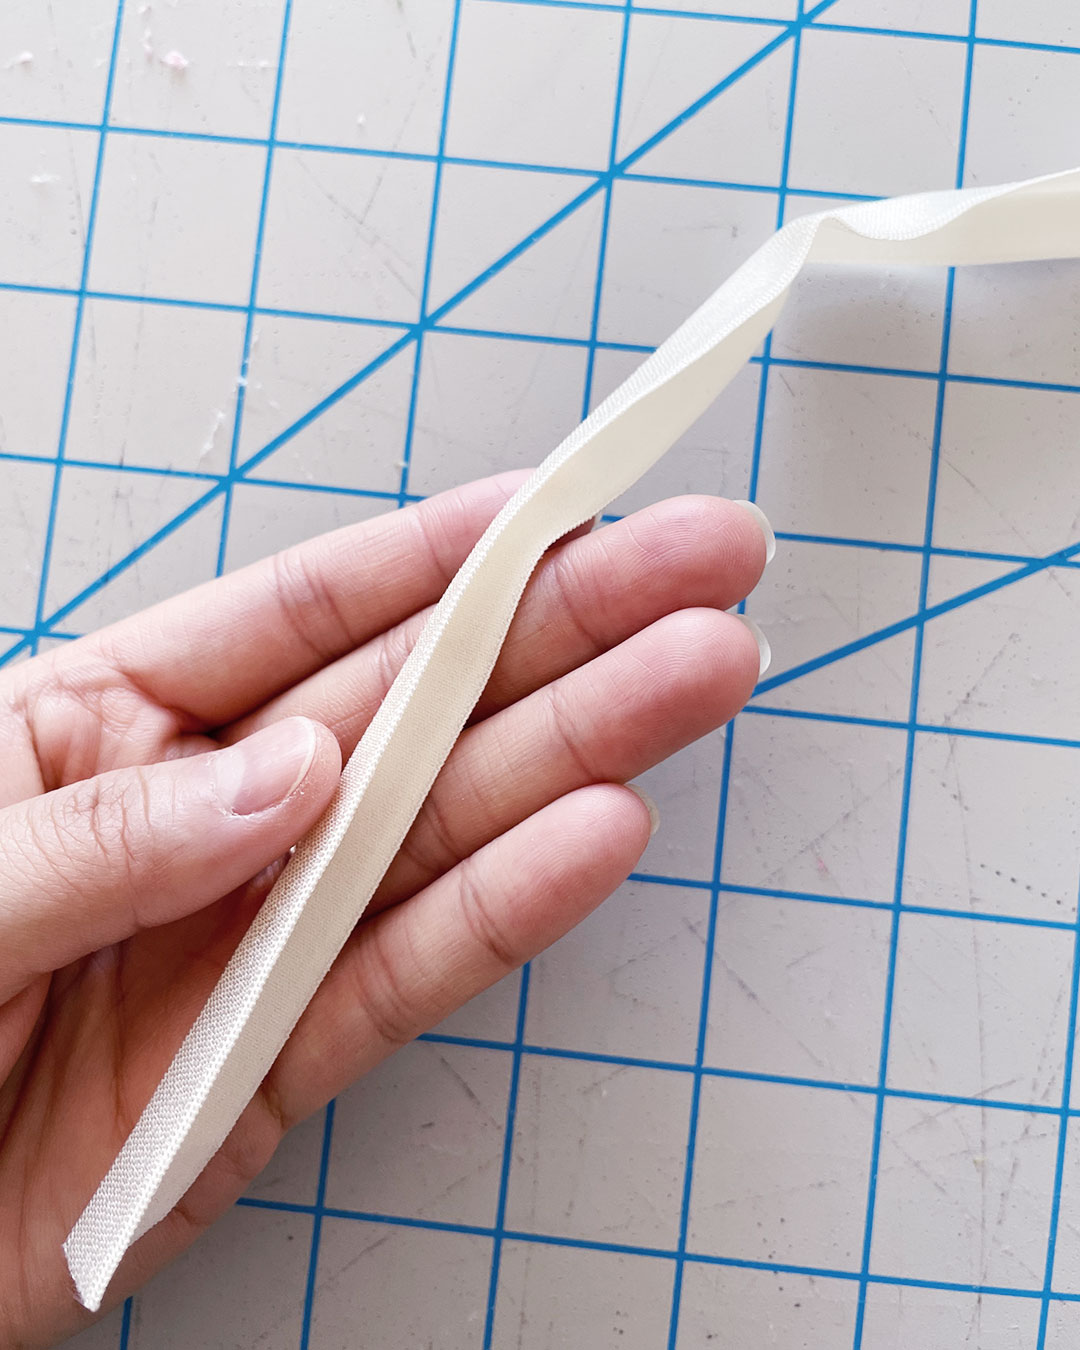
| Strap Elastic | 1/2″ Ivory Satin Strap Elastic |
| Rings and Sliders | 1/2″ Gold Rings and Sliders (2 Rings, 4 Sliders) |
| Underwire Channeling | 3/8″ Ivory Underwire Channeling |
| Underwires | Round Underwires |
| Hook & Eye Closure | 2 x 3 Ivory Hook and Eye Closure |


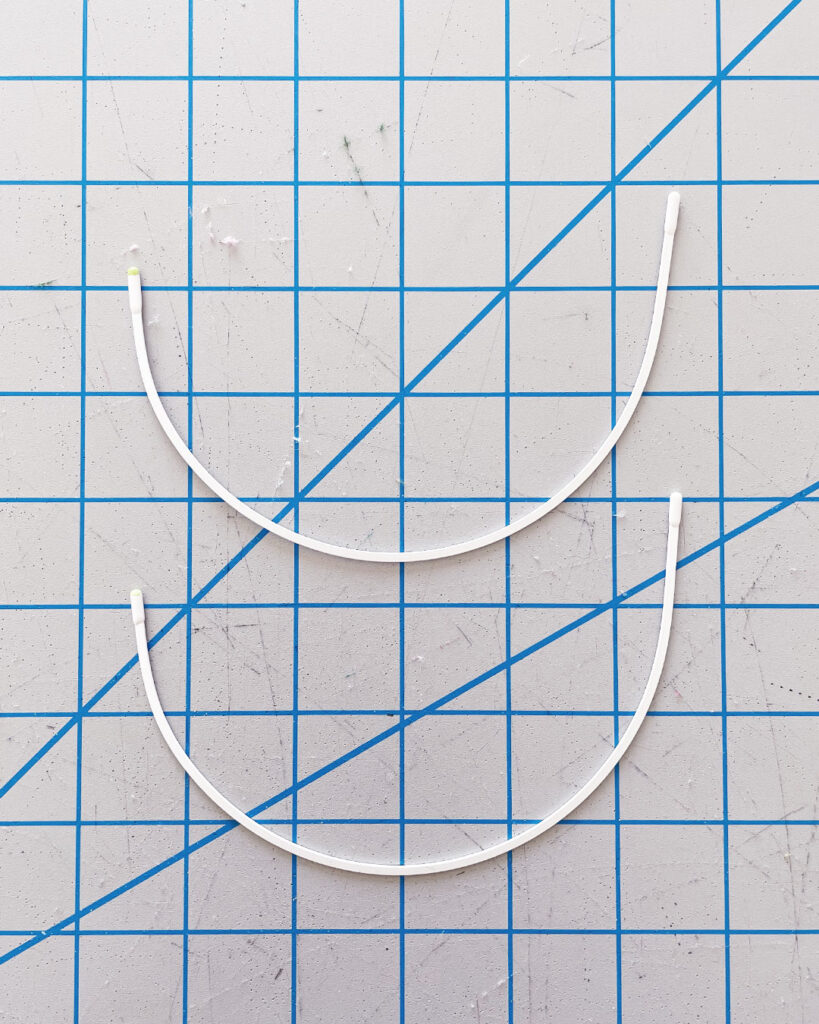
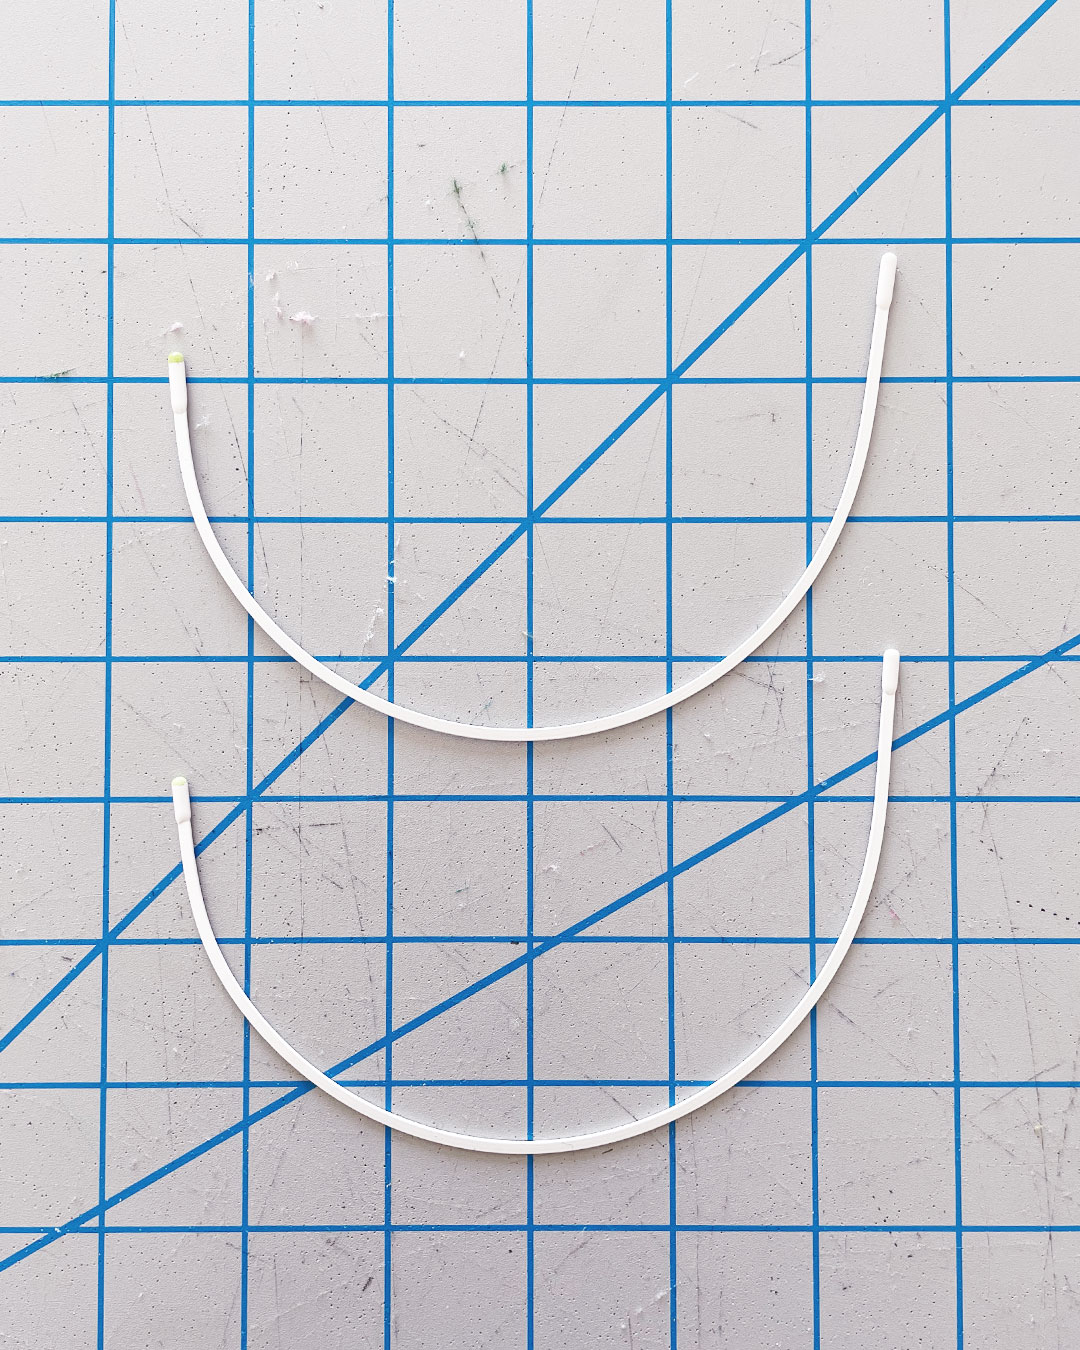
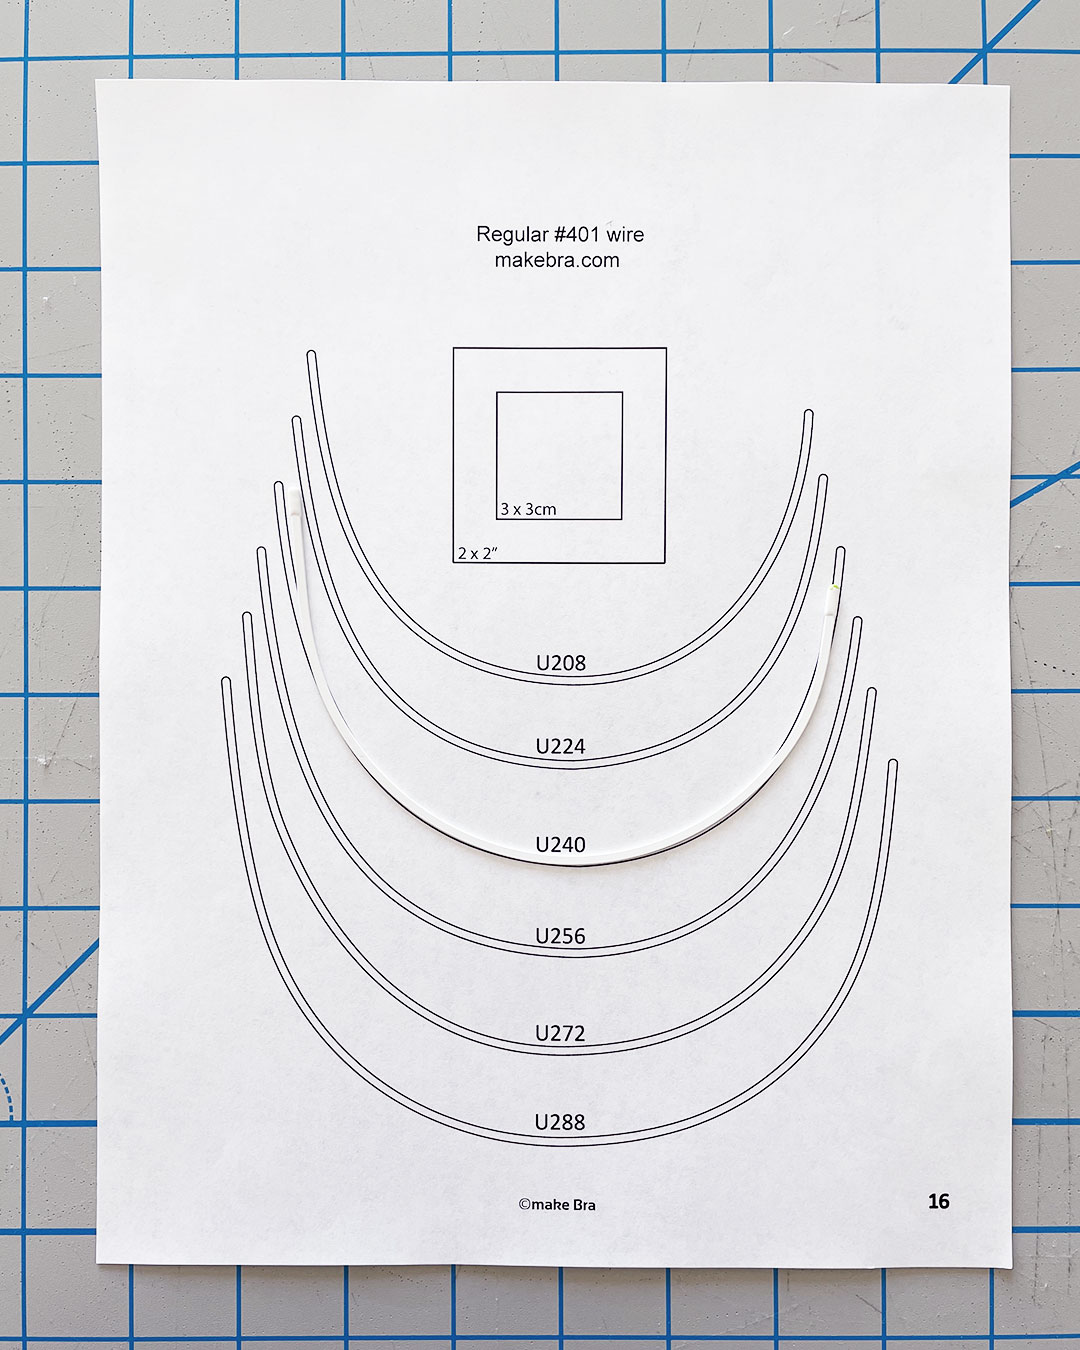
Round Wires from Tailor Made Shop, size 36 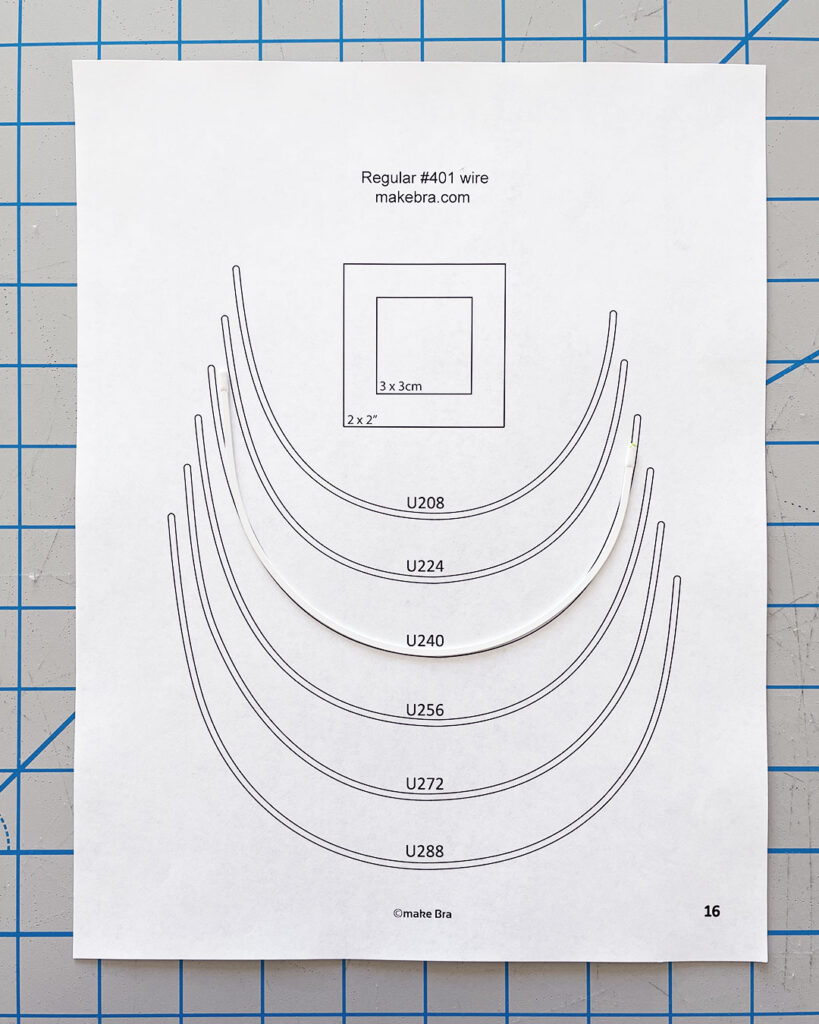
Pressing
Before I start cutting and sewing with my materials, I like to give everything a light press with my iron. This not only helps to smooth the materials and make them easier to work with, but also gives the work more polish overall.
If your materials include synthetic fibers like polyester, nylon, lycra, or spandex—put your iron on its lowest heat setting to prevent melting or scorching your materials.
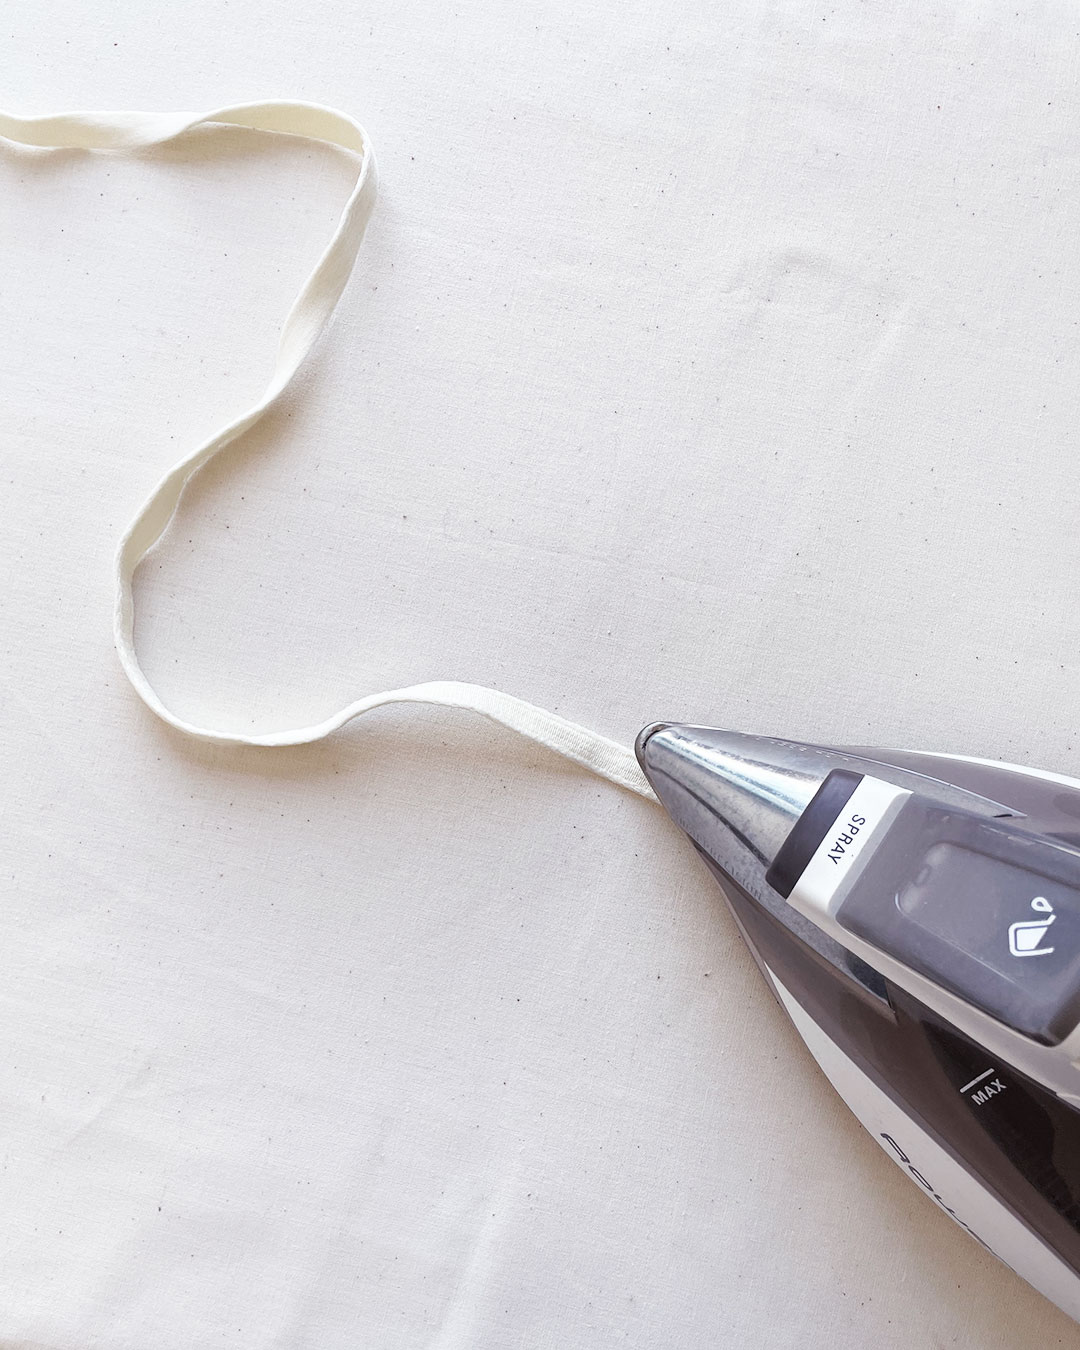
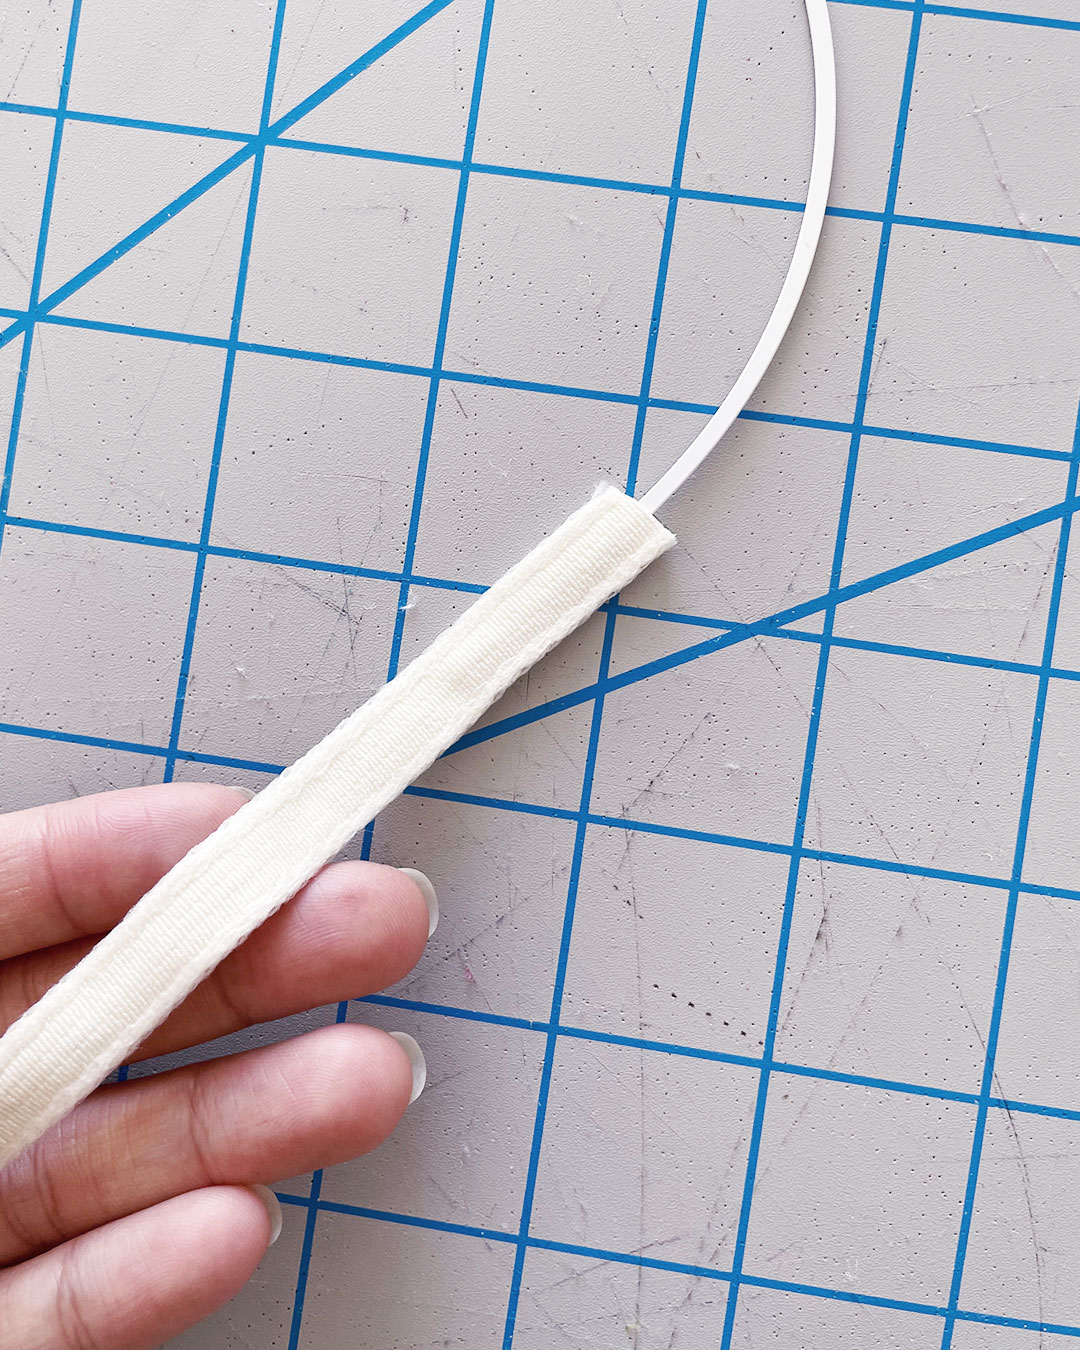
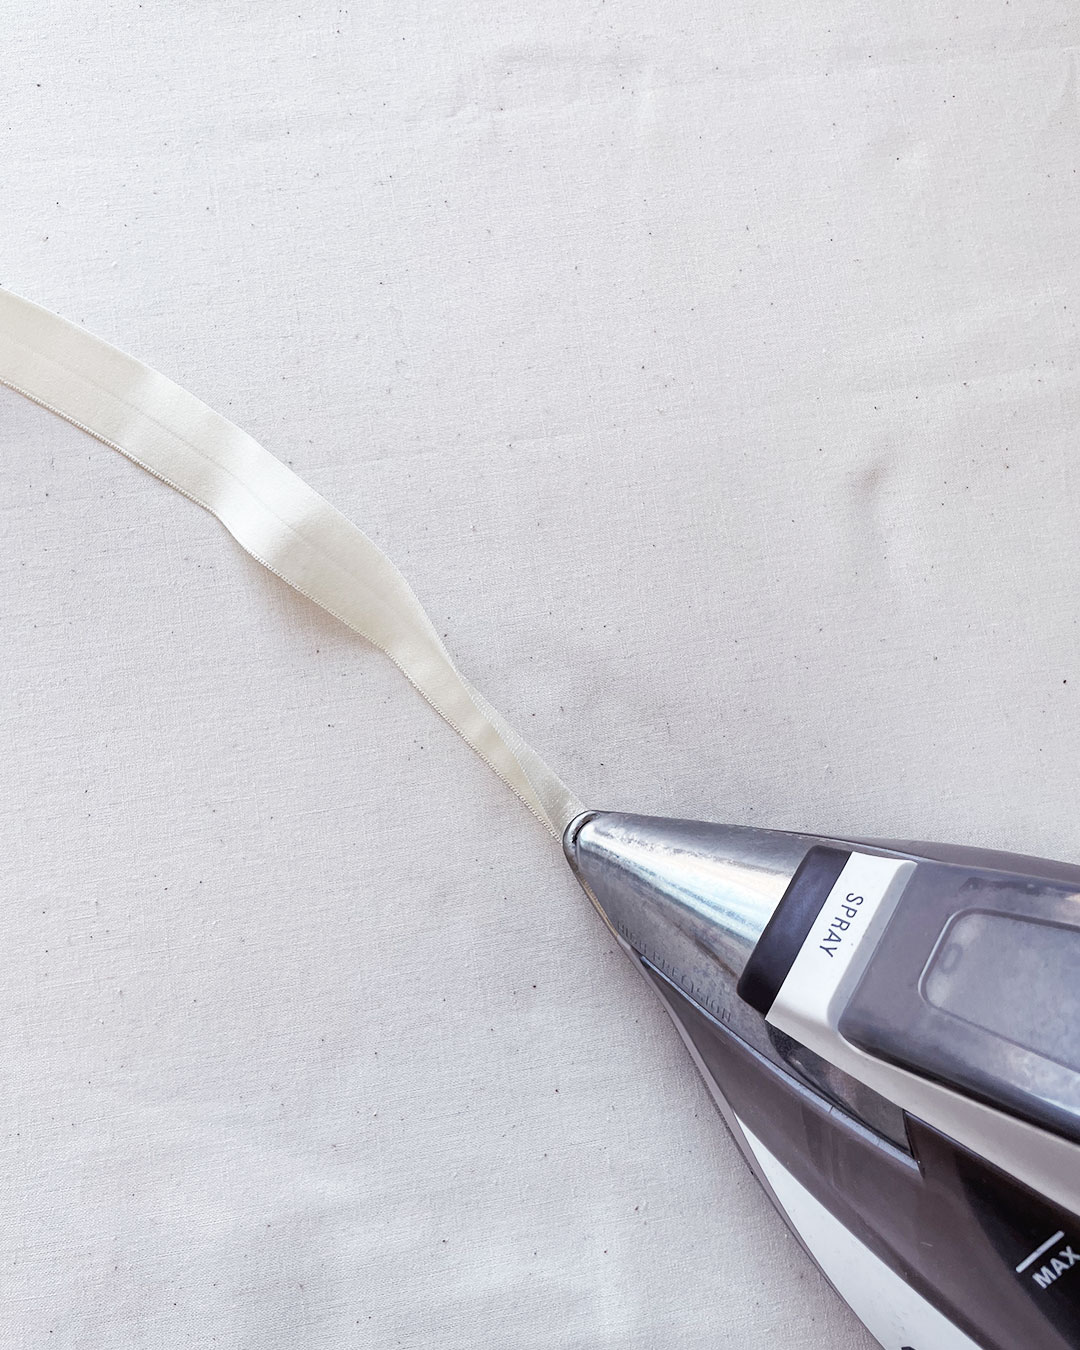
Personally, I like to sew my Fold Over Elastic in one pass, so I prepare it by pre-pressing the fold into it like so:
Cutting
Because the Sew Comfy Bra only has four pattern pieces, it’s a relatively straight-forward cutting process!
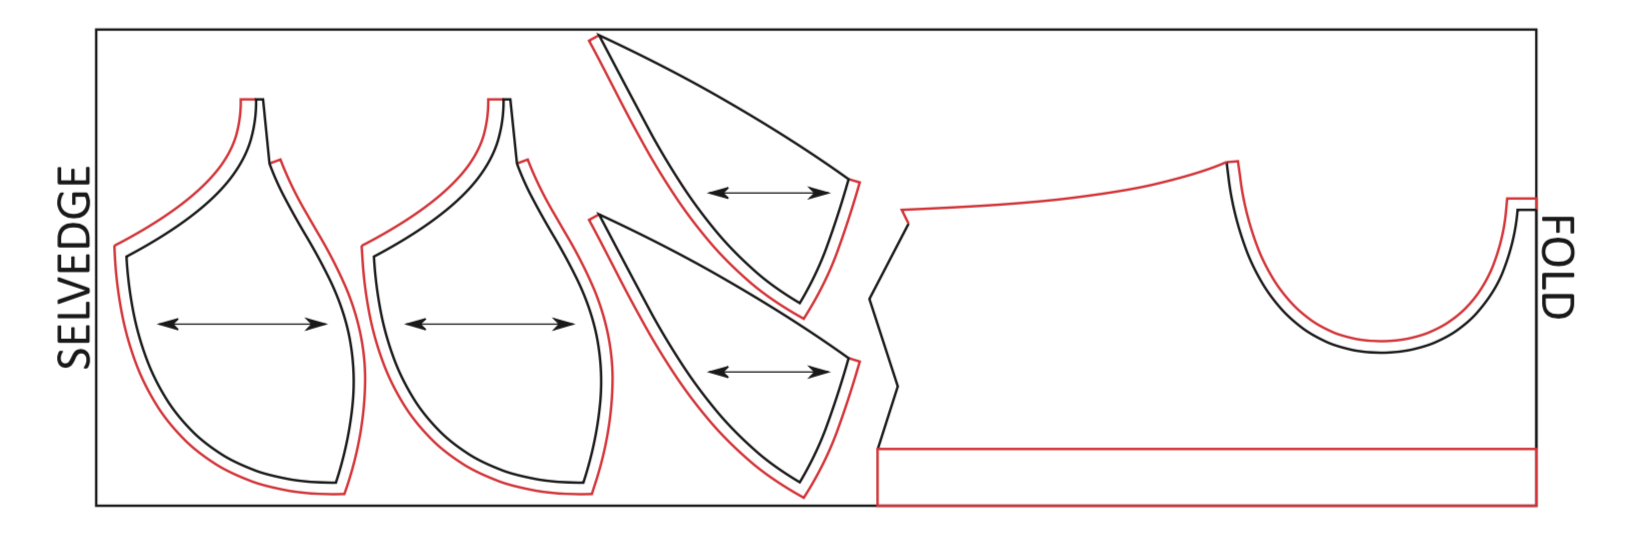
This diagram from the pattern’s instructions indicates one way of cutting the main body fabric while the fabric is folded:
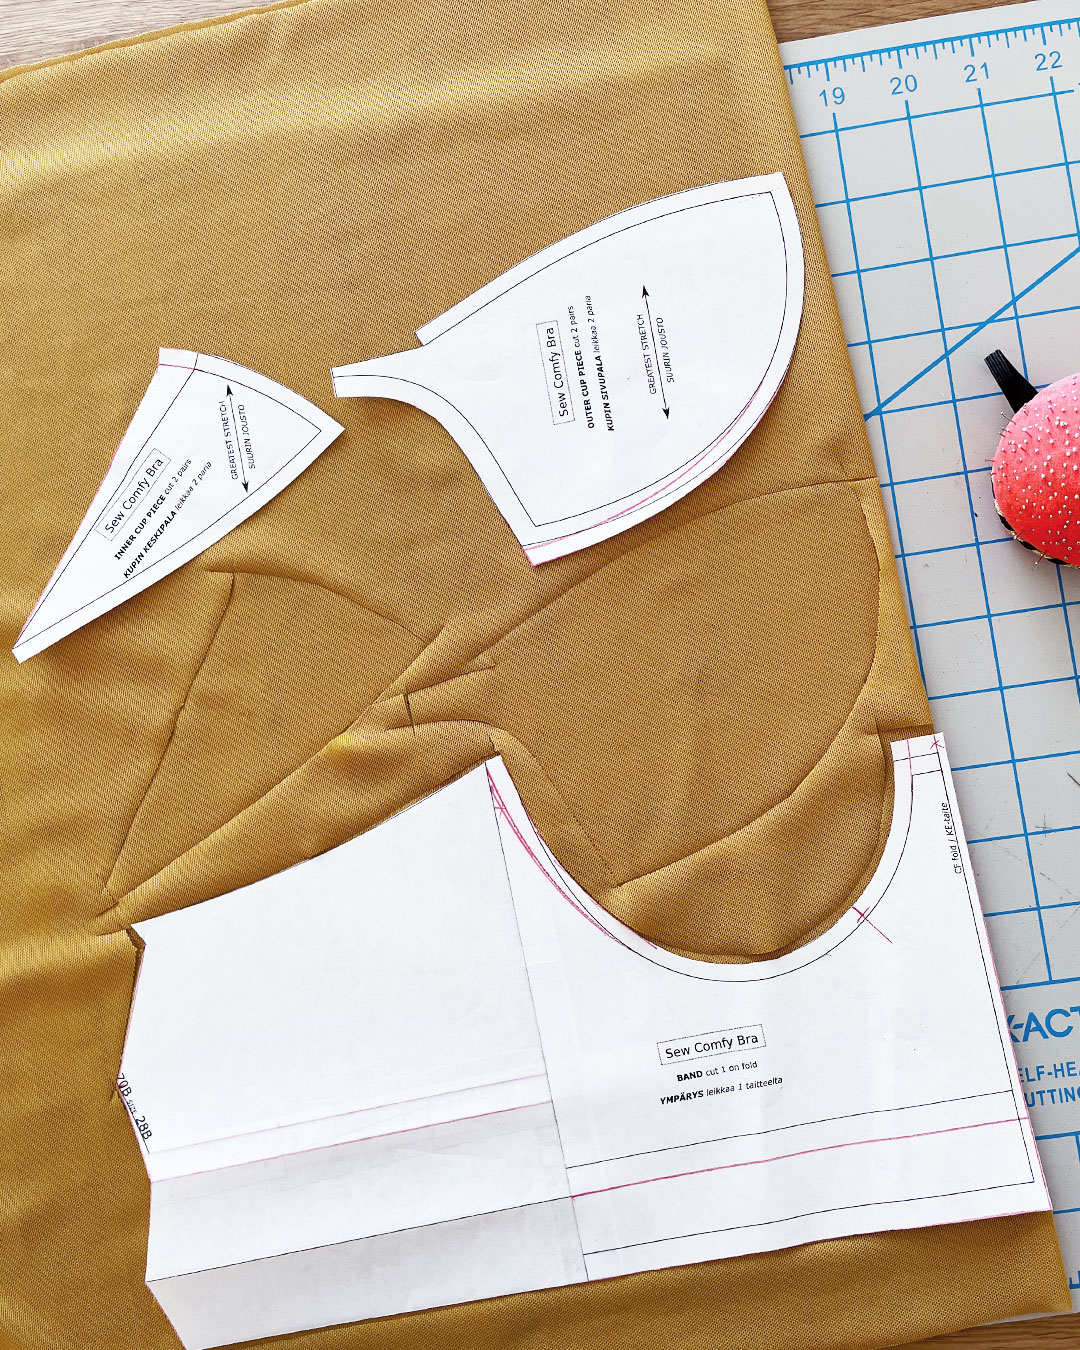
Here are a few snaps from my cutting process:
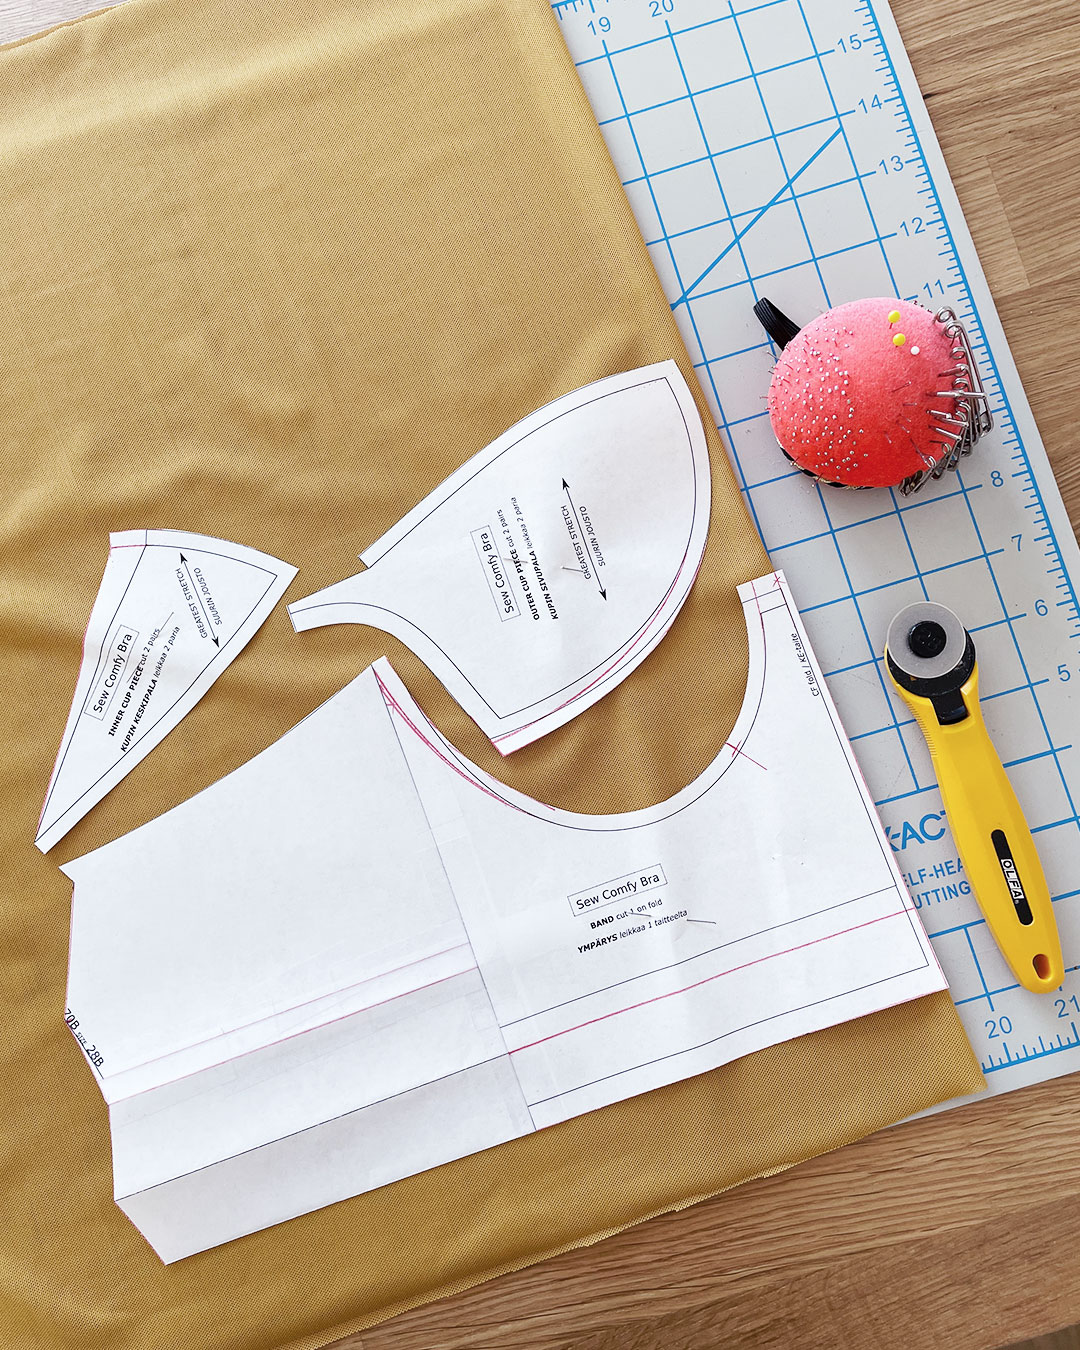
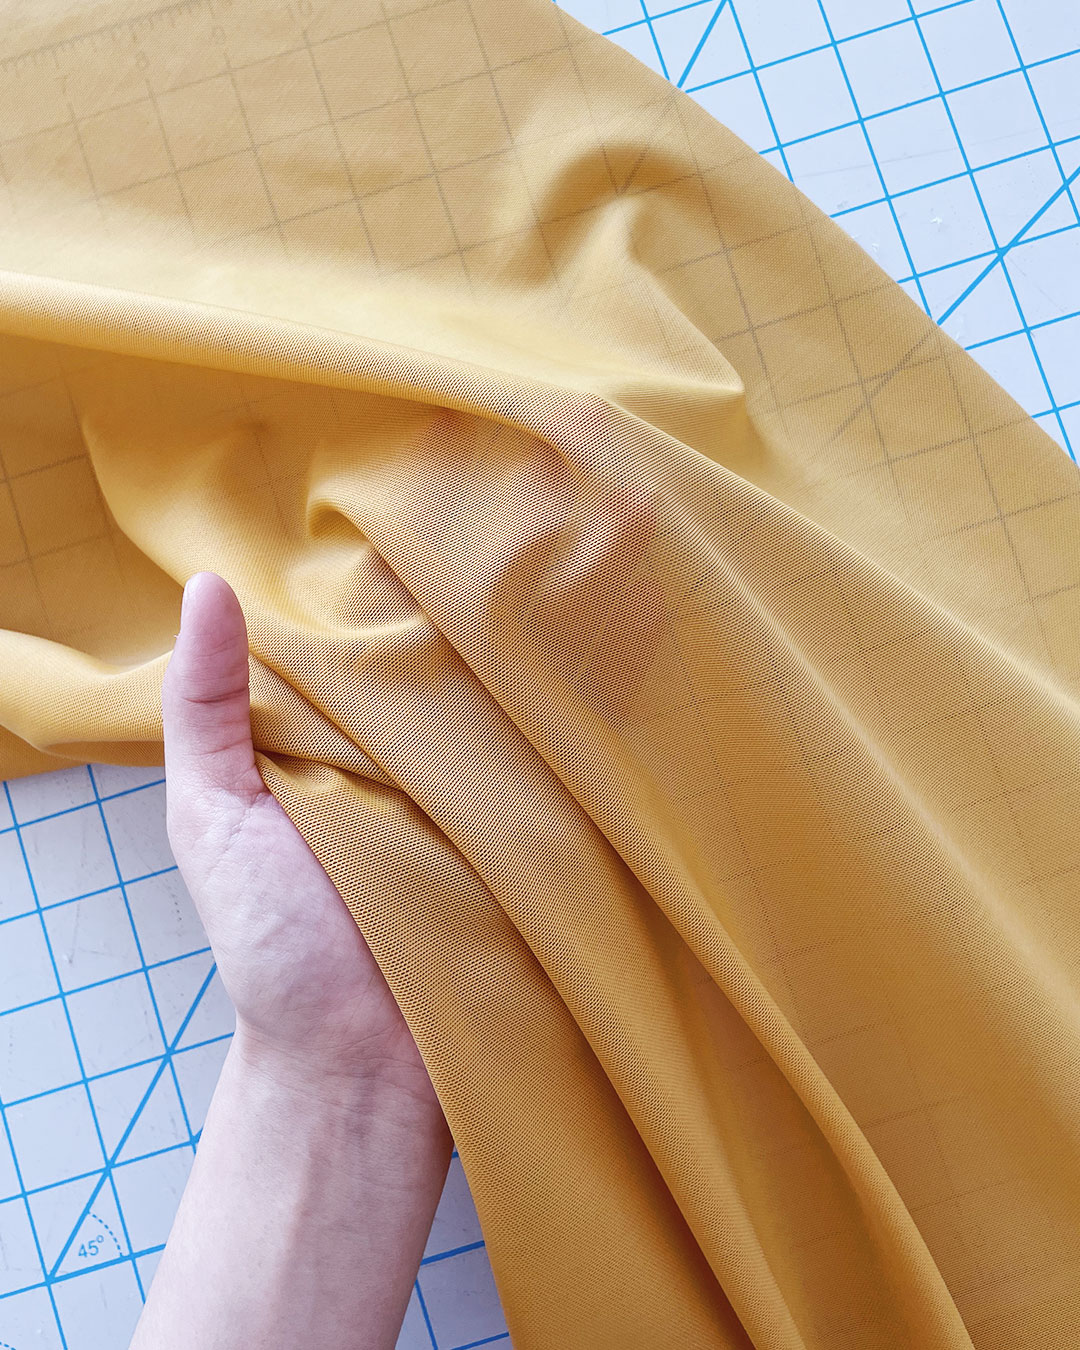
I started with the main body fabric—my mustard power net. I folded the fabric and placed my Band Piece along the fold, pinning the pieces in place. I cut the fabric using my rotary cutter and self-healing cutting mat.
The Sew Comfy pattern instructs you to cut two layers of main body fabric for each bra cup. However, because of how stable power net is, I decided to only use one layer of power net for the bra cups. (Also: during the tester version, the bra cup with one layer of power net fits the best.)
Please note that the direction of greatest stretch for this power net is parallel to the selvedge, which is why the cup pattern pieces are placed like so for my version.
If you wanted to use two layers, simply cut an extra pair of both the Inner and Outer Cup Pieces like so:
Next up, stabilizer tricot:

Stabilizer tricot is completely stable in one direction and has about 5% mechanical give in the other. I simply folded the stabilizer tricot so that the stable, non-stretch direction is perpendicular to the fold and positioned the pattern on the fold for cutting.
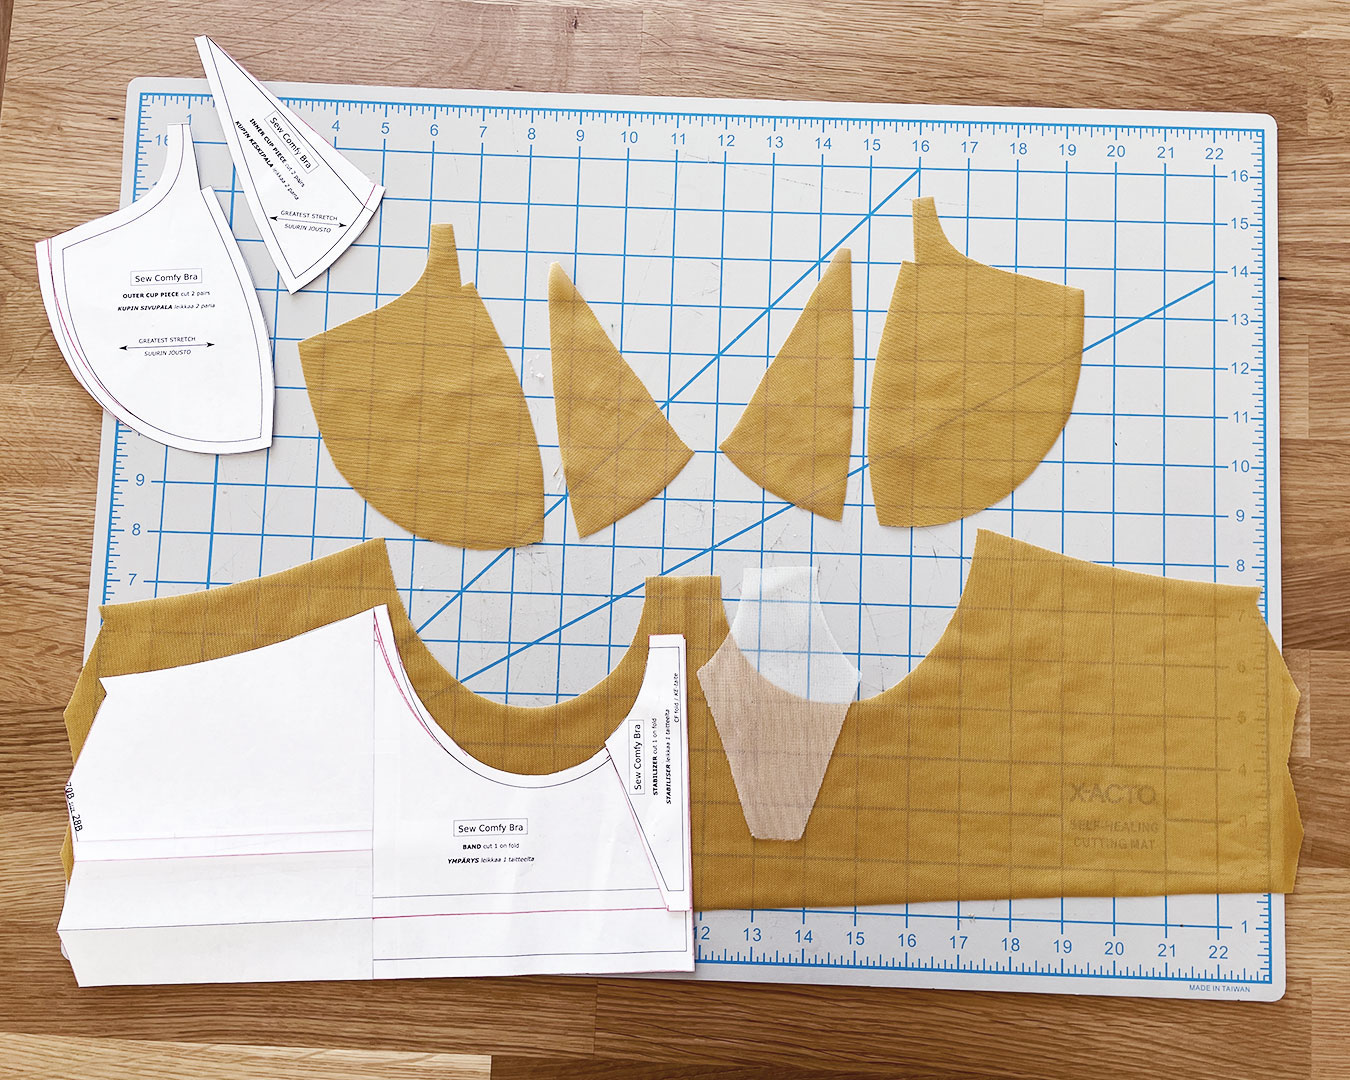
If you’re using a single layer of fabric for the cups like I did, you should end up with 6 cut pieces total!
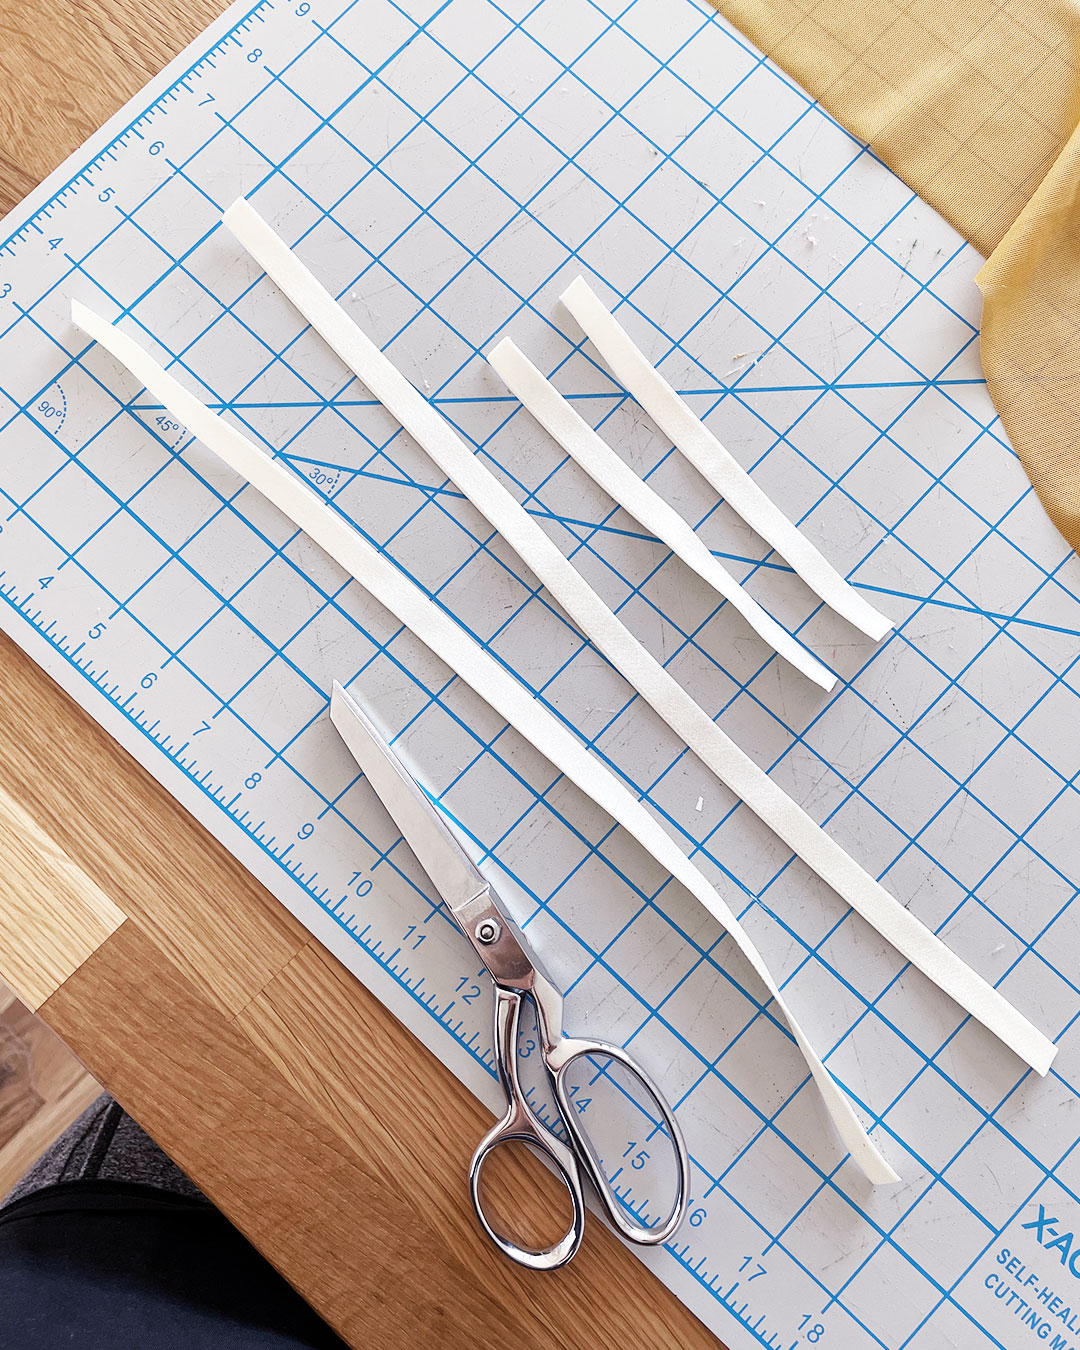
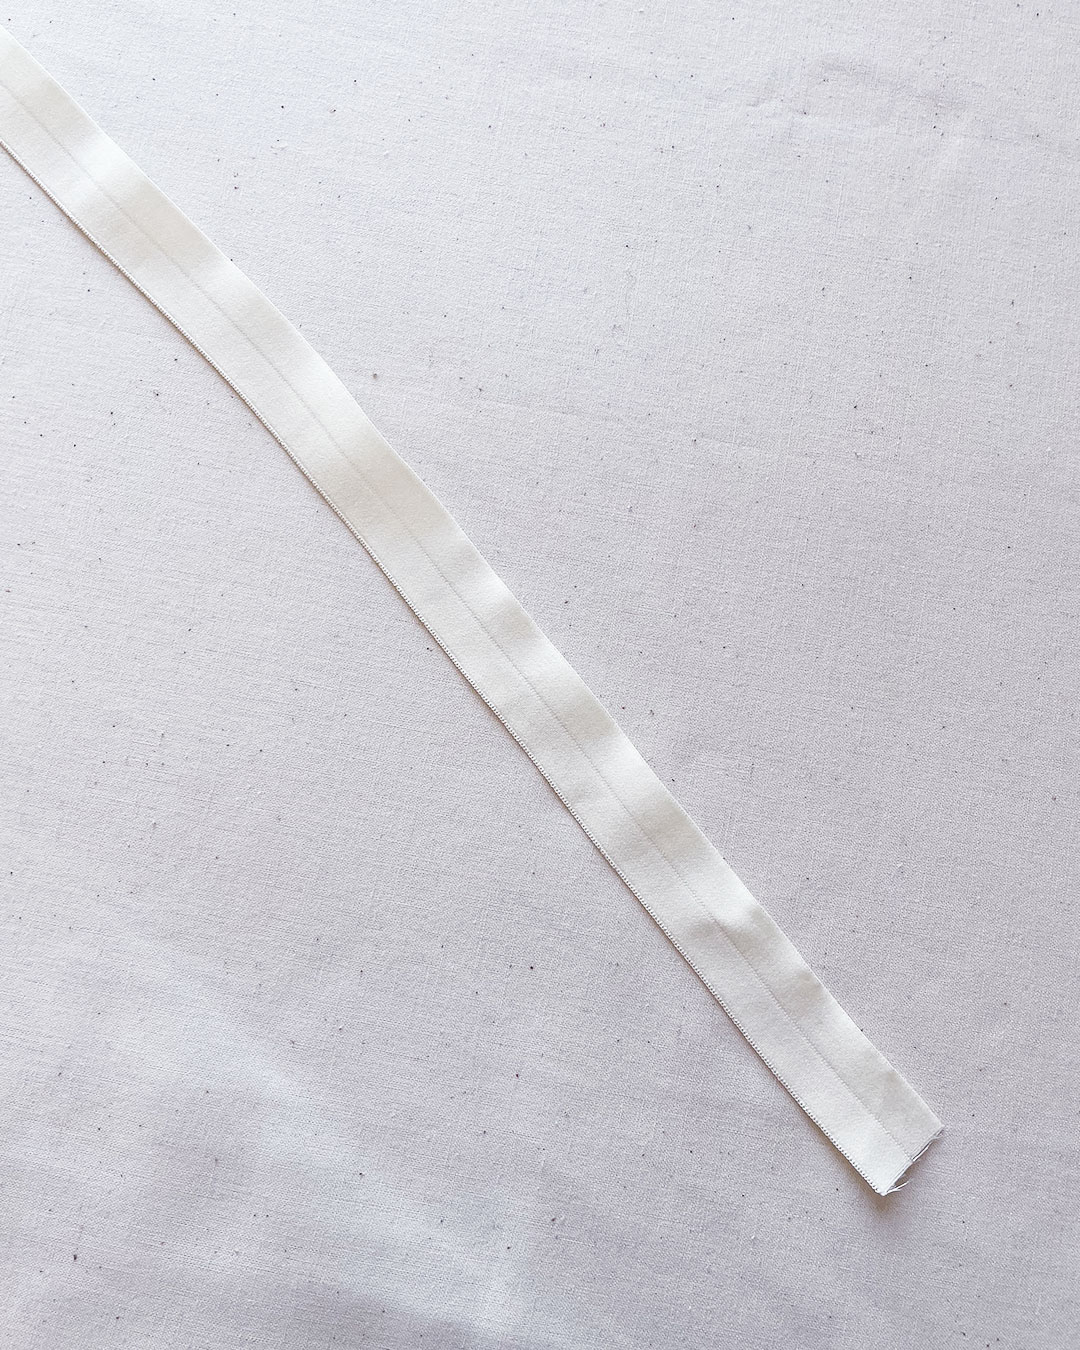
I pre-cut my strap elastic as well, for easy assembly later on. For the front straps, I cut two lengths of 16″. For the back straps, I cut two lengths of 5″. I did not pre-cut the FOE, channeling, or wide plush elastics, as I prefer to cut those as I sew.
Hooooray! We are now ready to sew! <3
Jump To:
- Sew Comfy Sew-Along – Part 1: Pattern and Sizing
- Sew Comfy Sew-Along – Part 2: Materials and Cutting
- Sew Comfy Sew-Along – Part 3: Sewing Part 1
- Sew Comfy Sew-Along – Part 4: Sewing Part 2
- Sew Comfy Sew-Along – Part 5: Pattern Hack