
Black Beauty Bra View B Sew-Along // Part Seven: Sewing – Frame
Hellooo and welcome to Part 7 of our Black Beauty Bra Sew-Along with Joy (@byjoymao)!
Today, we’ll be constructing the frame of the bra using the “Frame,” “Outer Cradle,” and “Back Band” pieces that we cut in Part 3. We’ll be tackling this part in three steps:
- Preparing the Frame
- Attaching the Outer Cradle
- Attaching the Back Band
Preparing the Frame
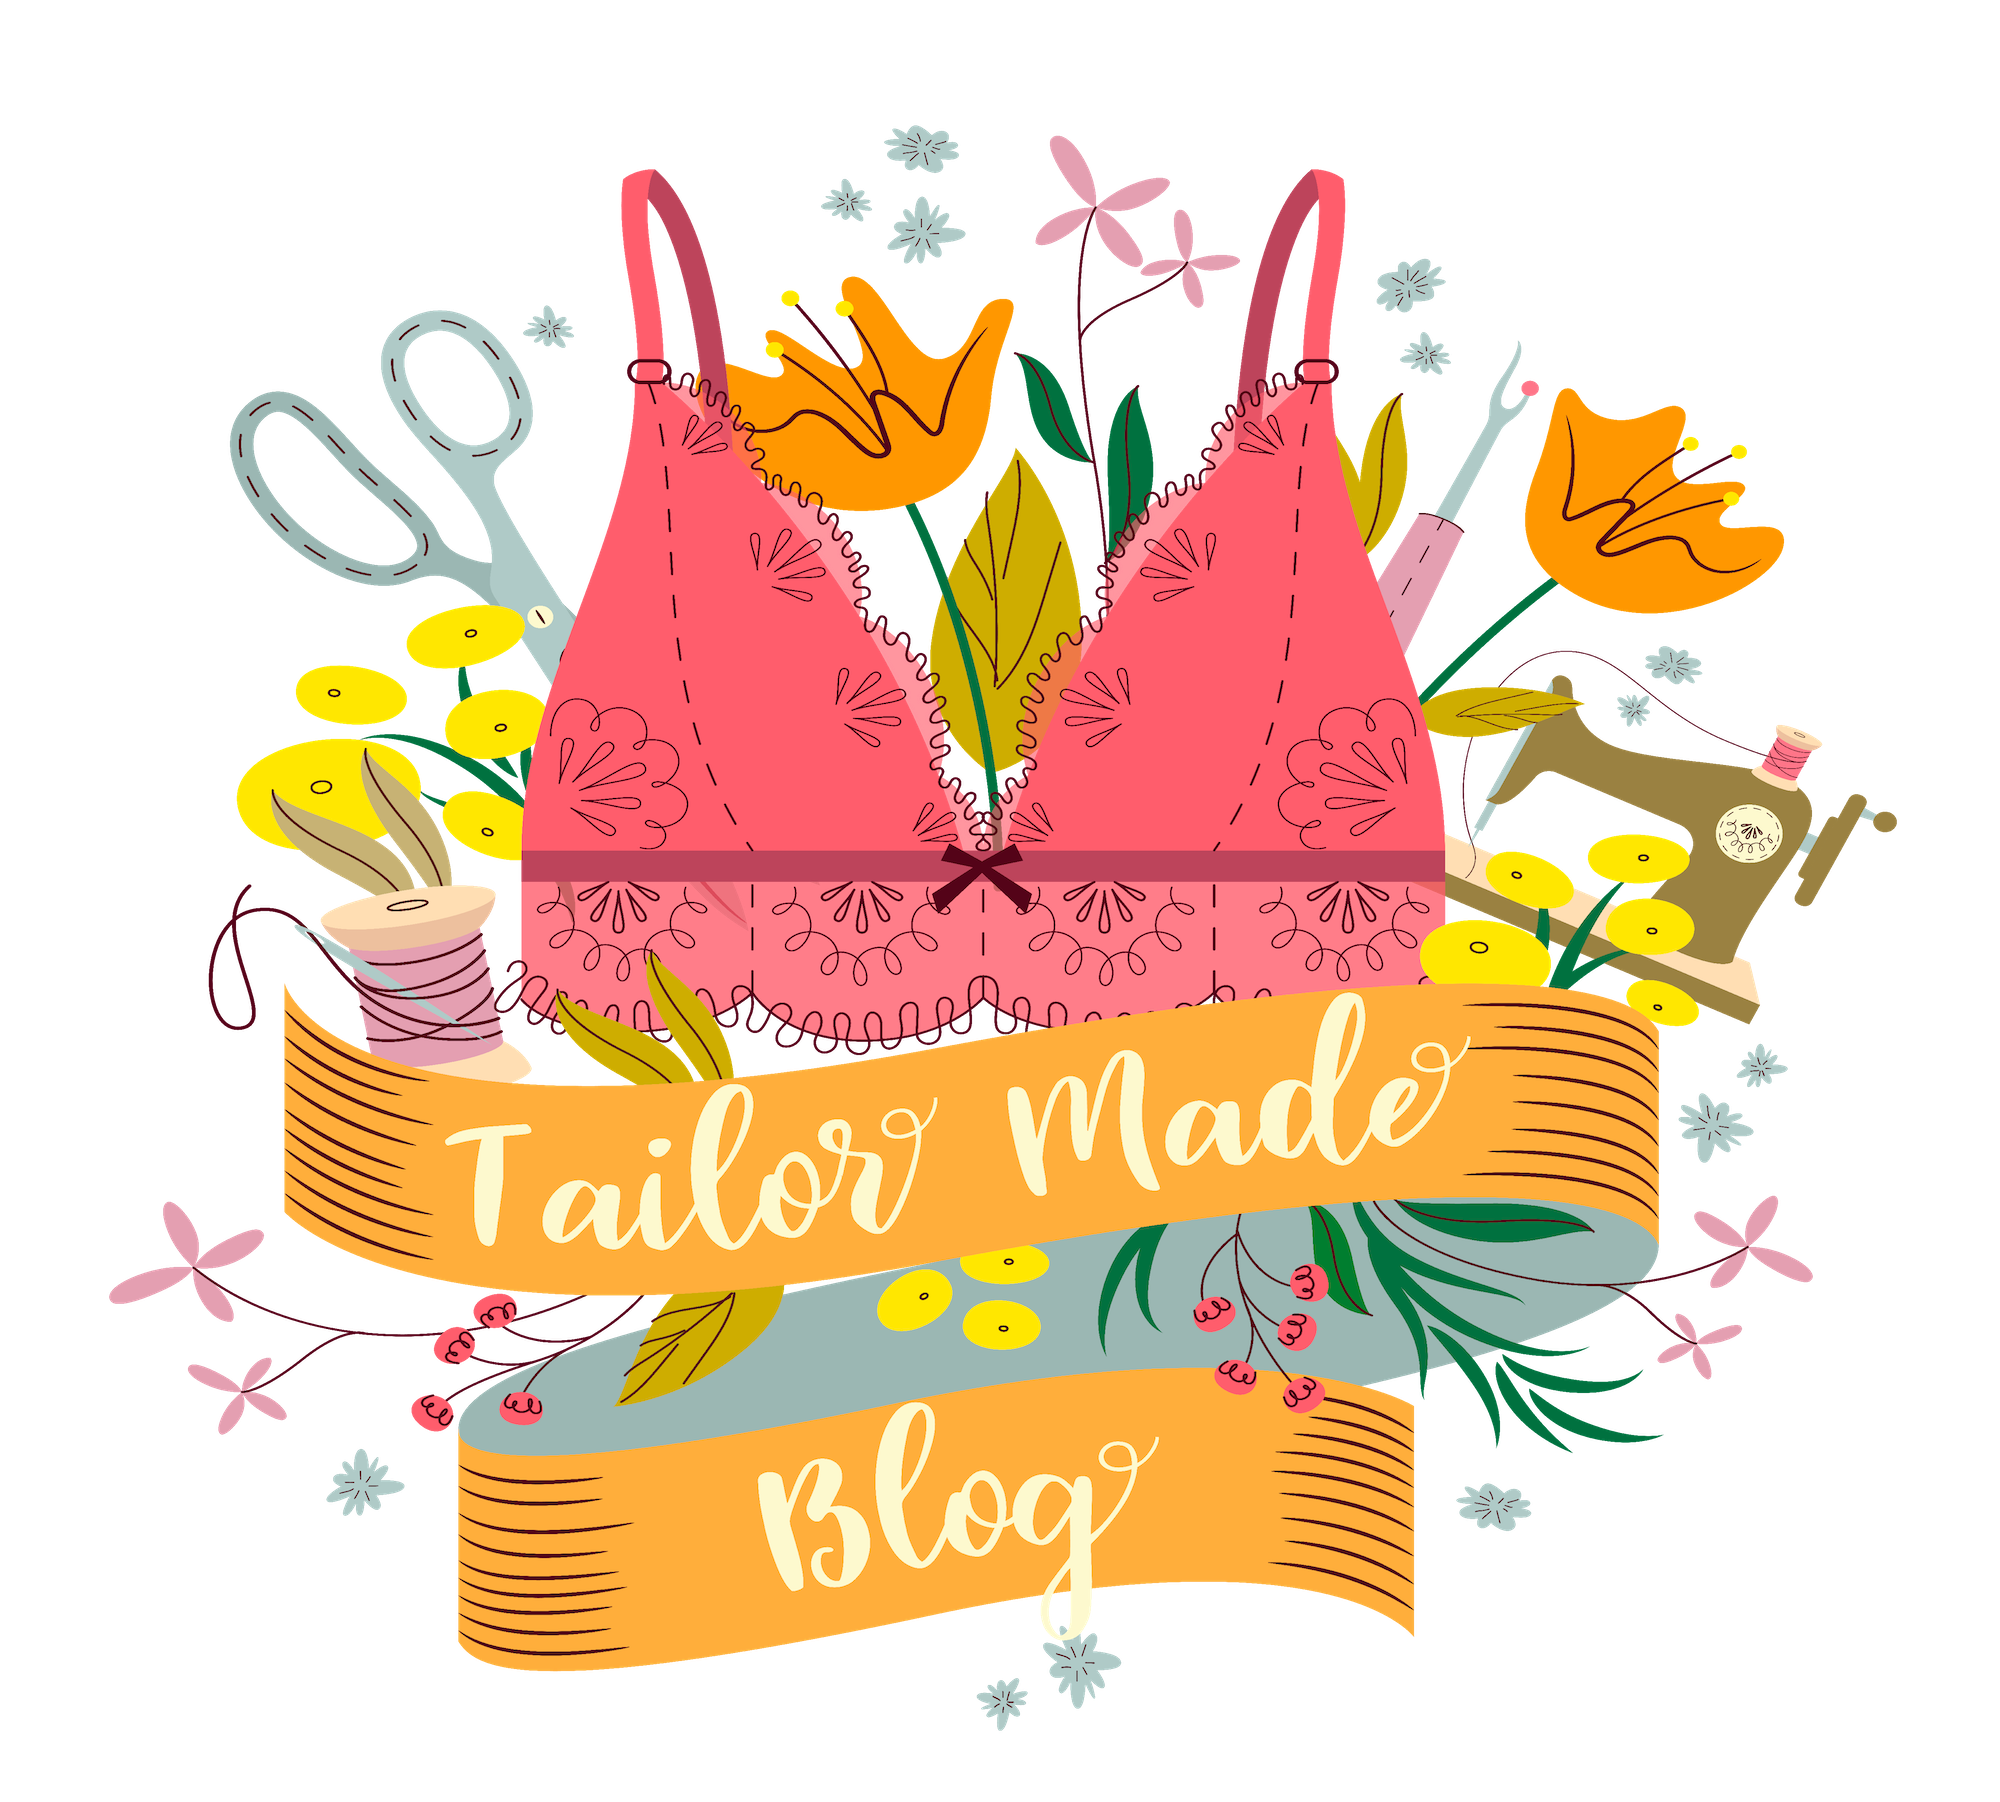
During the cutting phase, I had prepared one Frame piece in lace, and one piece in lining (stabilizer tricot).

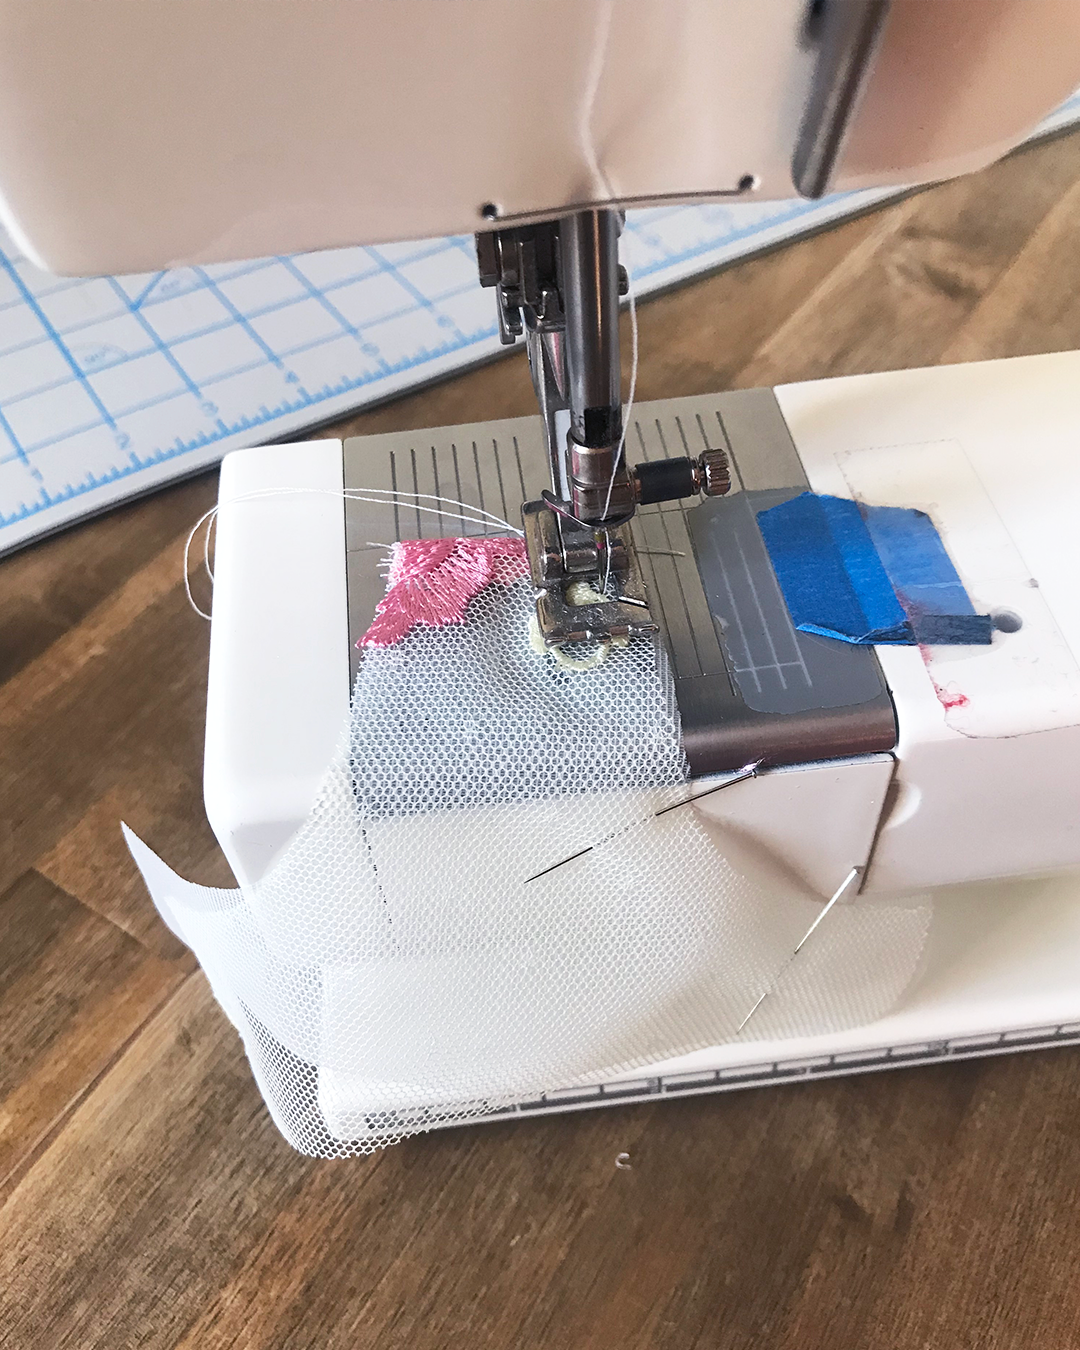
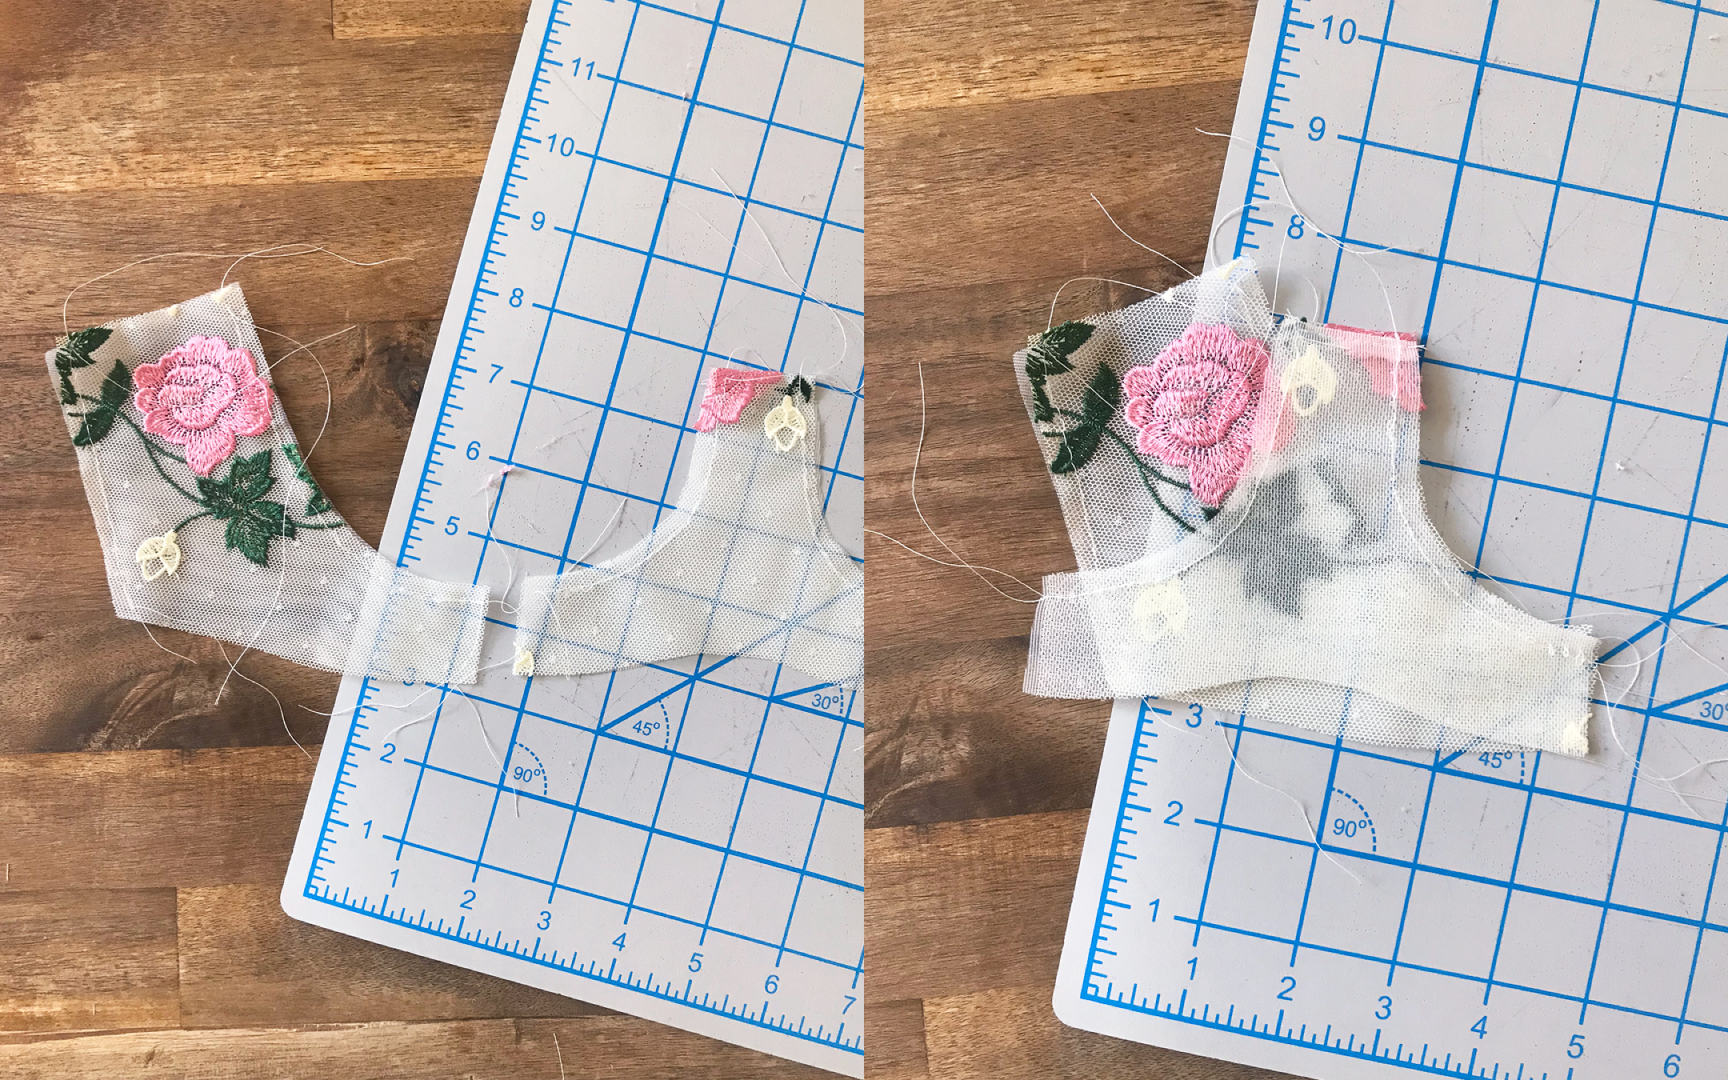
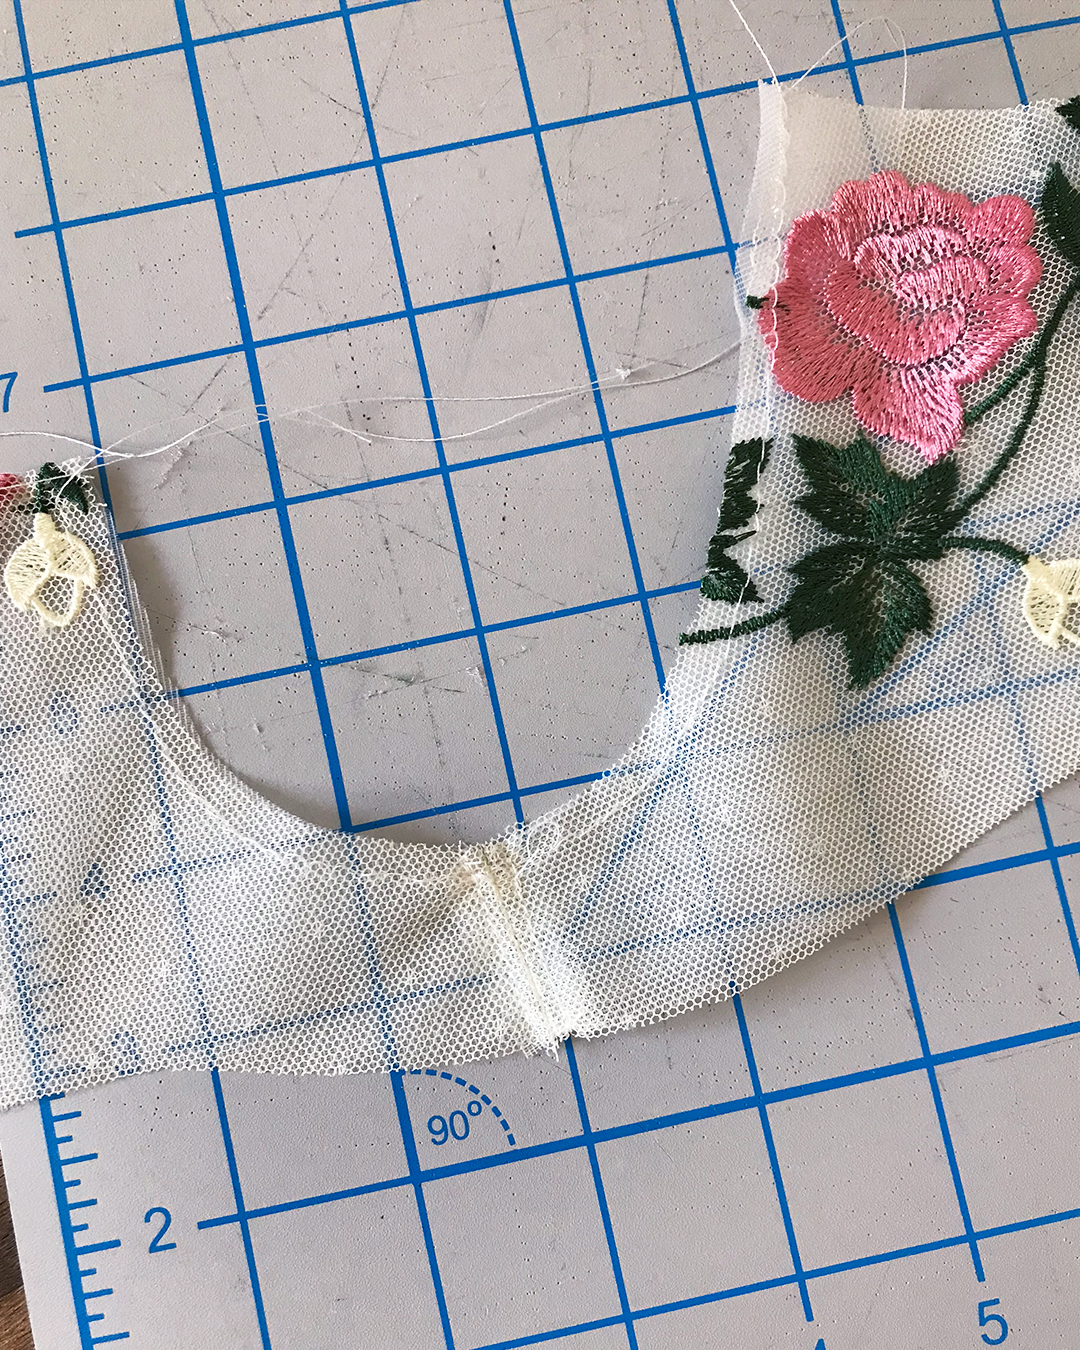
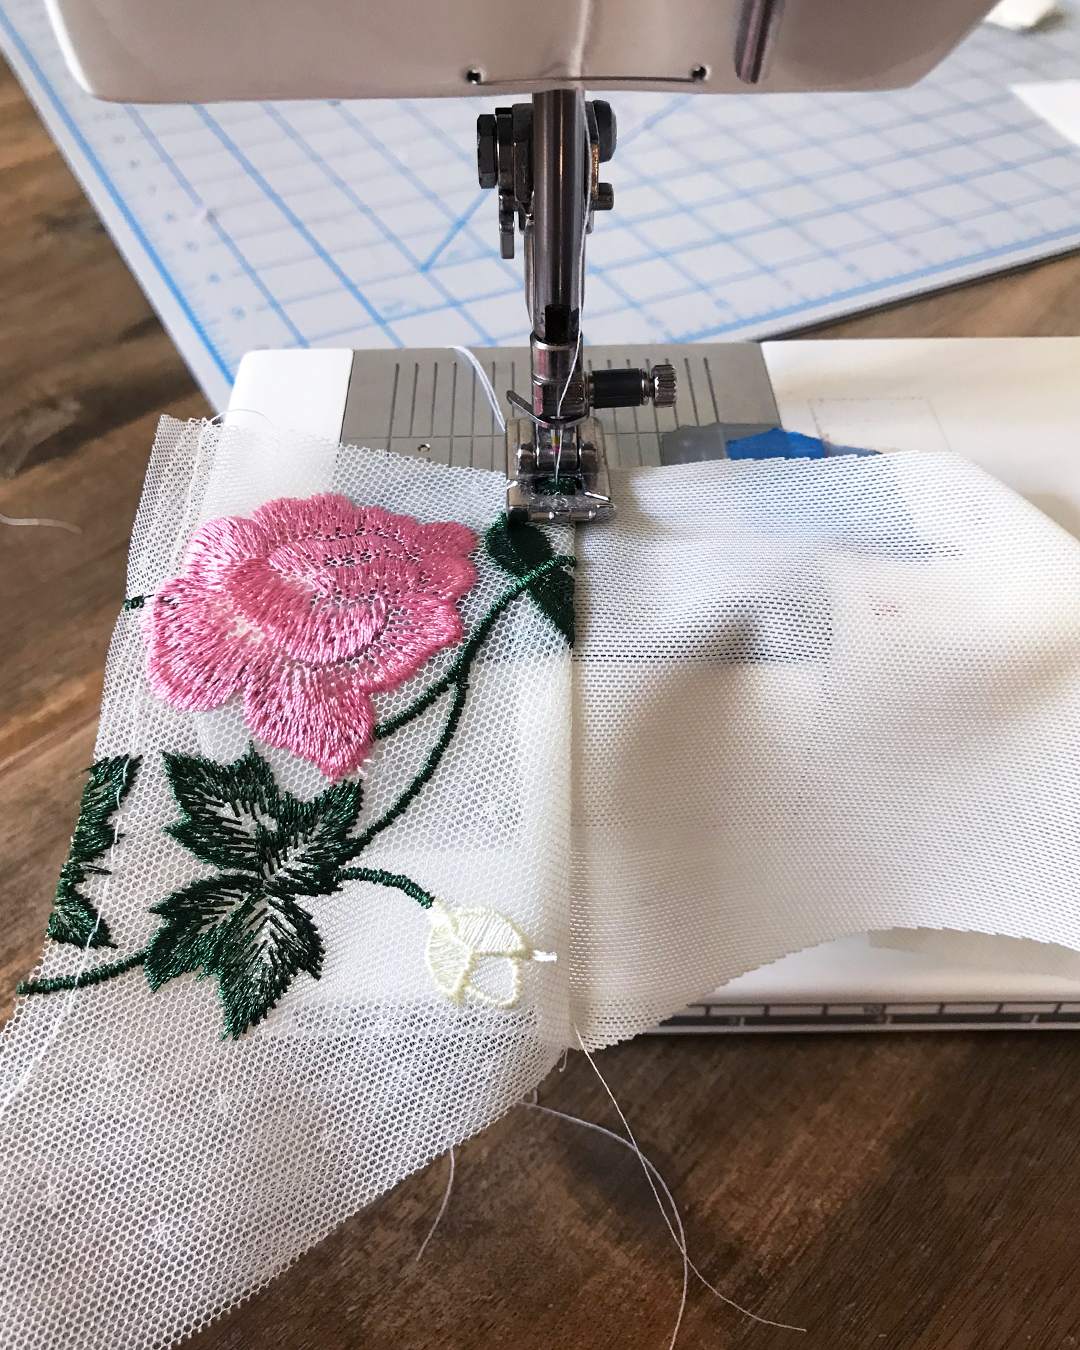
To prepare the Frame for sewing, you first finish the top edge by placing the lace and lining layers together (right sides together), and straight stitching across the top edge.
When you open the pieces up along the seam with right sides facing up, the seam allowances should be turned towards the lining piece.
You’ll top stitch the seam allowances towards the side of the stabilizer tricot, which help the seam to turn inwards.
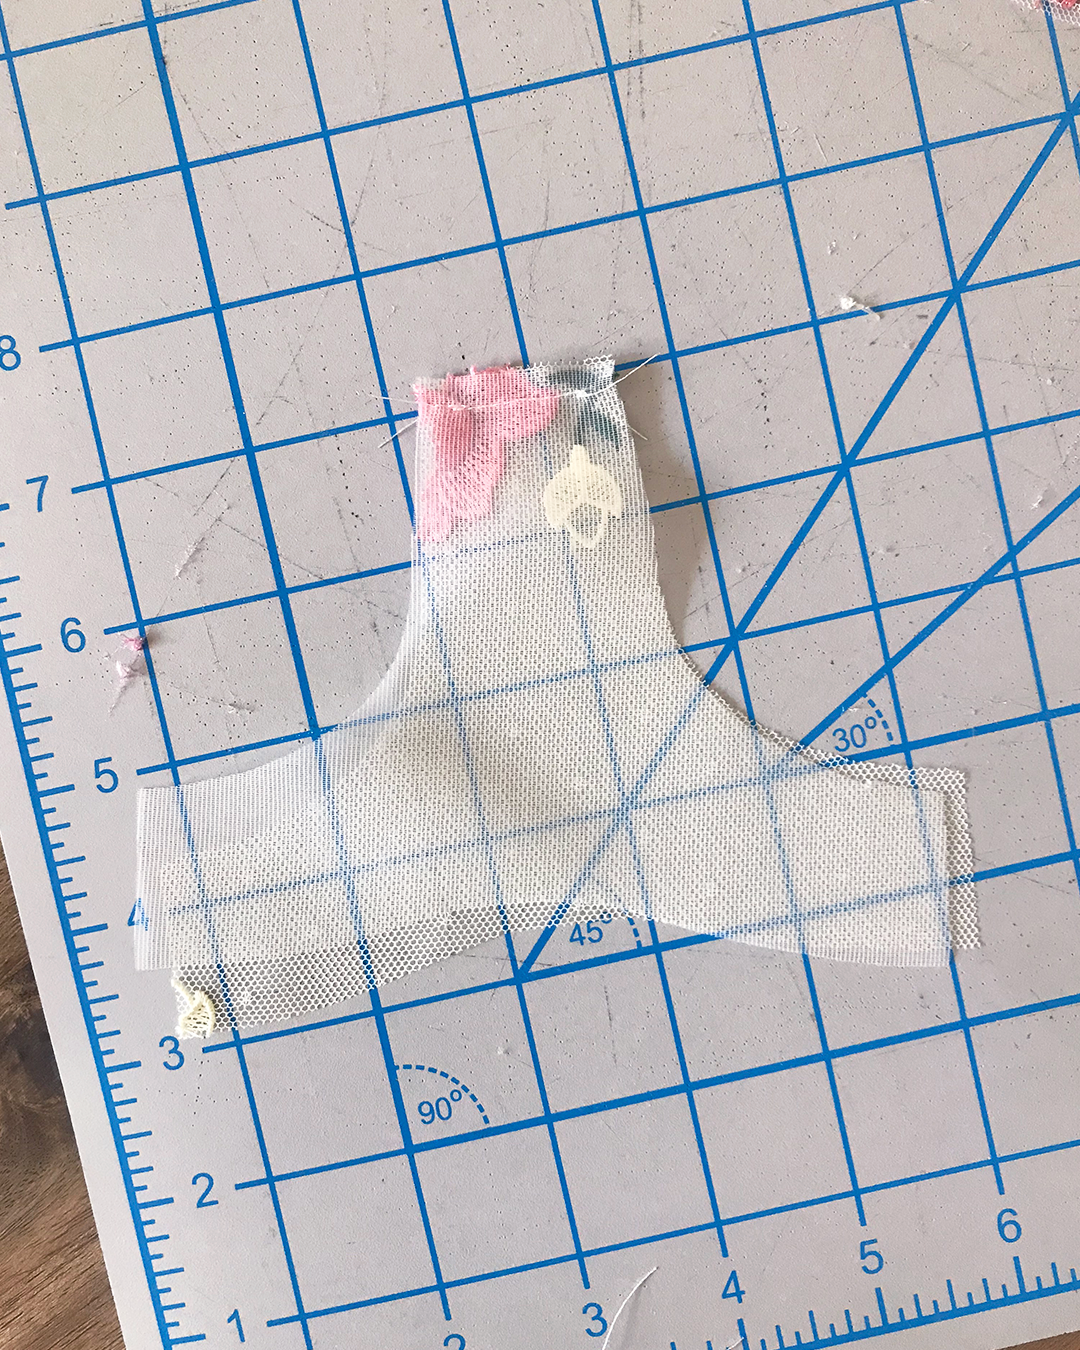
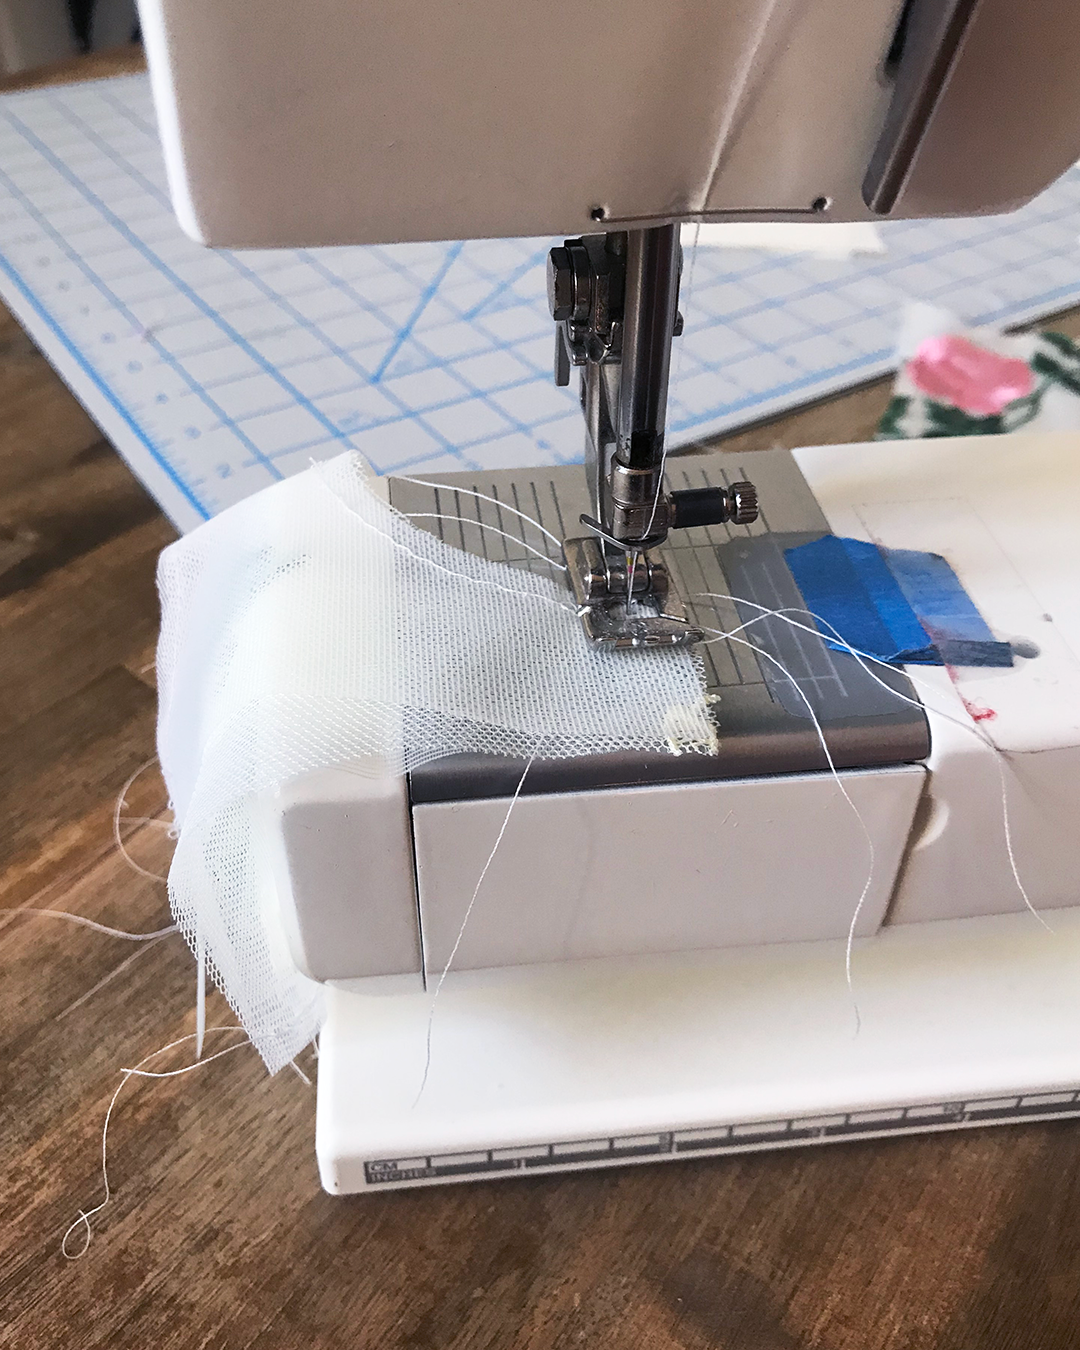
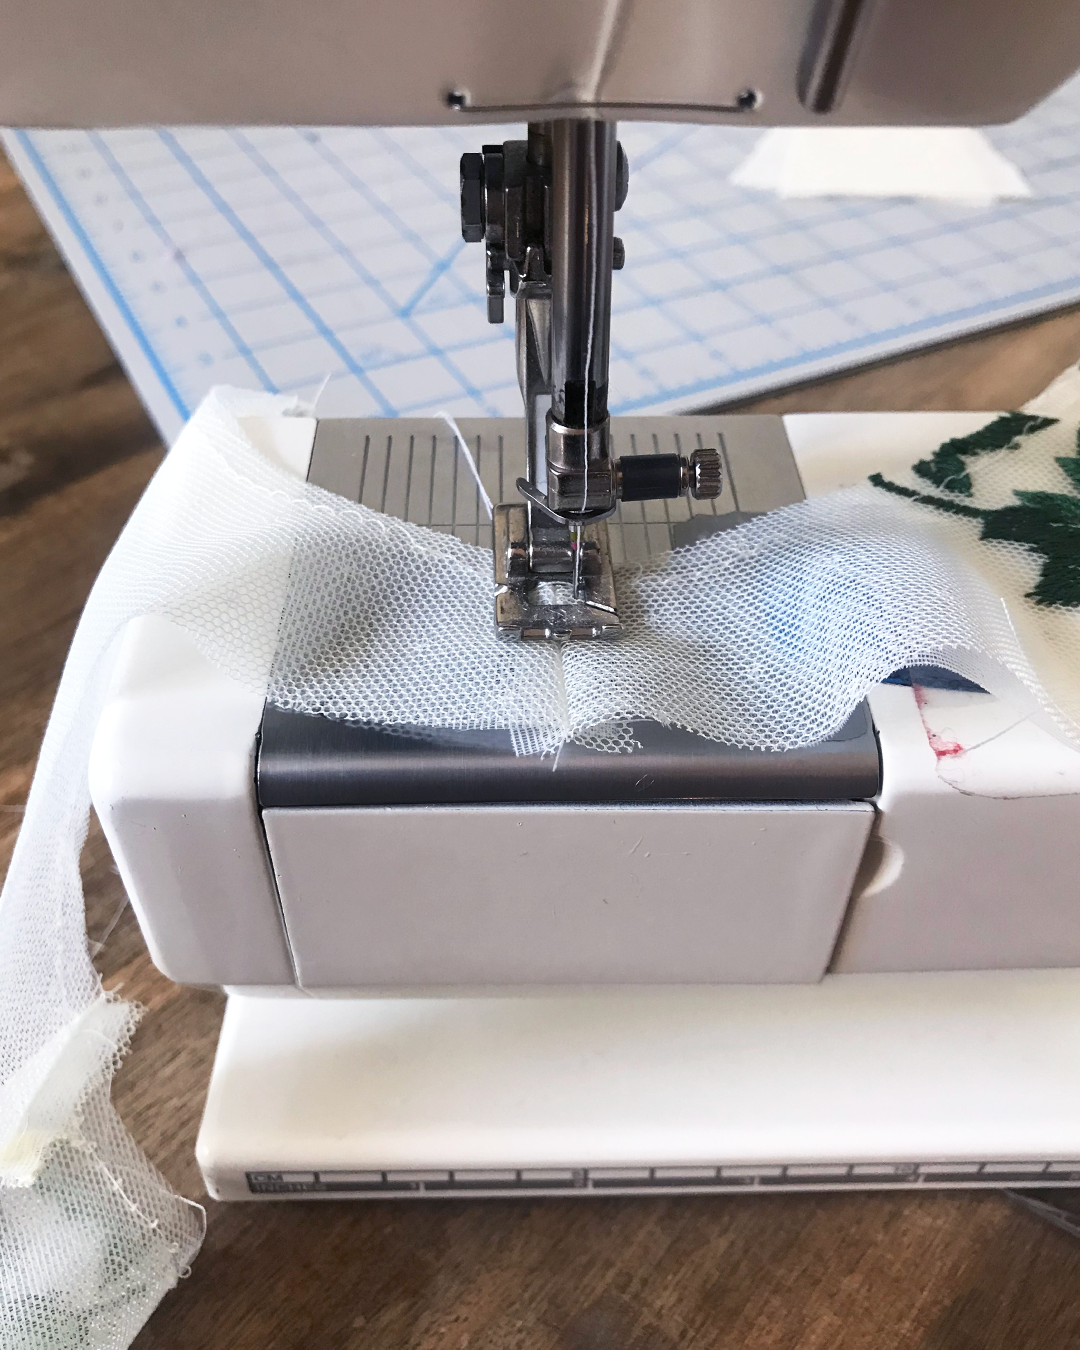
After finishing the top edge, set your machine to basting stitch settings and carefully baste the lace and lining layers together along the wire line. This will help stabilize this edge for when you’ll attach the cups.
Attaching the Outer Cradle
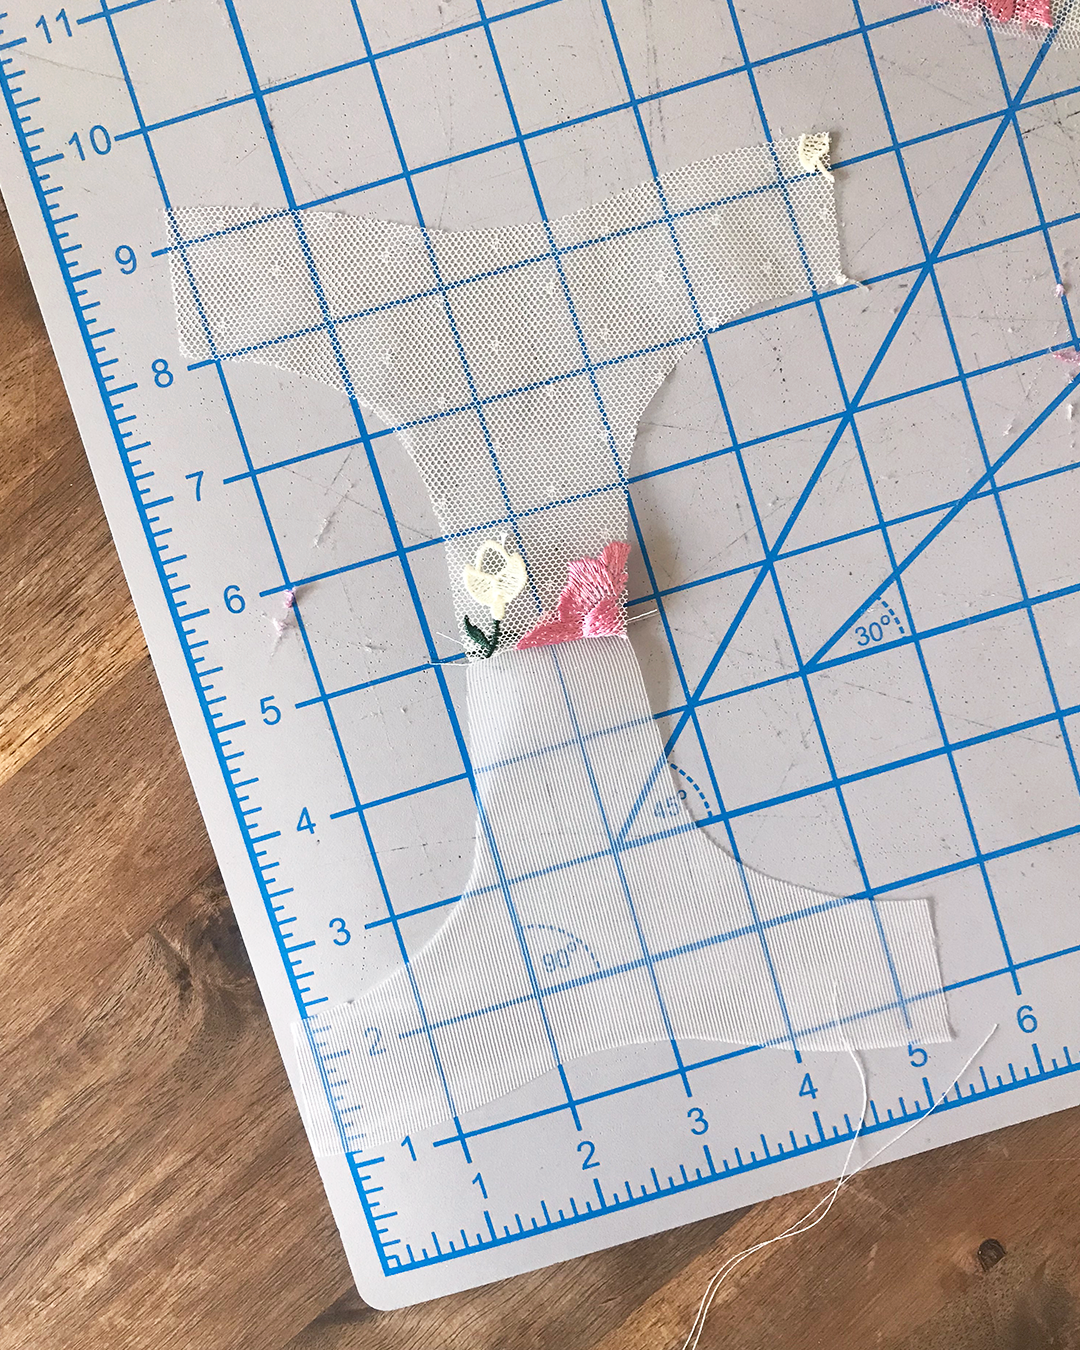
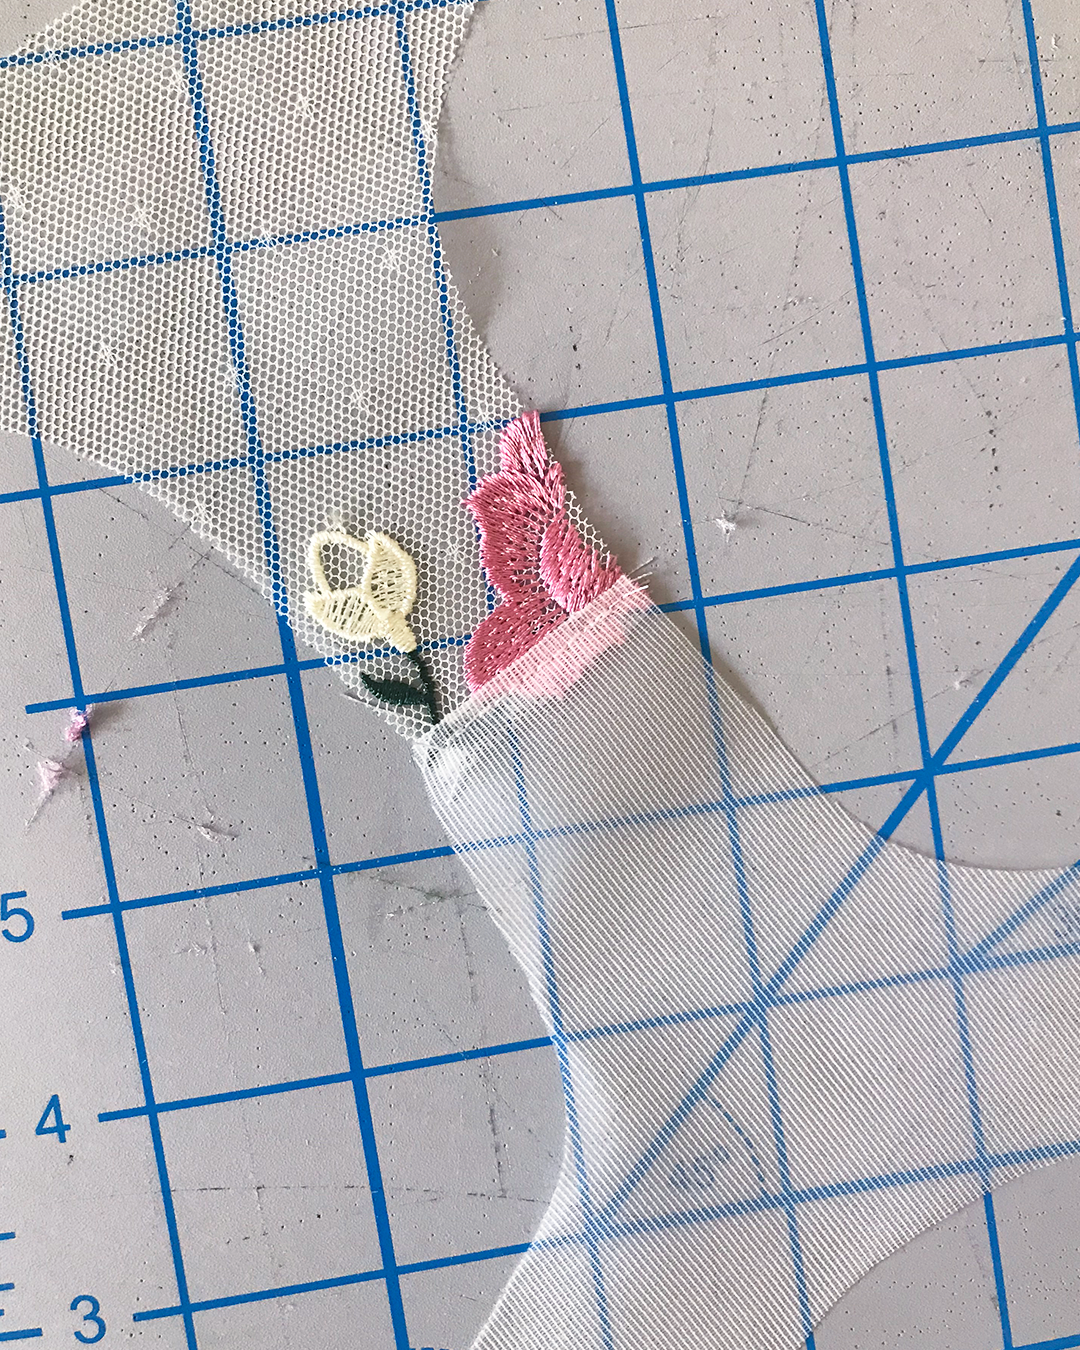
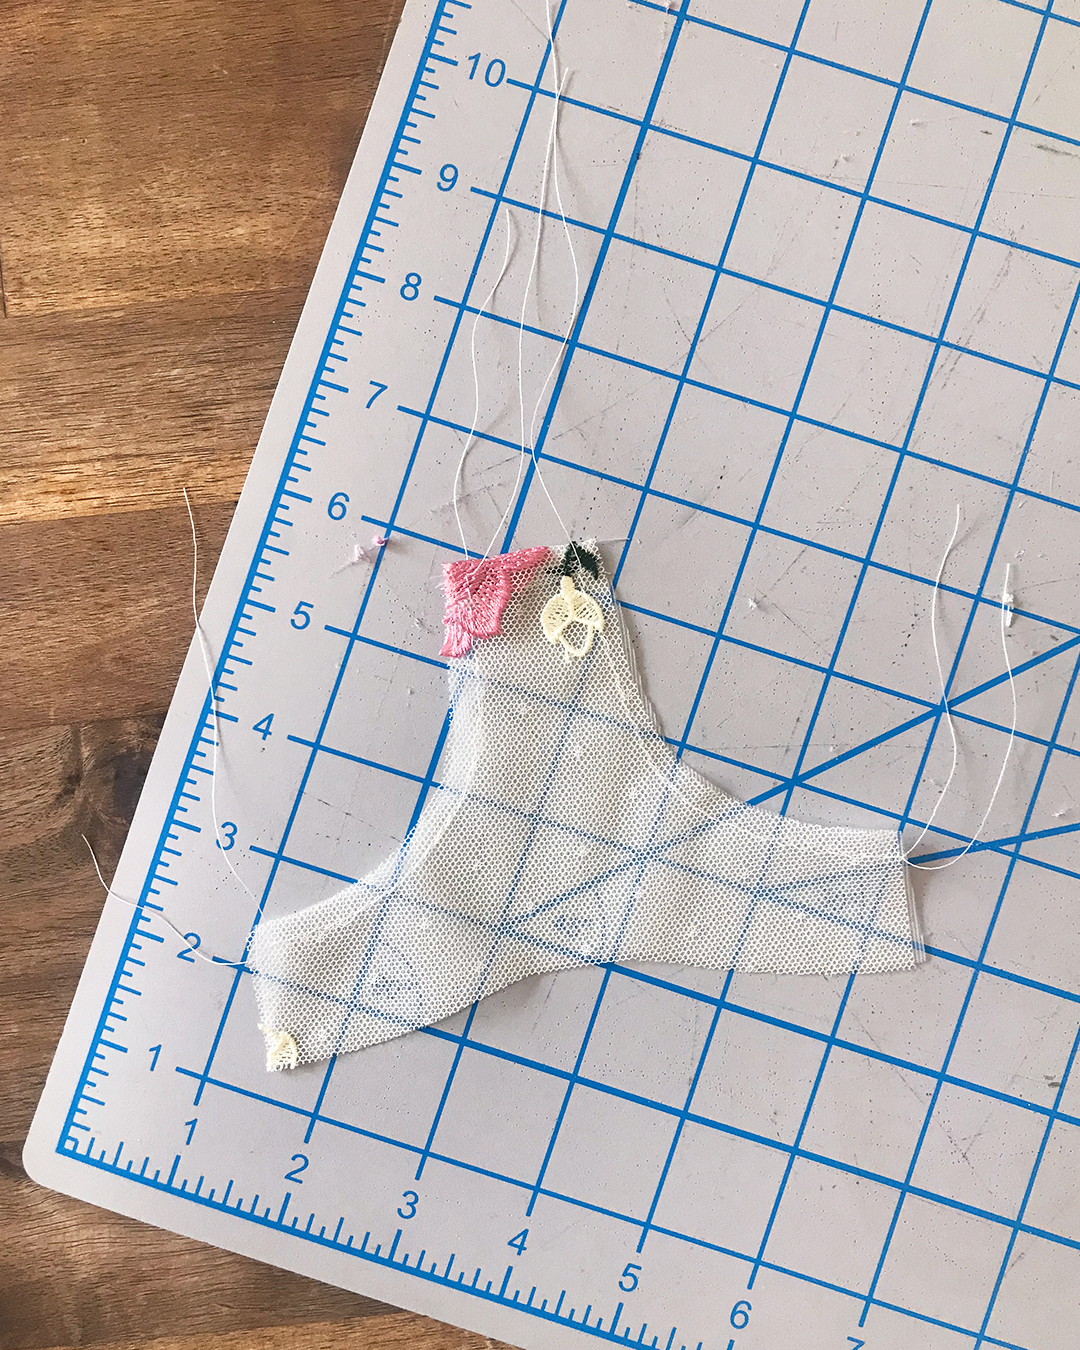
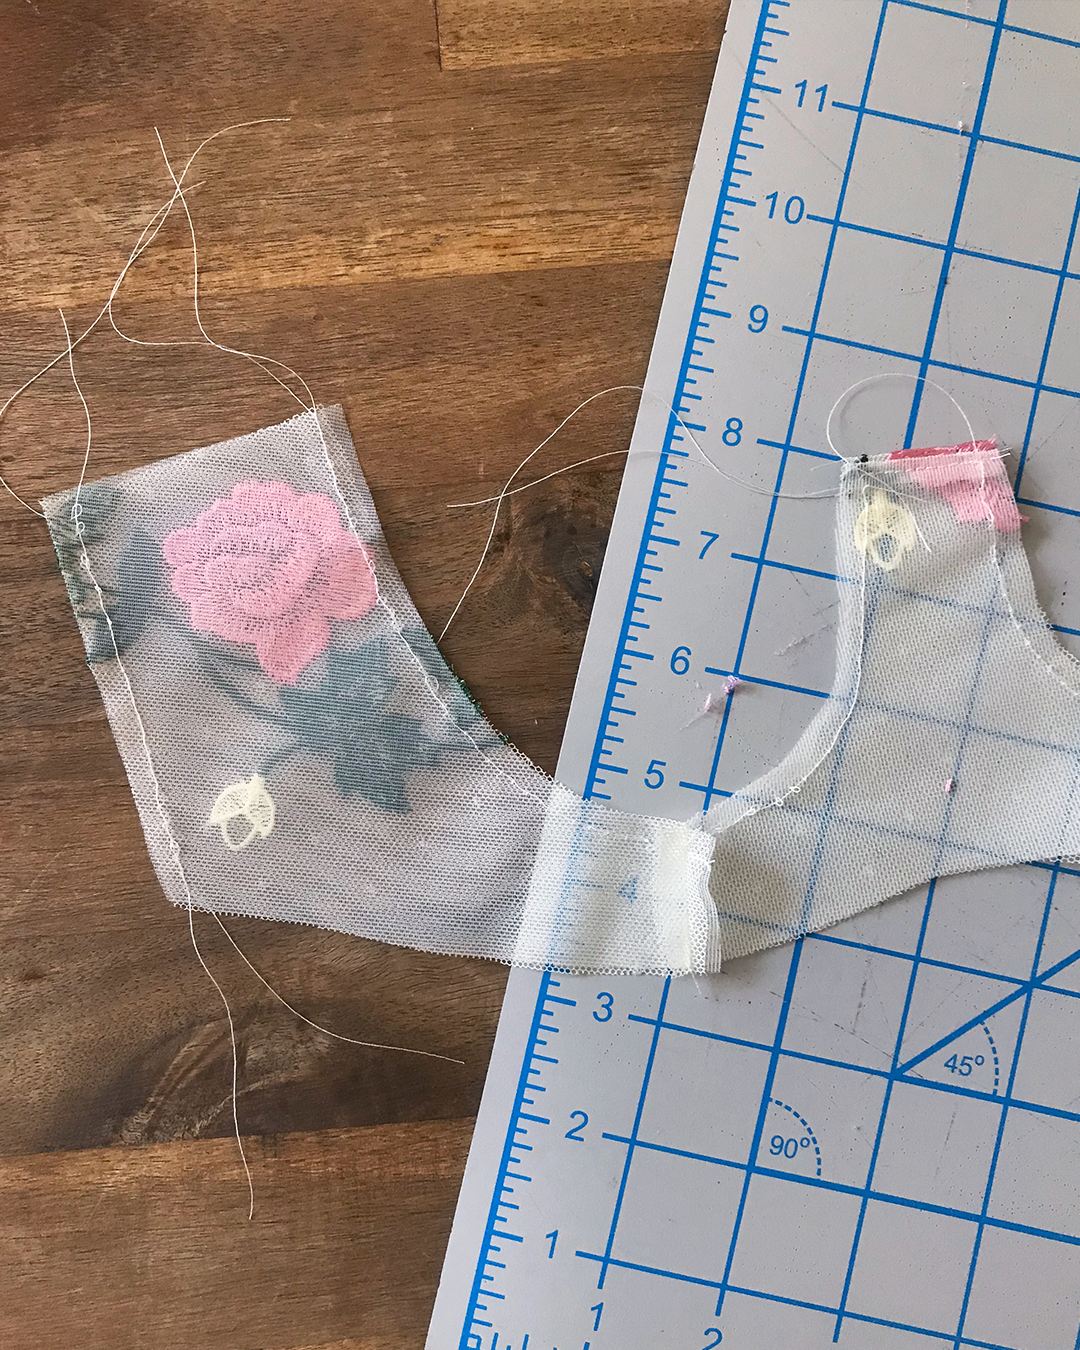
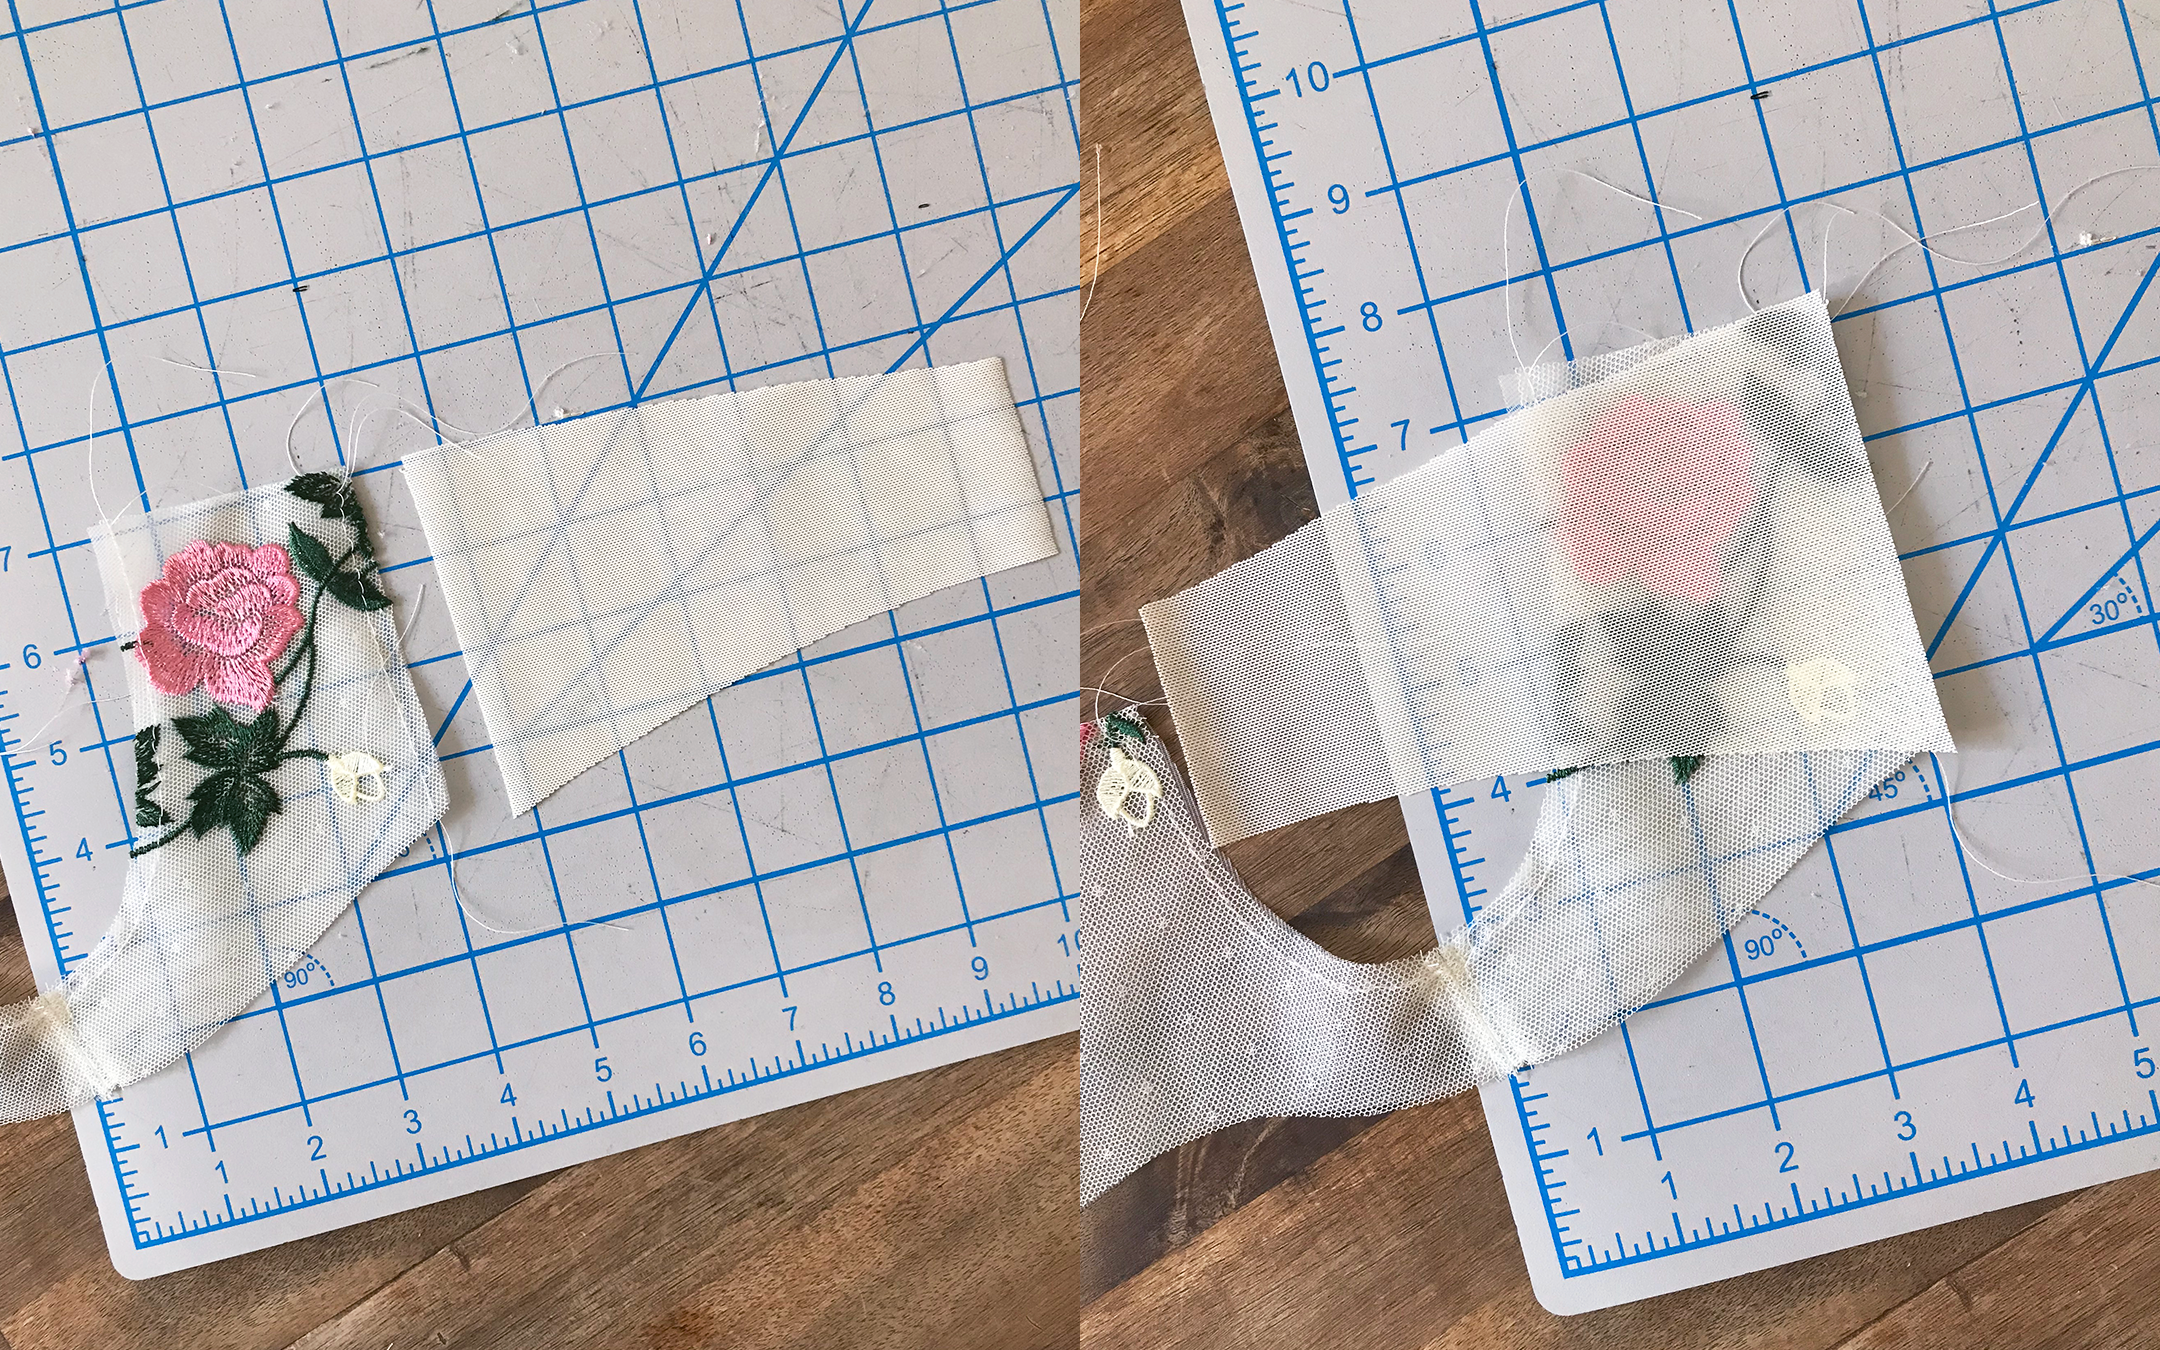
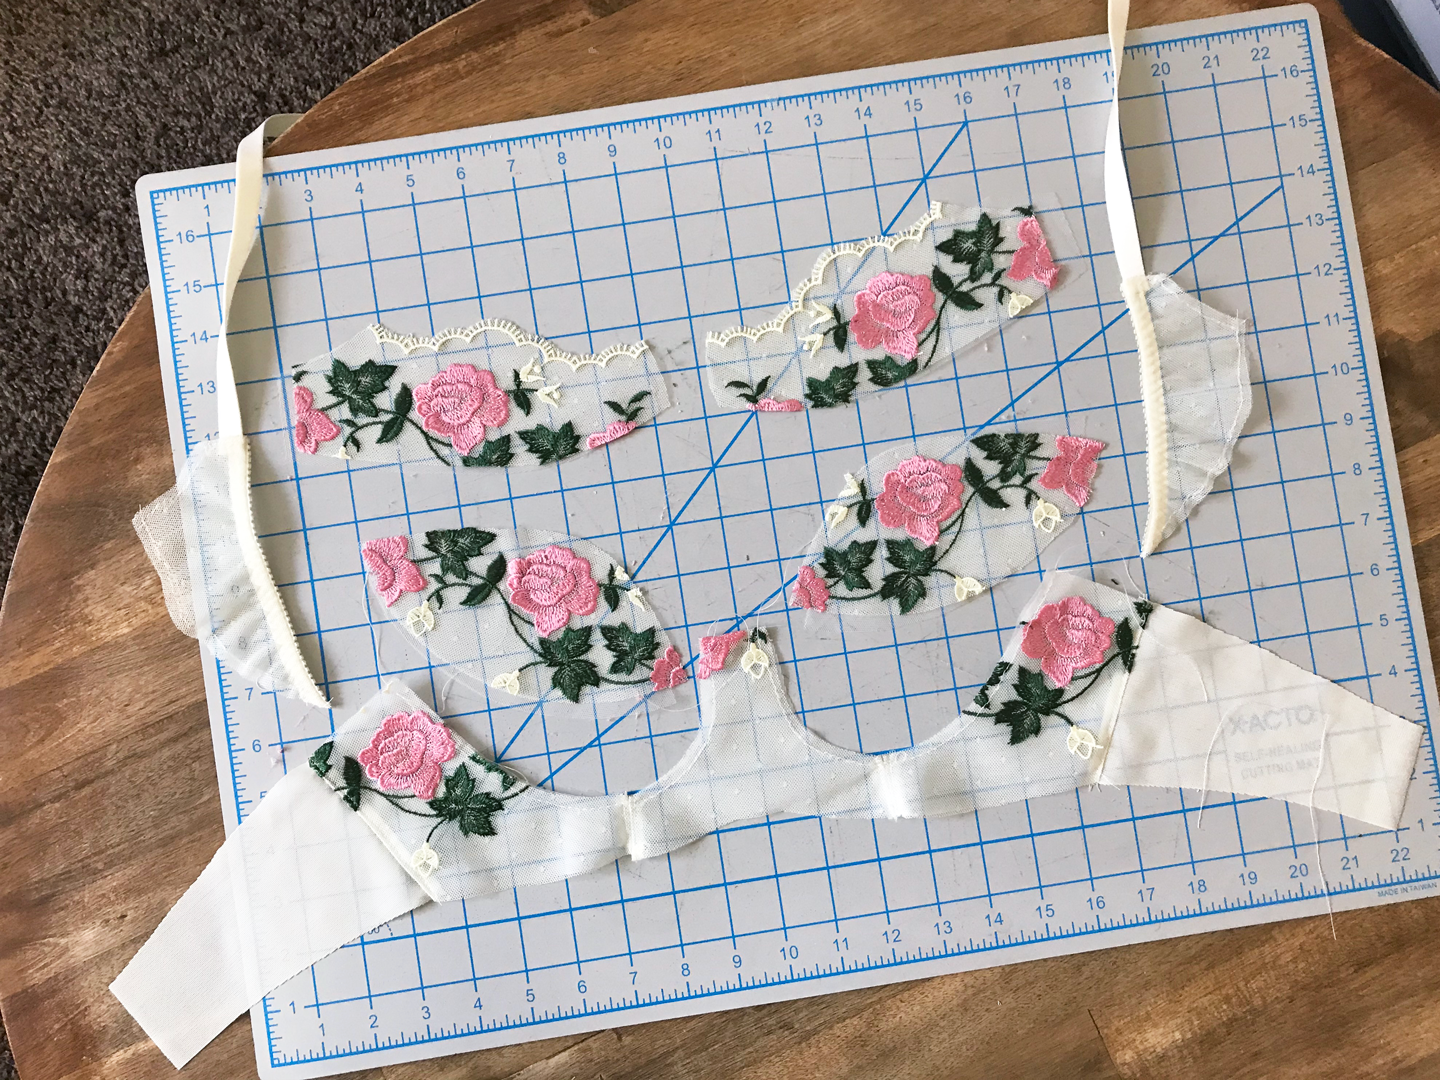
Before attaching the Outer Cradle pieces to the Frame piece, baste at ⅛” seam allowance along the wire line and side seams of the Outer Cradle so that the finished pieces look like this:
Pin the lace and stabilizer tricot lining layers together before you baste if this helps. Set your machine for basting and carefully make your way along the seams.
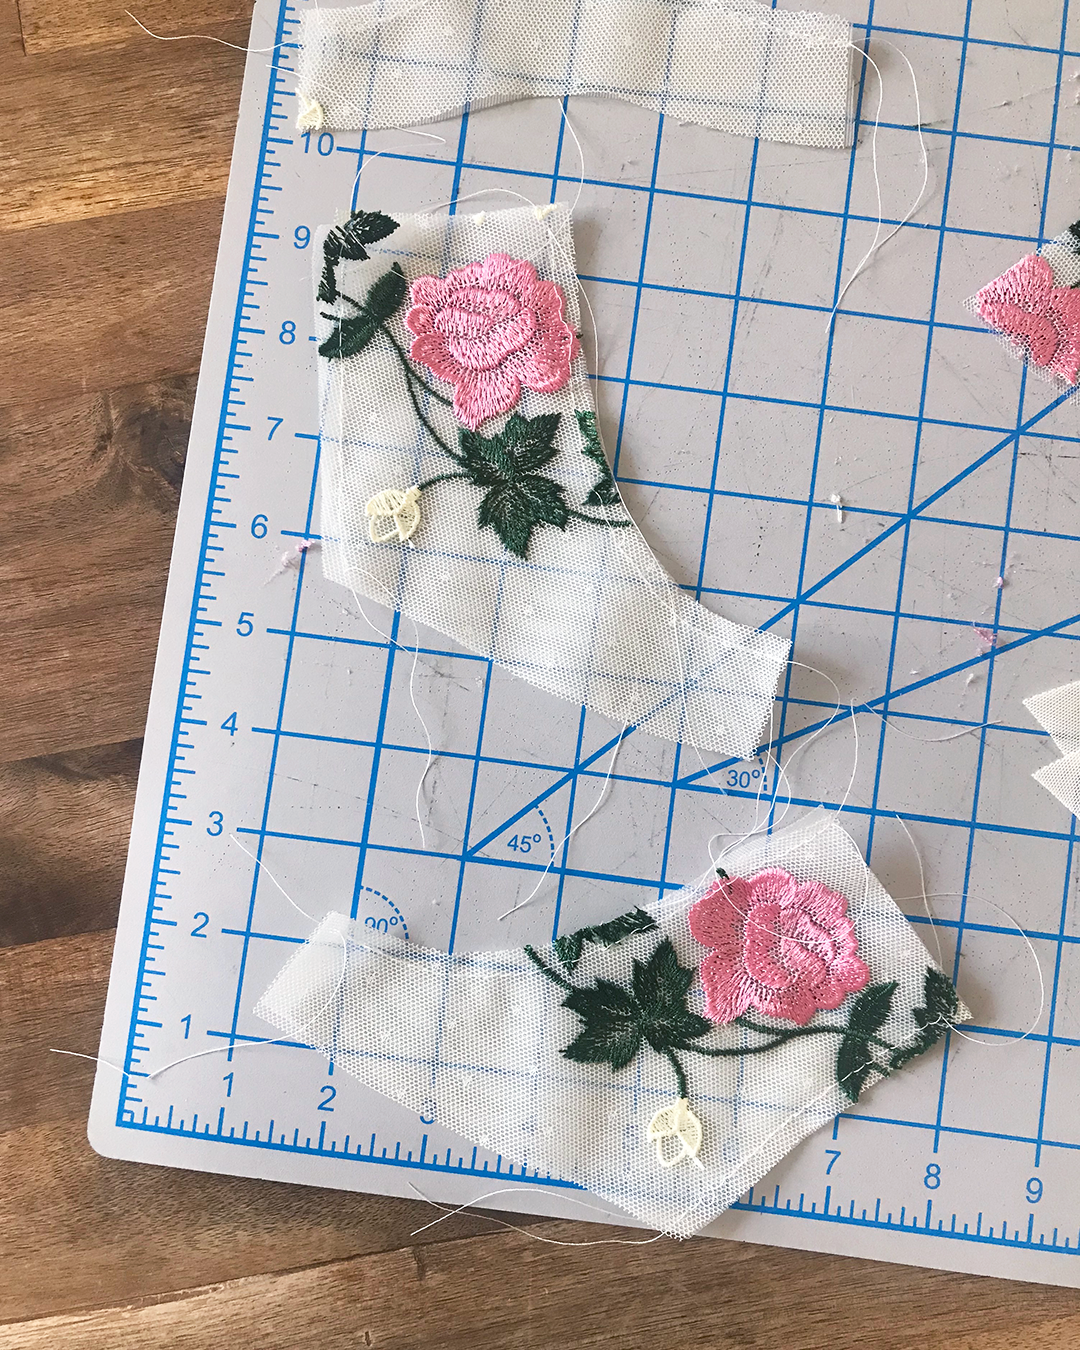
After repeating on the other side, your Frame and Outer Cradle pieces are ready to be sewn together!

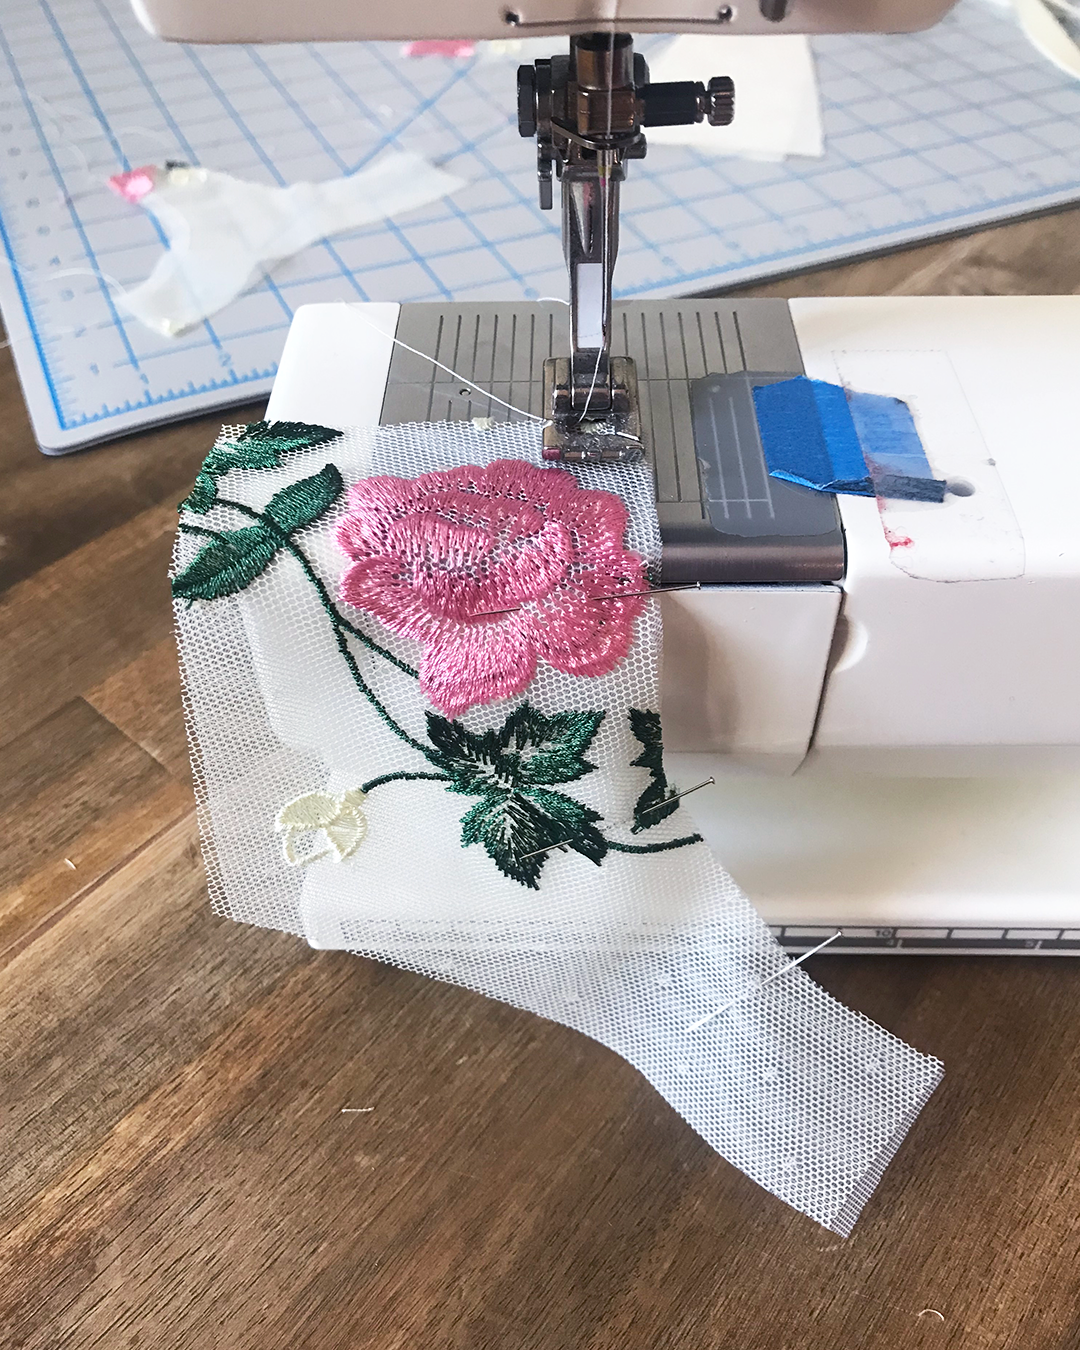
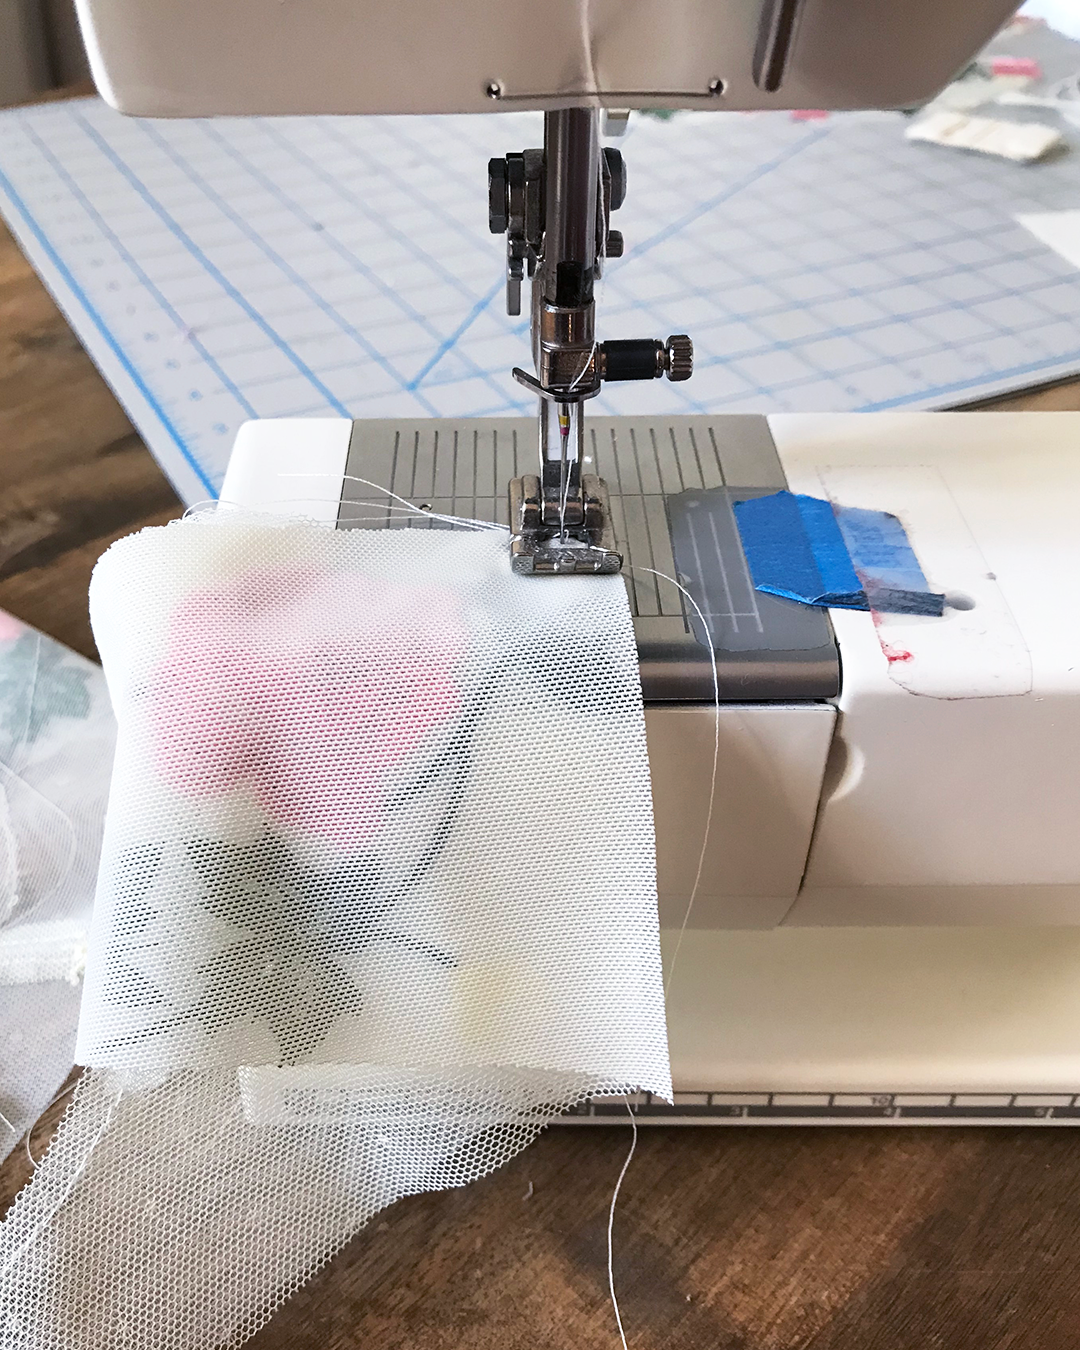
To sew these pieces together, place them right sides together, with the seams lined up like so:
Sew with a small straight stitch at a ¼” seam allowance.
If you have an iron handy and like to press your projects as you go, this is a good time to give your seam a gentle press open. Not mandatory, but helps to add a little polish to the bra and helps the seam lie flatter for the next step.
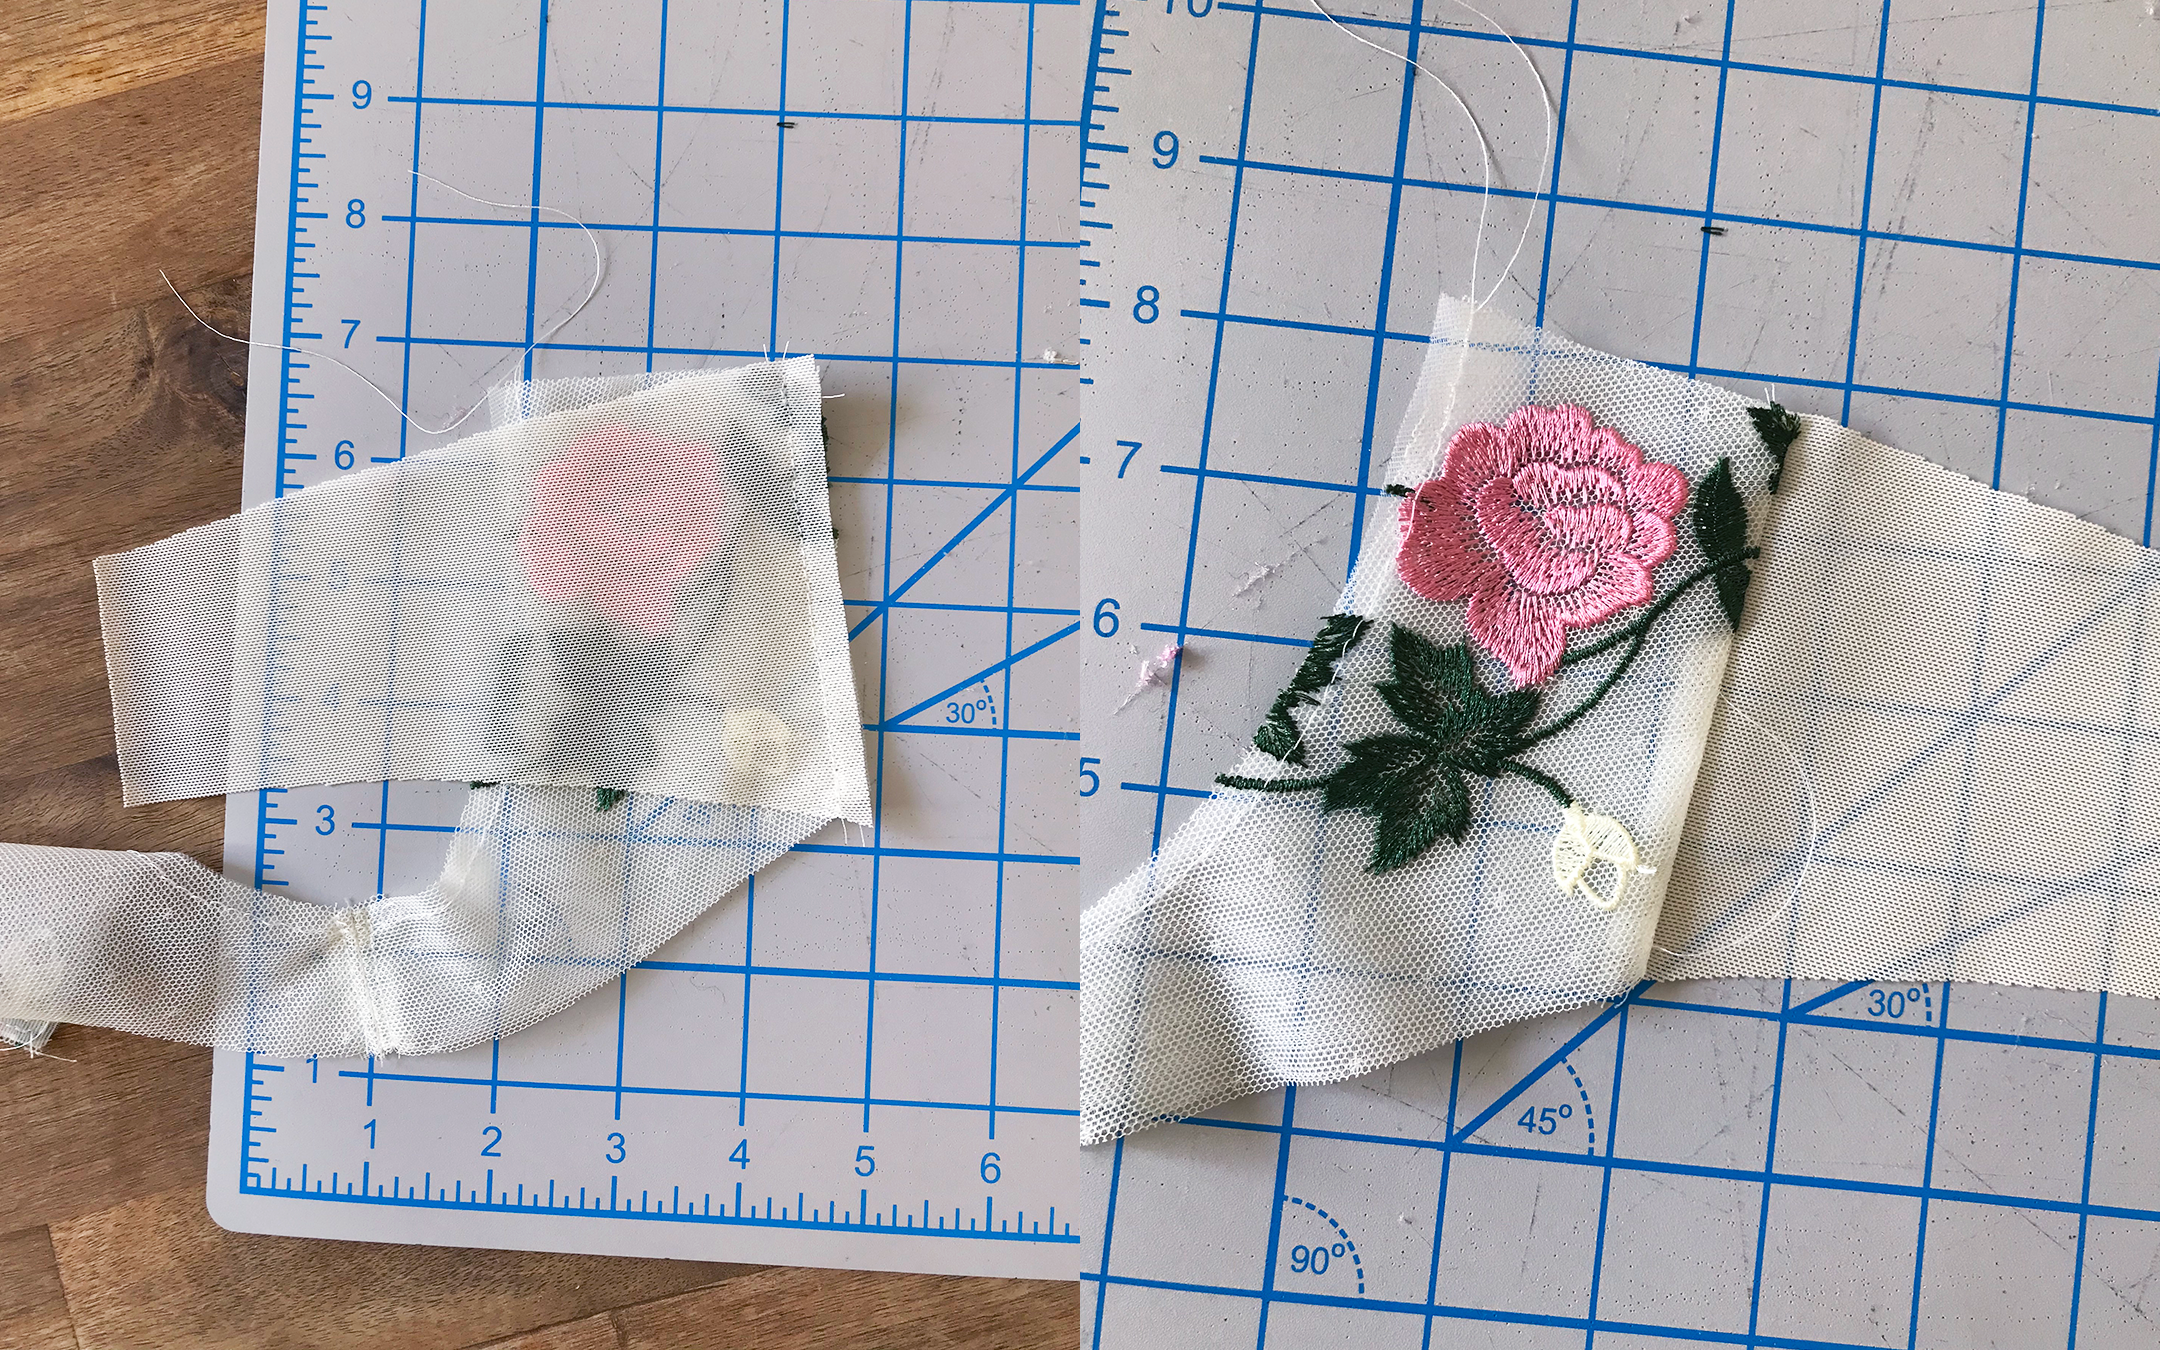
Press your seam open so that the seam allowance is split over the seam. Turn the pieces over and top stitch along both sides of the seam (about 1/16-⅛” away from the seam).
You can also push the seam allowance to one side and then topstitch instead of splitting it open.
Repeat this process for the other side of the bra.
Attaching the Back Band
To attach the Back Band piece to the Frame, place these pieces right sides together, with the side seam lined up like so:
Sew the side seam using a straight stitch at a ¼” seam allowance.
Open up the seam so that the seam allowances are facing towards the Outer Cradle (lace) piece.
Top stitch along the Outer Cradle side of the seam.

Repeat for the other side, and voila! Your frame is ready for the next step
Final Thoughts
In the next post, we’ll be sewing the bra cups!