
Black Beauty Bra View B Sew-Along // Part Eight: Sewing – Cups
Welcome back, fam! In today’s post of our Black Beauty Bra Sew-Along with Joy (@byjoymao), we’re assembling the bra cups in preparation for setting them into the frame that we made in Part 7.
We’ll cover three steps in this part of the sewing process:
- Attaching Upper Cup to Lower Cup
- Applying Flat Elastic
- Adding Powerbars
Attaching Upper Cup to Lower Cup
In this step, we’ll be sewing together the lace + lining layers of the Upper Cup to the lace + lining layers of the Lower Cup. This will result in an enclosed seam.
This was one of the trickier seams to understand and sew for a beginner like me, so I’ll walk you through exactly how it works!
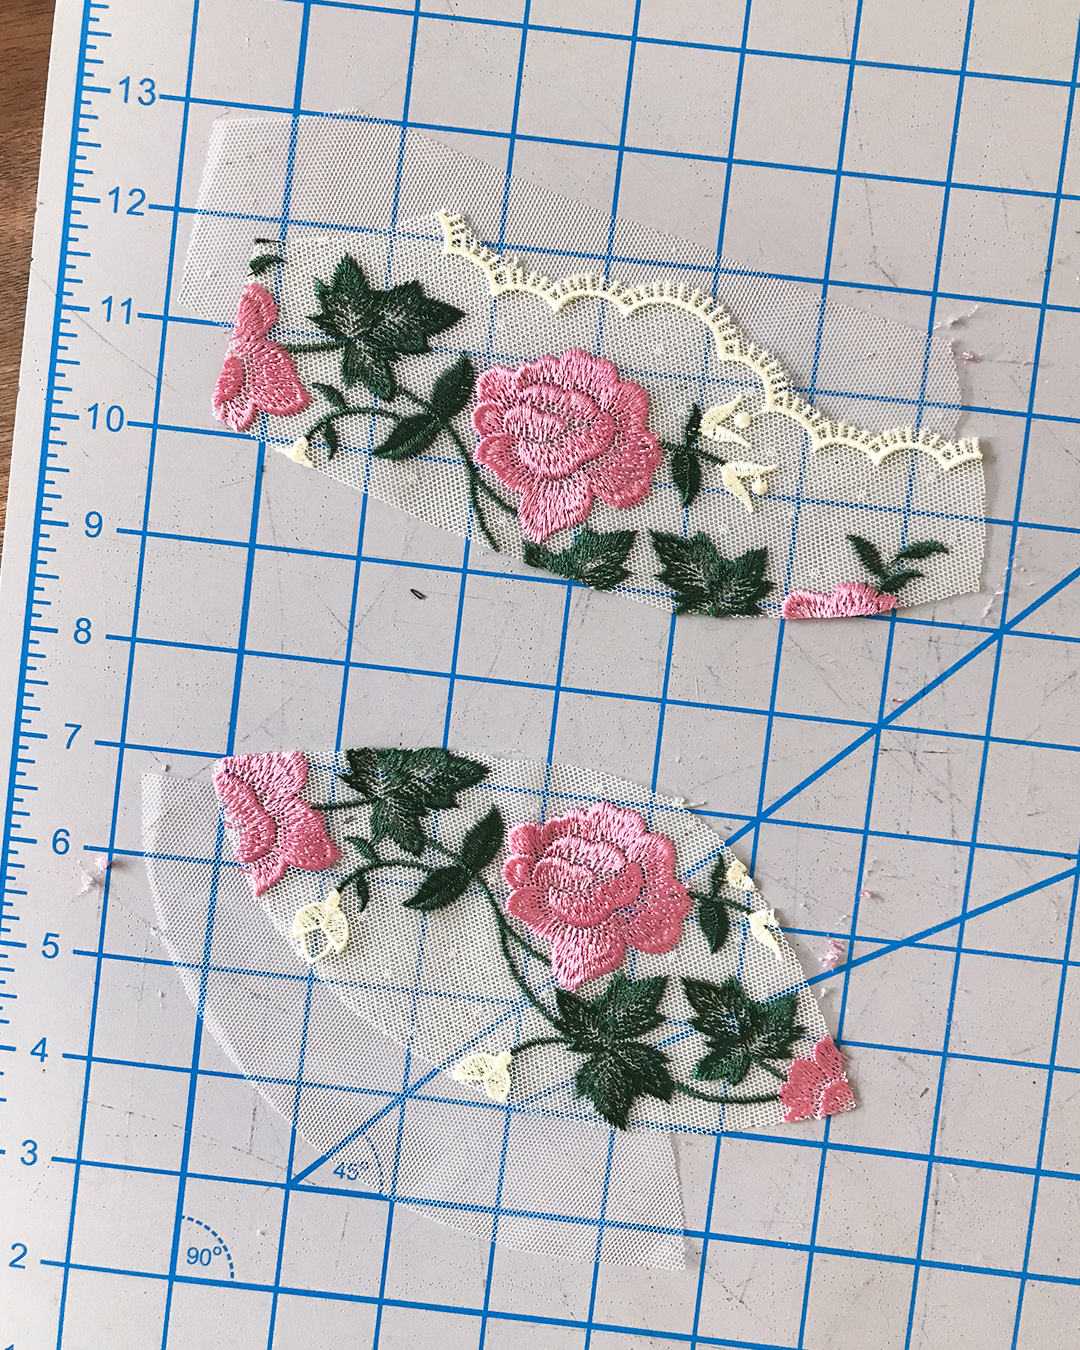
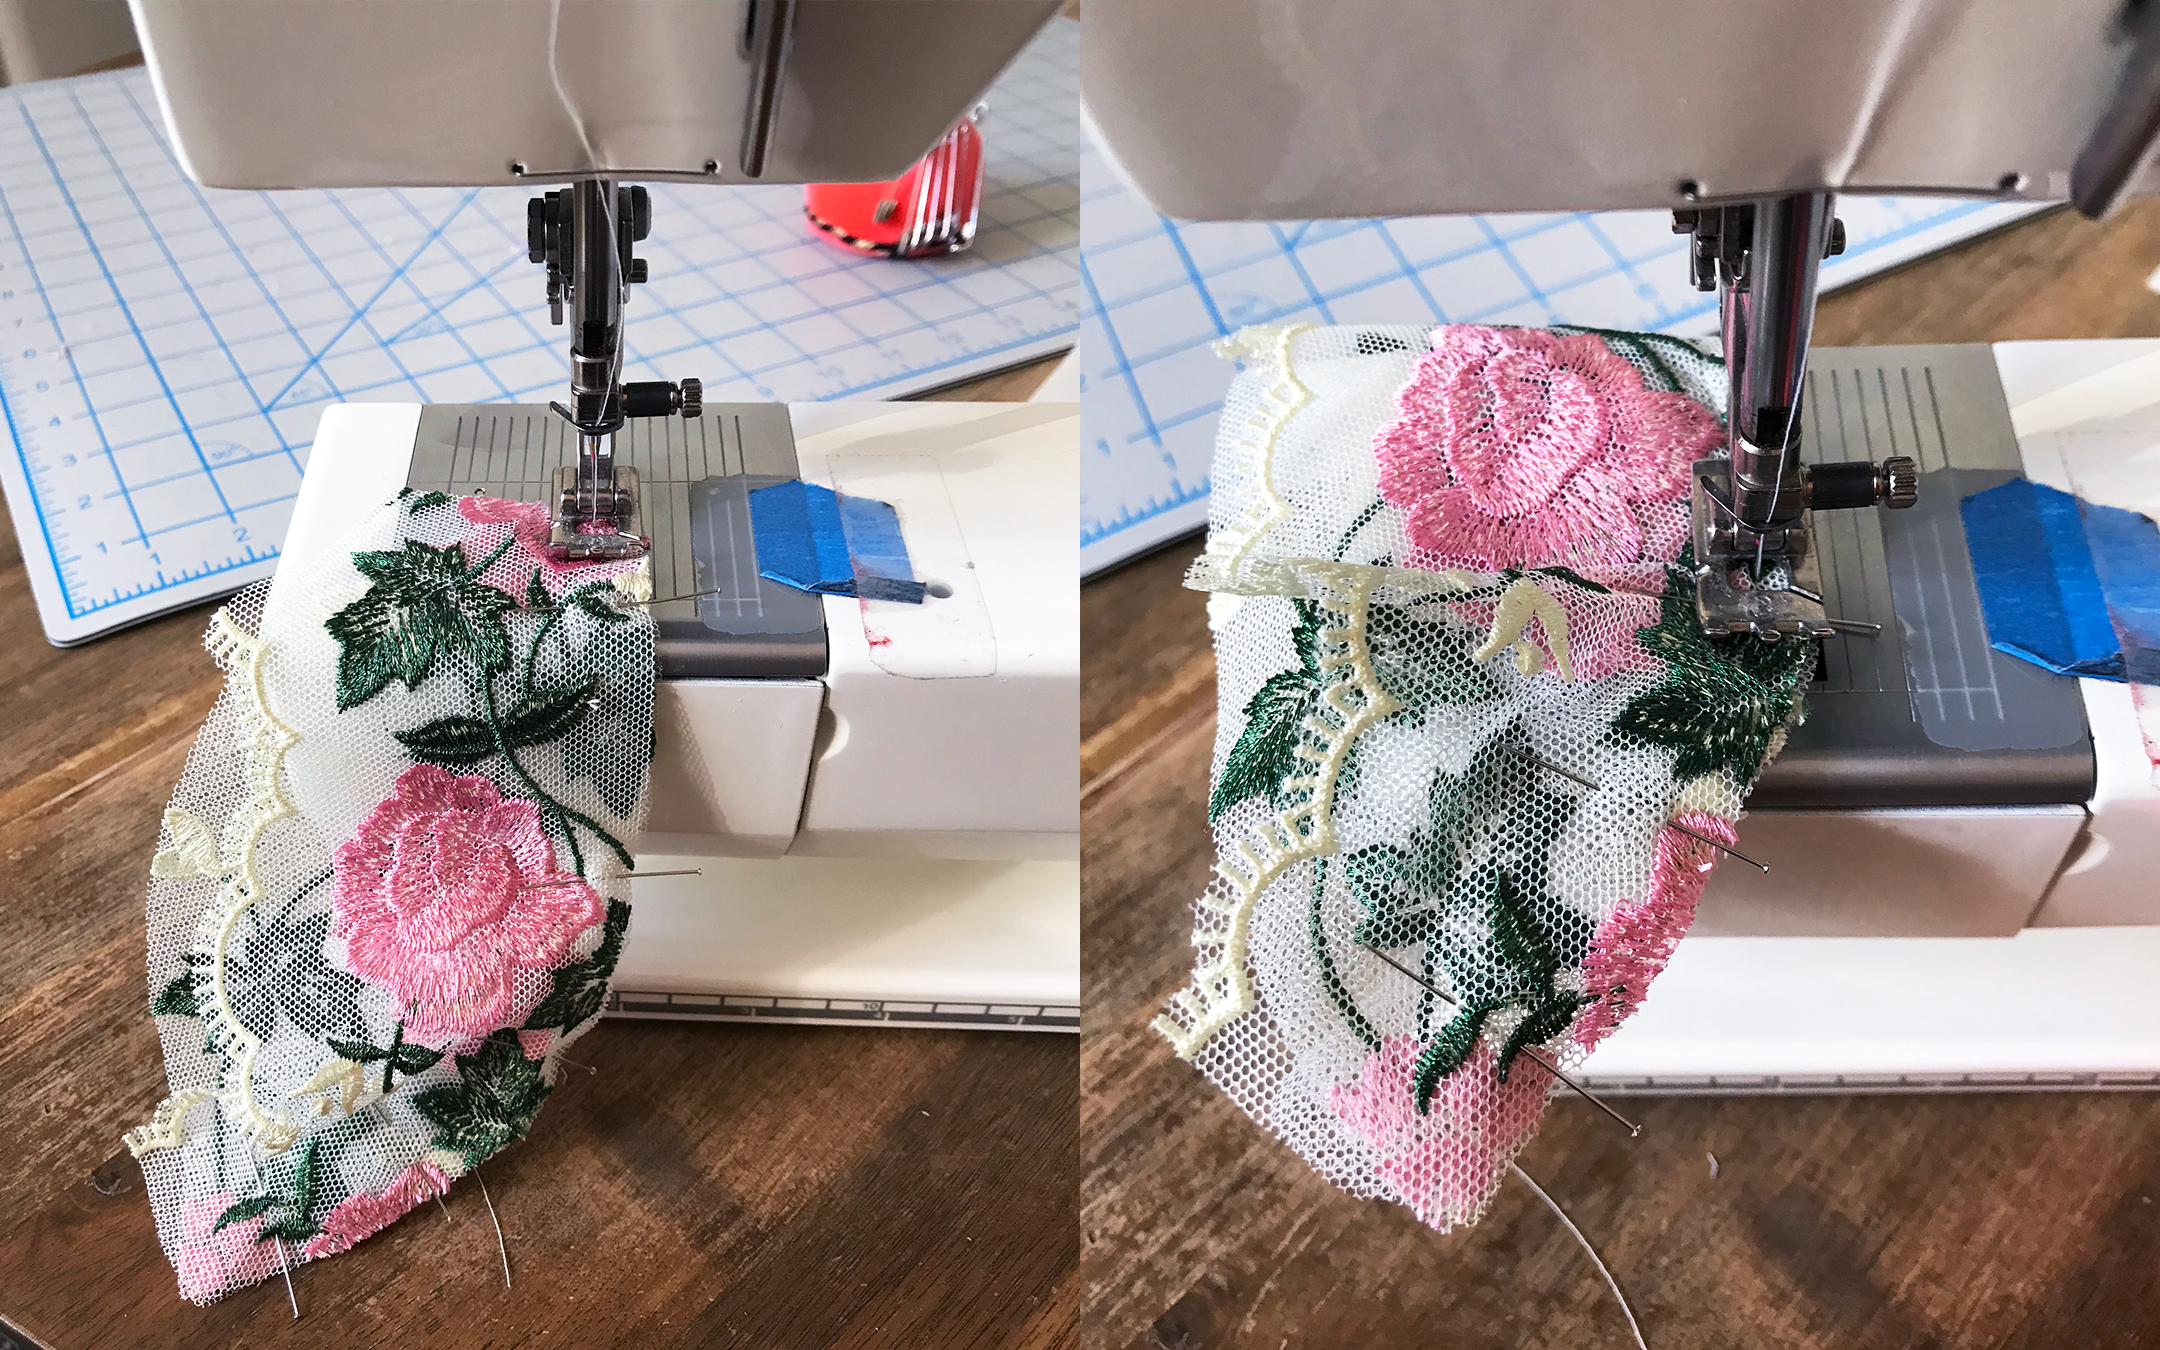
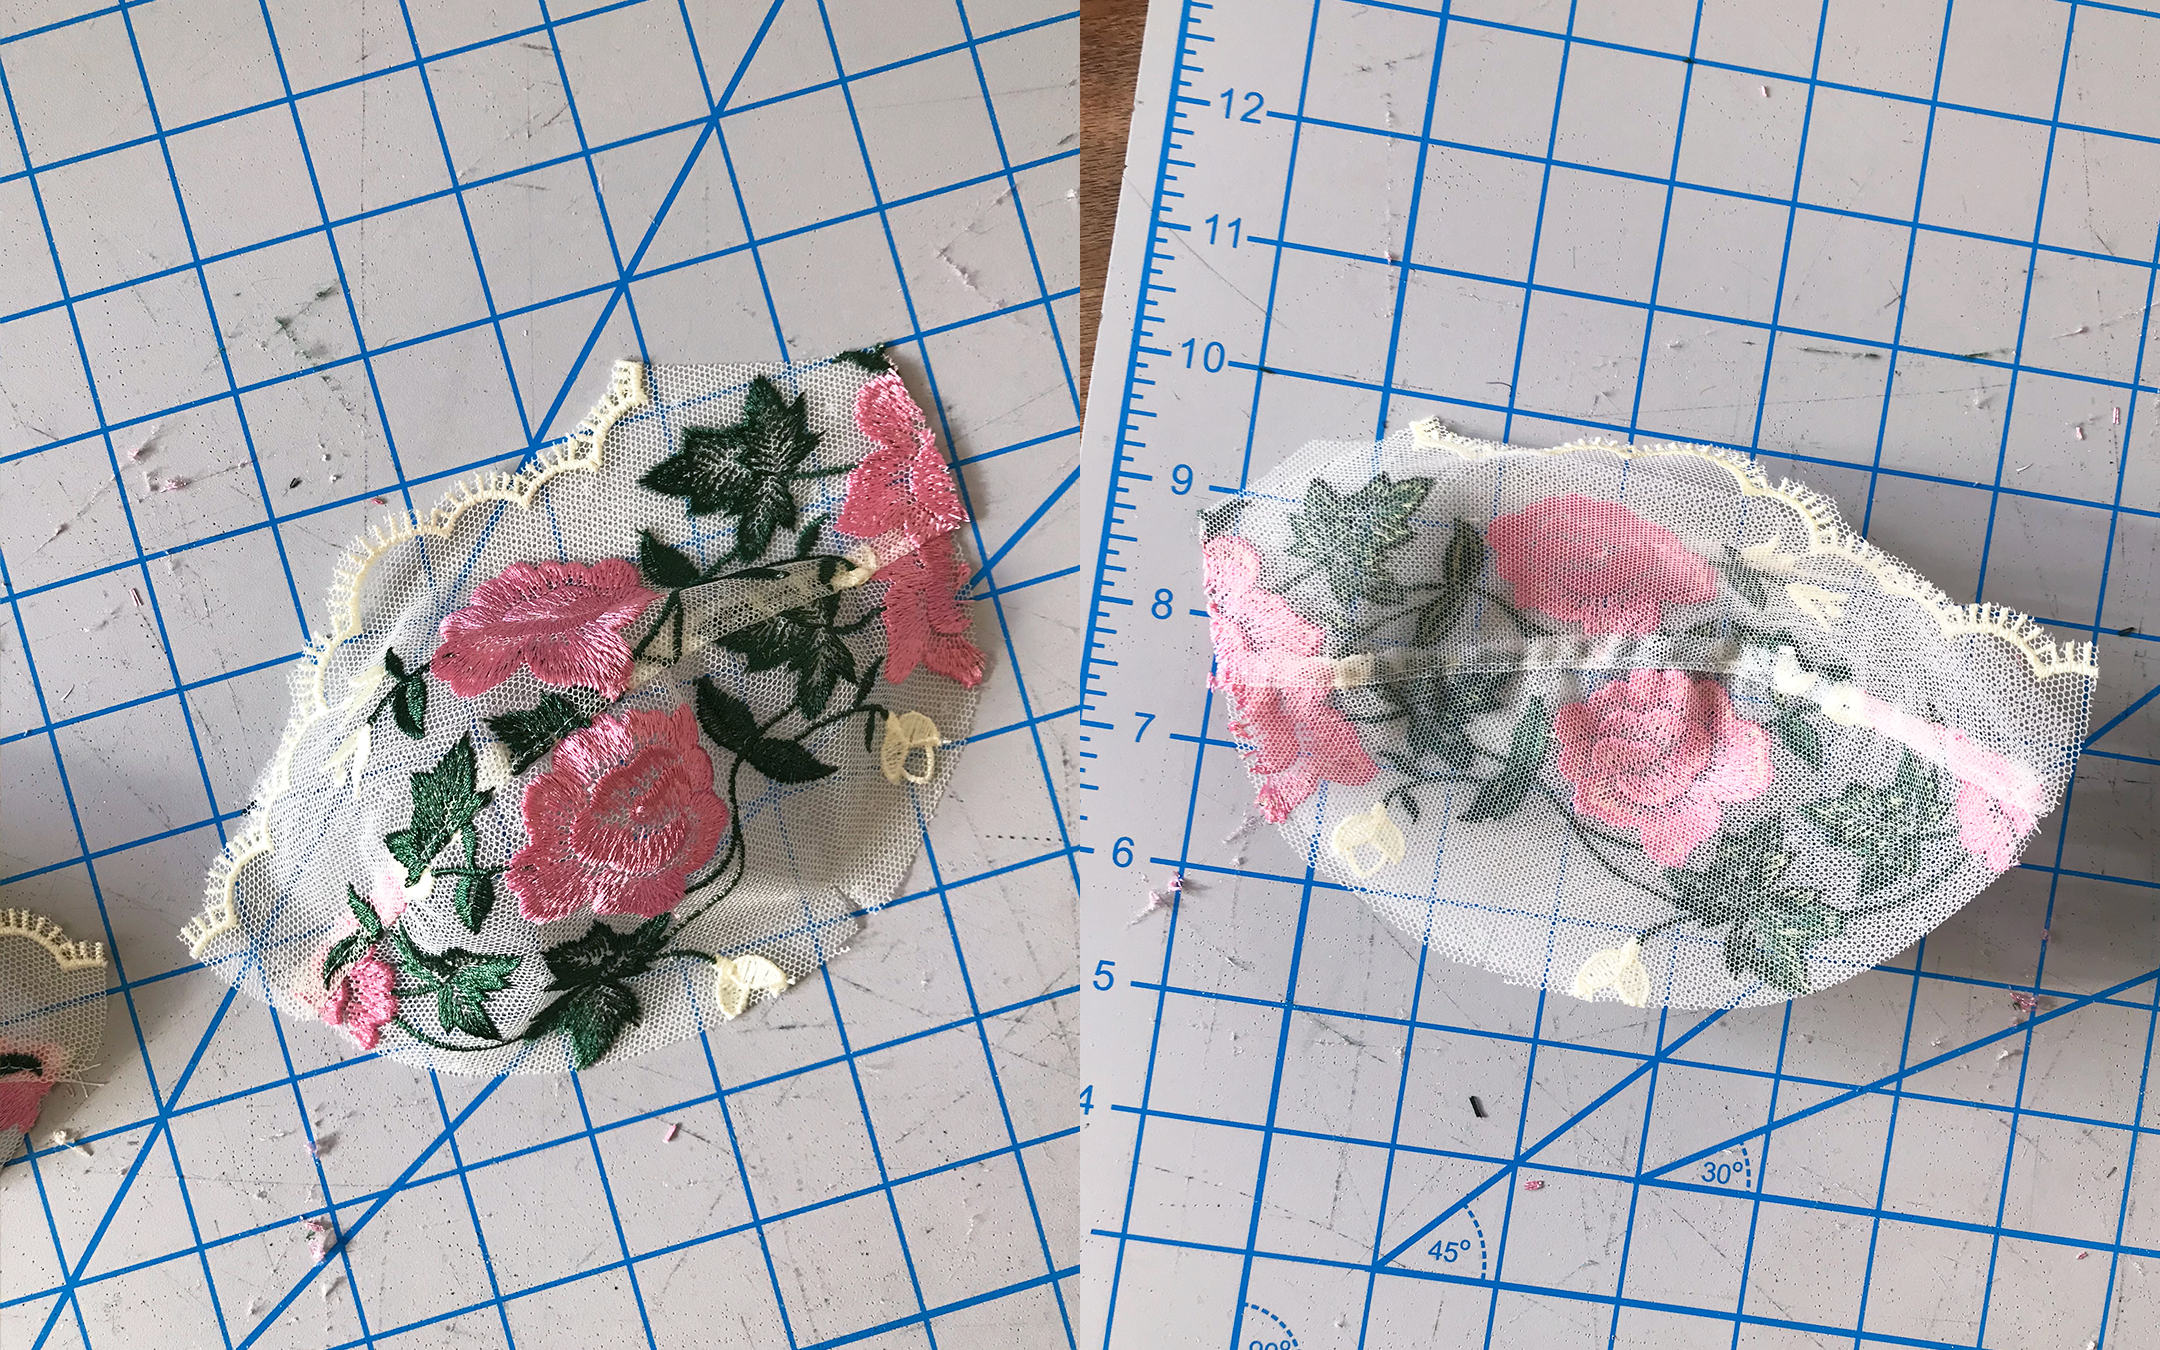
First off, make sure you’ve identified the correct pieces to use! You’ll be sewing one side of the bra at a time, so be sure to have your left and right sides organized and separated. If in doubt, overlay your paper pattern over the cut pieces to make sure you’ve got the right ones gathered together.
Additionally, make sure you know which sides of each piece are the right sides, and which are the wrong sides—if you’re using embroidered tulle lace like me, you’ll notice that the right side of the lace is the slightly glossier one with raised embroidery. The bra tulle that I used for lining the cups also has a right/wrong side—the right side is softer and goes against the skin.
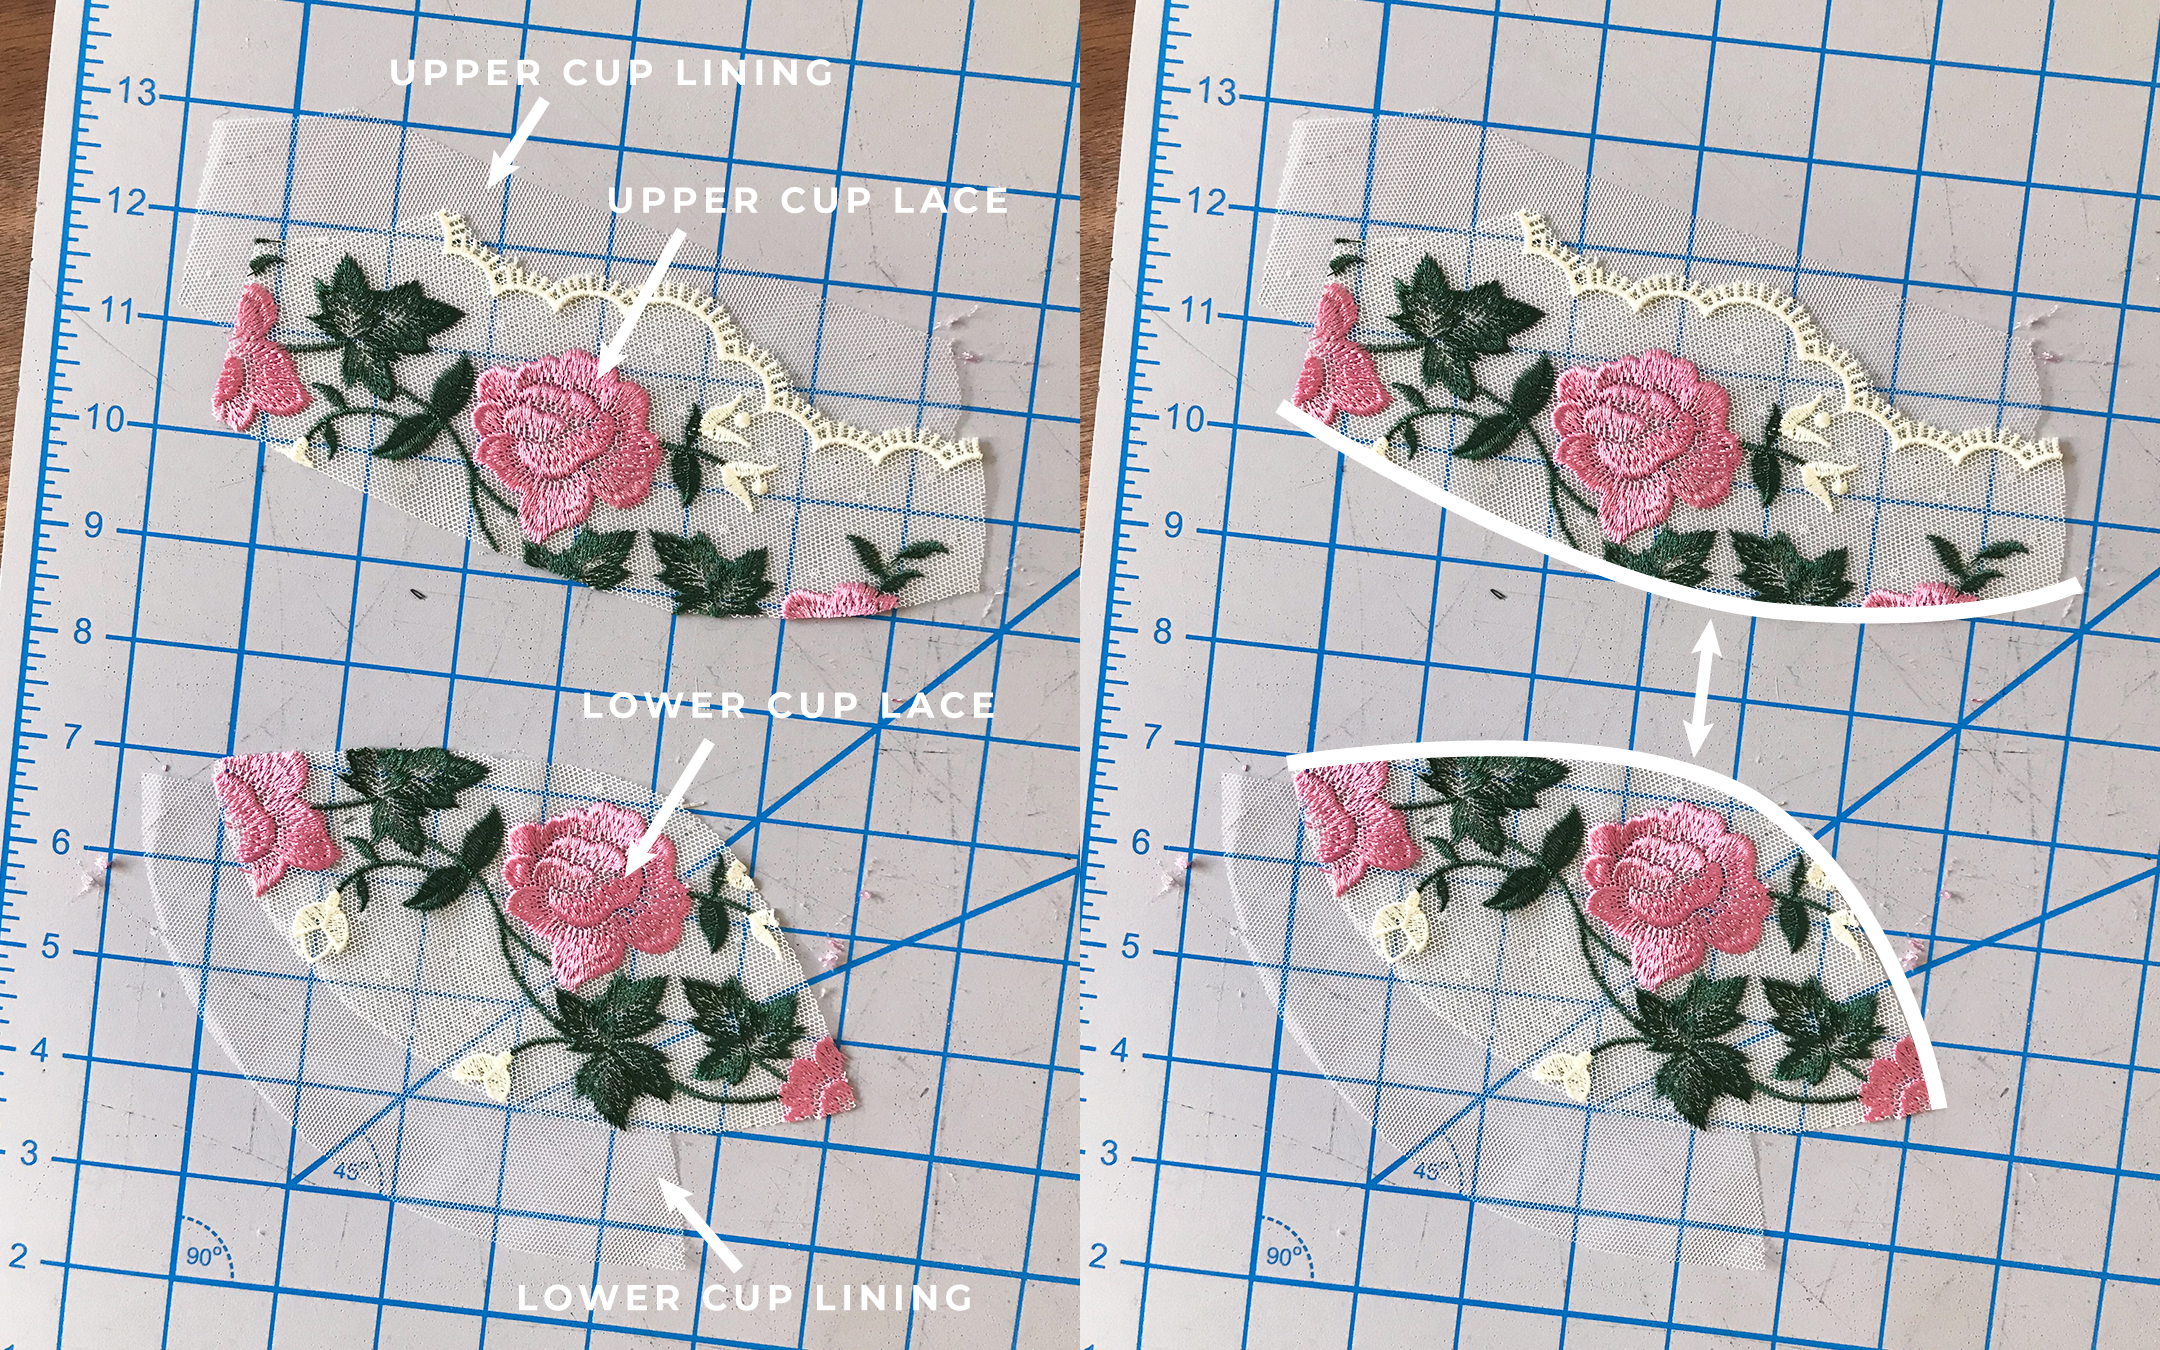
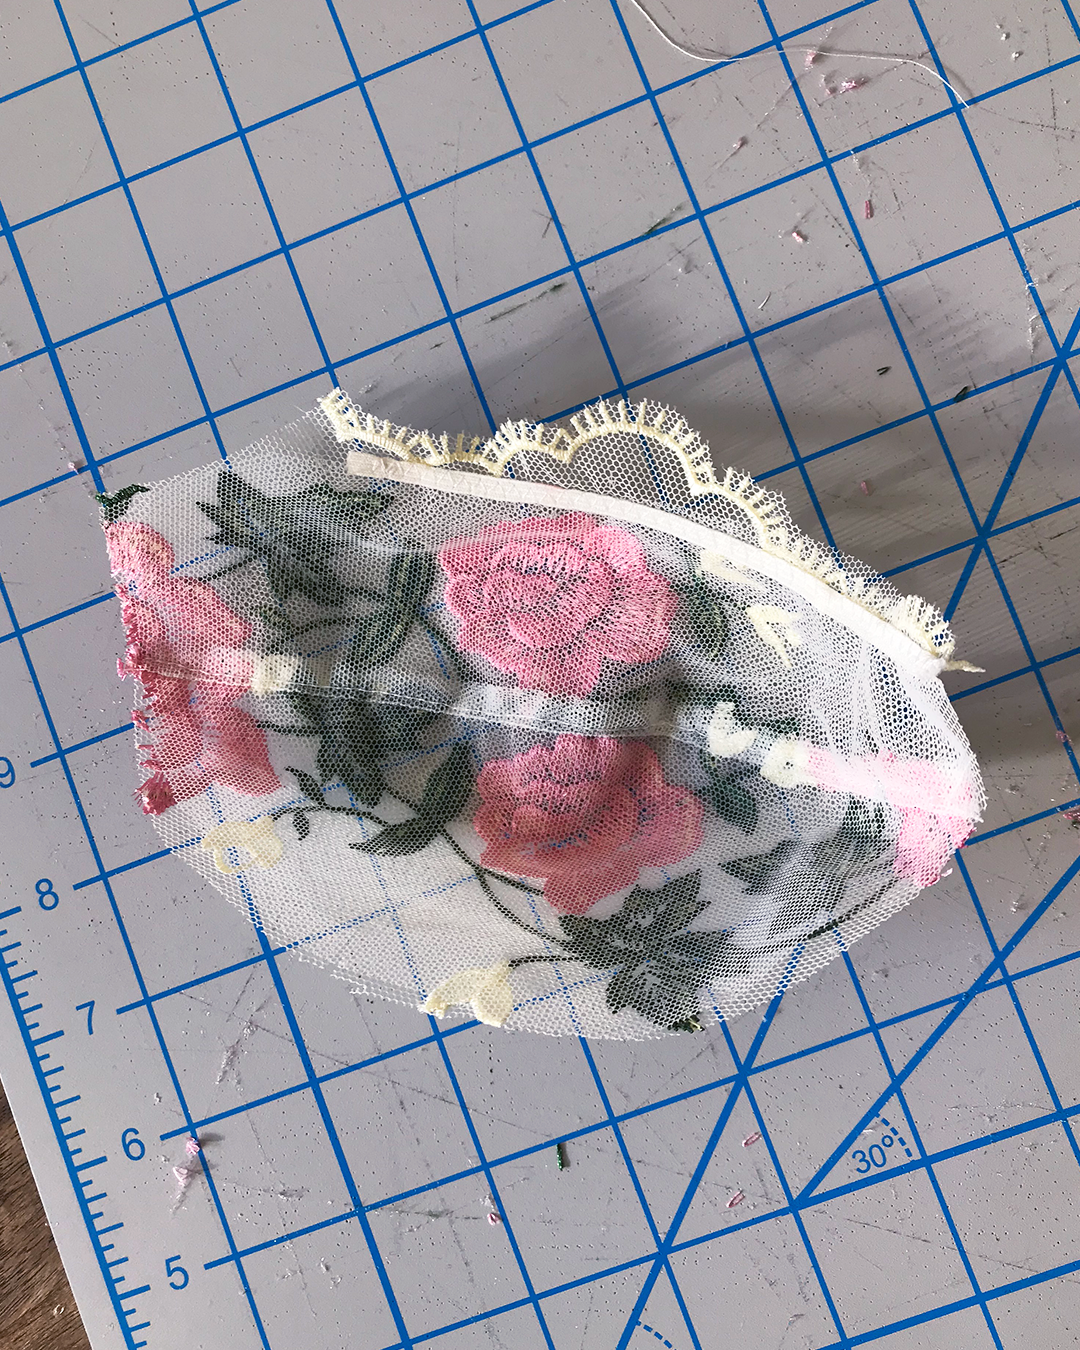
We’ll be sewing together the bottom edge of the Upper Cup with the top edge of the Lower Cup.
In the next few steps, we’ll be pinning together the seam so that the two layers of the Lower Cup are sandwiched in between the layers of the Upper Cup.

First off, pin the two Lower Cup layers together along the seam line, with wrong sides together.

Then, flip the lace layer of the Upper Cup down over the lace layer of the Lower Cup, right sides together.

Ease and pin along the seam. (I like to start by placing one pin on the leftmost side, then one pin on the right most side, one pin at the marking at the apex, and then easing the rest).

Finally, flip the pinned pieces over so the lining layer of the Lower Cup is facing up. Pin the lining layer of the Upper Cup to the seam edge, right sides together.
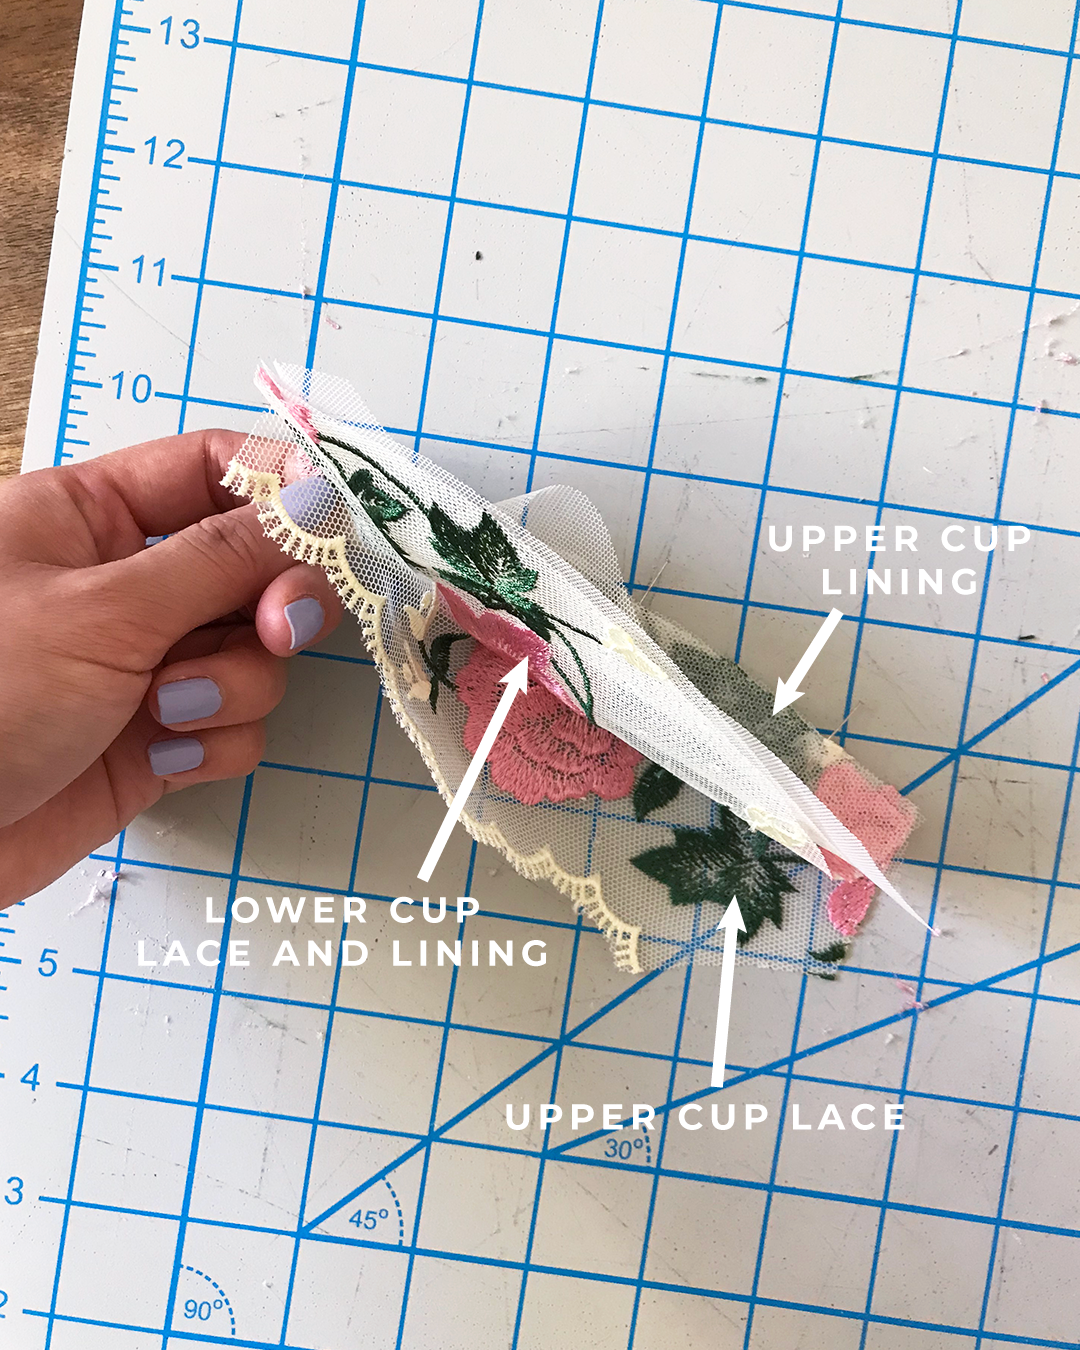
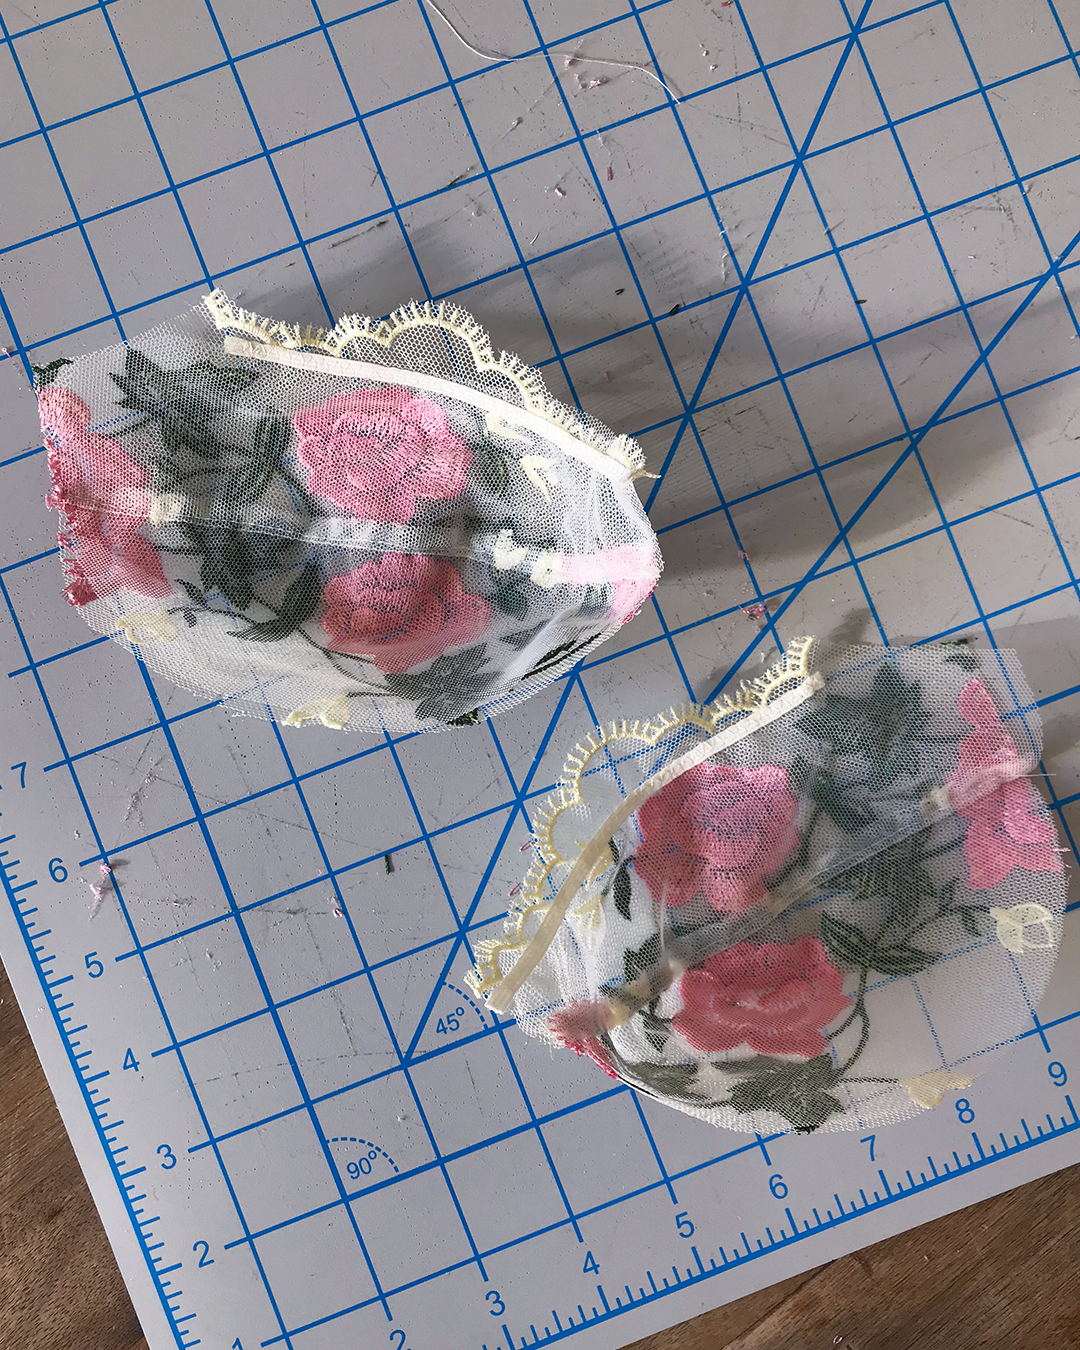
You’ll end up with a sort of “bra cup taco,” which has the Lower Cup layers sandwiched in between the Upper Cup layers. This will create a clean finish on the inside after you sew the seam!
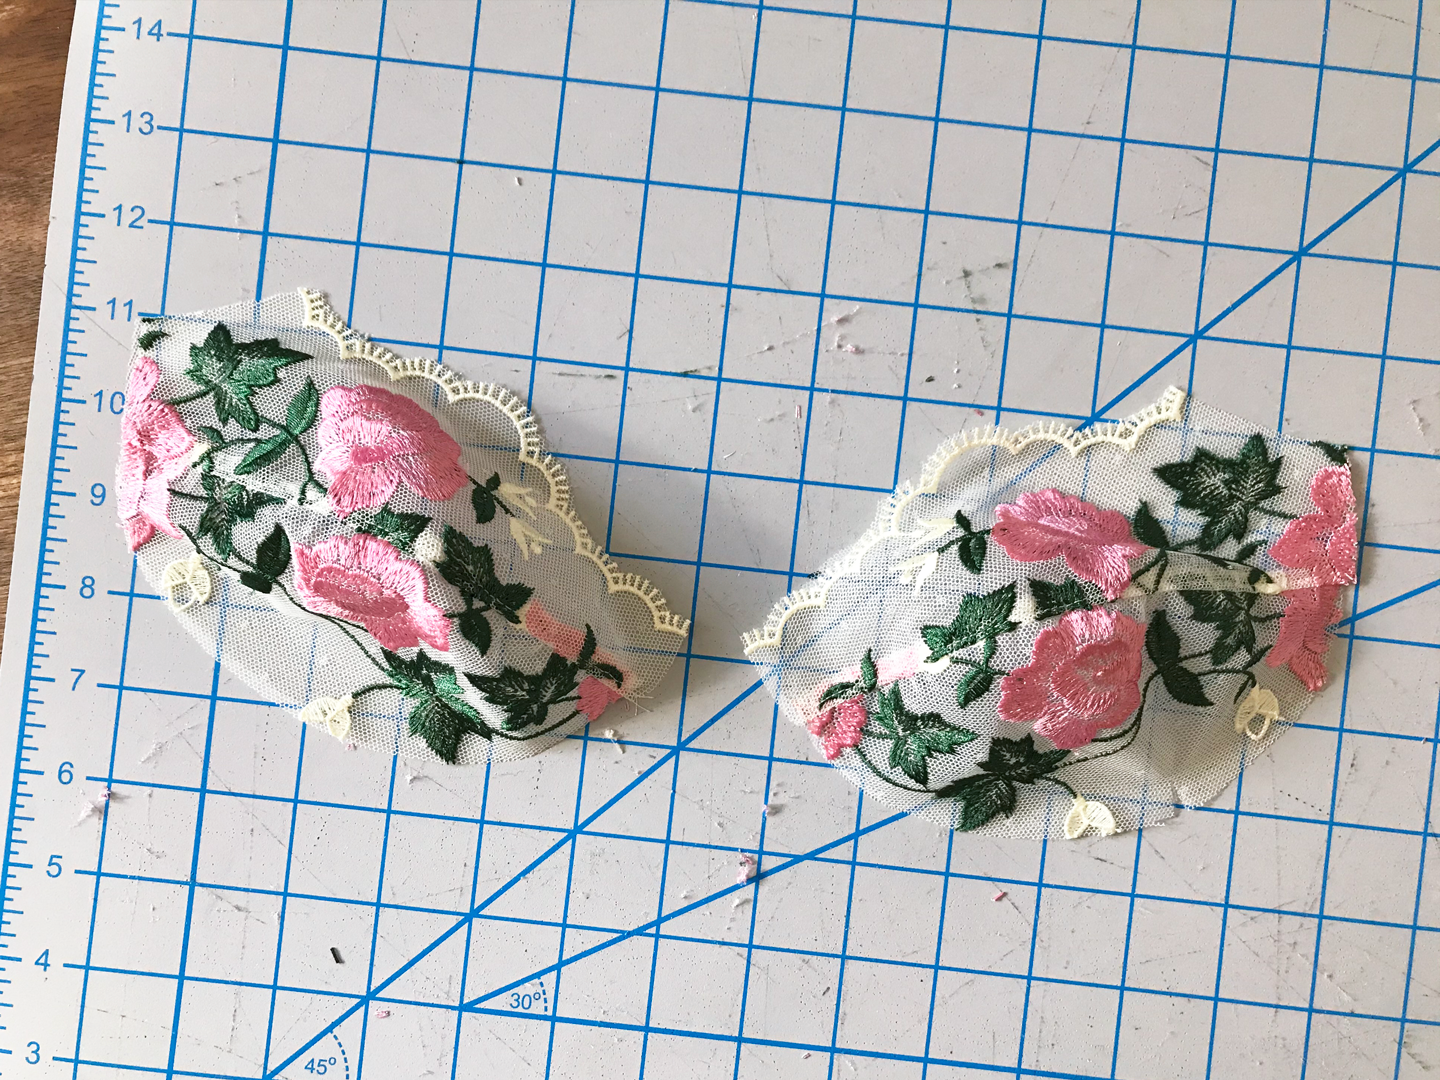
To sew the seam, carefully make your way around along the seam line with a straight stitch.

Because this seam is both curved and does not lie flat, sew slowly and pause every now and then to check that you haven’t accidentally caught extra layers in the seam.
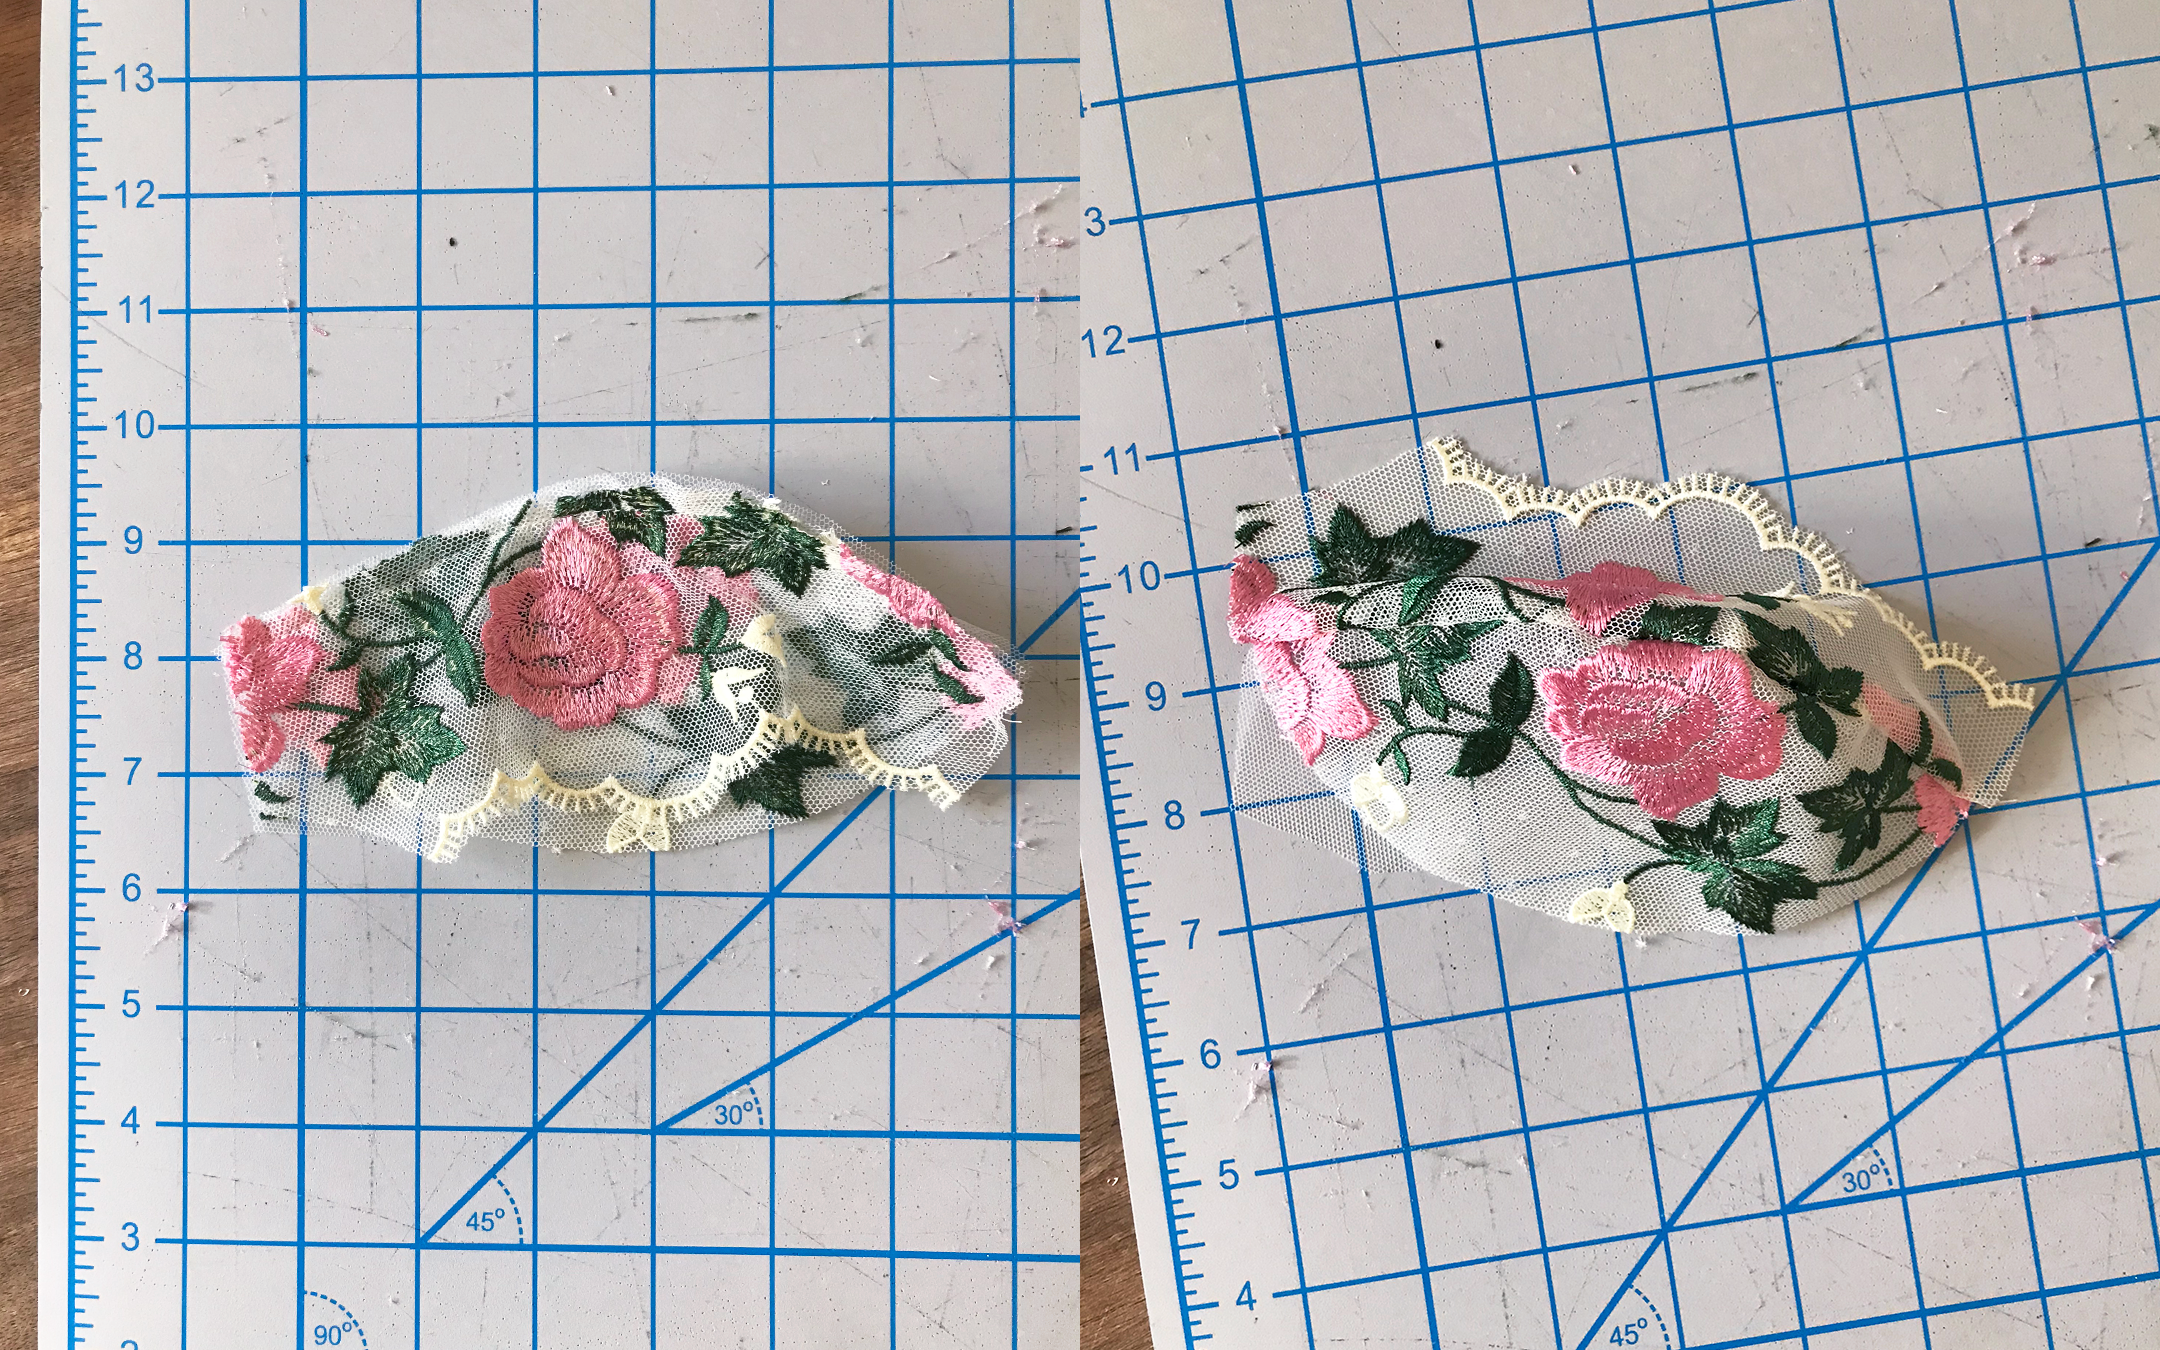
To open the seam, flip both the lace and lining layers of the Upper Cup up, sandwiching the seam allowance in between them.
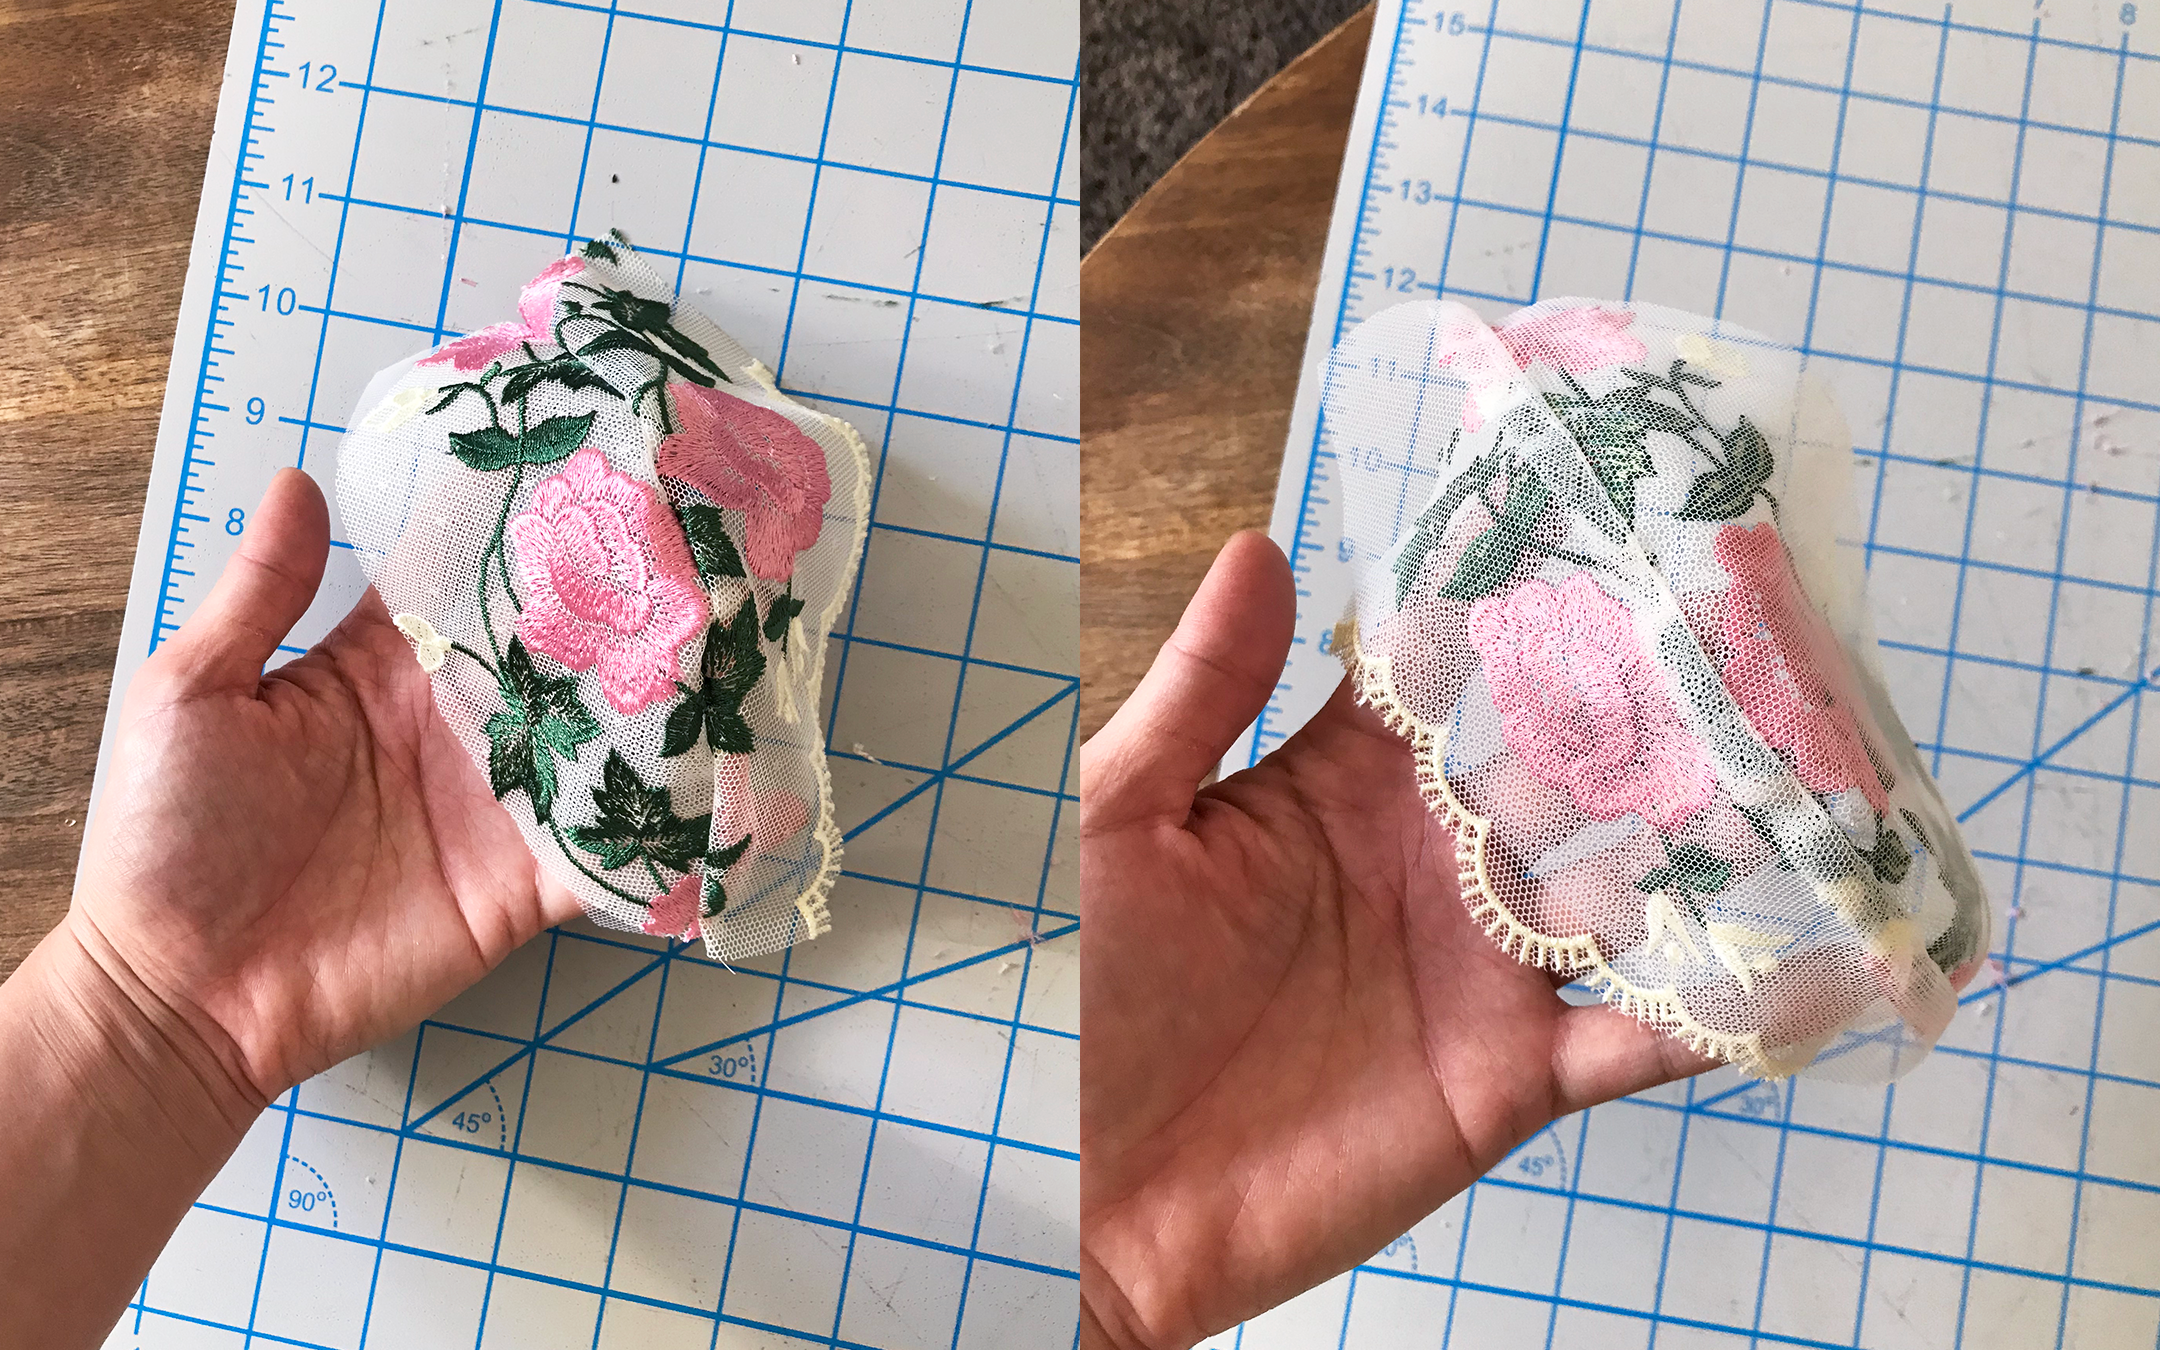
Top stitch along the seam line to hold it in place.
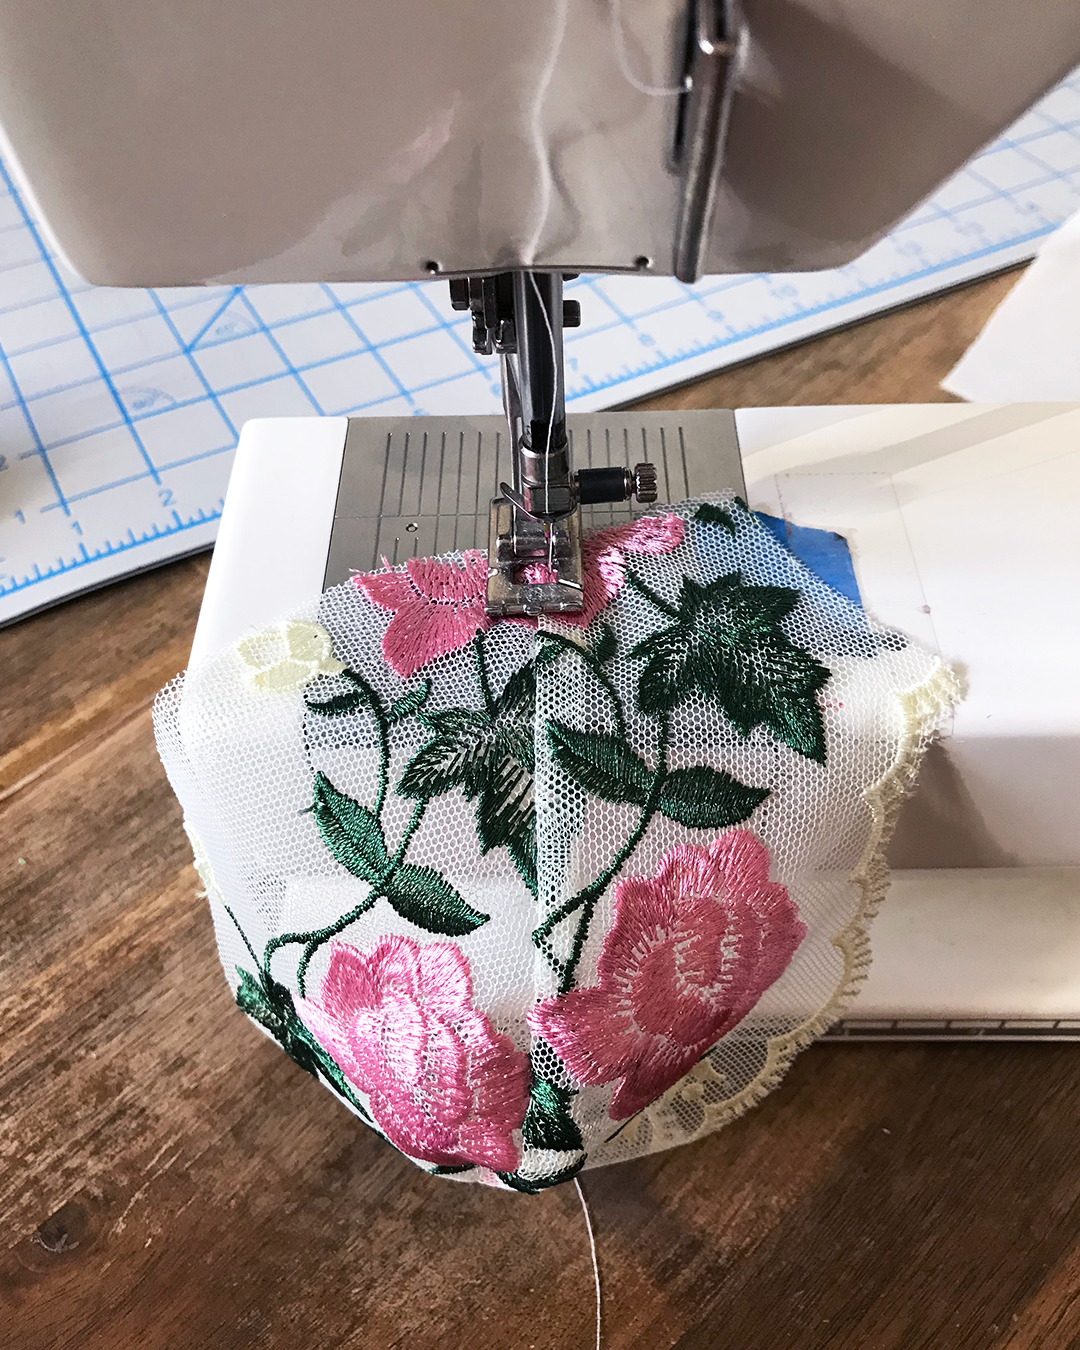
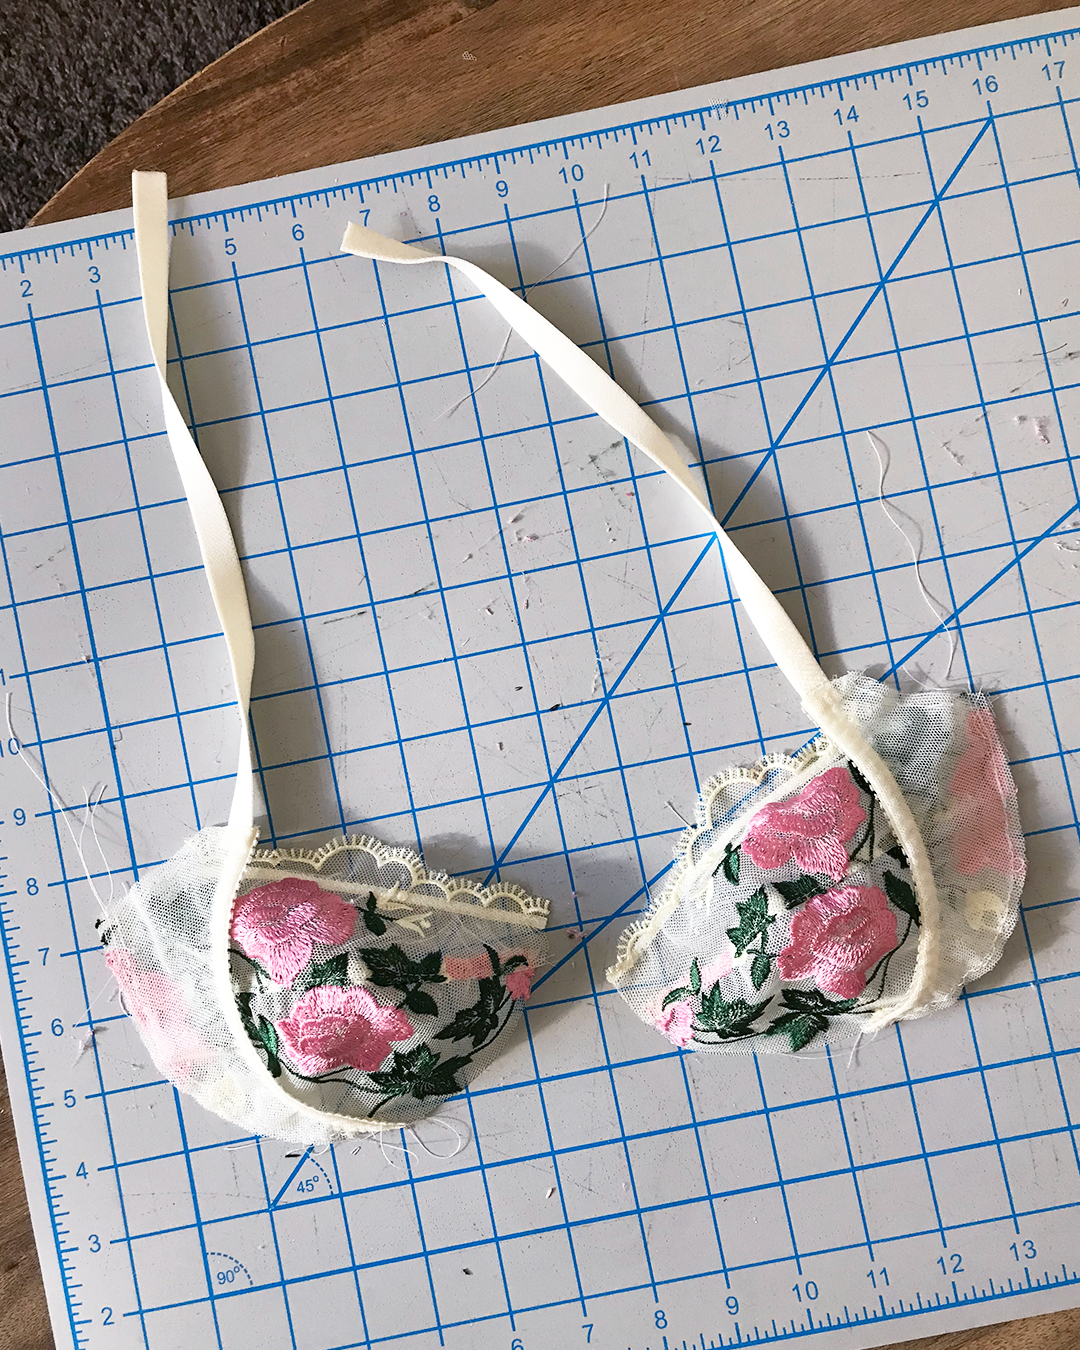
Here’s what the finished bra cup will look like, complete with top-stitching:
Repeat these steps for the other side’s bra cup.
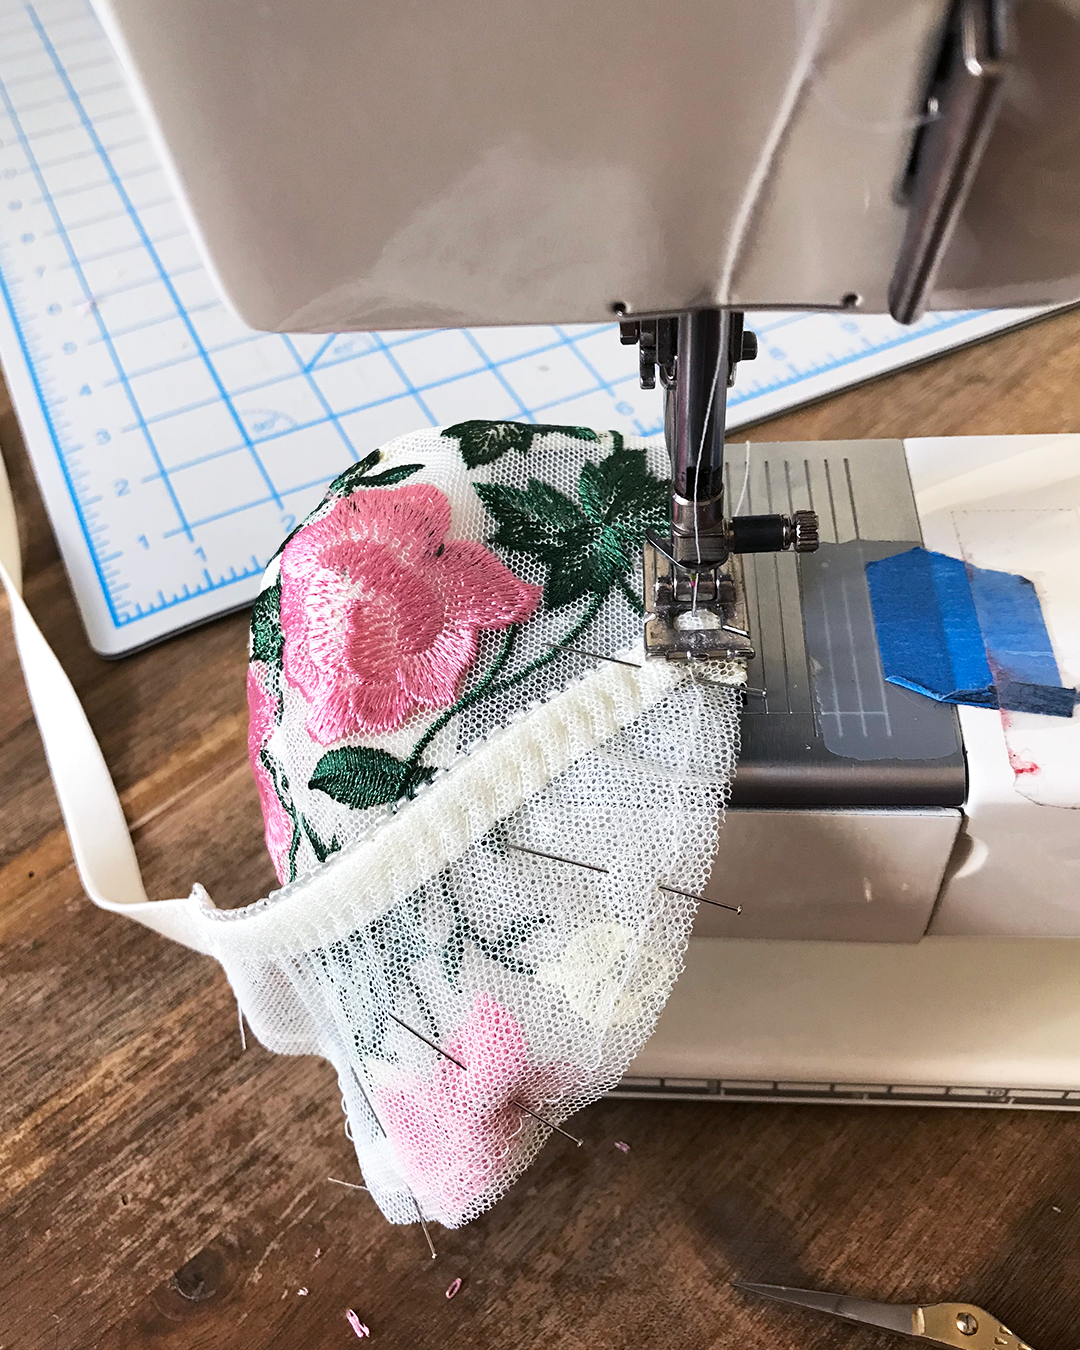
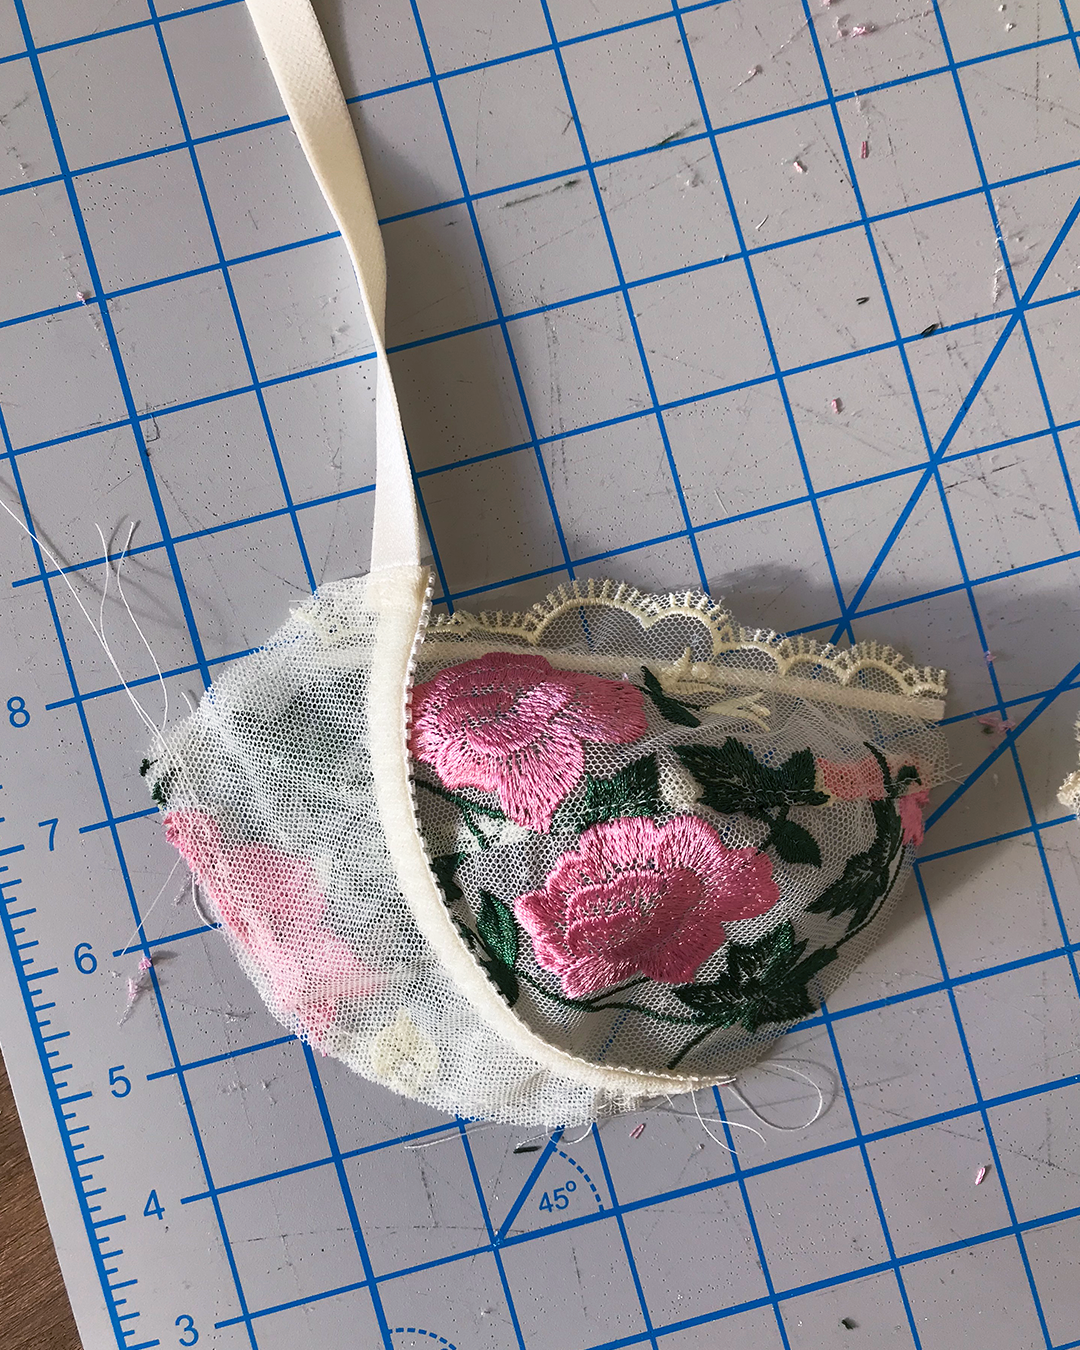
Applying Flat Elastic
Next, we’ll apply some flat elastic along the neckline—to help protect the neckline edge, but also as a clean finish for where the lining of the Upper Cup meets the scalloped edge of the lace.
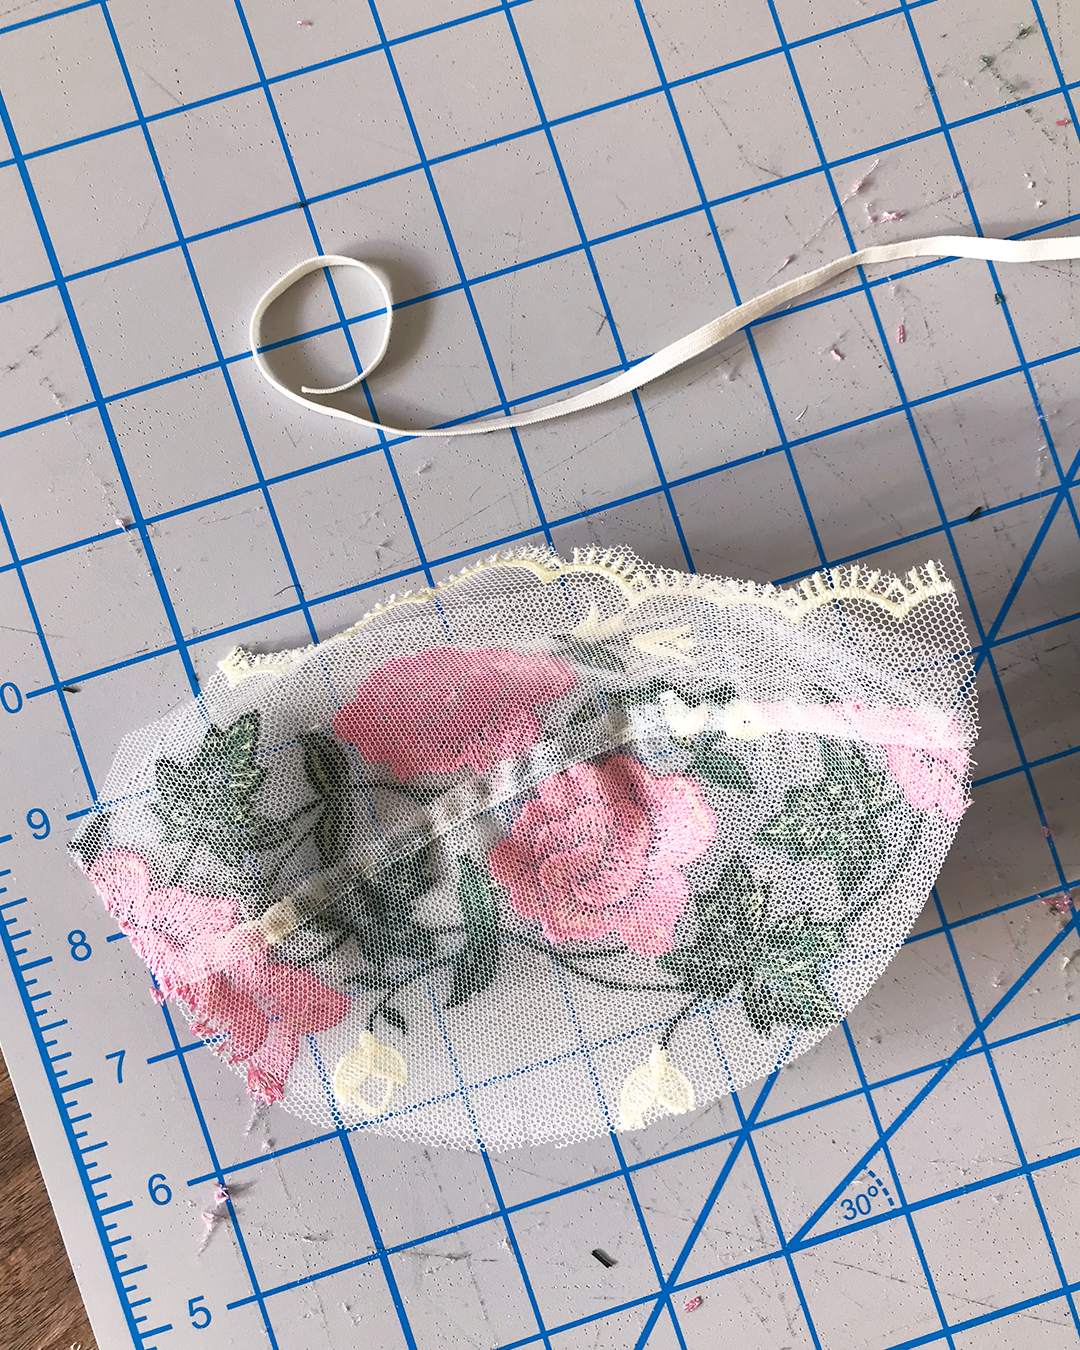
To apply the elastic, place the elastic on top of the lining layer, just so it covers the raw edge of the lining fabric. You can leave a little extra elastic on the end to facilitate sewing, and trim it off later.
(Ying tip: I like to line up the flat elastic with the low point of the scallop edge lace for this step.)
Start sewing about ⅜” away from the neckline edge to leave room for picot elastic which you’ll be applying later on.
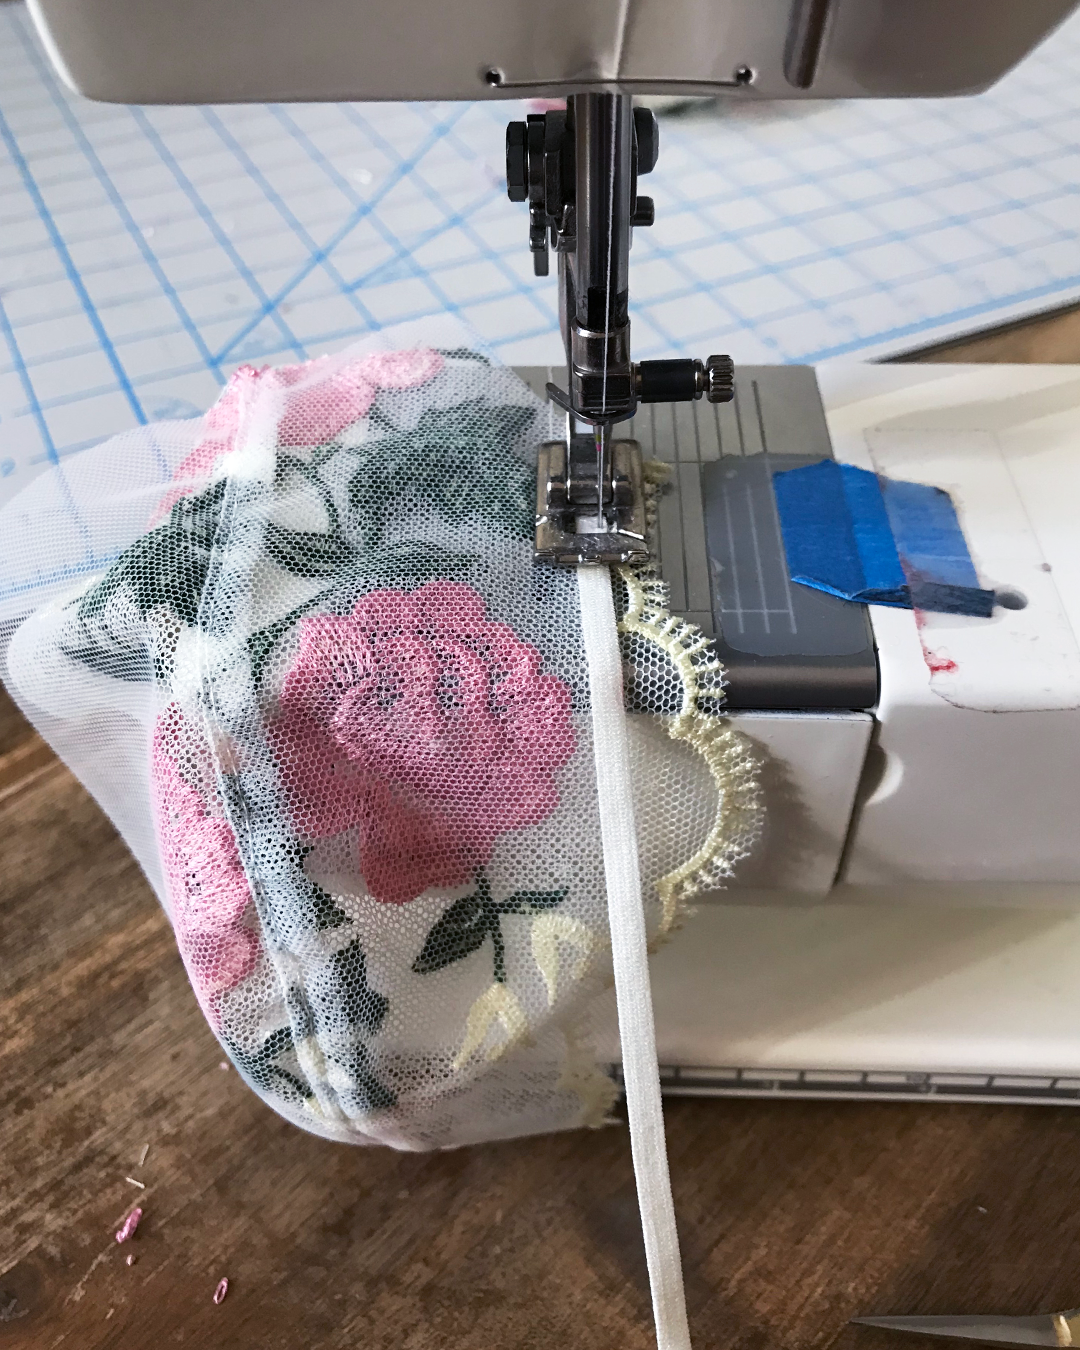
Sew the elastic to the top edge of the bra cup with a small zig zag stitch. If you go slowly, you won’t need to pin the elastic to the bra cup—just gently place it over the lining edge as you sew.
Repeat for the other side.
Adding Powerbars
Next up—let’s attach the powerbars that we prepared in Part 6!

The powerbar pieces need to line up with the armhole and part of the wire line.
Pin and baste the powerbar to the bra cup.
Repeat for the other side.
Final Thoughts
The cups are now ready to be sewn into the frame! We’ll tackle that in our next post.
If you want another example of how to sew enclosed seams, check out Ying’s post Enclosing the Seams of the Watson Bra.