Black Beauty Bra View B Sew-Along // Part Two: Tools & Materials
This post contains affiliate links.
Welcome to Part 2 of our Sew-Along, where I’ll be sharing a deep dive into the tools and materials you’ll need to make your Black Beauty Bra. In a nutshell, you’ll need a reliable sewing machine, an assortment of sewing tools, and the correct fabrics and trims. But let’s dig into the details!
The Sewing Machine:
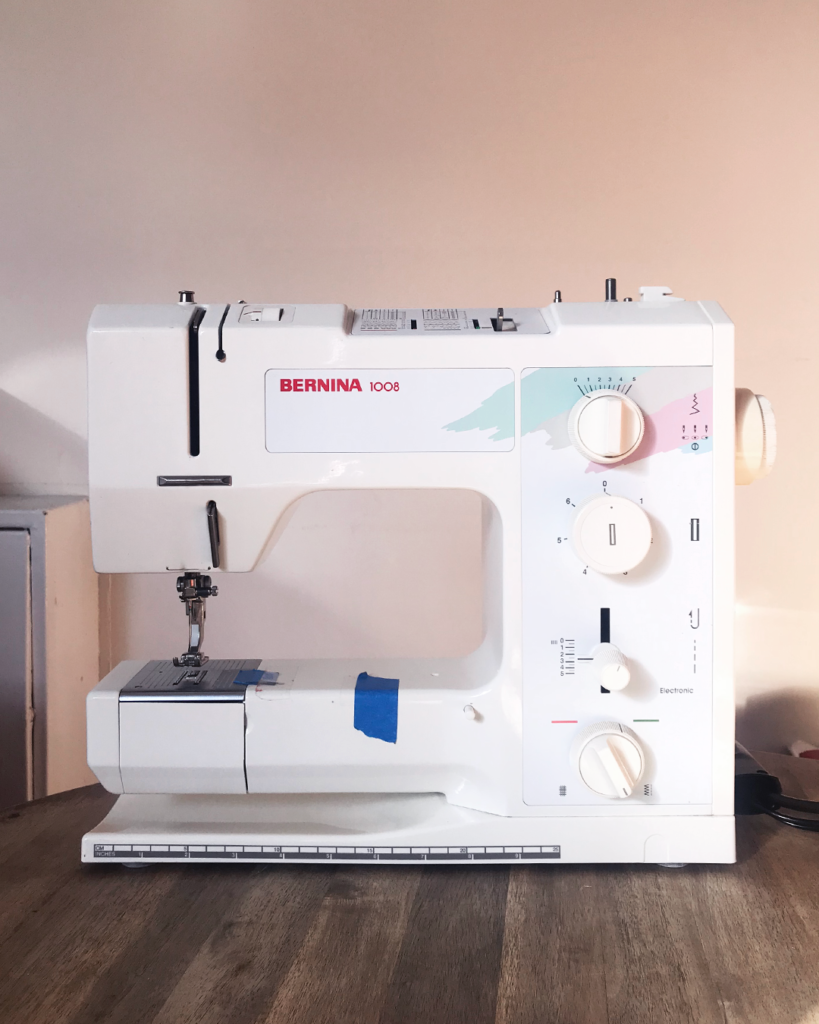
Thankfully, you don’t need a complicated machine in order to make your Black Beauty Bra. You just need one that has both straight stitch and zig zag capabilities, which most home sewing machines do have. My machine is a Bernina 1008 that I purchased on eBay a long time ago – a real workhorse!
We’ll talk more about Machine Settings in Part 4 of this Sew-Along.
Sewing Tools:
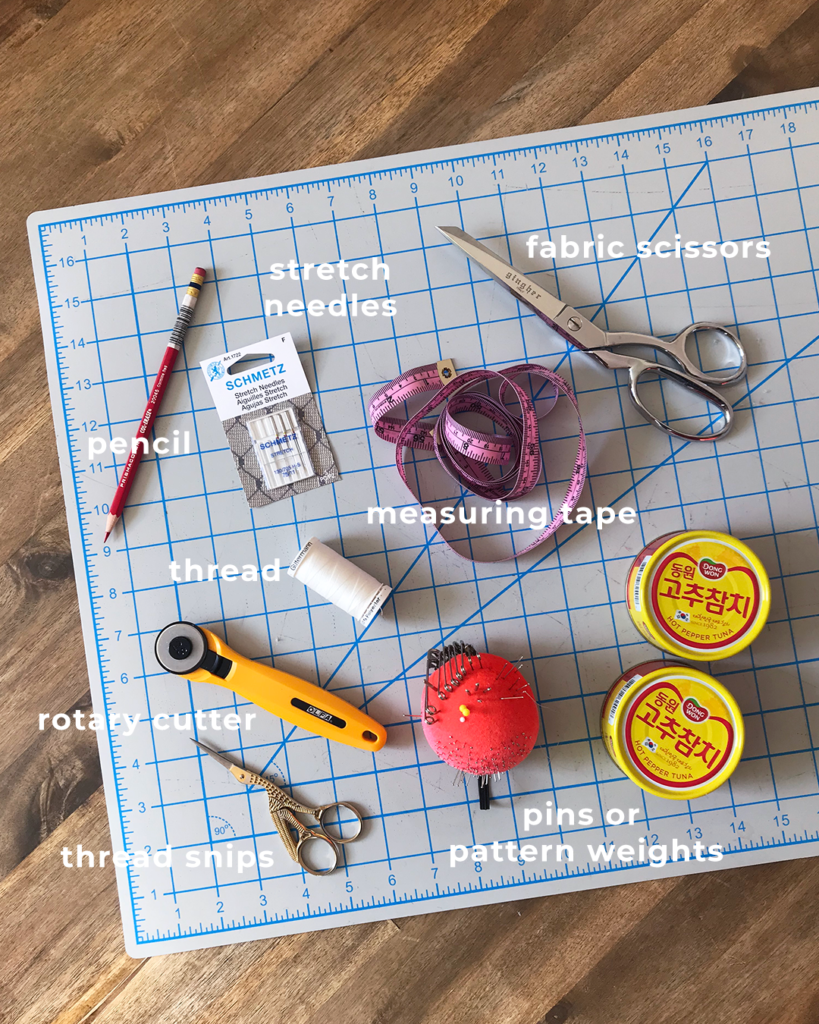
- Pen or pencil (for notes and/or pattern adjustments)
- Sewing machine needles (recommended: size 11 stretch needles)
- Sewing thread (recommended: Gutermann mara 120 polyester thread)
- Measuring tape
- Rotary cutter OR fabric scissors (I much prefer a 28mm rotary cutter over fabric scissors for going around the small pattern pieces of a bra)
- Small scissors or thread snips (for cutting thread while sewing)
- Pins or pattern weights (for use when cutting; yes, those are tuna cans!)
- Cutting mat (if using rotary cutter)
Fabrics and Findings
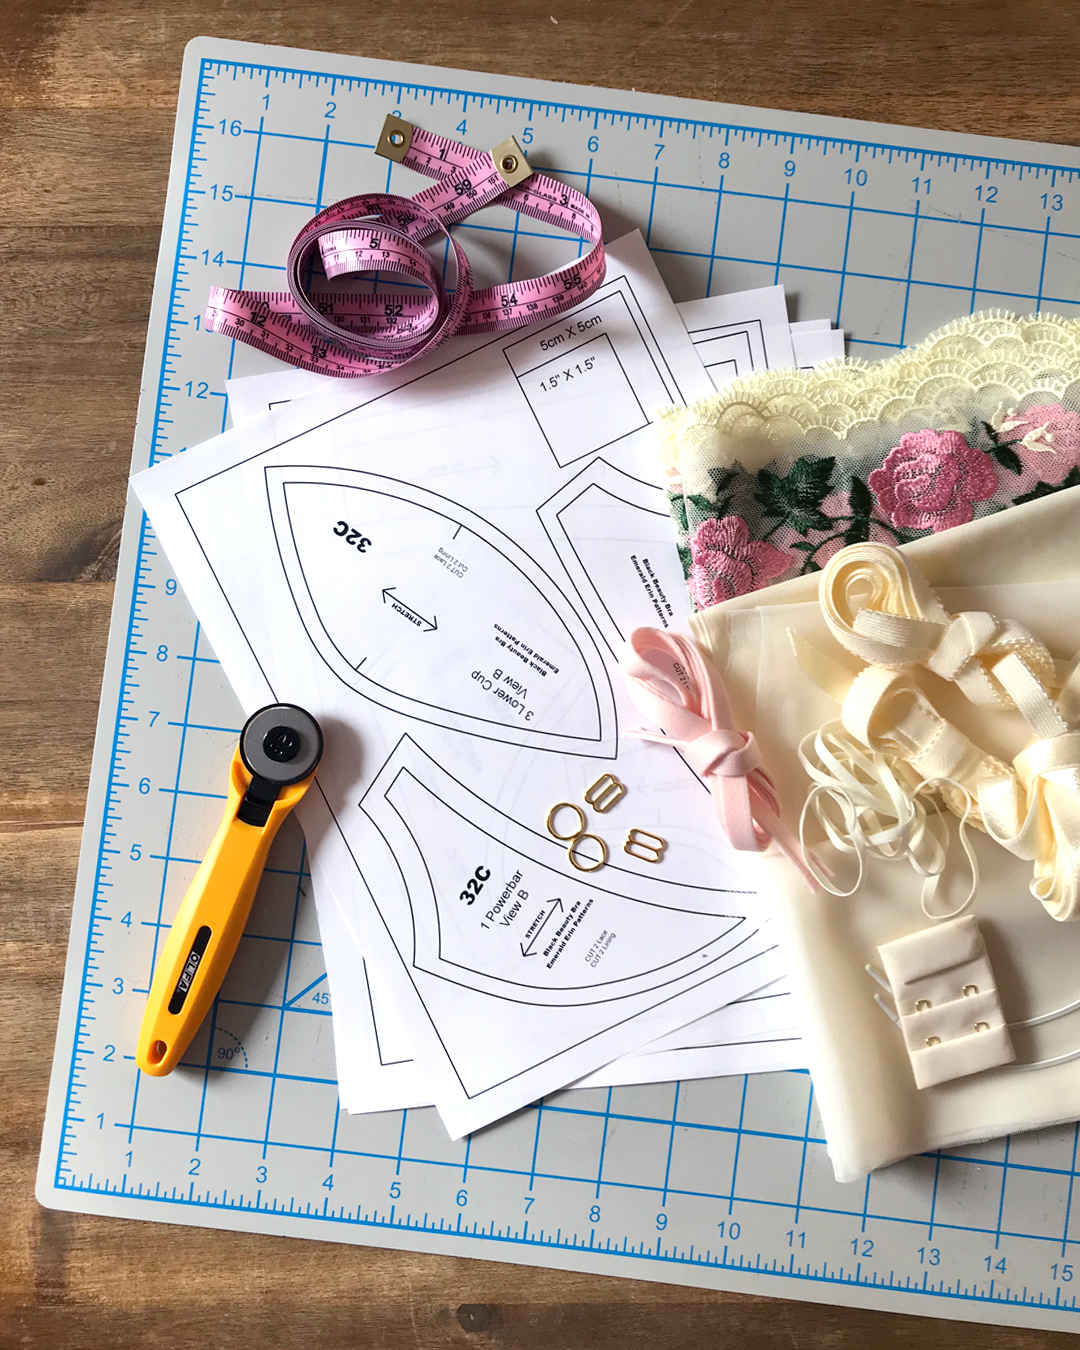
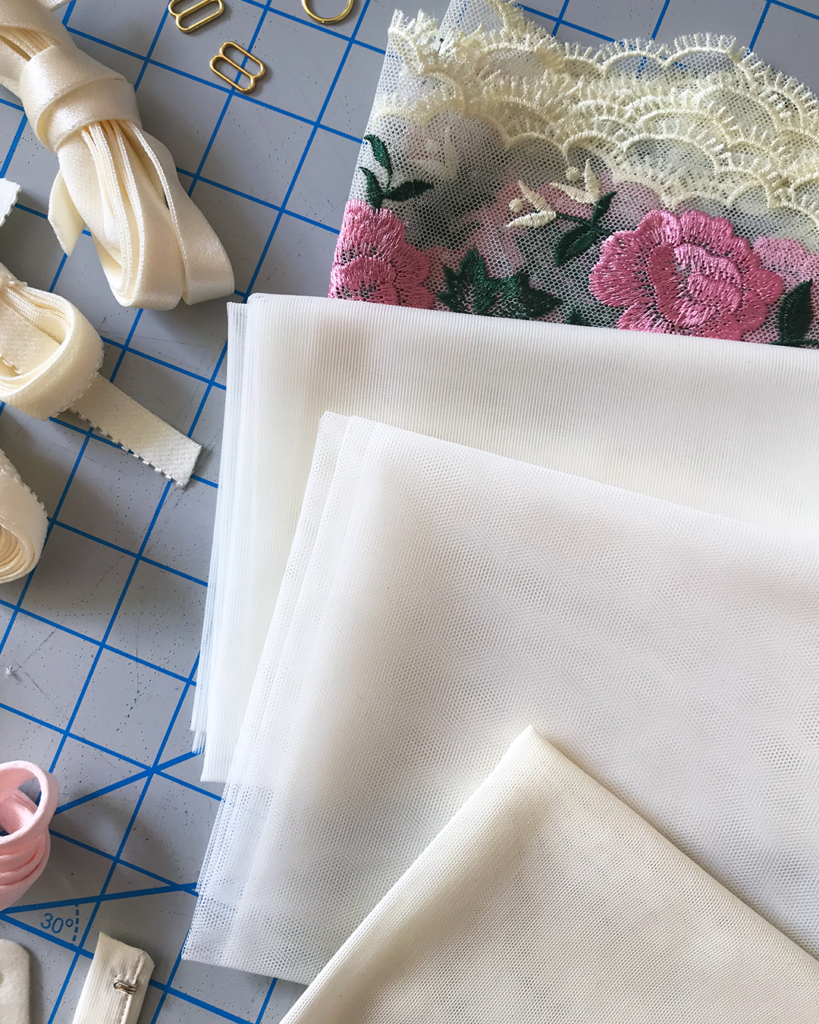
To make my Black Beauty Bra for this Sew-Along, I used an Embroidered Tulle Lace Kit from Tailor Made Shop with a Small Findings Kit*, and a Size 36 Regular Classic Day Wire**.
If you’re a bra-making beginner like me, starting your bra-making journey by buying bra kits like this really helps to take the guesswork out of getting the right materials. While different bra kits will offer different materials, the function of the main materials is similar across kits.
Once you’re more familiar with the bra-making process and start to understand what materials you like, you can purchase each of the materials separately to create the exact combination you want.
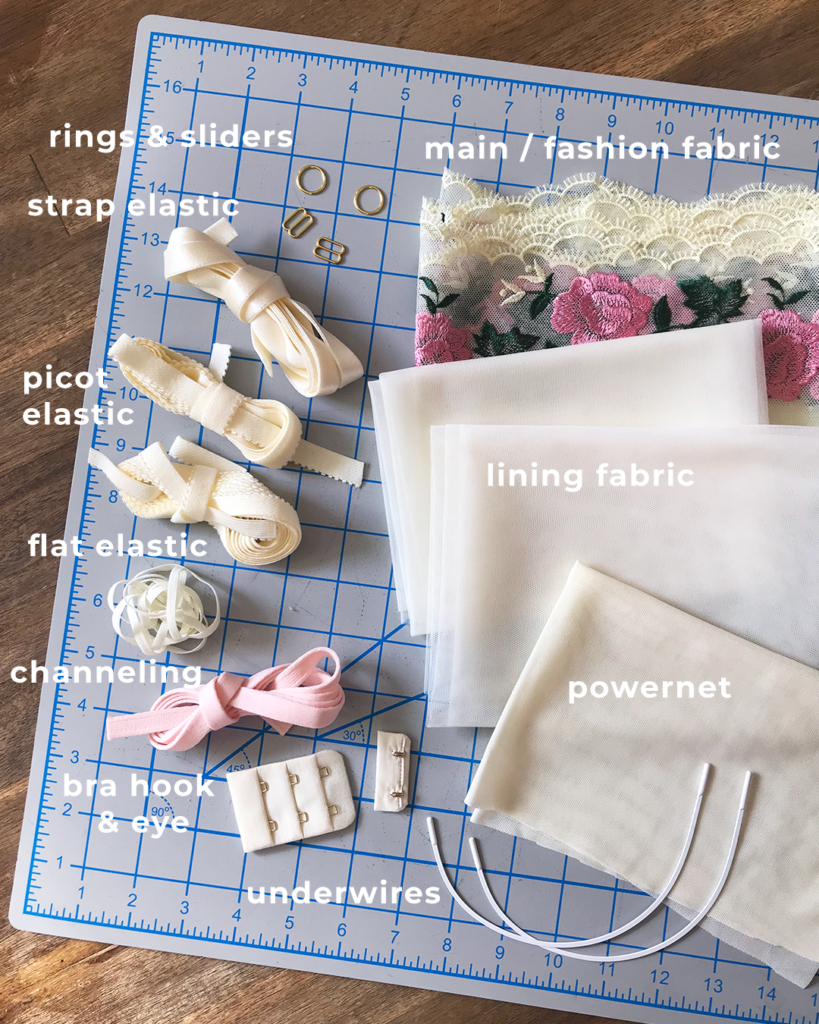
Here’s a list of the basic components for a Black Beauty Bra, with more details about each in the next section:
- Main Fabric
- Lining Fabric(s)
- Power Net
- Underwires
- Rings and Sliders
- Strap Elastic
- Picot Elastic
- Flat Elastic
- Channeling
- Bra Hook & Eye
*“Findings” is the term in the bra-making world for the non-fabric components of a bra, including the elastics, trims, and hardware. When buying bra kits online, you can usually choose to add “small findings” or “large findings” to your kit. “Small findings” include elastics in 3/8” and 1/2” widths, 1/2” rings and sliders, and a 2×3 hook and eye. Large findings kits include elastics in ½” and ¾” widths, ¾” rings and sliders, and a 3×3 hook and eye.
**The Black Beauty Bra pattern calls for “Orange Underwires,” which are the same shape and length as the “Regular Classic Day Wires” available at Tailor Made Shop.
Material Details and Usage:
All these materials were very intimidating to me as a beginner bra-maker! Even though I had experience sewing with wovens, bra-making materials have such specialized names and uses that I had a tough time understanding them at first.
After consulting with Ying for more information about how each material is used and going through the process of making my first and second Black Beauty Bras, I had a much better understanding and appreciation for what each material does.
Main Fabric (Fashion Fabric)
For the outer layer of your bra, you can use a variety of fabrics that are made specifically for bra-making. Duoplex and Lingerie Satin are approachable options for beginners—relatively easy to sew and don’t require lining (see next section).
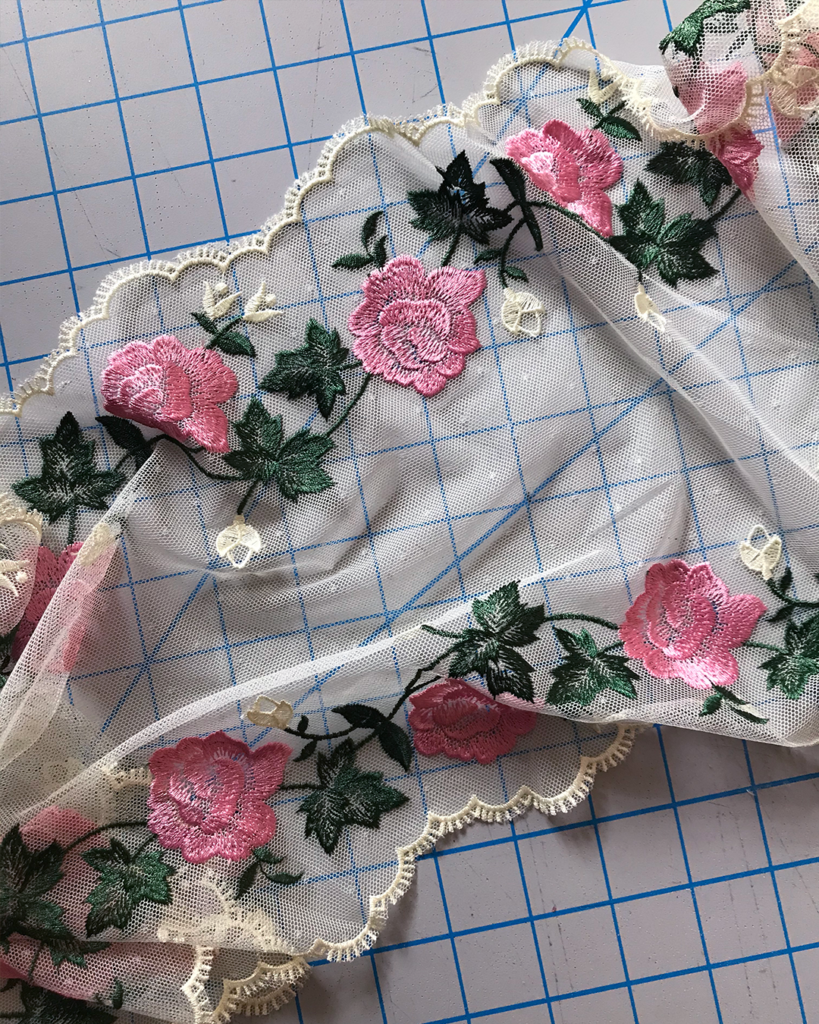
There are also myriad kinds of laces you can use. The lace I used is a floral “embroidered tulle lace” with no elastic content in the fabric. It’s flexible because of the hexagonal structure, but stable because there is only mechanical stretch.
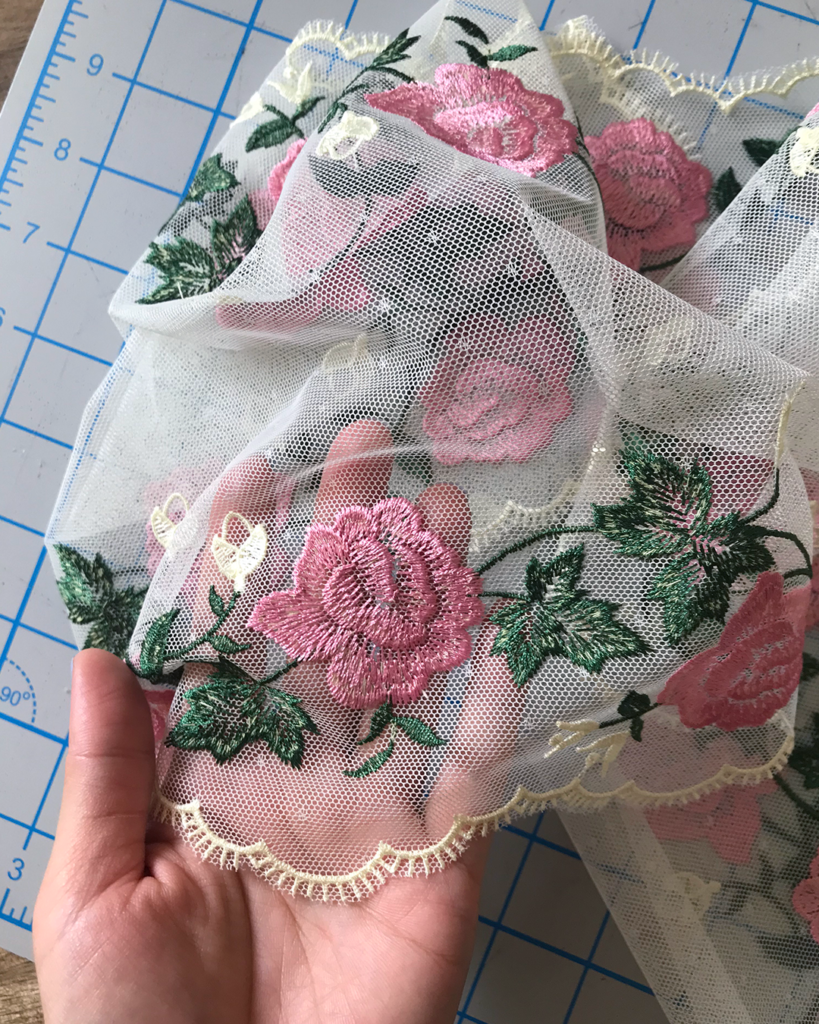
How much lace you need for your bra depends on the style and width of the lace. This particular lace is 9 inches wide and has scalloped edges on both sides, and I only needed about ¾ yard to make one Black Beauty Bra.
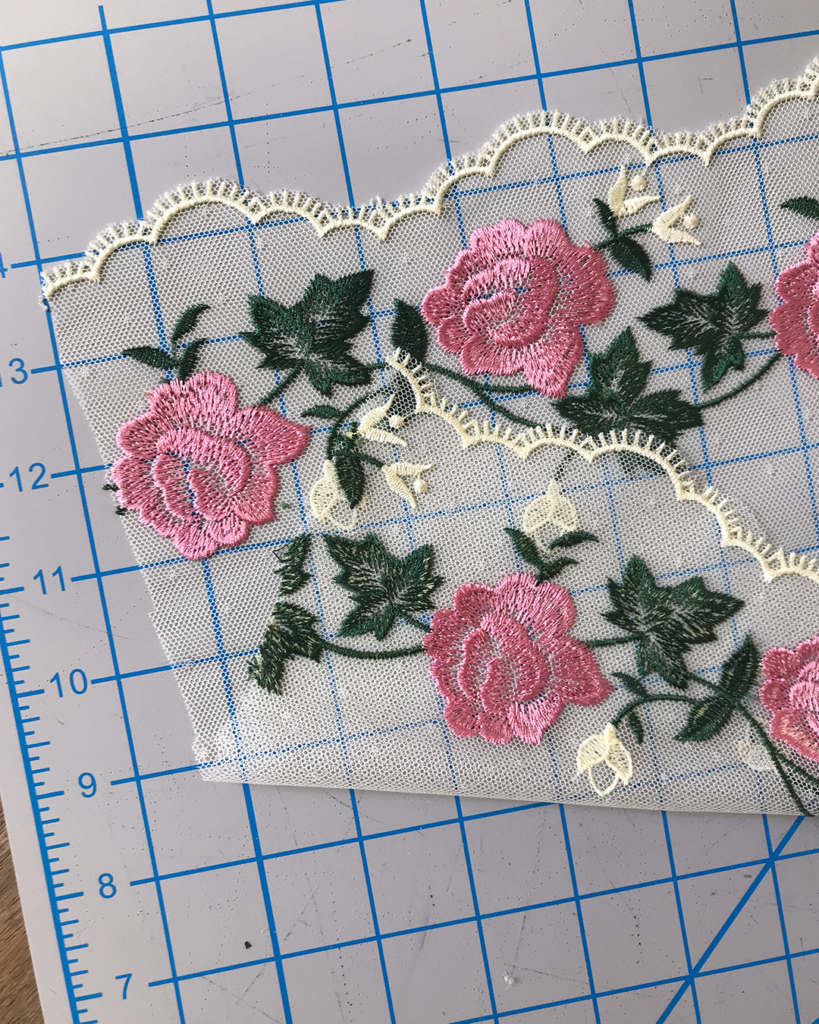
Usually, there is a right/wrong side to embroidered tulle laces. If you look closely, you’ll notice that the embroidery on one side of the fabric appears glossier and slightly more textured—this is the right side.
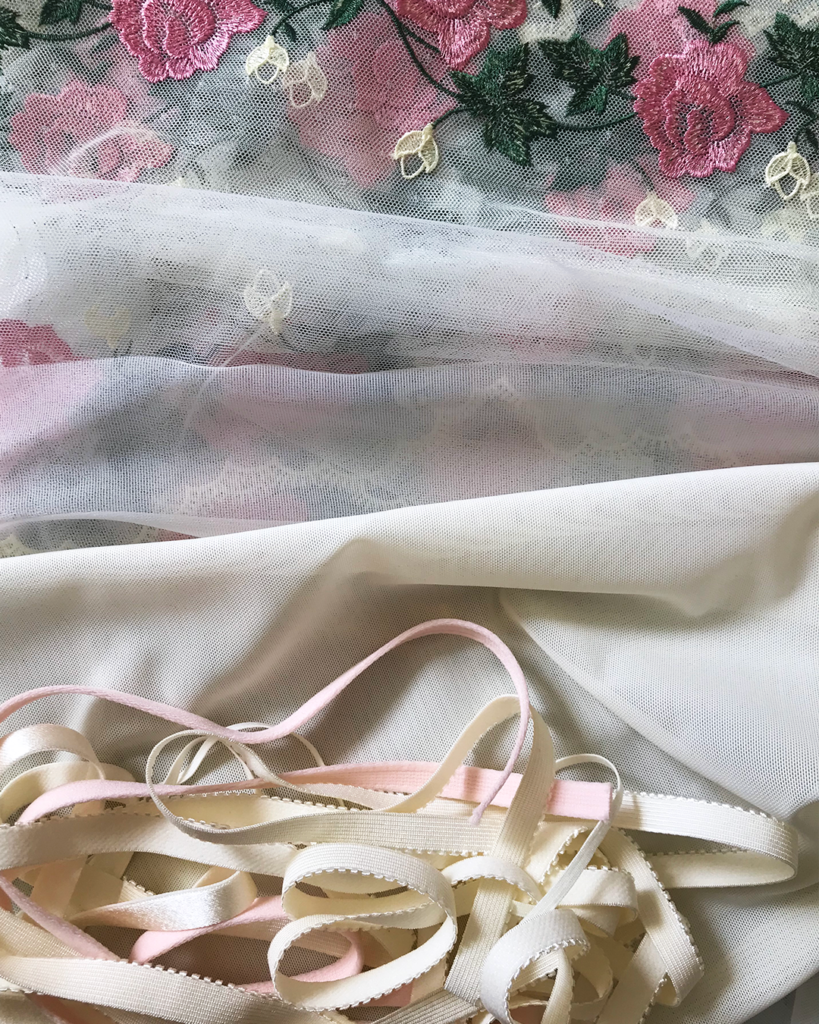
Lining Fabric(s)
In addition to cutting my bra pieces out of lace, I needed to cut them out some kind of lining to add support to those pieces. Although you can use one type of lining for the whole bra (or no lining at all if you use Duoplex or Lingerie Satin), there are actually two different types of lining in this Tailor Made Shop bra kit that are used to line different parts of the bra.
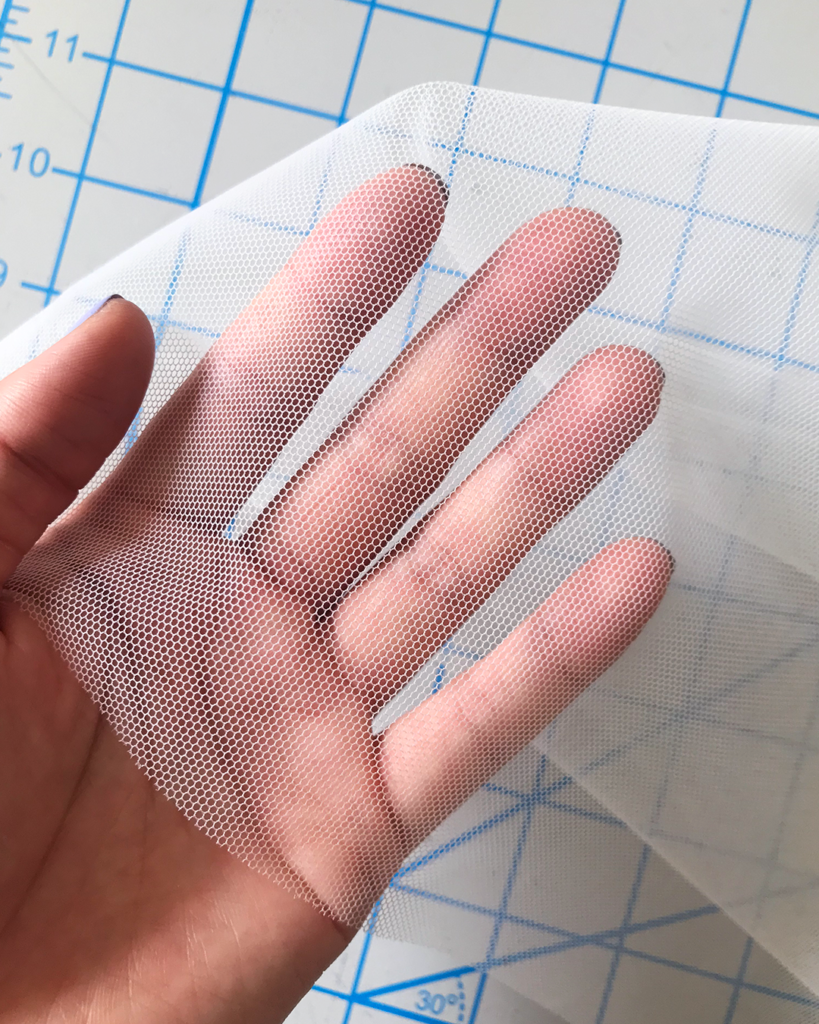
This one is called “bra tulle.” It’s a soft but surprisingly supportive lining. The hexagonal structure allows for roundness, making it ideal for lining bra cups. Contrary to what I initially believed, there IS a right/wrong side to bra tulle! The softer side goes against your skin.
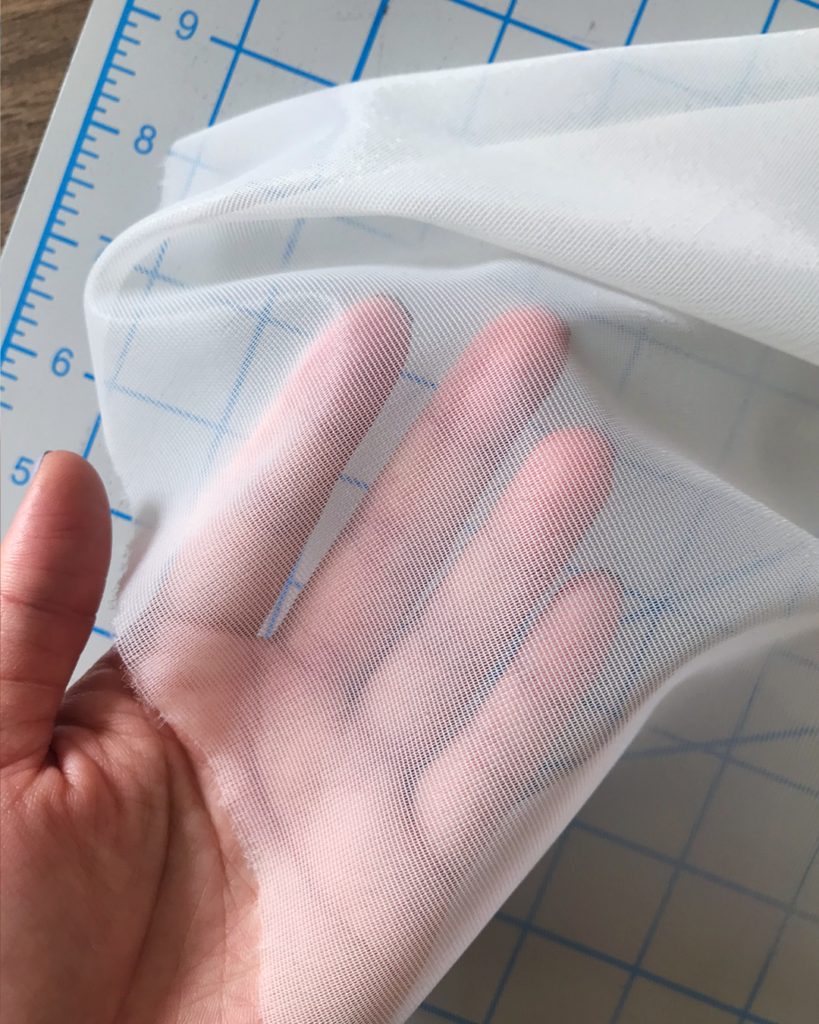
This other one is called “stabilizer tricot.” It’s stiffer than bra tulle, and works well for lining the bra frame where extra stability is needed. There’s a right/wrong side to this stabilizer tricot too—the softer side goes against your skin.
For my Black Beauty Bra, I cut the bra cups lining out of bra tulle, and frame lining pieces out of stabilizer tricot. Fear not—we’ll be taking a closer look at the cutting process in the next chapter of this Sew-Along.
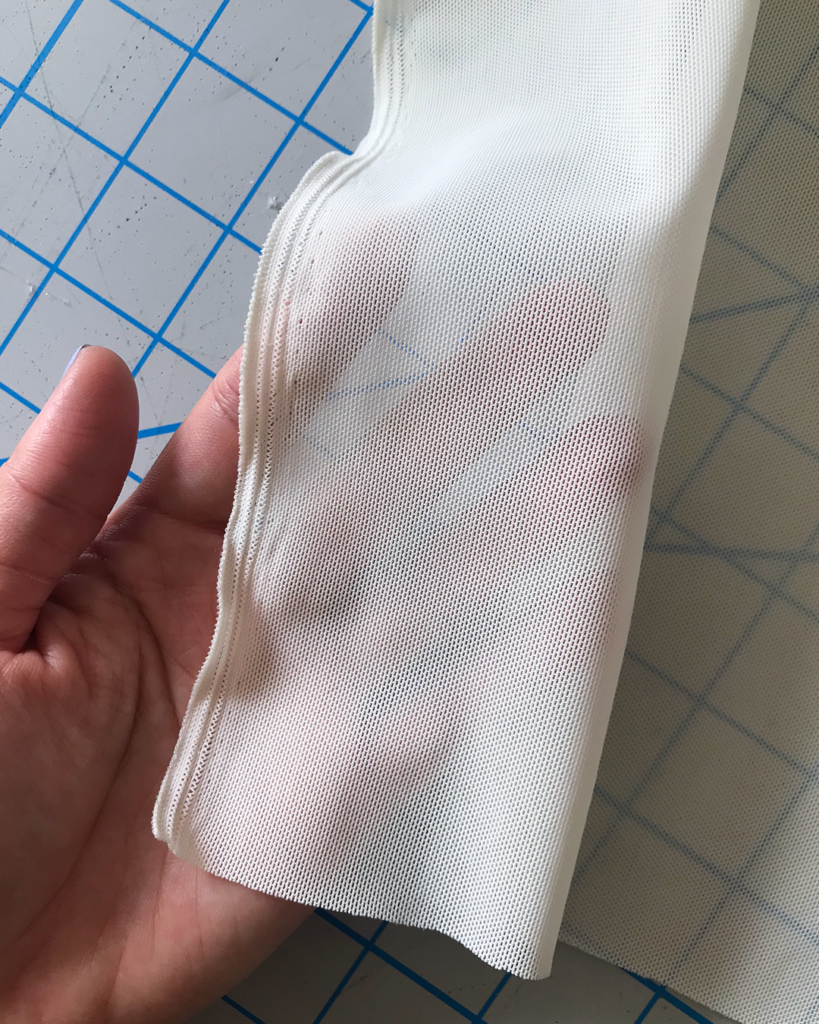
Power Net
Power Net is a hardworking fabric that contains elastane, giving it great stretch and stretch recovery. It’s drapey and silky to the touch, stretchy in both vertical and horizontal directions, and surprisingly supportive—making it perfect for the back band of a bra.
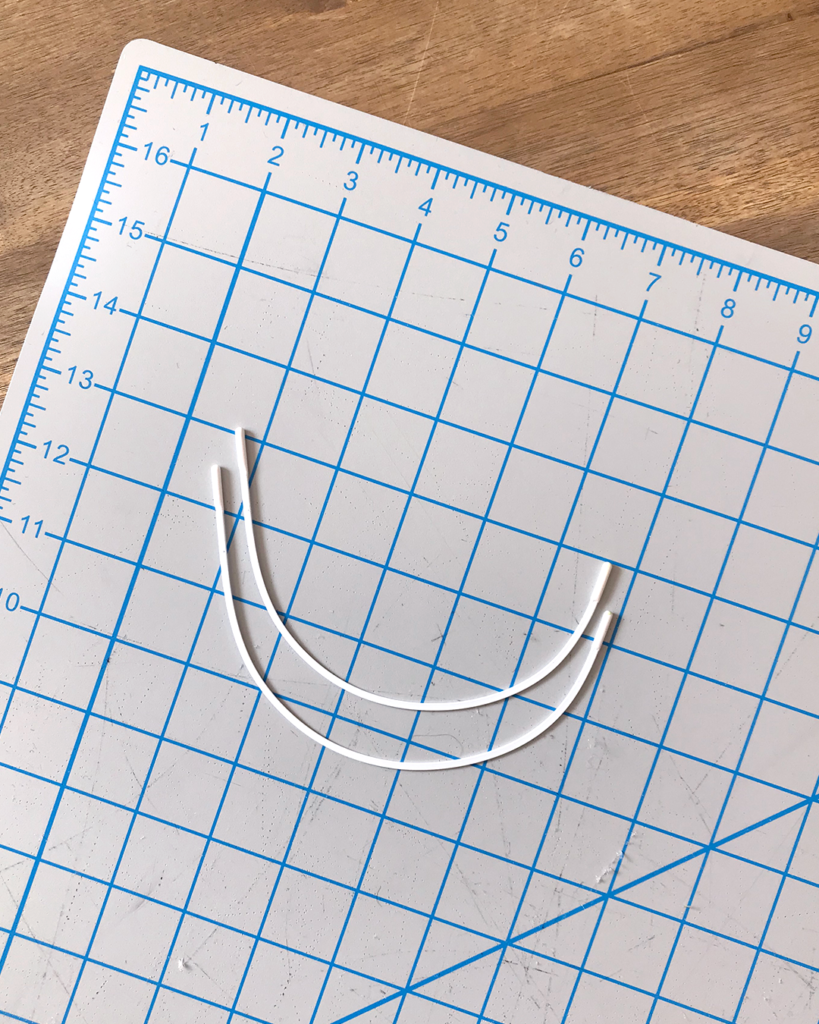
Underwires
The style of underwire that is recommended for use in the Black Beauty Bra is an “Orange / Day Bra” style of underwire, which is a regular-coverage underwire.
Personally, I’ve always had a bit of a love-hate relationship with underwires. Most commercially-made bras in my size are made with underwires that are slightly too small for me, which makes them super uncomfortable to wear for long periods of time. But when the underwires fit well, they’re able to provide great support while being relatively comfortable.
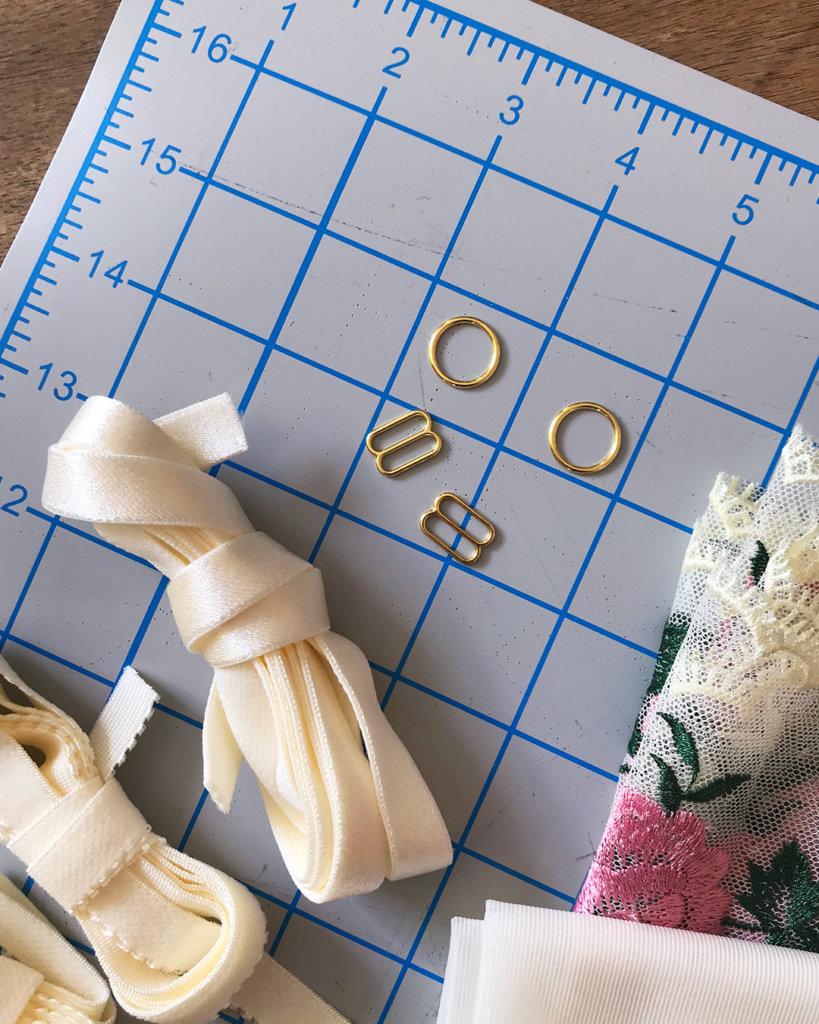
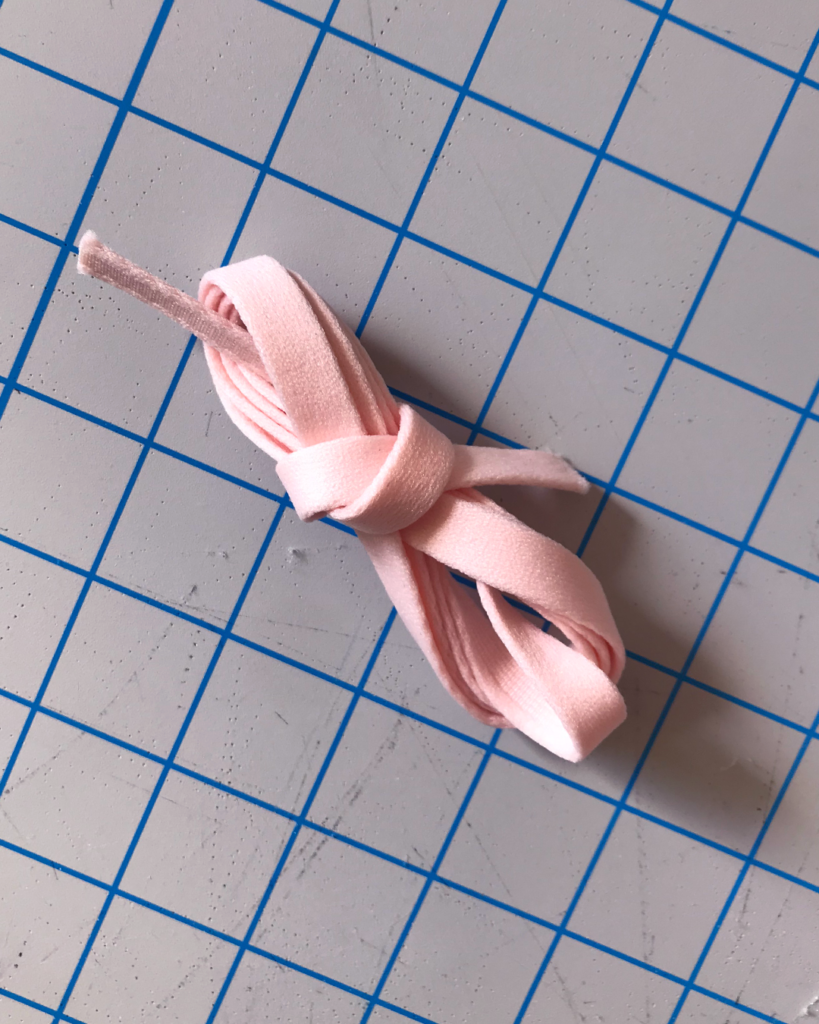
Strap Elastic + Rings and Sliders
Strap elastic is the elastic that’s used for the bra straps. It has a decorative or shiny side, and a plush side that goes against your skin. It comes in a variety of styles and widths, and can be paired with myriad kinds of rings and sliders for unique finishes. My Tailor Made Shop bra kit paired a lovely ½” ivory satin strap elastic with ½” wide gold rings and sliders

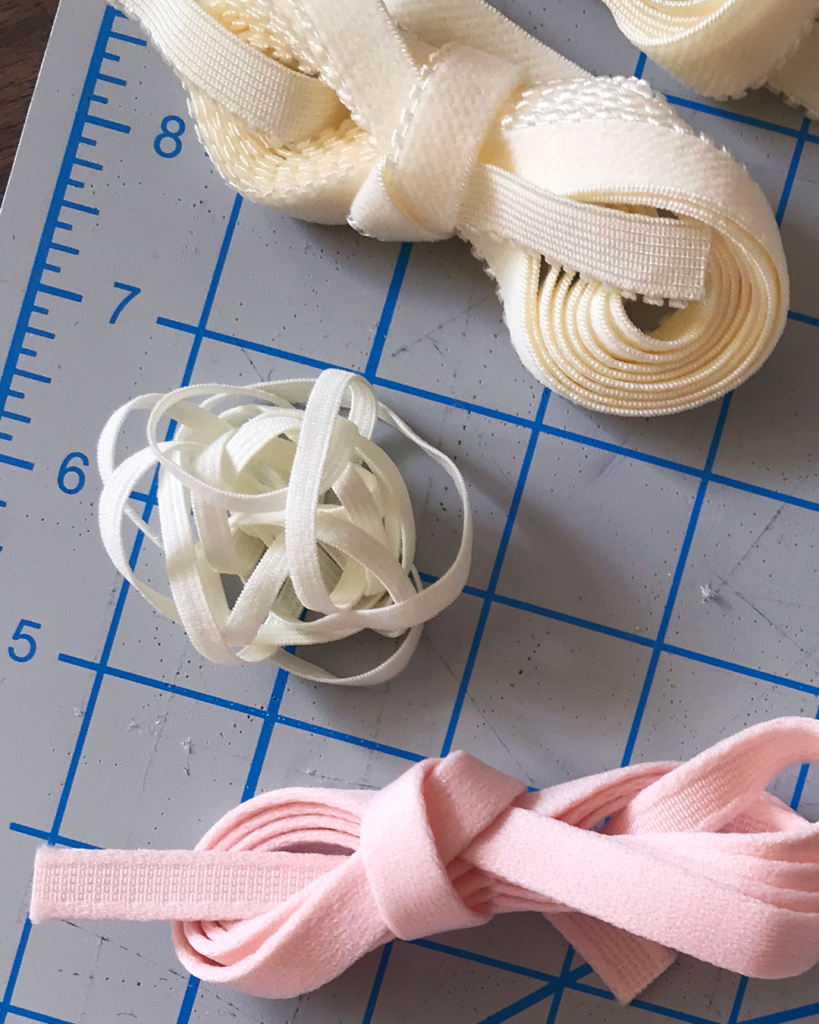
Picot Elastic
When I first opened my kit, it took me a second to realize that these are actually two different widths of picot elastic!
Picot elastic has a plush side that goes against skin, and a cute decorative edge. The narrower one (left, ⅜” width) is applied around the armhole and powerbar, while the wider one (right, ½” wide) goes along the bottom edge of the bra for added support around the underbust.
Flat Elastic
This tiny trim is called “flat elastic.” It’s narrow and goes along the top (neckline) of the upper bra cup to help stabilize the scalloped lace edge and protect the neckline from wearing out as quickly. Since embroidered tulle laces are typically fairly stable, this elastic isn’t always necessary, but it also functions as a clean finish for the inside of the bra, where the lining meets the lace edge (more on this later).
Channeling
Channeling is a flexible trim with a hollow center. It’s applied along the wire line of the bra cups as a casing for the underwires.
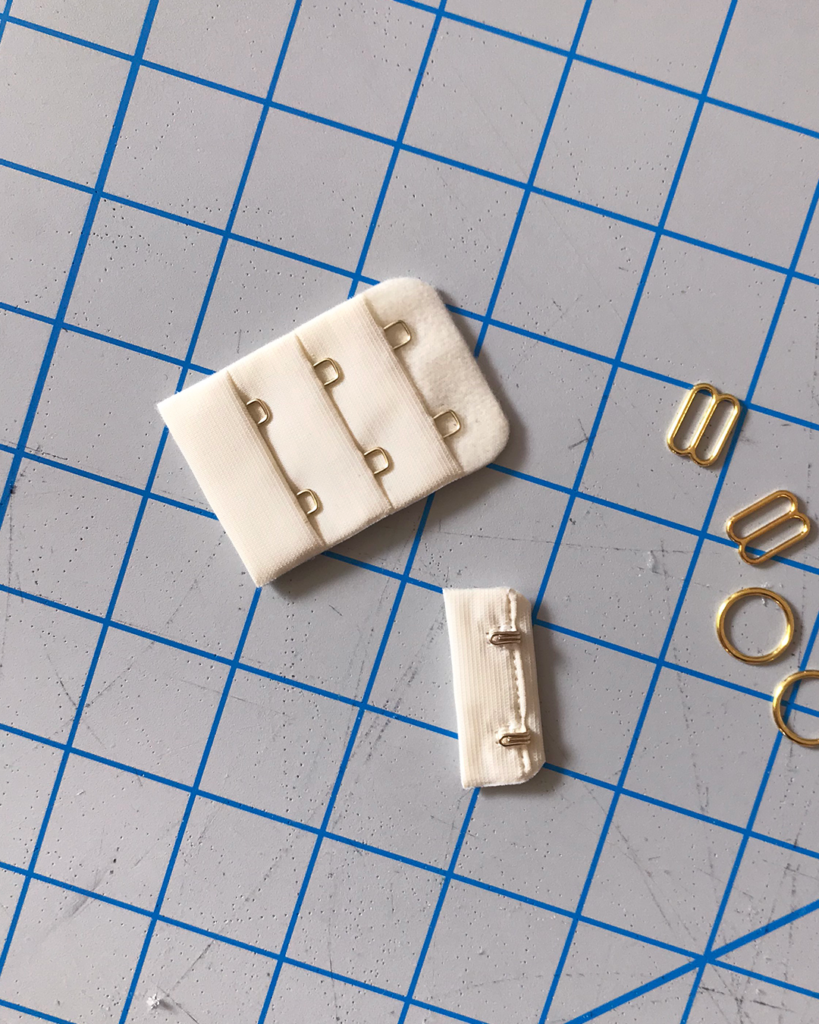
Bra Hook & Eye
On the left is a set of 2×3 bra hook and eye, which serves as an adjustable closer at the center back of the bra.
A well-fitting bra should hook on the widest (outermost) setting, which allows you to tighten the band as the elastic stretches over time, increasing the lifespan of your bra.
Final Notes:
PHEW! We made it through the tools & materials! In the next post, we’ll work on cutting.
1 Comments
Black Beauty Bra View B Sew-Along // Part Three: Cutting – Tailor Made Blog
January 9, 2021 at 9:40 PM
[…] the Tools & Materials section, we went over two different lining options that are suitable for different parts of the […]