
Black Beauty Bra View B Sew-Along // Part Ten: Sewing – Channeling & Elastics
Hello and welcome Step 10 our Black Beauty Bra View B Sew-Along with Joy (@byjoymao). We’re almost finished!!
Today, we’re giving structure to our bra by applying:
- Channeling (first pass)
- Underbust elastic
- Underarm elastic
- Channeling (second pass)
- Underwire
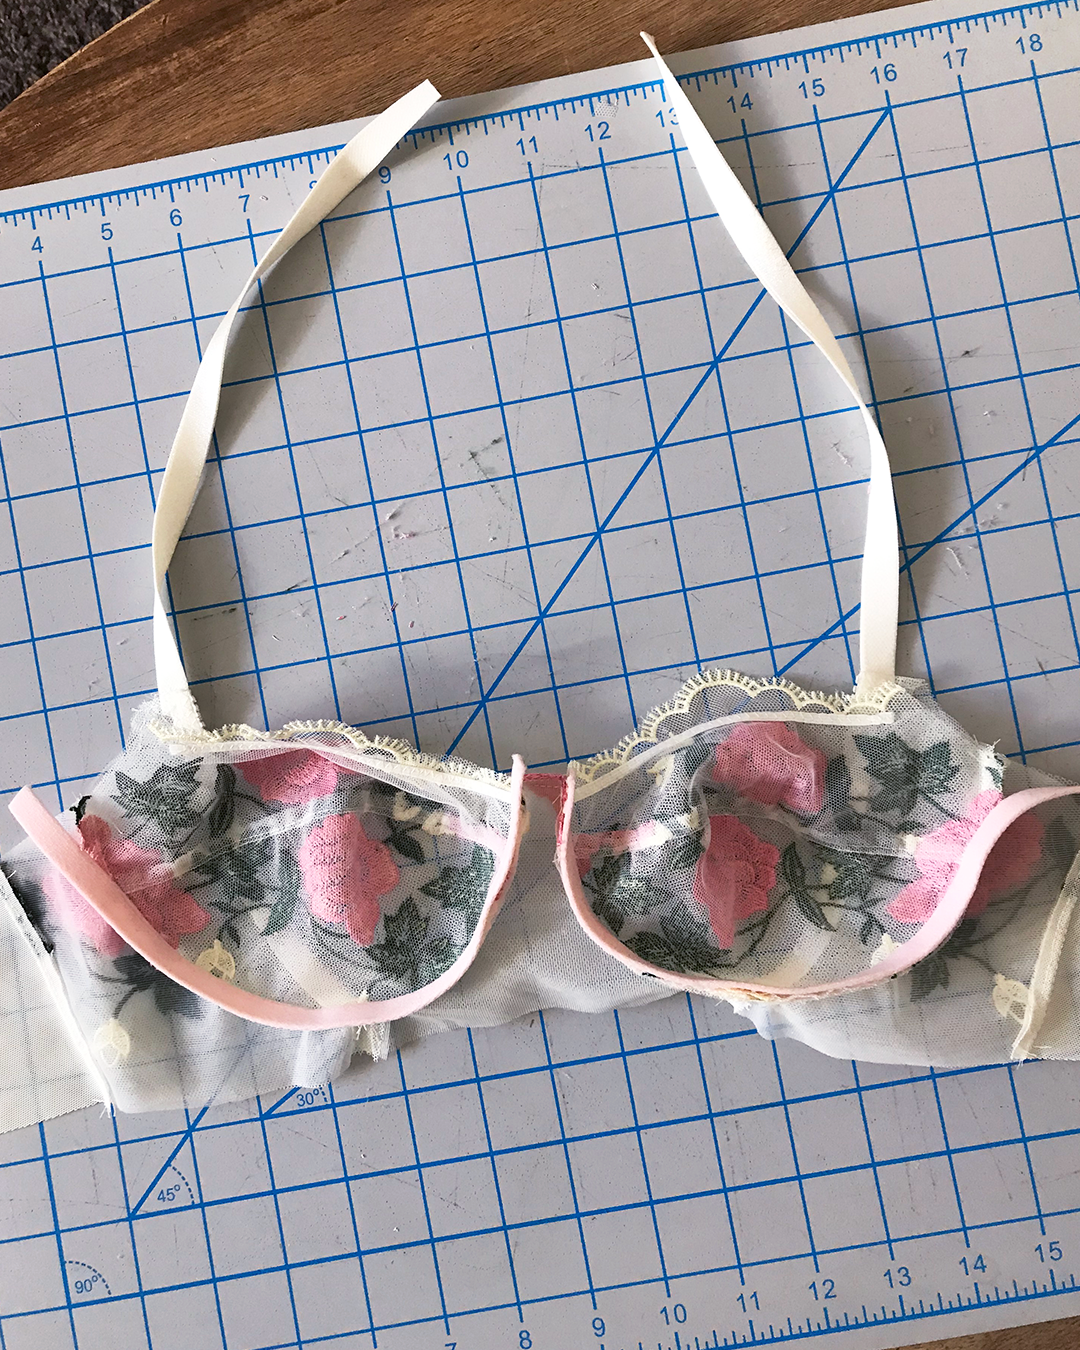
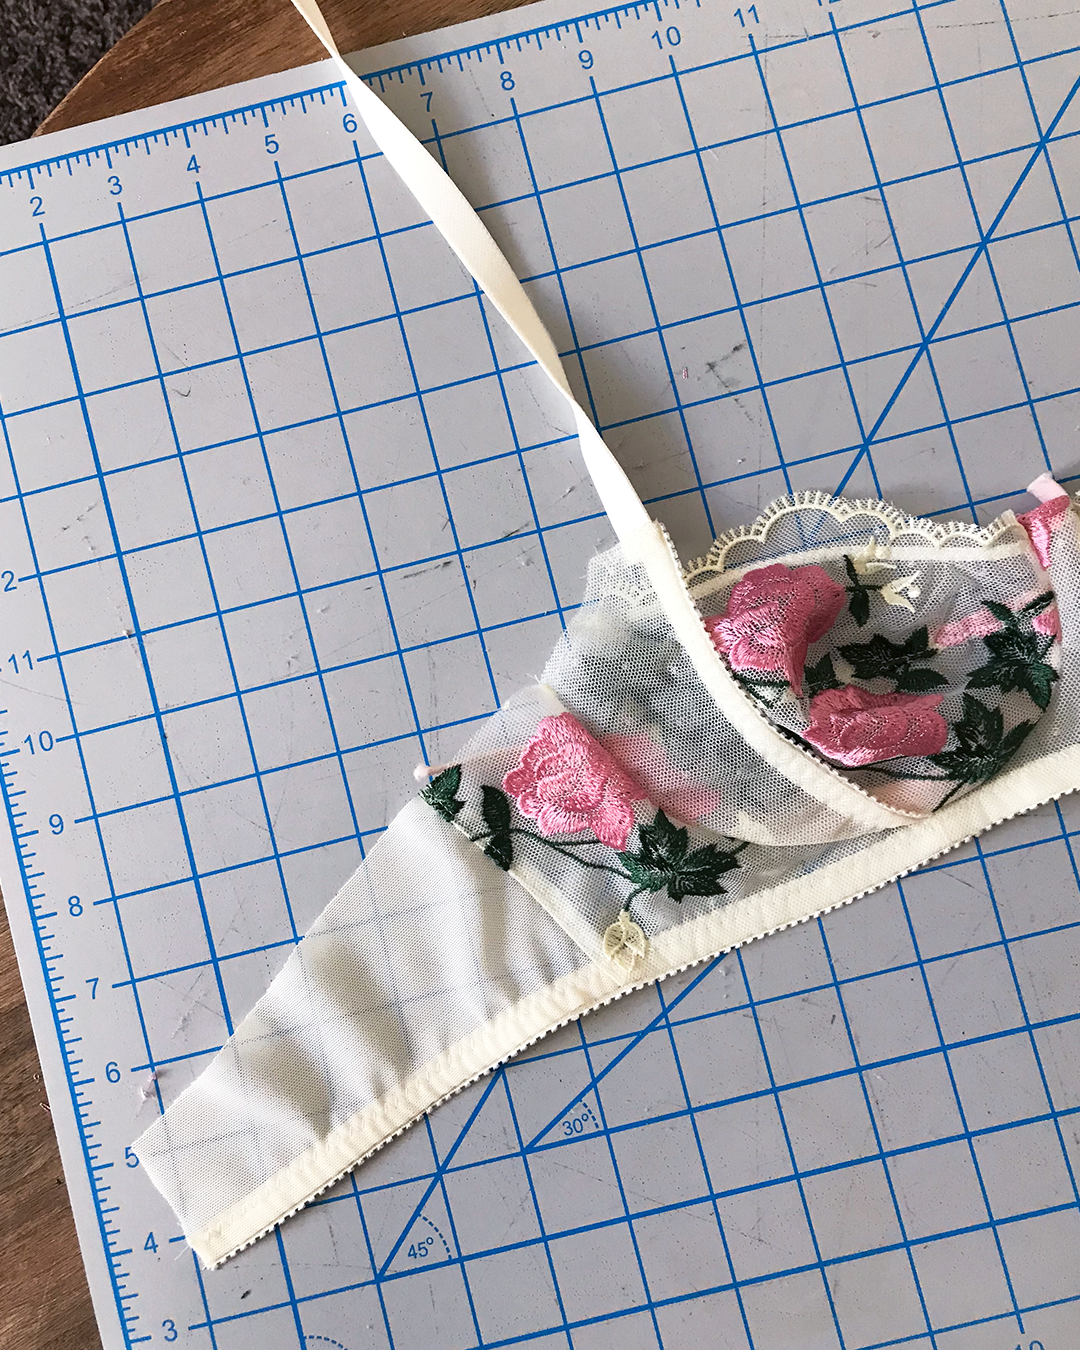
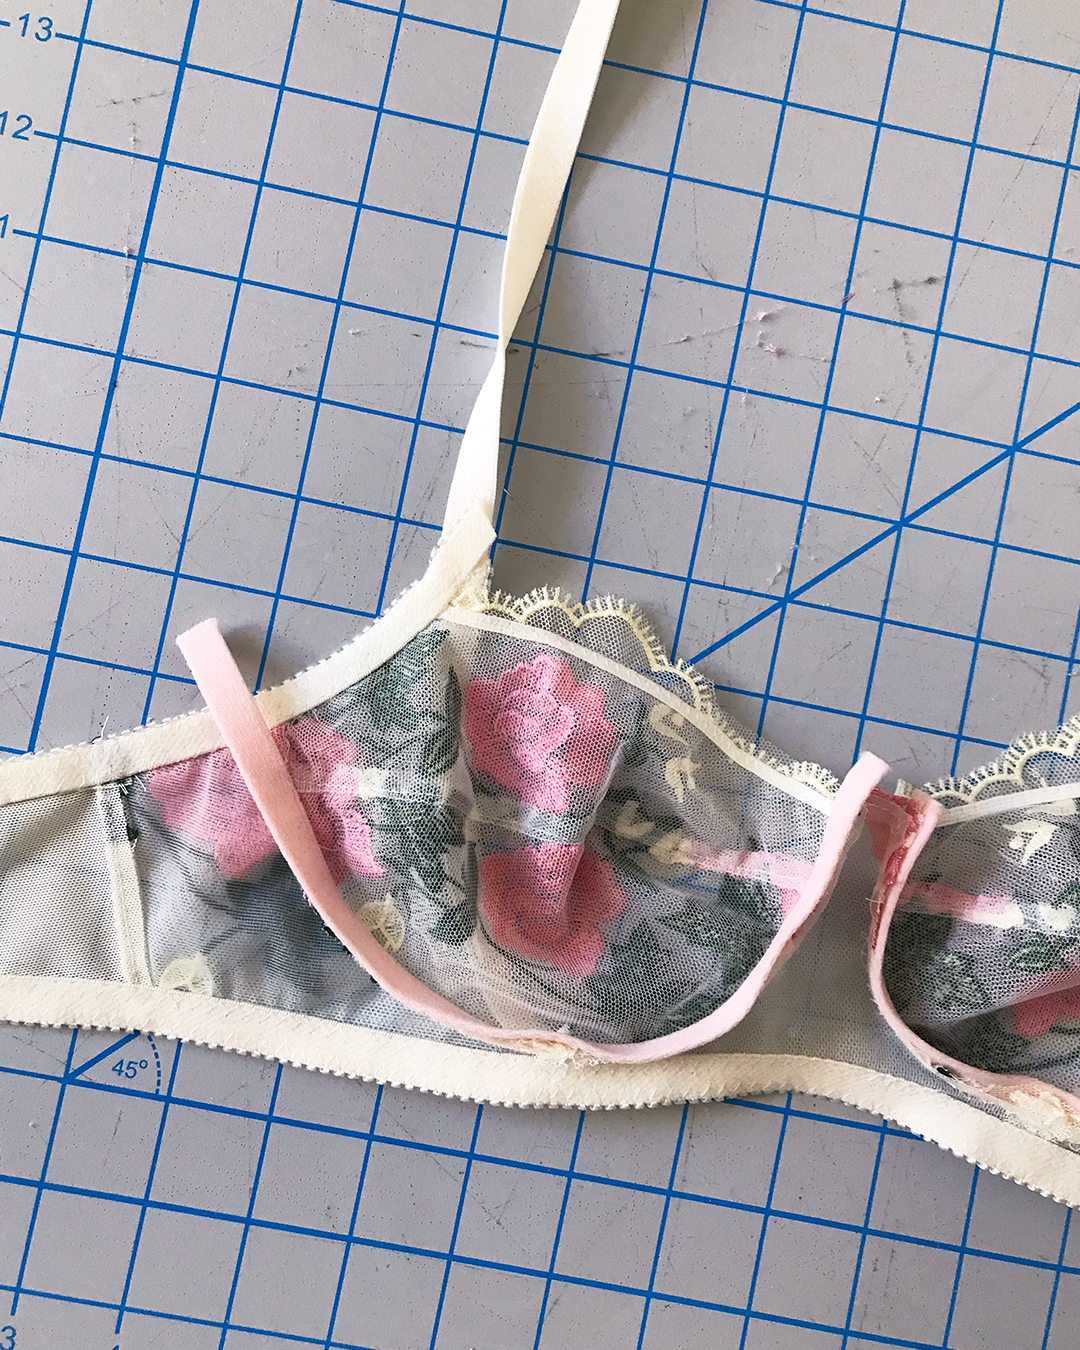
Channeling (First Pass)
The channeling is a soft casing for the underwire, and is applied along the wire line of the bra by first sewing it to the seam allowance. No need to cut your channeling before you begin sewing—you can sew first, and then trim as needed.

Line up the left edge of the channeling with the seam line. Note that there is a right and wrong side to channeling—the plush side is the right side, and should be sewn to the wire line so that the plush side will sit against your skin.
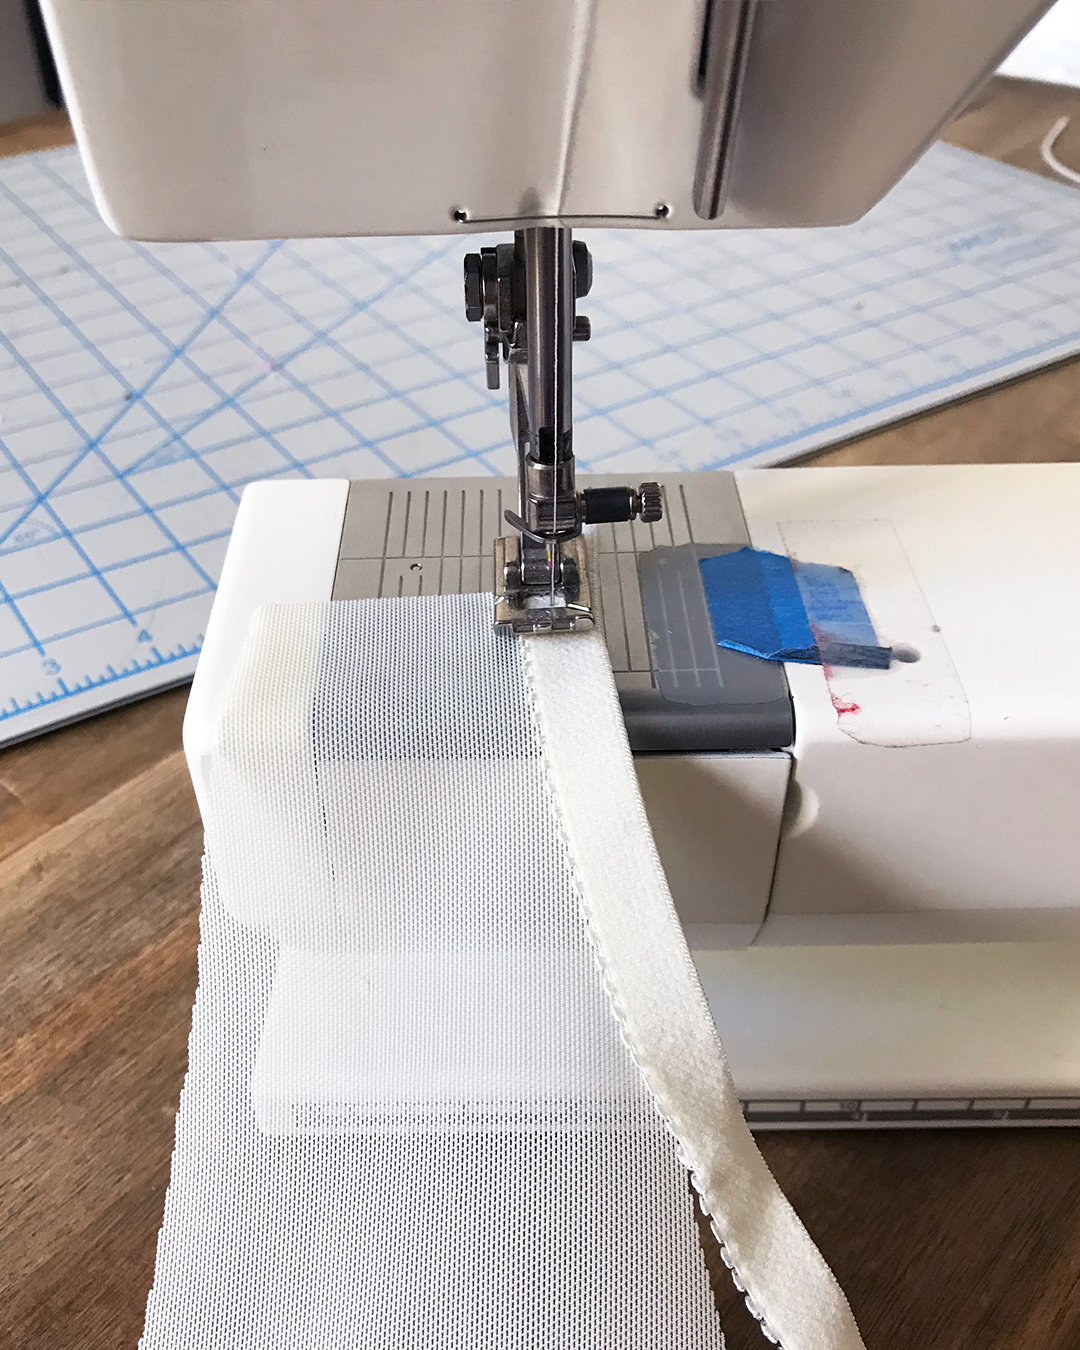
Start sewing about 1” down from the underarm edge, leaving room for sewing the underarm elastic later on.

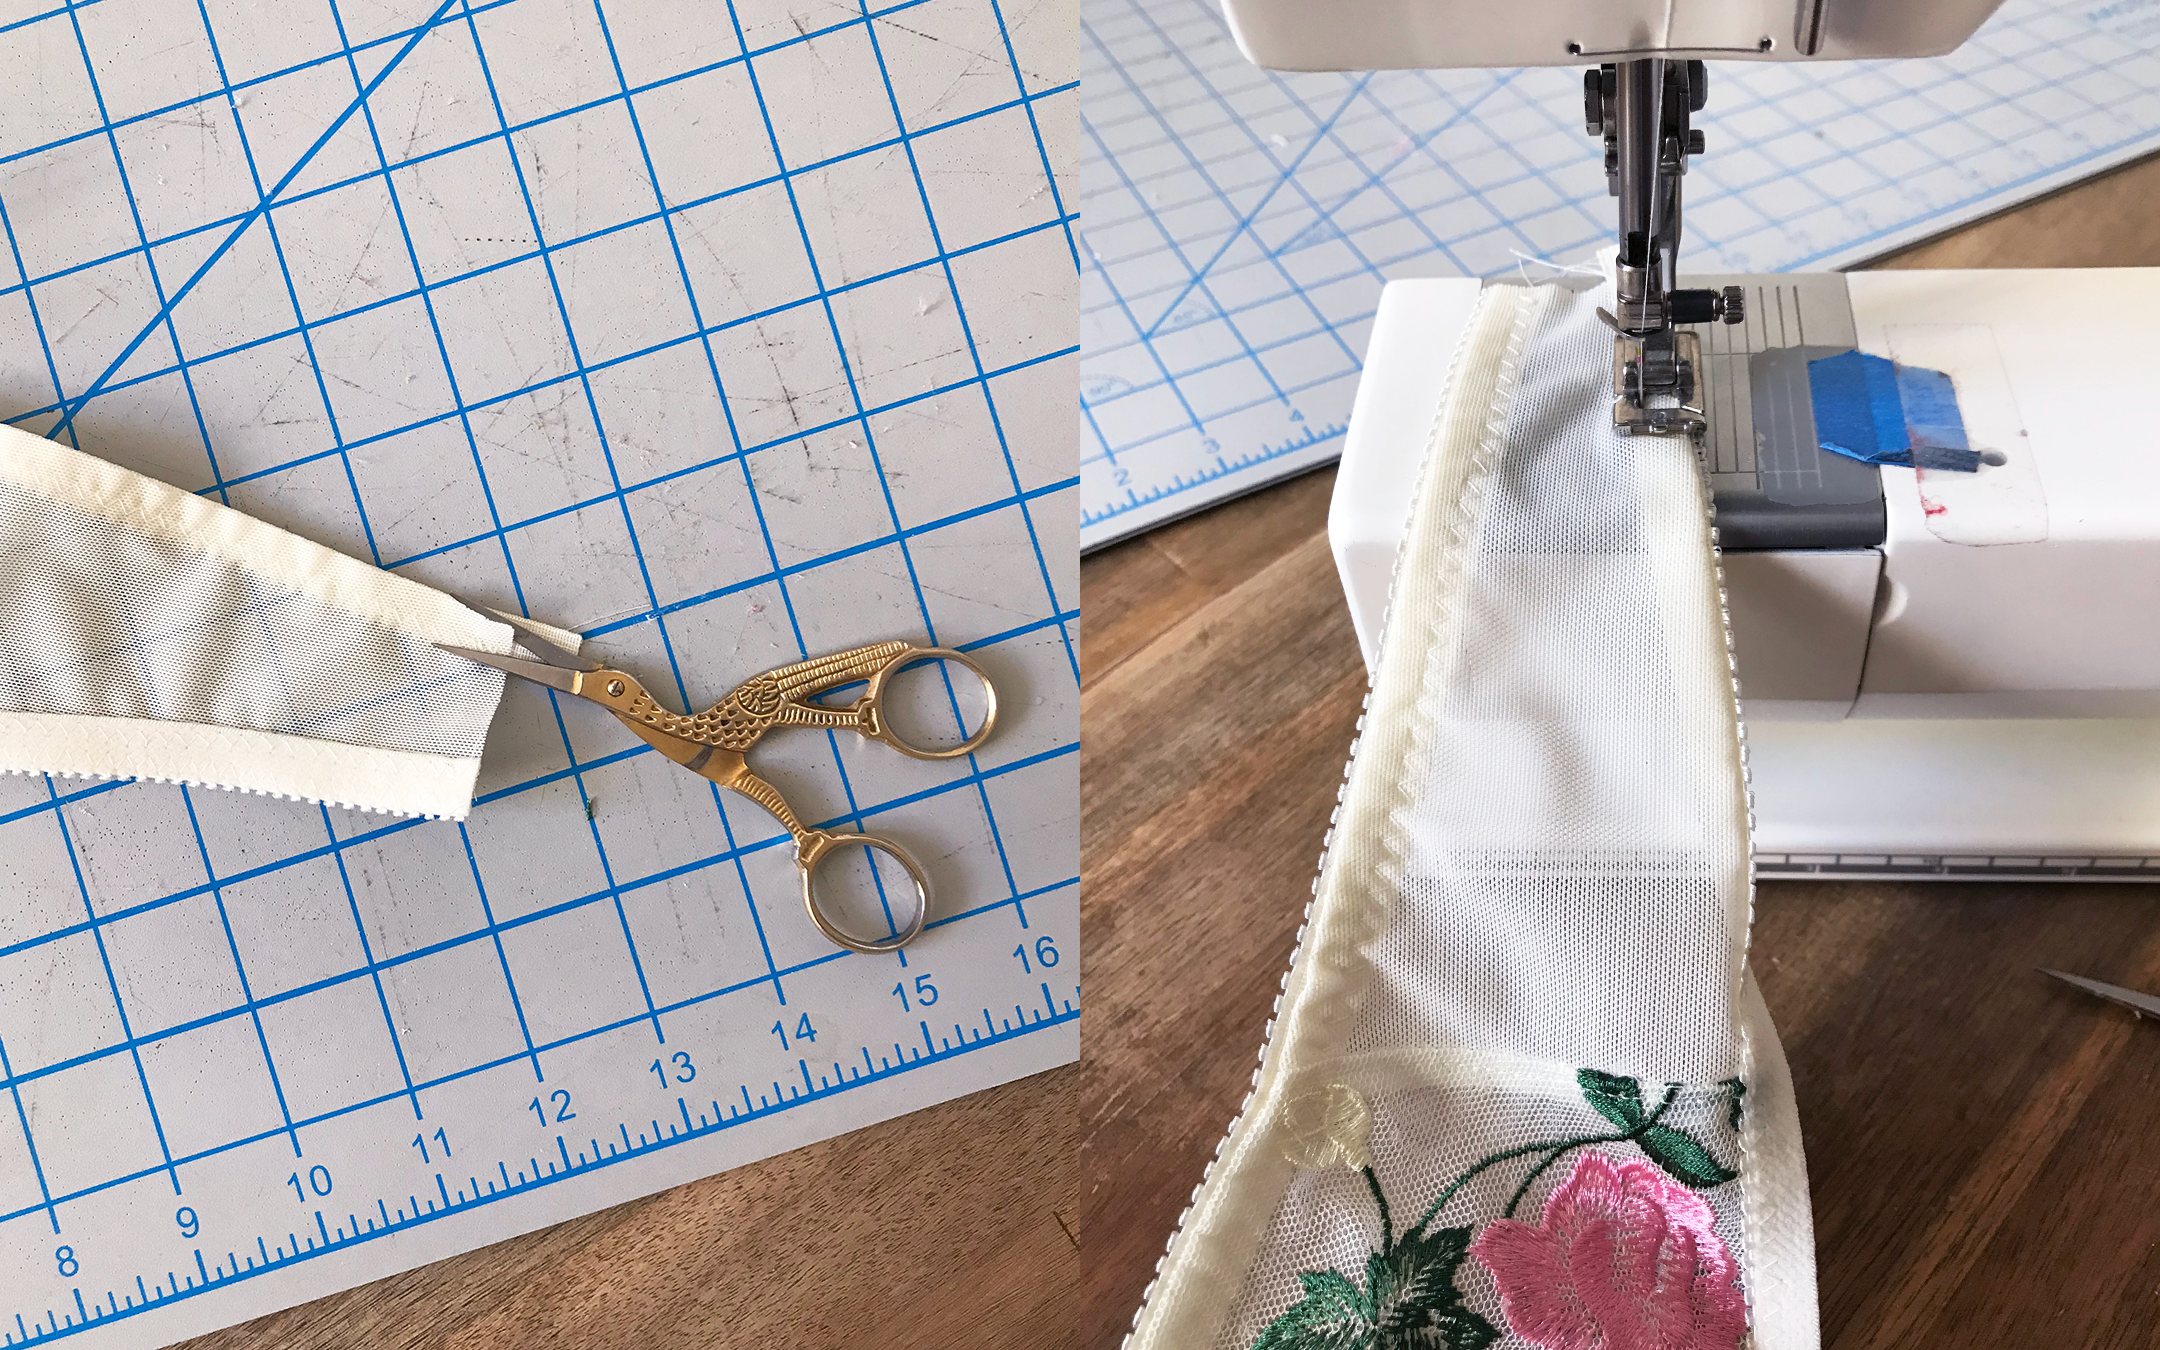
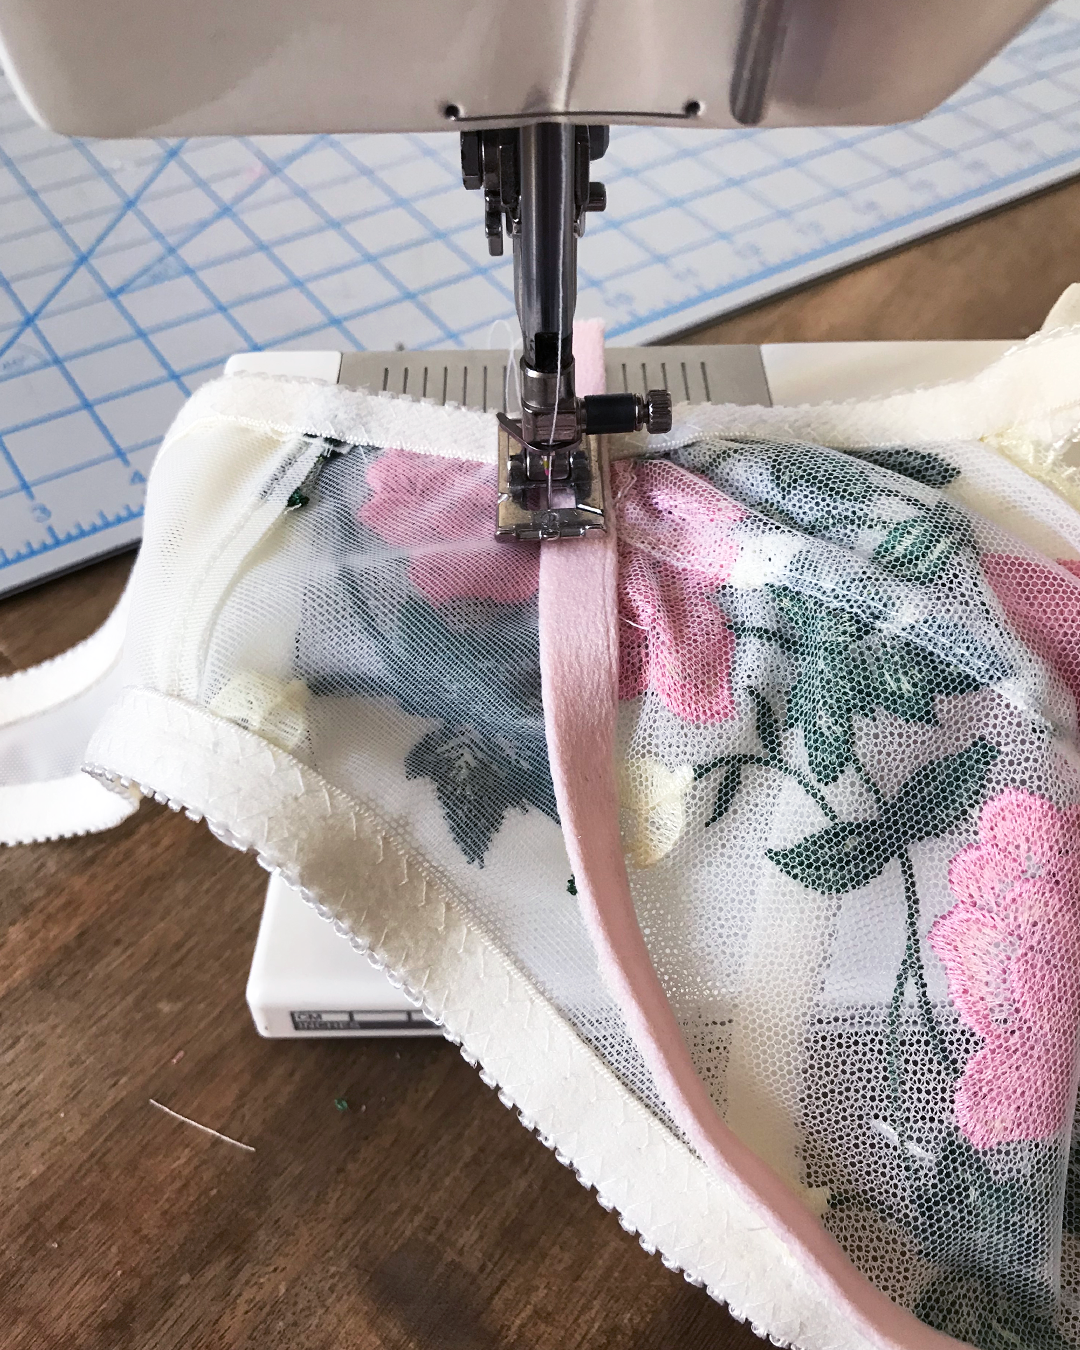
Sew with a straight stitch, just a hair away from the edge of the channeling. This is another instance where being able to move your needle position could help you get closer to the edge of the channeling.

Carefully make your way around the curve, checking frequently that you’re catching just the seam allowance.
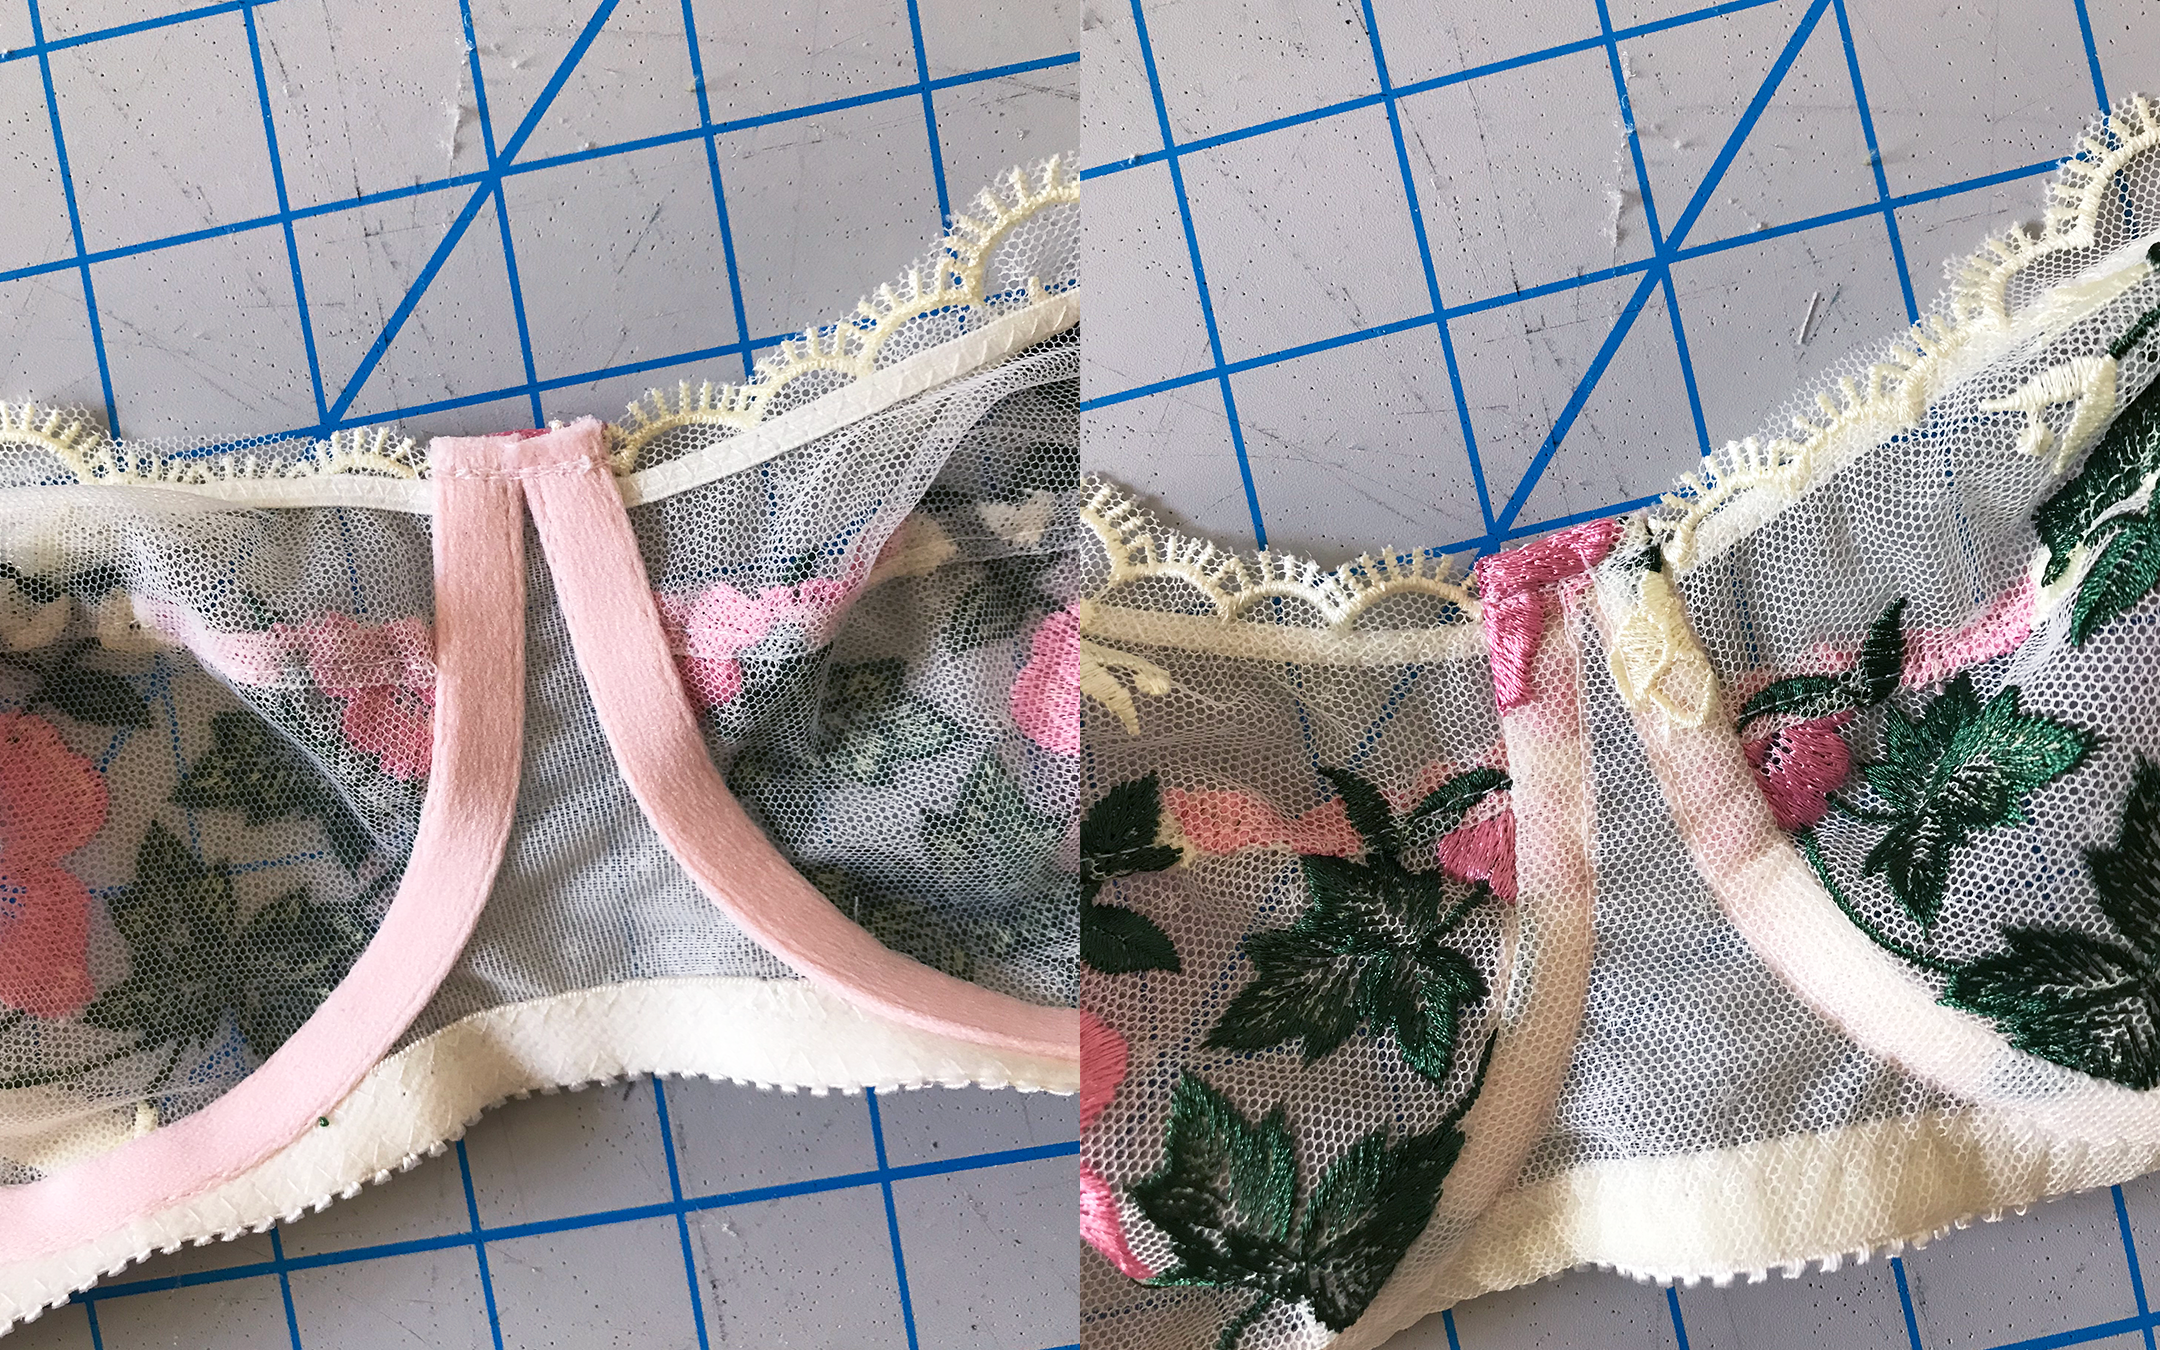
After the first pass, you can cut your channeling like I’ve done here.

Repeat for the other side.
Underbust Elastic

The underbust elastic is applied exactly the same way as we did for the elastic on the powerbar. I’m using my ½” picot elastic, which is just a bit wider than the picot elastic used for the powerbar and underarm areas. The slightly wider elastic helps to provide extra support along the underbust.
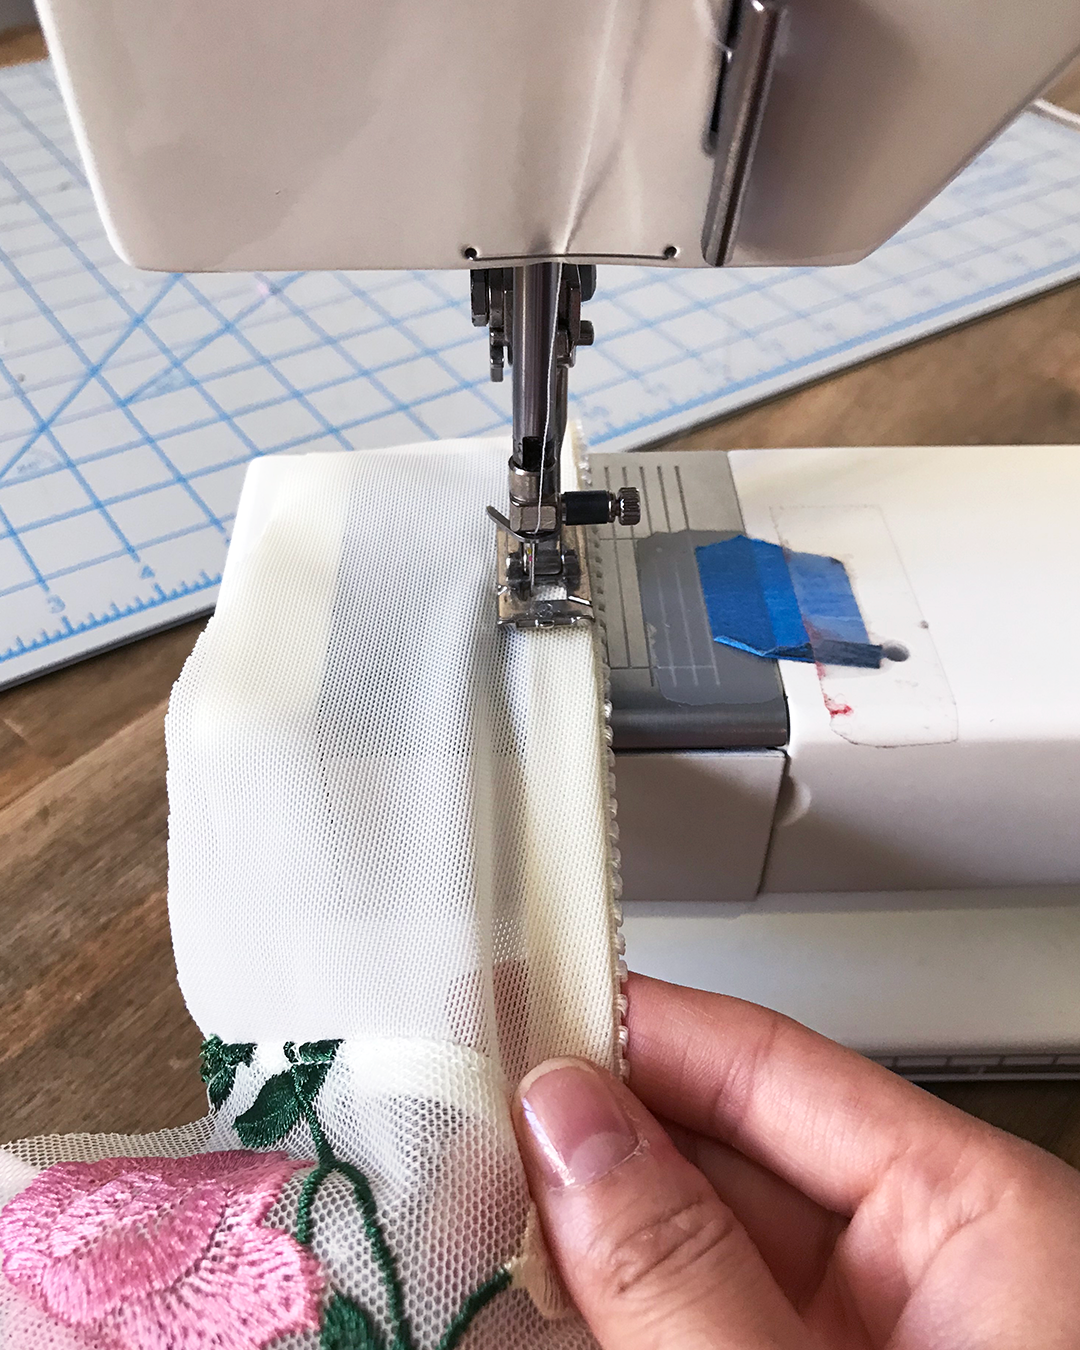
To sew, align the elastic with the bottom edge of the back band, with the plush side of the elastic facing up, and the picots facing left (in towards the fabric). Use your zig zag stitch to stitch as close as you can to the picot edge.

Continue carefully along the entire bottom edge of the bra.
Before sewing the second pass on the elastic, trim away the excess fabric with your small scissors.
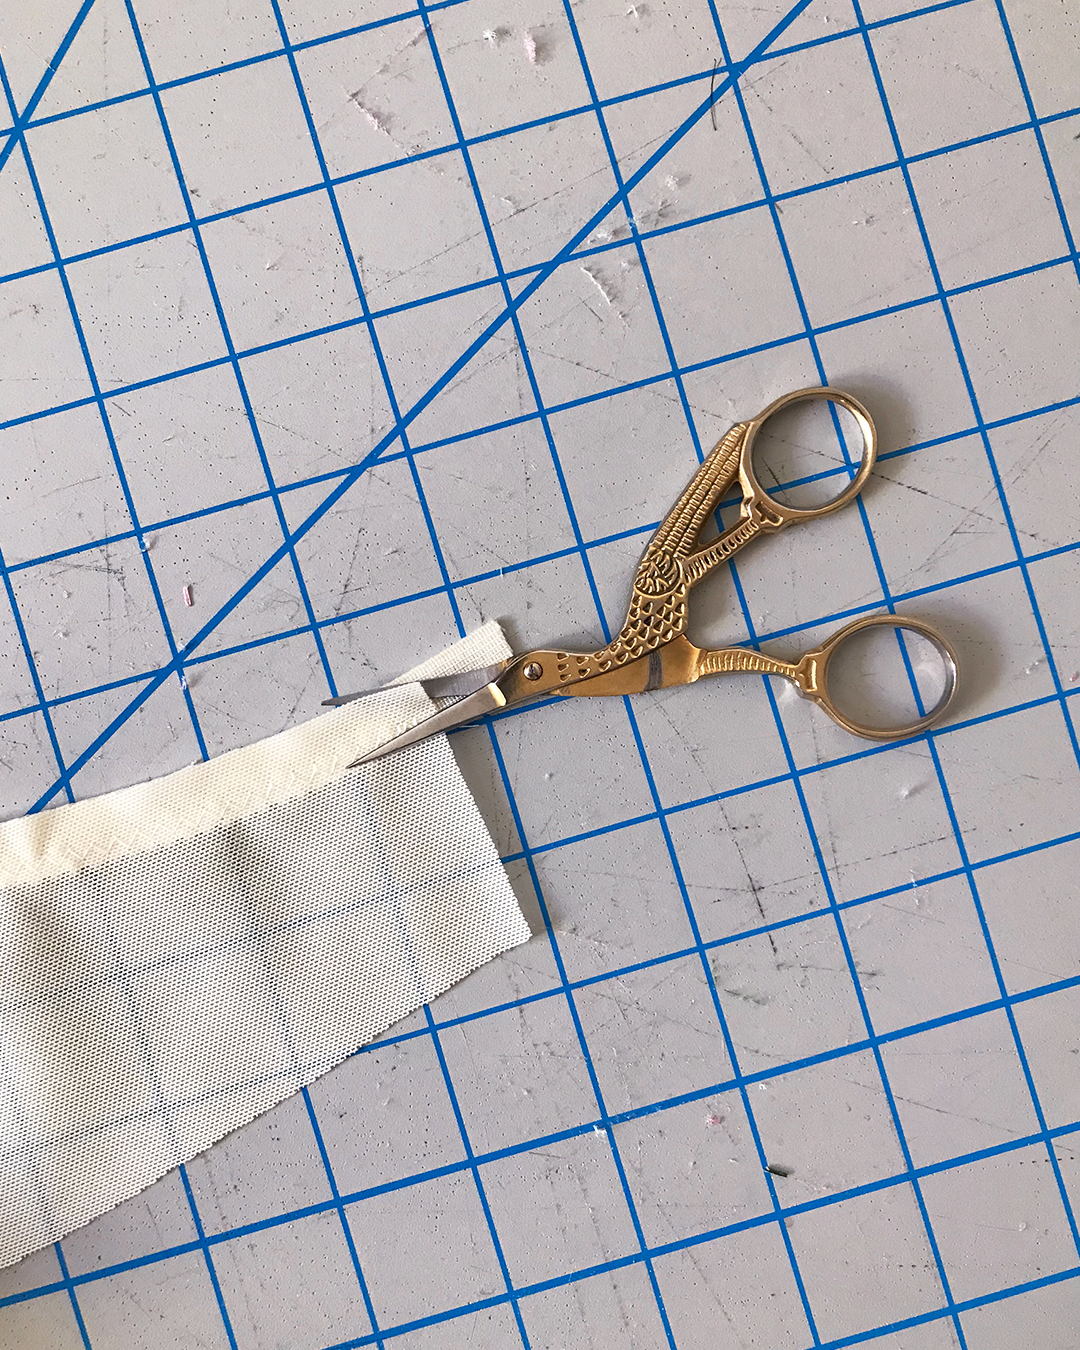
Fold the picot elastic under the fabric so that the picots are now peeking out on the right side, and secure with a second zig zag stitch close to the straight edge of the elastic.
While stitching, gently stretch the elastic so that the fabric lays flat as you sew.
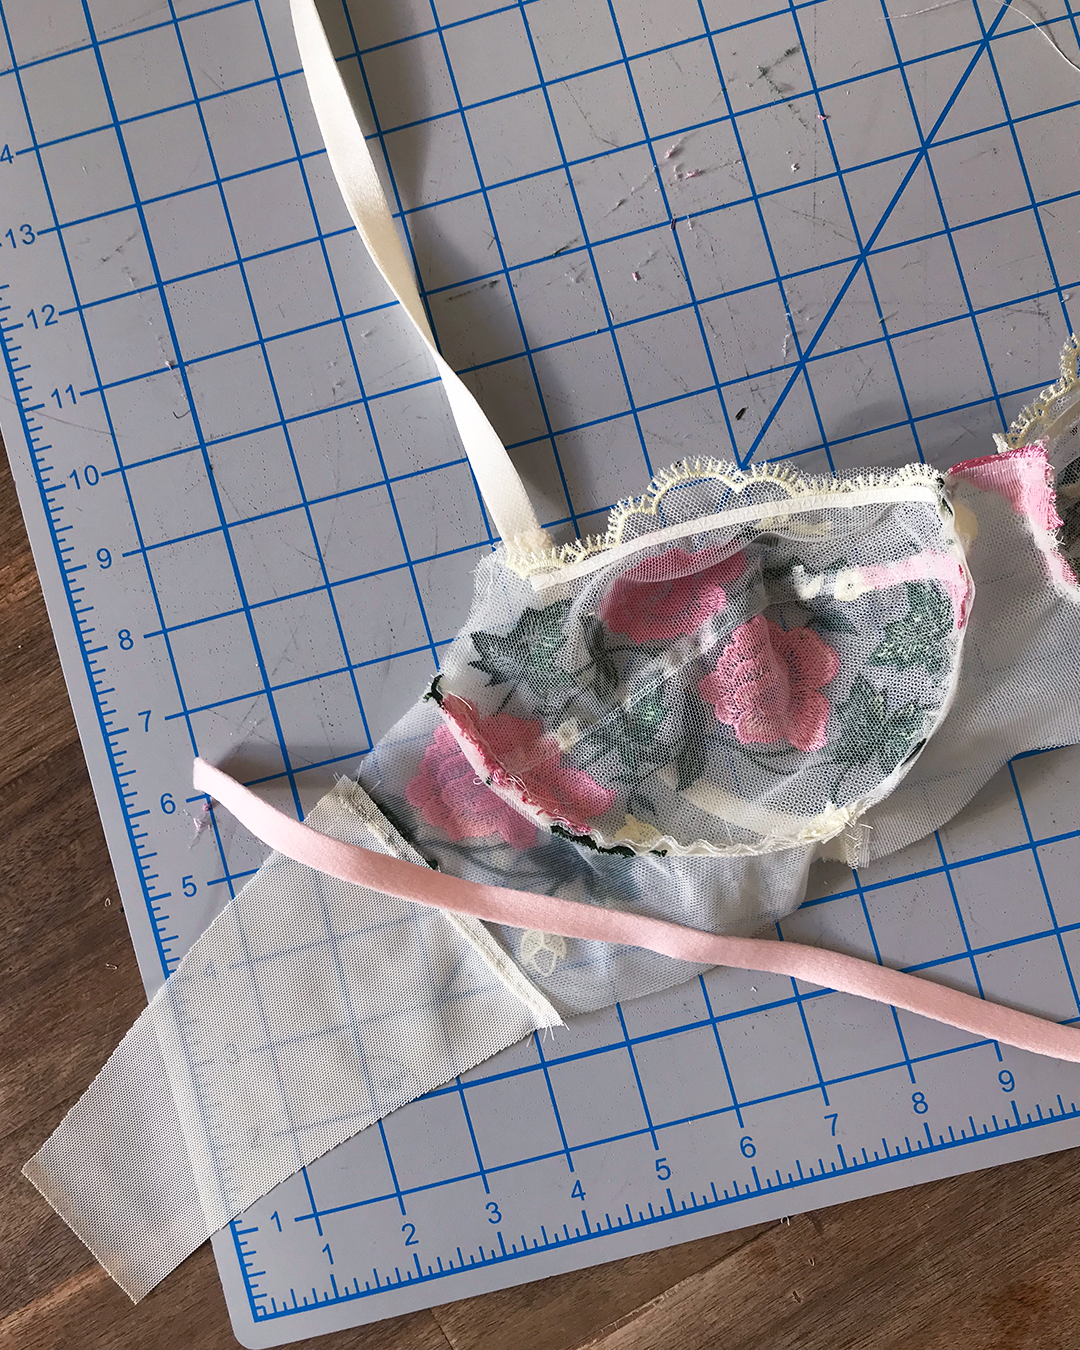
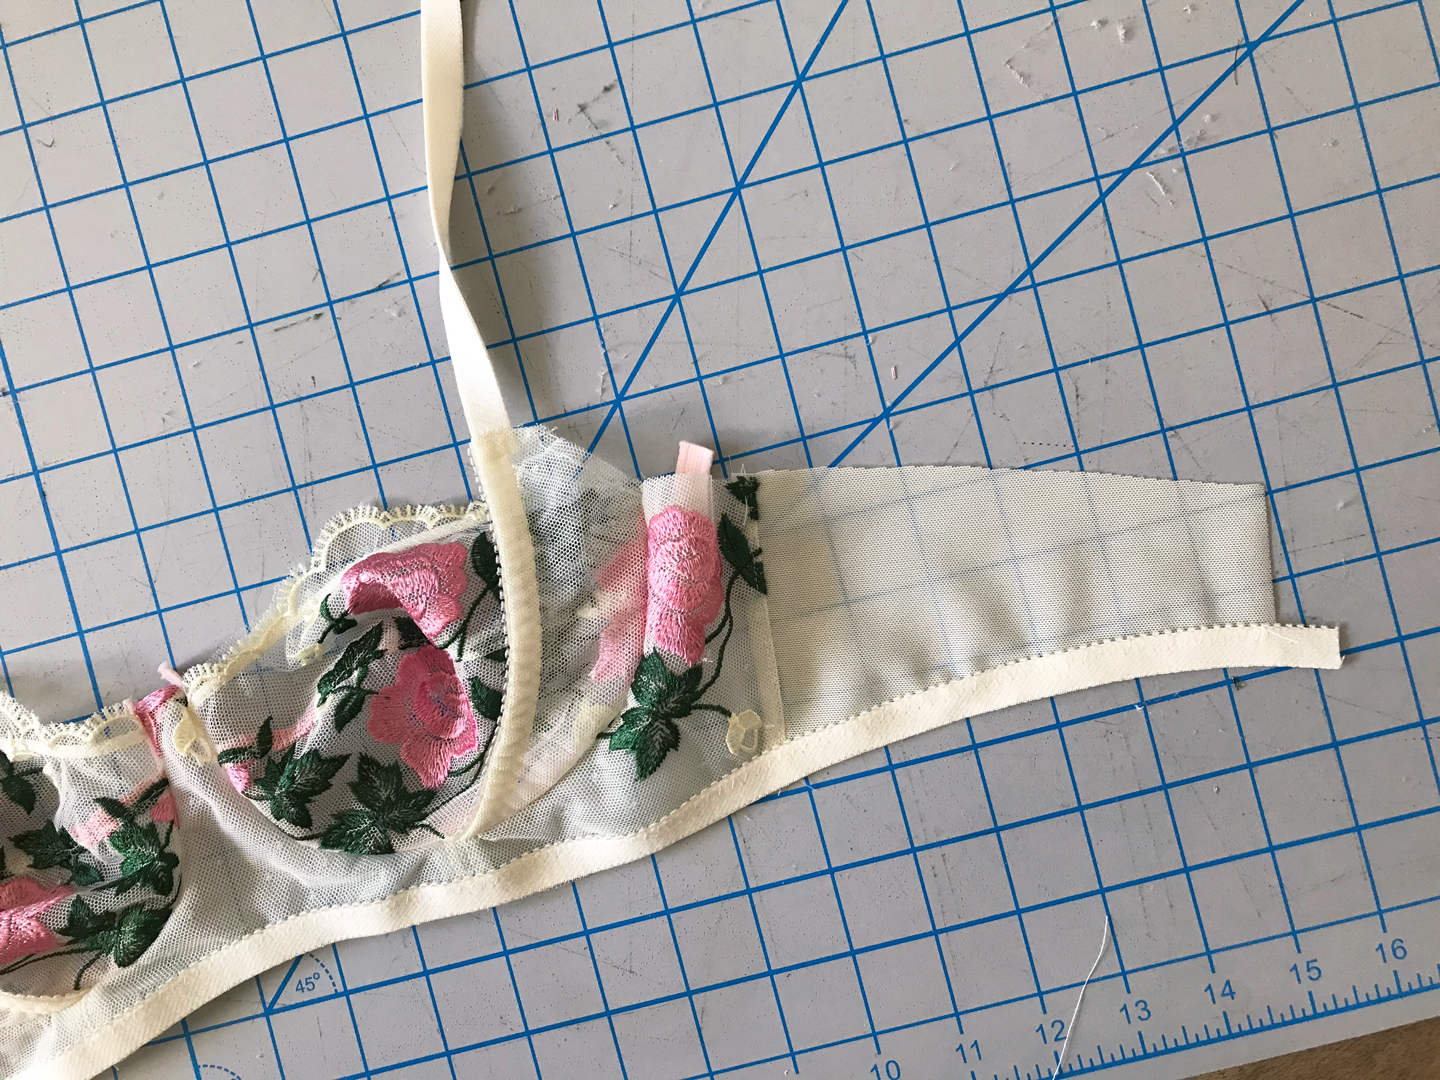
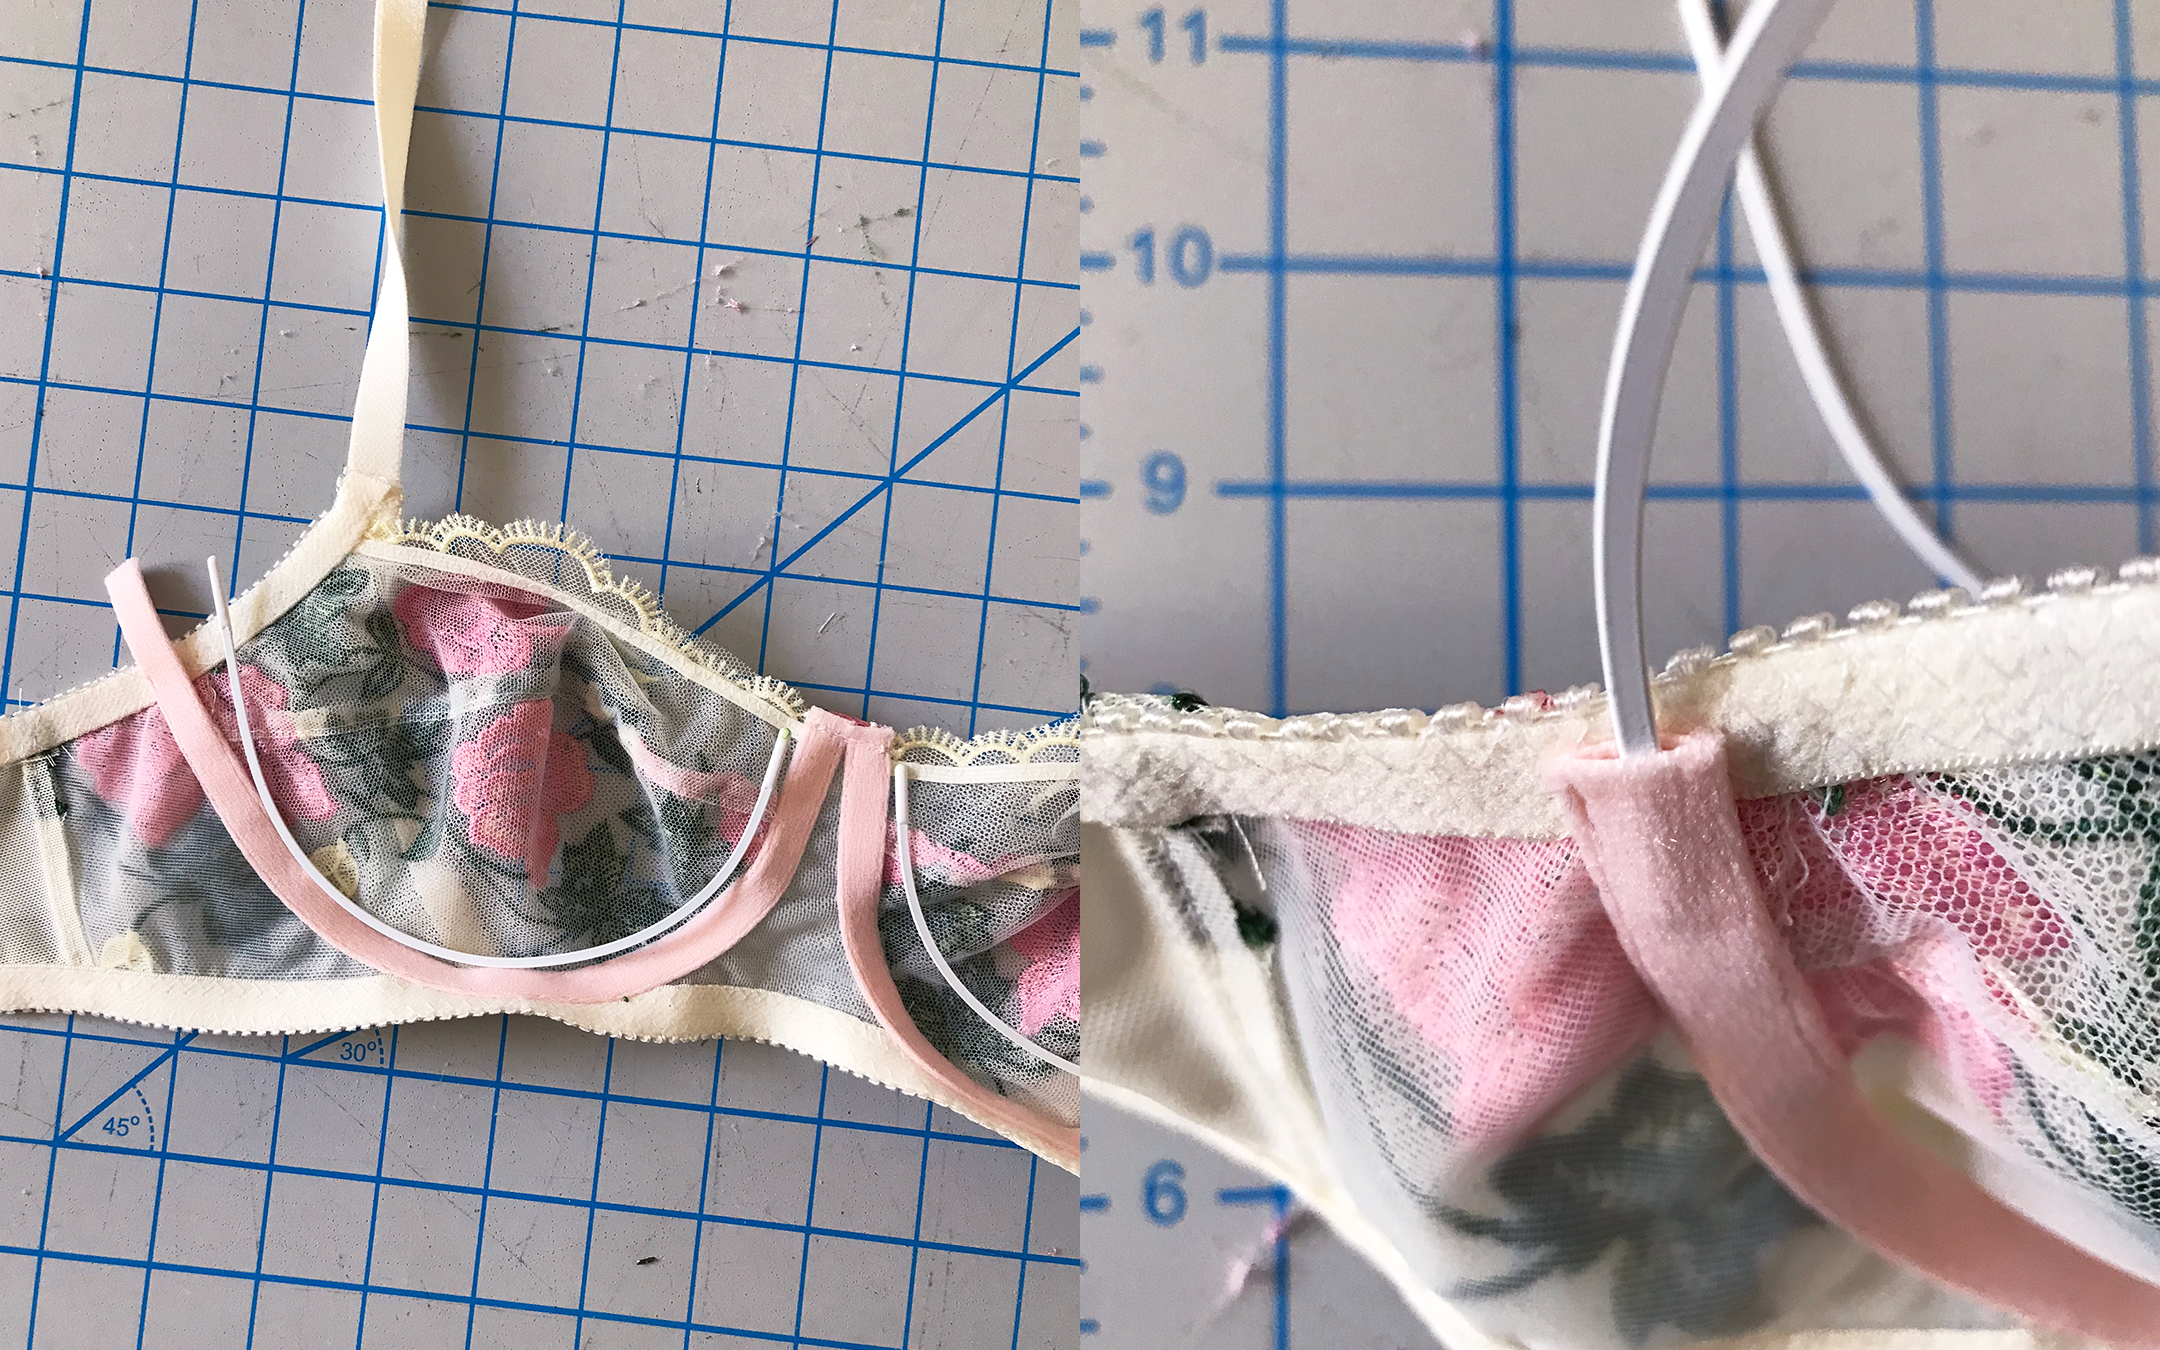
Underarm Elastic
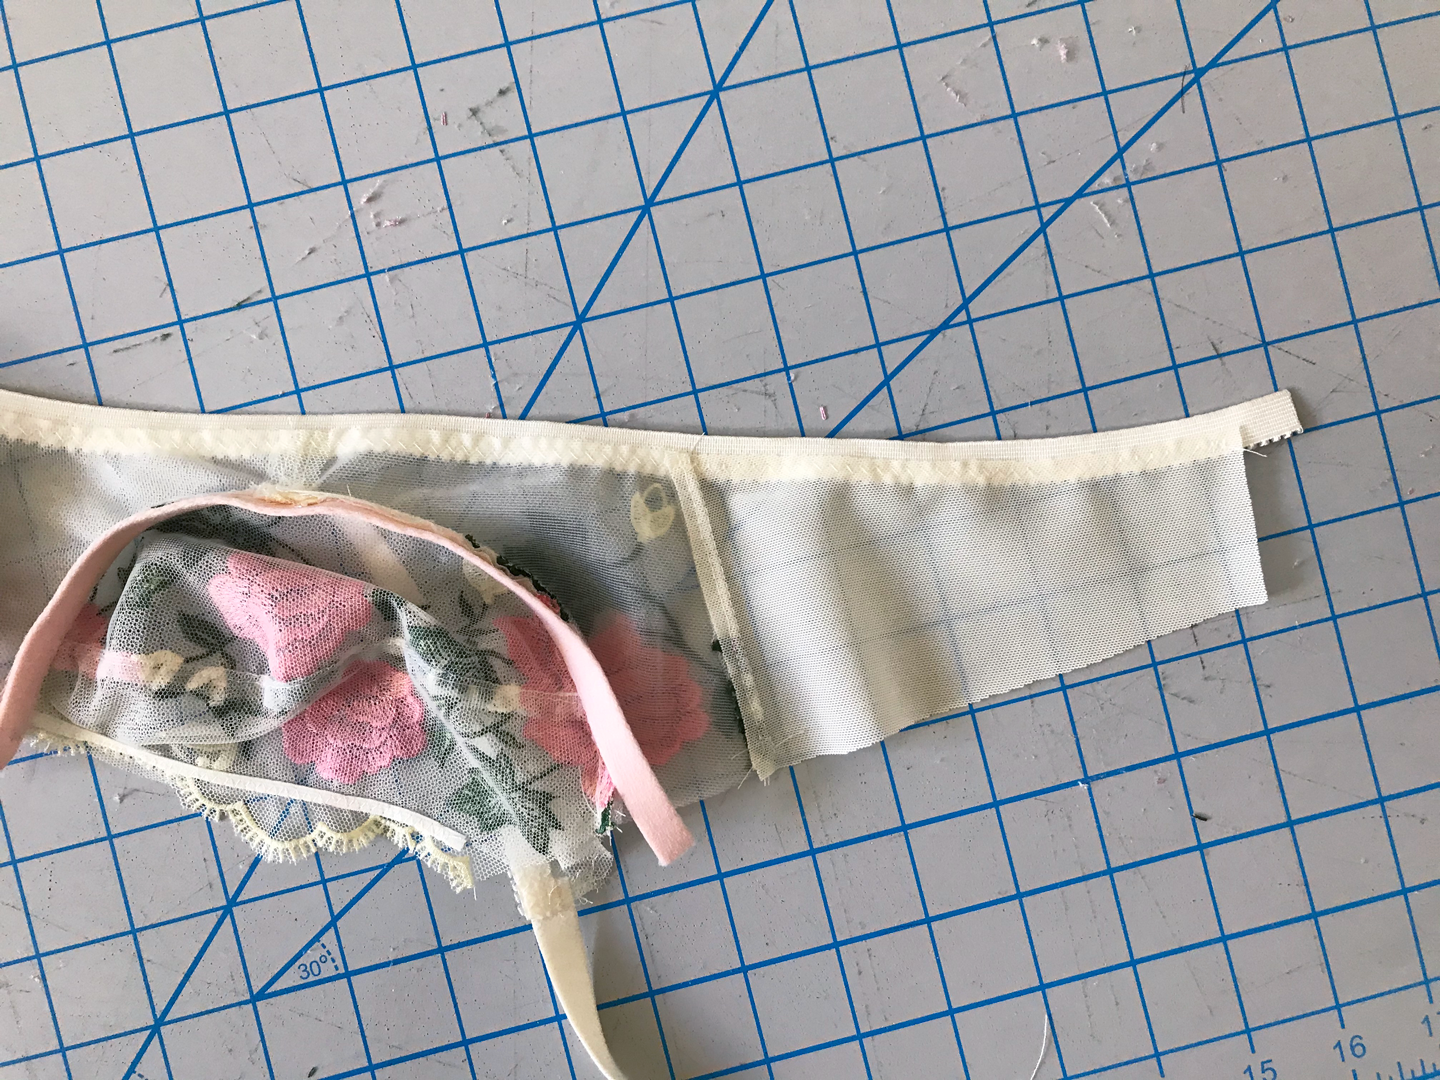
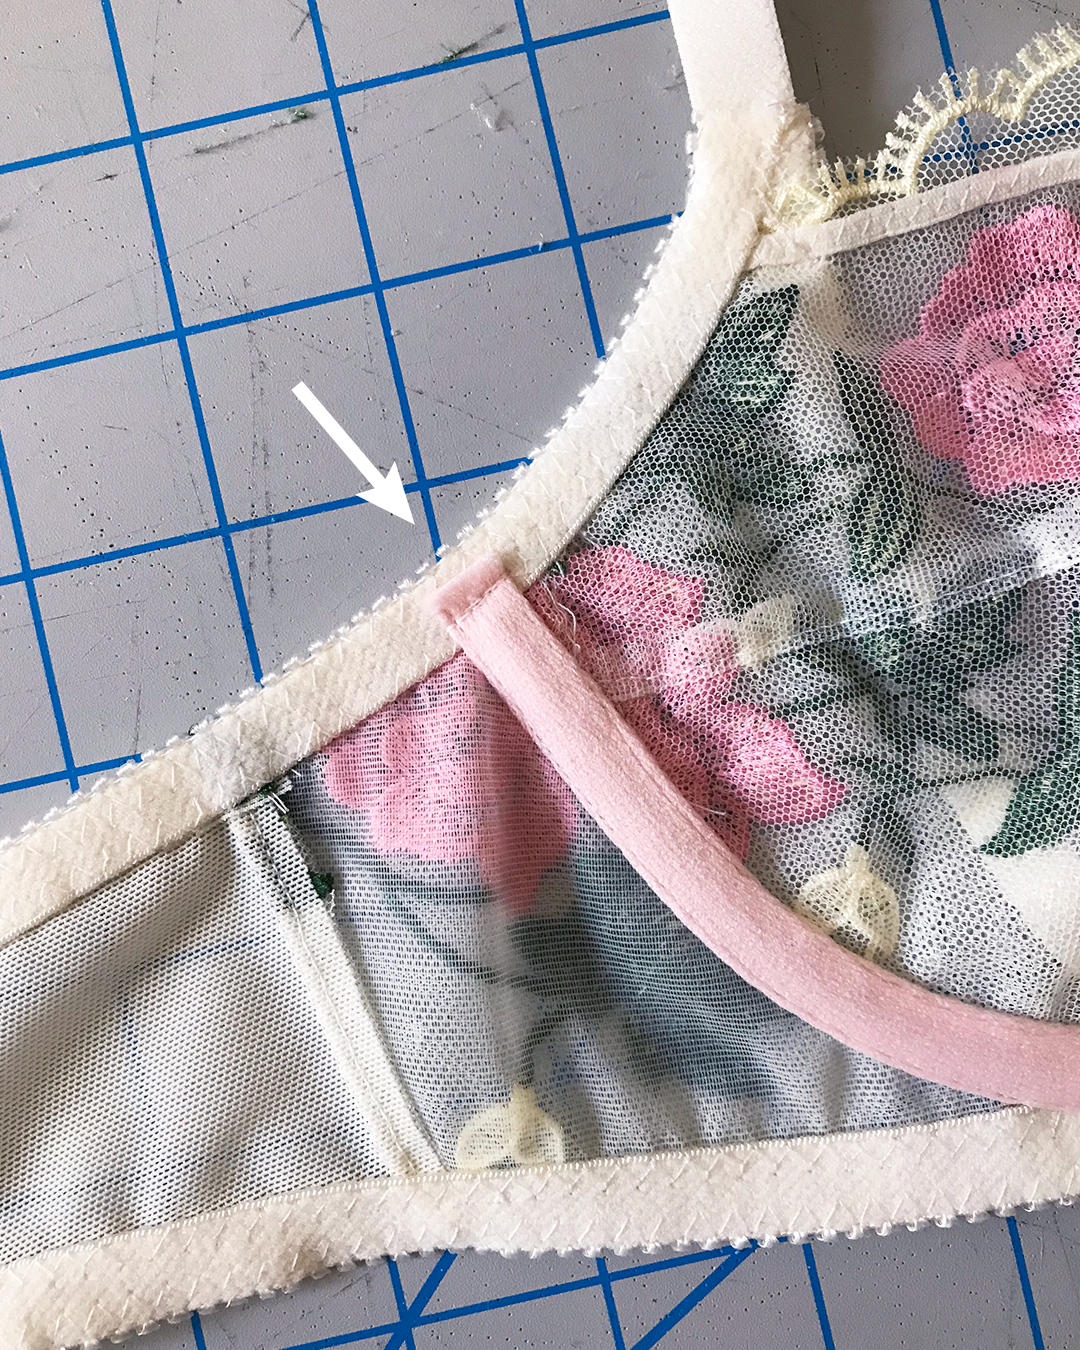
To apply the underarm elastic, line up the ⅜” picot elastic top edge of the back band, like so.
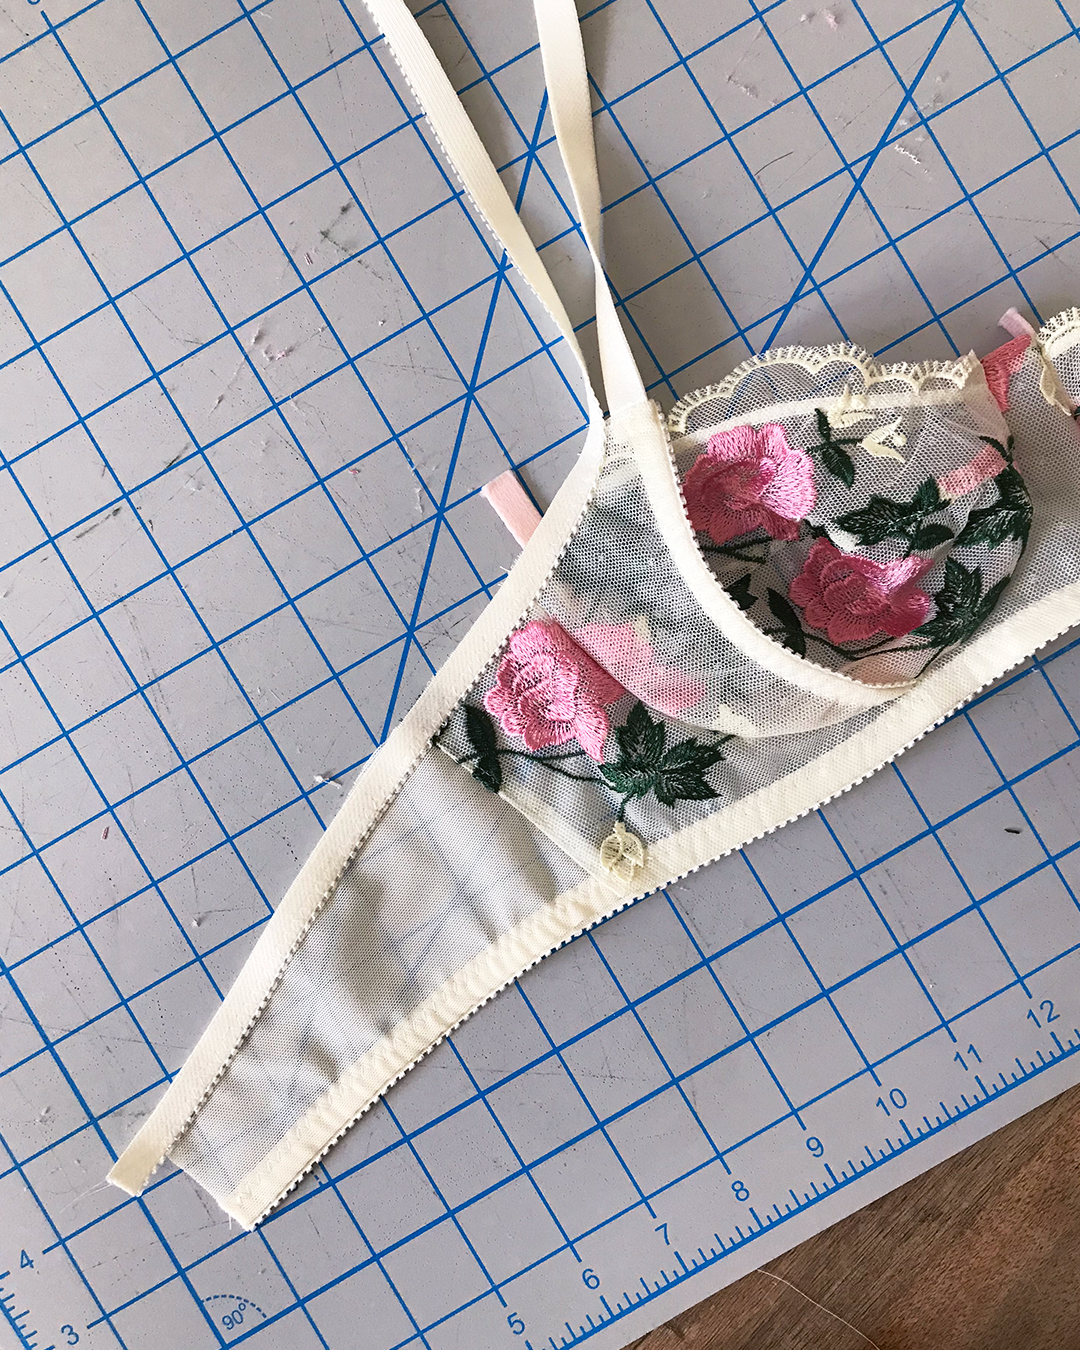
Notice the area where the elastic crosses the channeling—this is why we left about 1” of the channeling unattached. Be careful not to catch the channeling as you are applying the first past of underarm picot elastic.
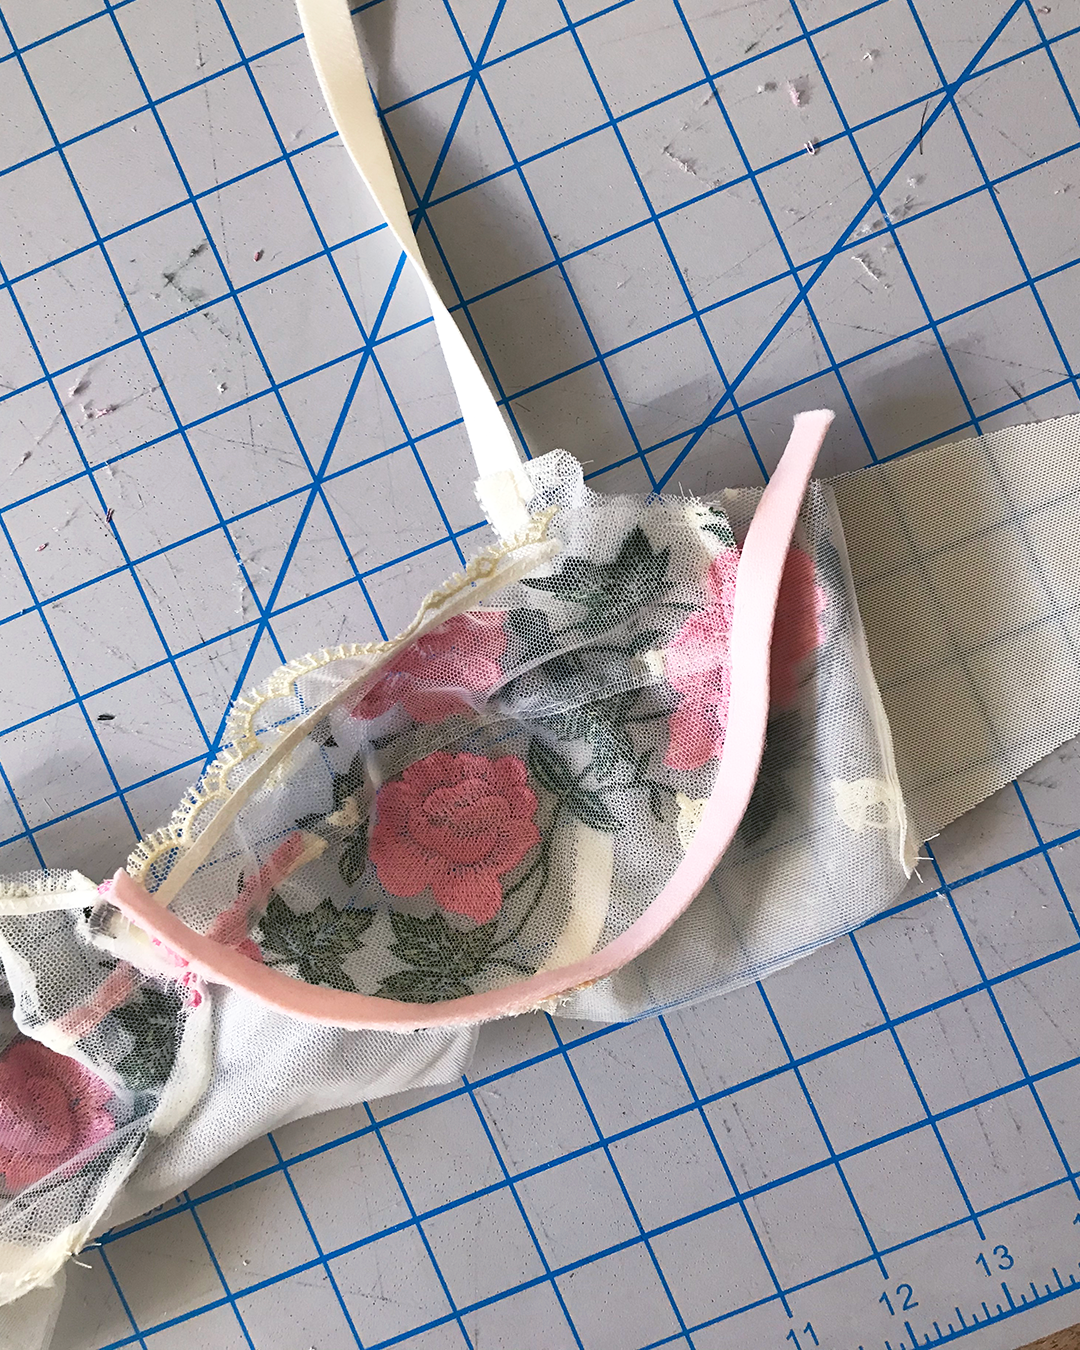
Sew the underarm elastic the same way as the underbust elastic.
Remember to trim away the excess in between your two passes of zig zag stitches (I tend to forget this step!).
Repeat for the other side!

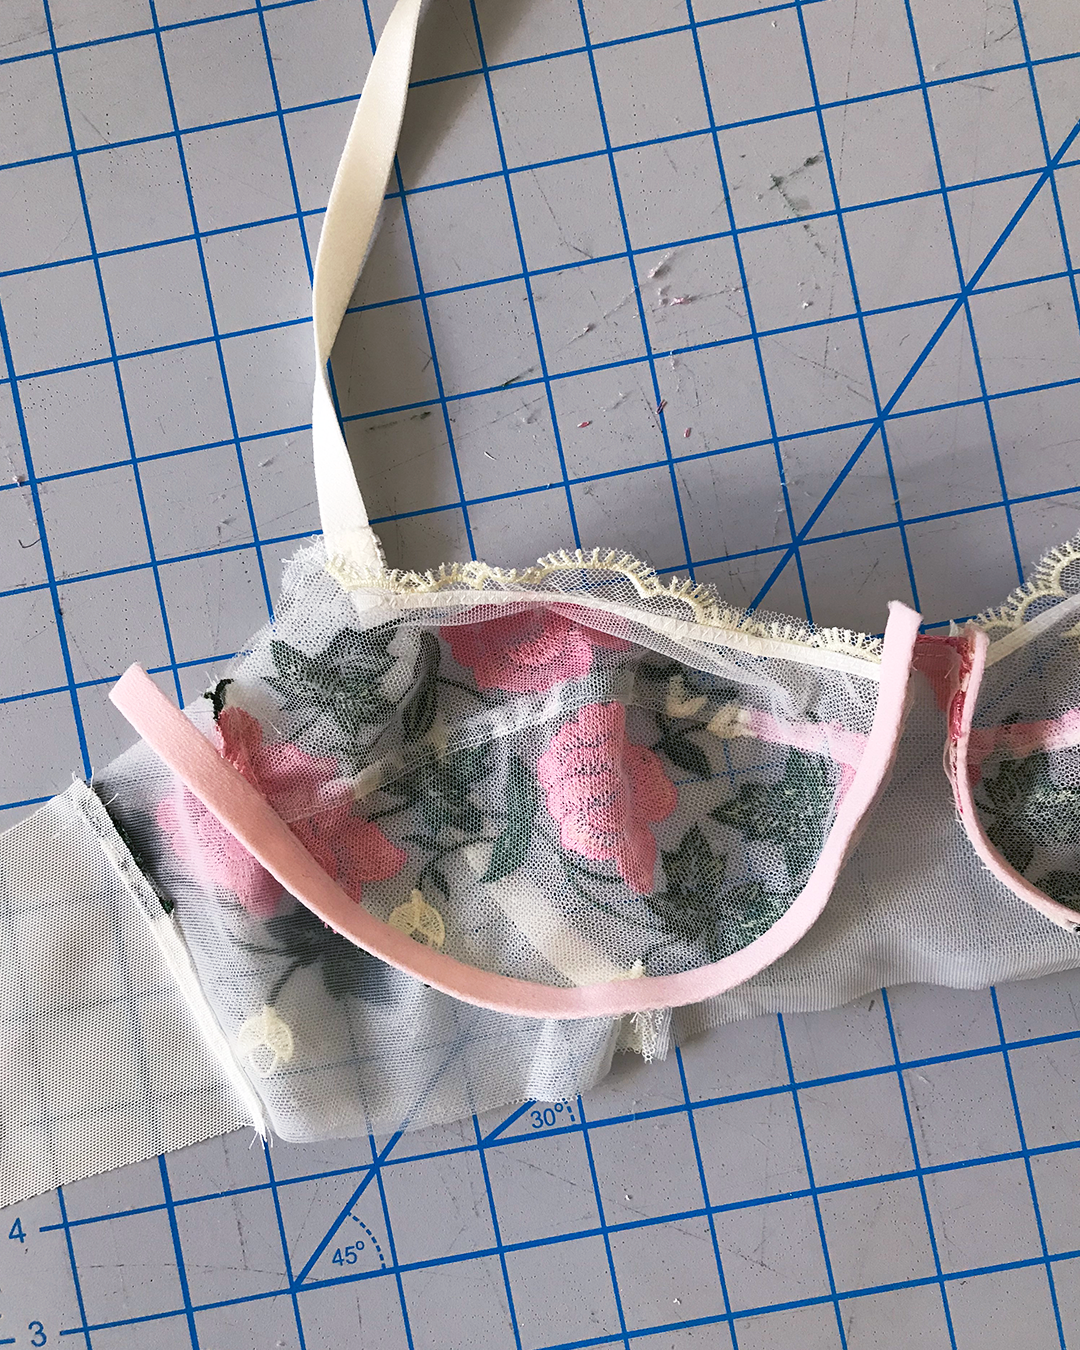
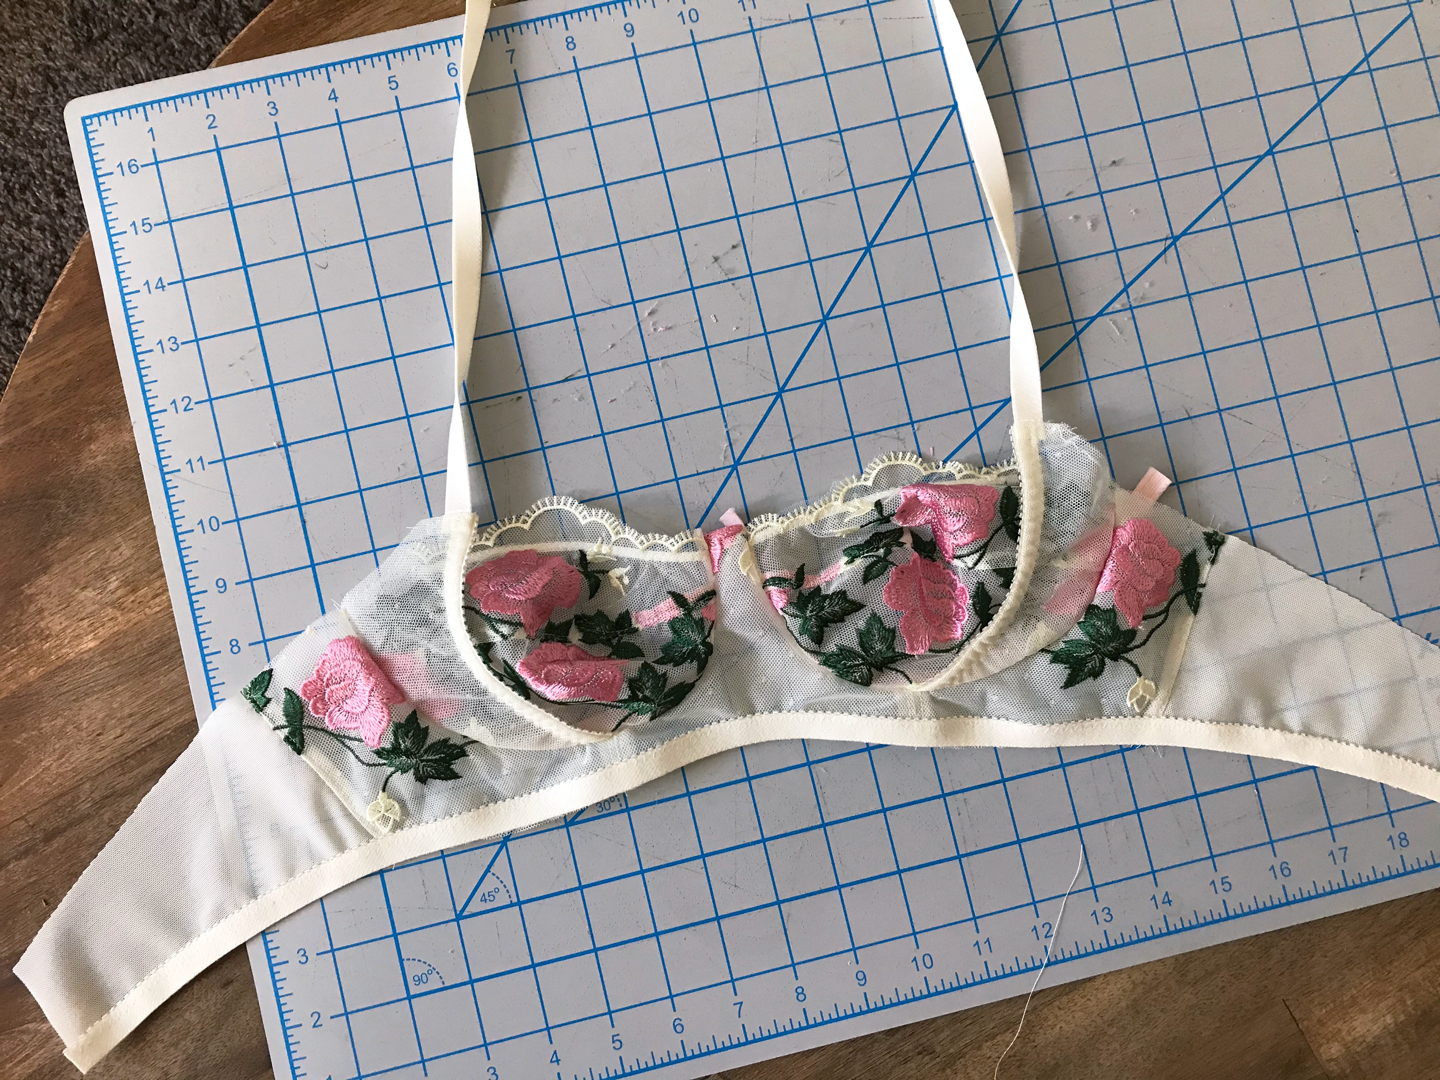
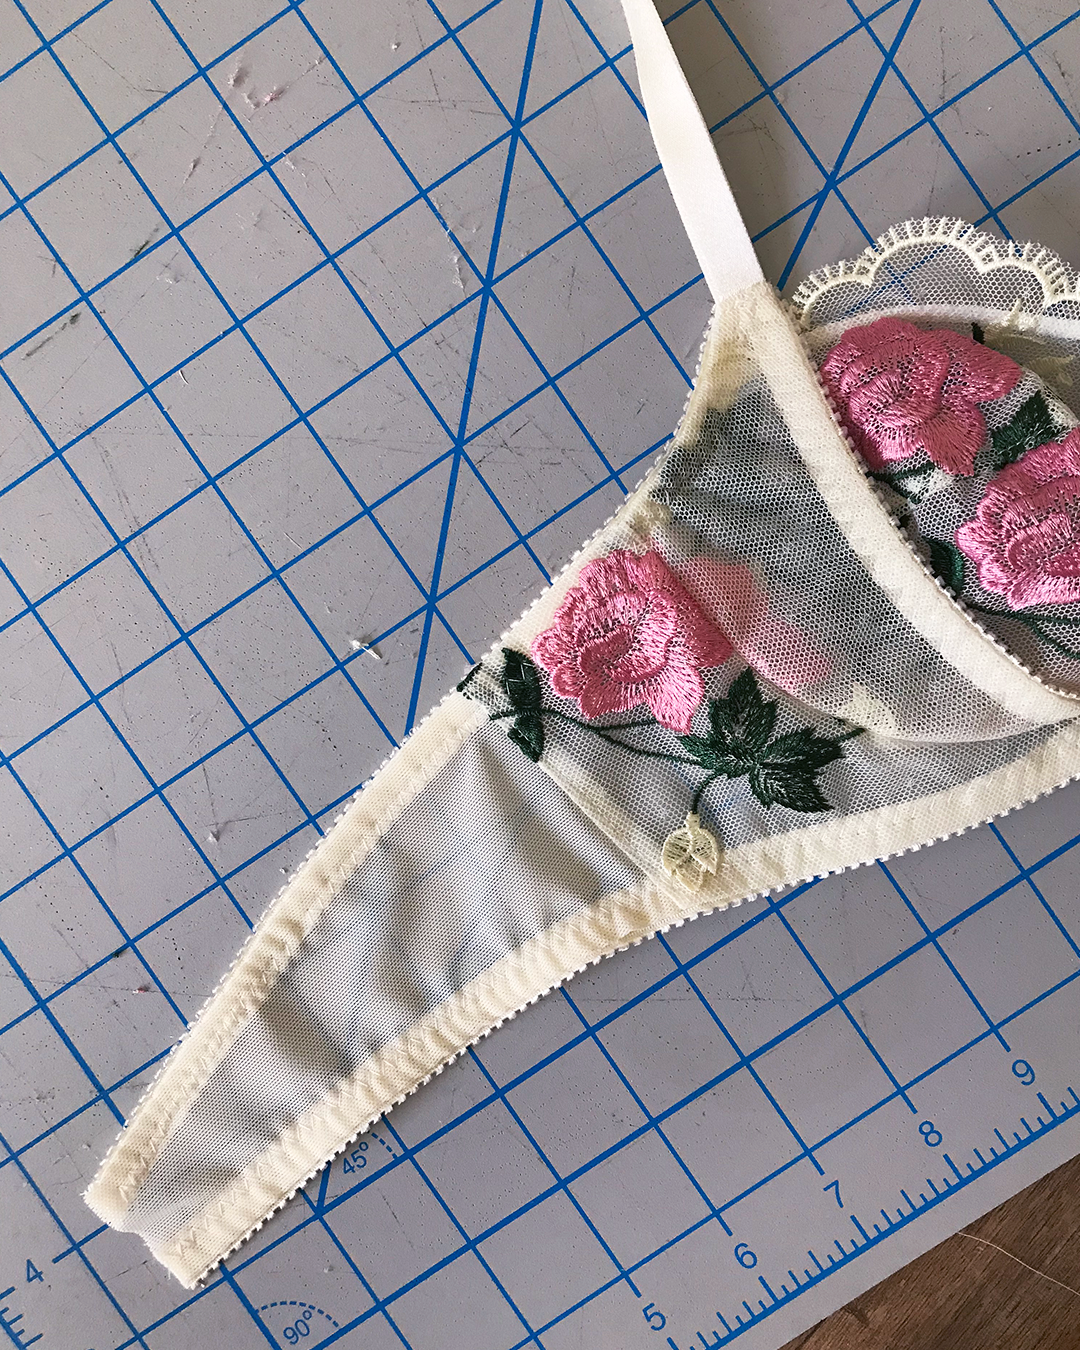
Channeling (Second Pass)
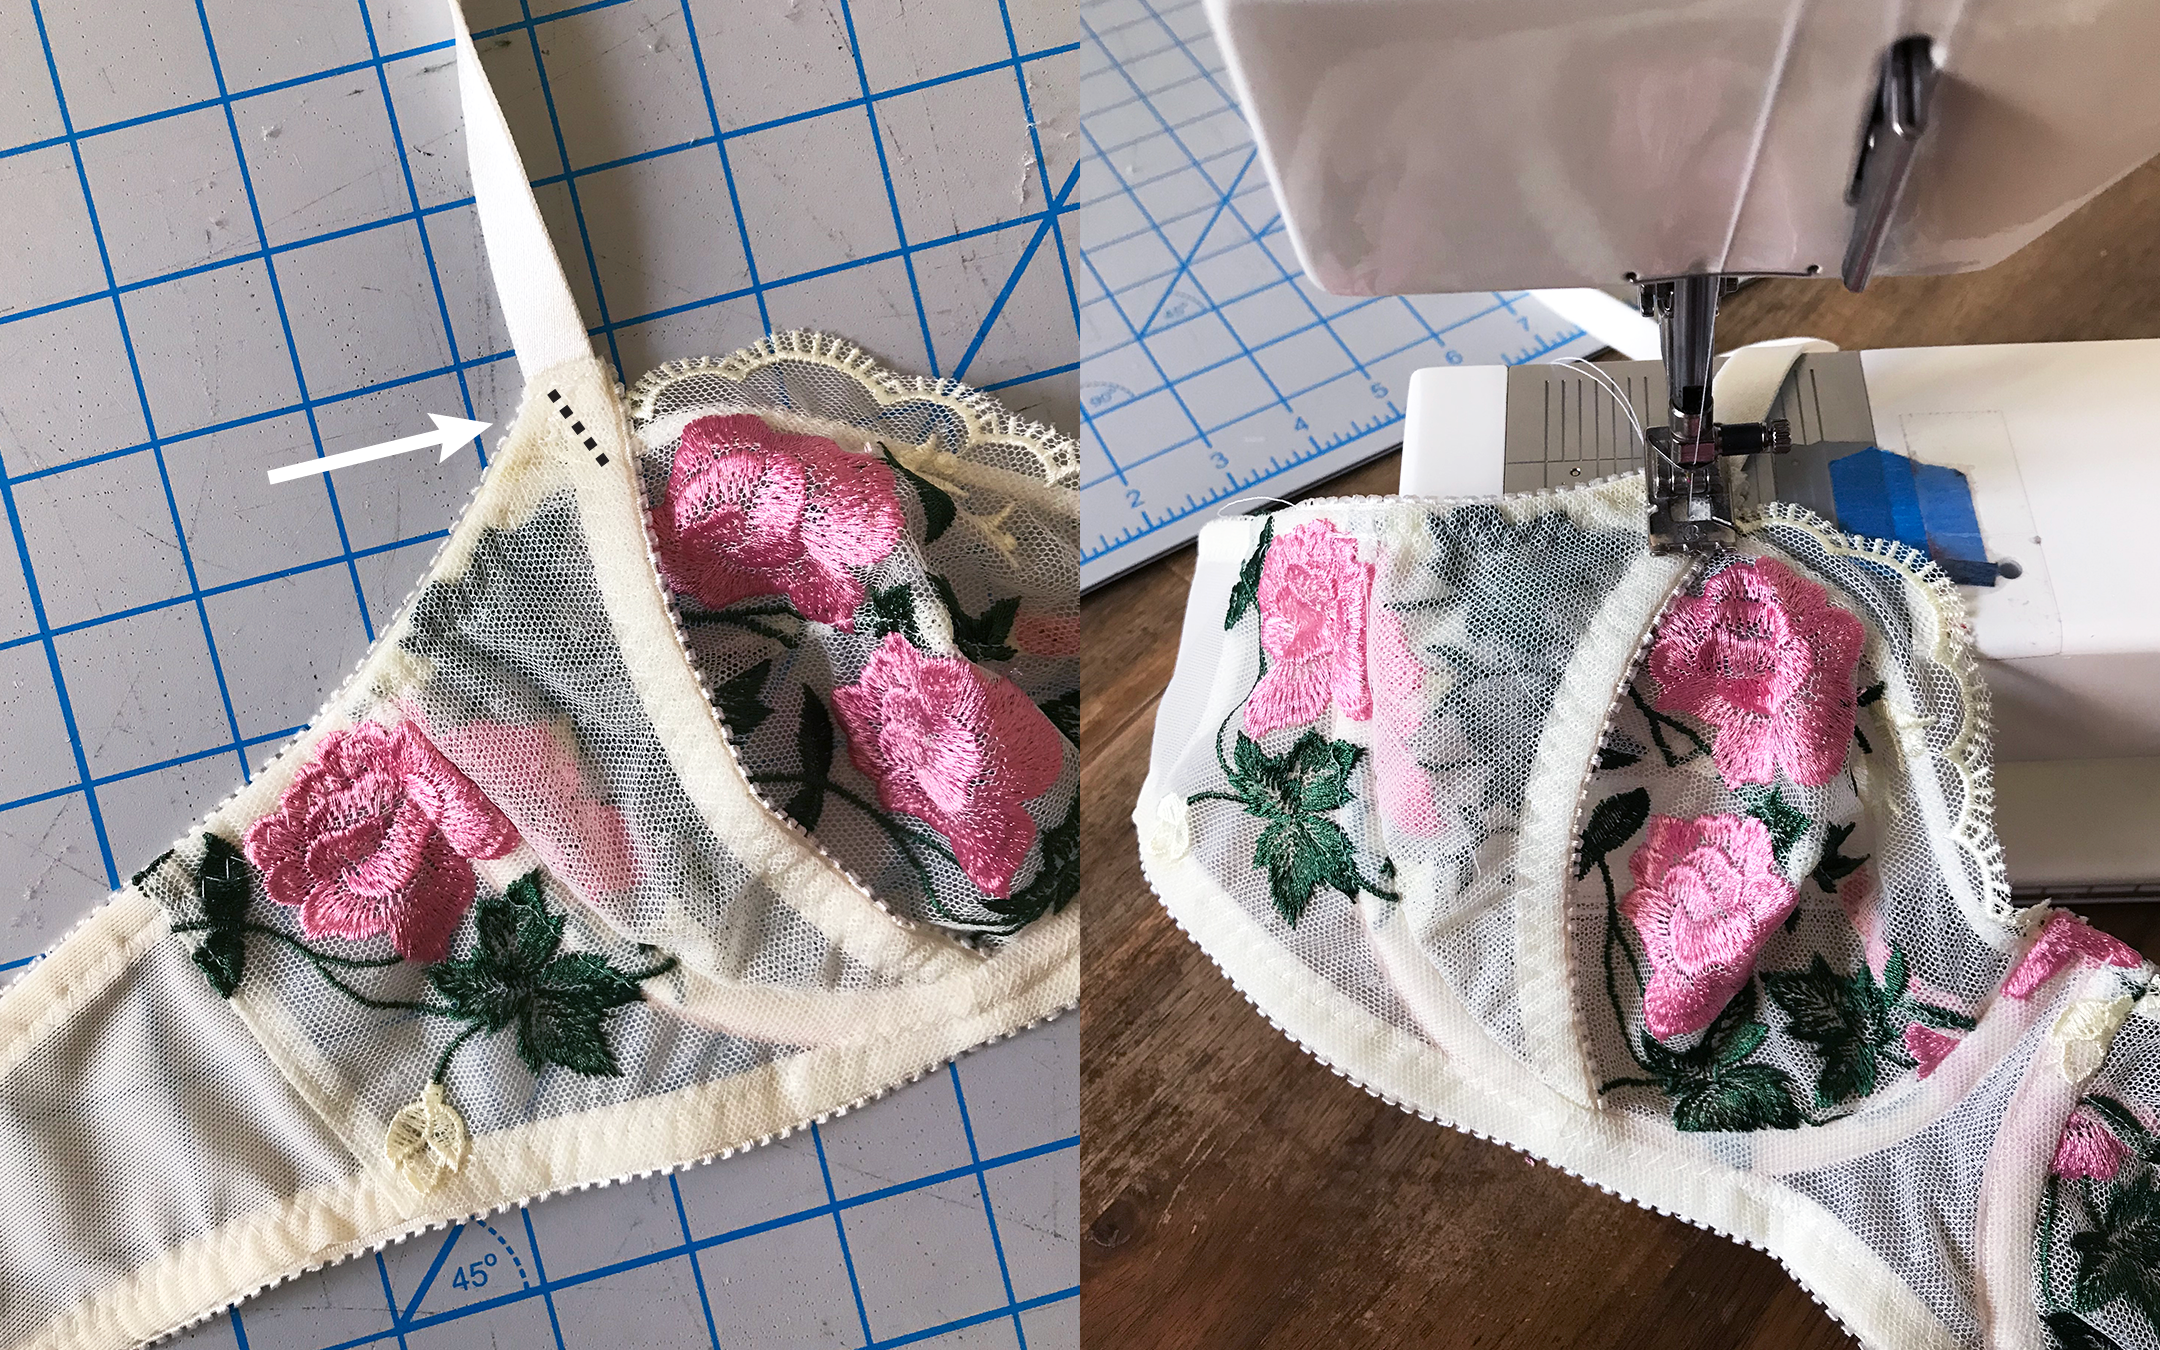
After attaching the underarm elastic, we apply a second pass of stitching on the channeling to fully secure it in place.
With the channeling facing up, stitch close to the unsecured edge, all the way around both wire lines.

Underwire
One of my favorite parts of this process—after the channeling is secured, we can prepare to insert the underwires!
First, straight stitch across the top of the channeling at center front to close this edge.
Trim off any extra channeling you have sticking out beyond the lace edge at center front.
Next, thread your underwires through the channeling, with the colored tips of the underwires point towards the center of the bra.
Don’t make the same mistake I did of threading the underwire between the channeling and the fabric layers (facepalm)—the channeling is hollow!

After threading both underwires and making sure they’re pushed all the way in, straight stitch the channeling closed at the underarm on both sides.
Tacking the Power Bar
Before we move on to the last part of the sewing process, we need to secure the powerbars to the bra cups with a small diagonal stitch.
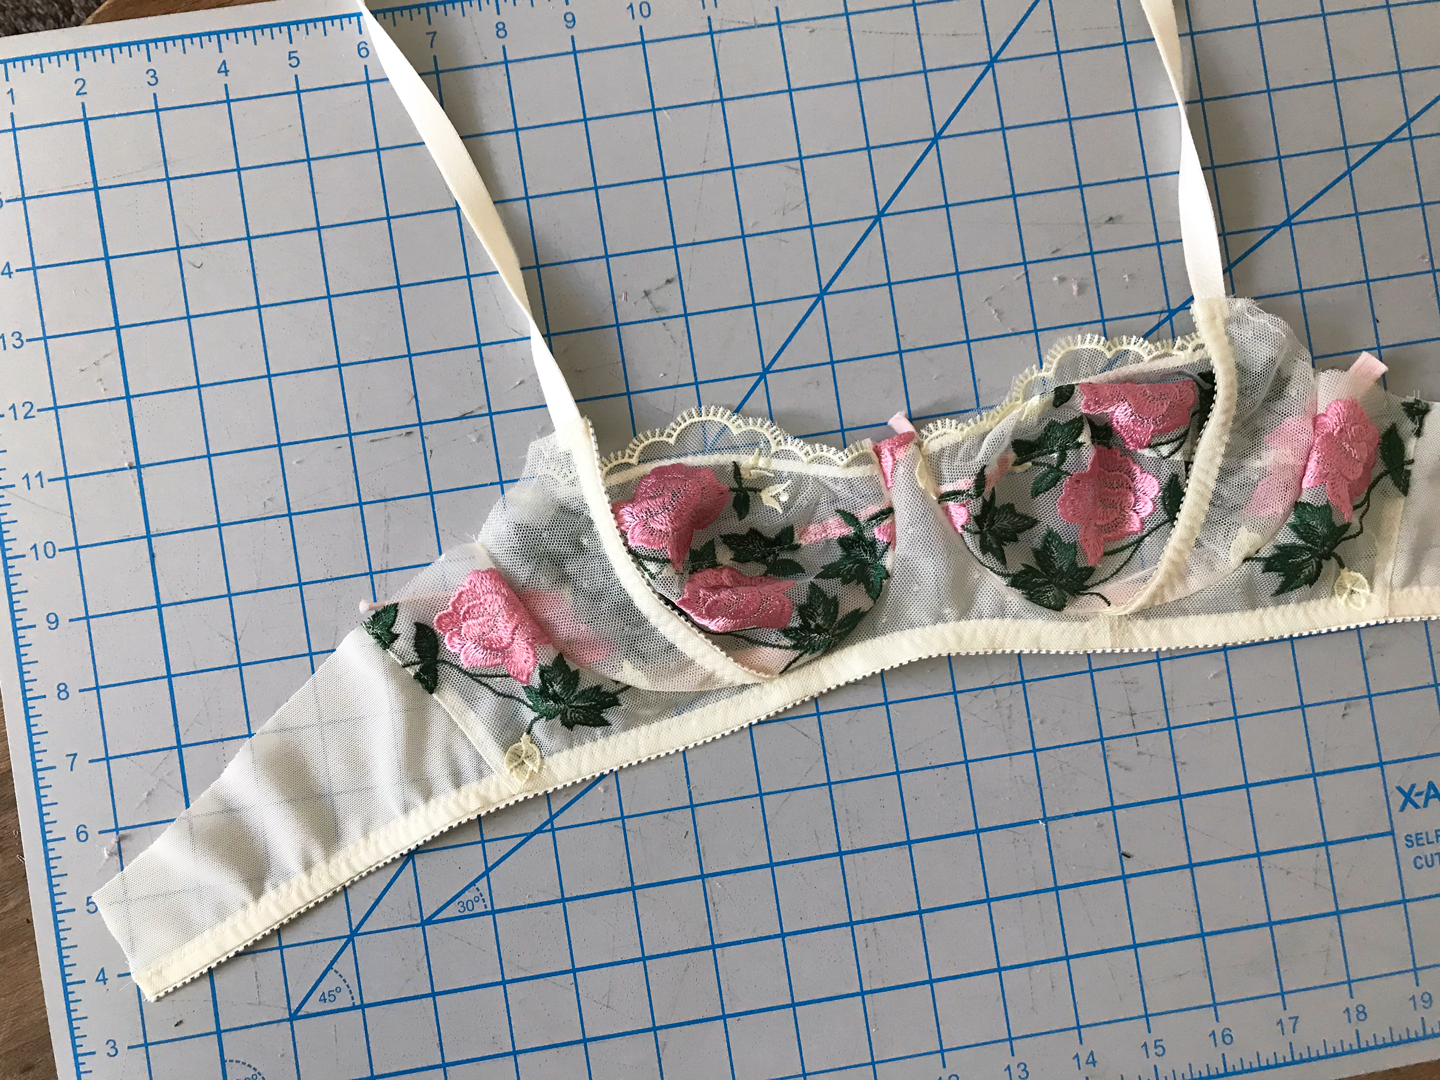
Final Thoughts
Hooray! We only have one more step before our bra is complete: attaching the hook & eye and finishing the straps.