
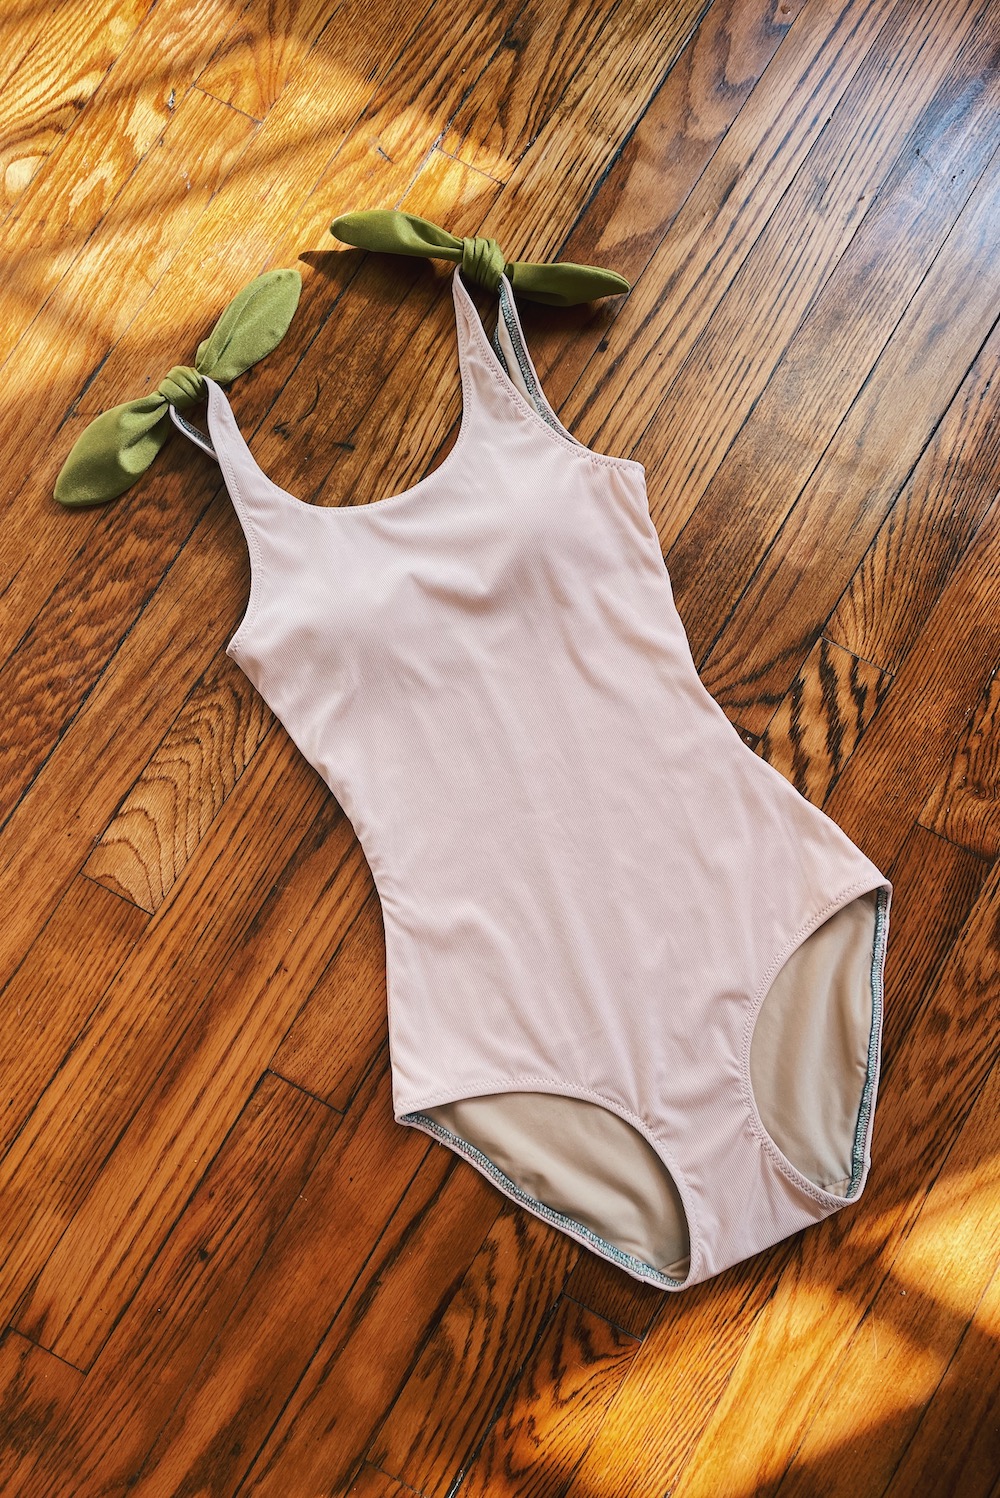
Cupcake Frosting Mairin Swimsuit with Shoulder Bows
This post contains affiliate links.
Hello!
I am kicking off my swimsuit sewing plans with a one-piece swimsuit make: a Mairin Swimsuit with removable shoulder bows.
I picked up this swimsuit pattern because of the myriad of options available. It offers a good combination of basic shapes and built-in pattern hacks.
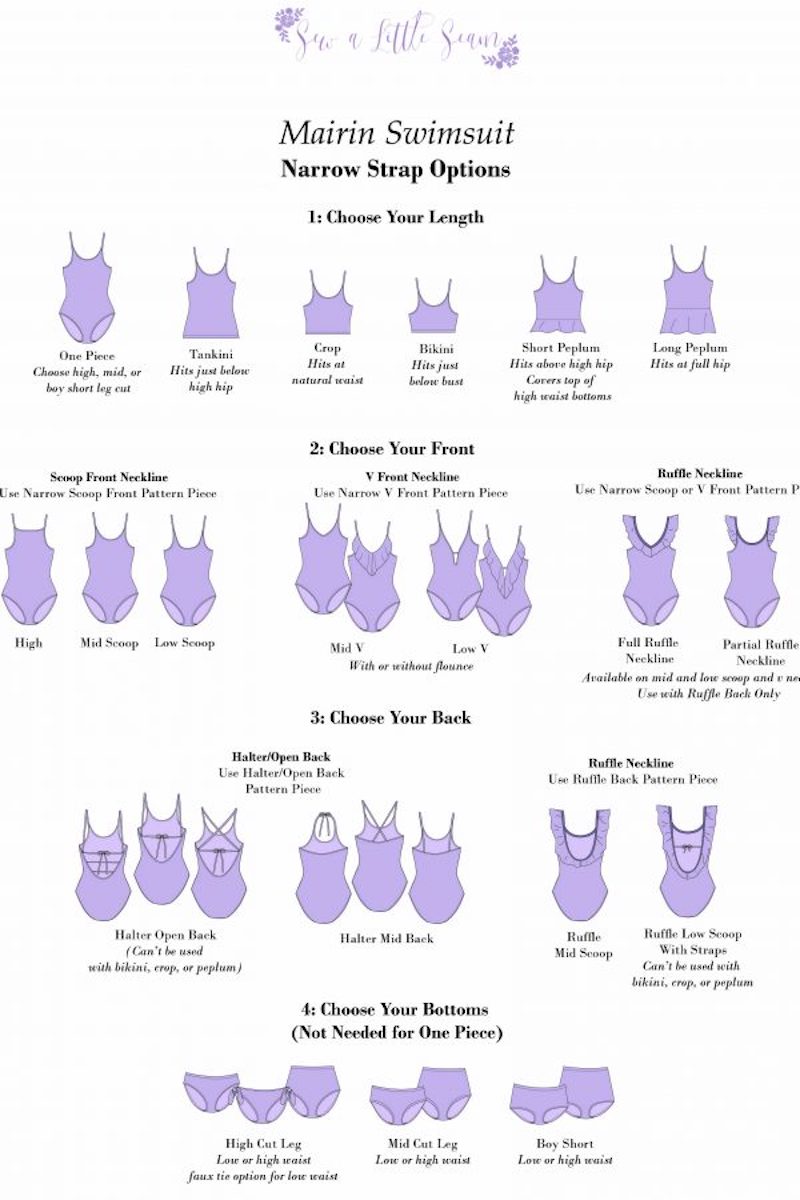

For today’s project, I opted for the one-piece swimsuit view with the following details:
- Wide Shoulder Strap
- Mid Leg Cut
- Mid Scoop Front Neckline
- Mid Scoop Back
I think this shape is very classic and easy to wear. Once I nail the fit, it will serve as a swimsuit block for all sorts of pattern hacking.
Speaking of fit, one of my greatest fit challenges when it comes to one-piece swimsuits is my torso length. I don’t own a one-piece swimsuit from RTW because the swimsuit length for my size is often hilariously too short.
I am anticipating that I will need to lengthen the Mairin swimsuit pattern, but I am making this pattern without any changes to the length because it it will serve as a sample size for a few other people. (Mainly I need a set point from which to gauge how much to shorten and lengthen the pattern for different people).
Let’s jump in.
Cutting
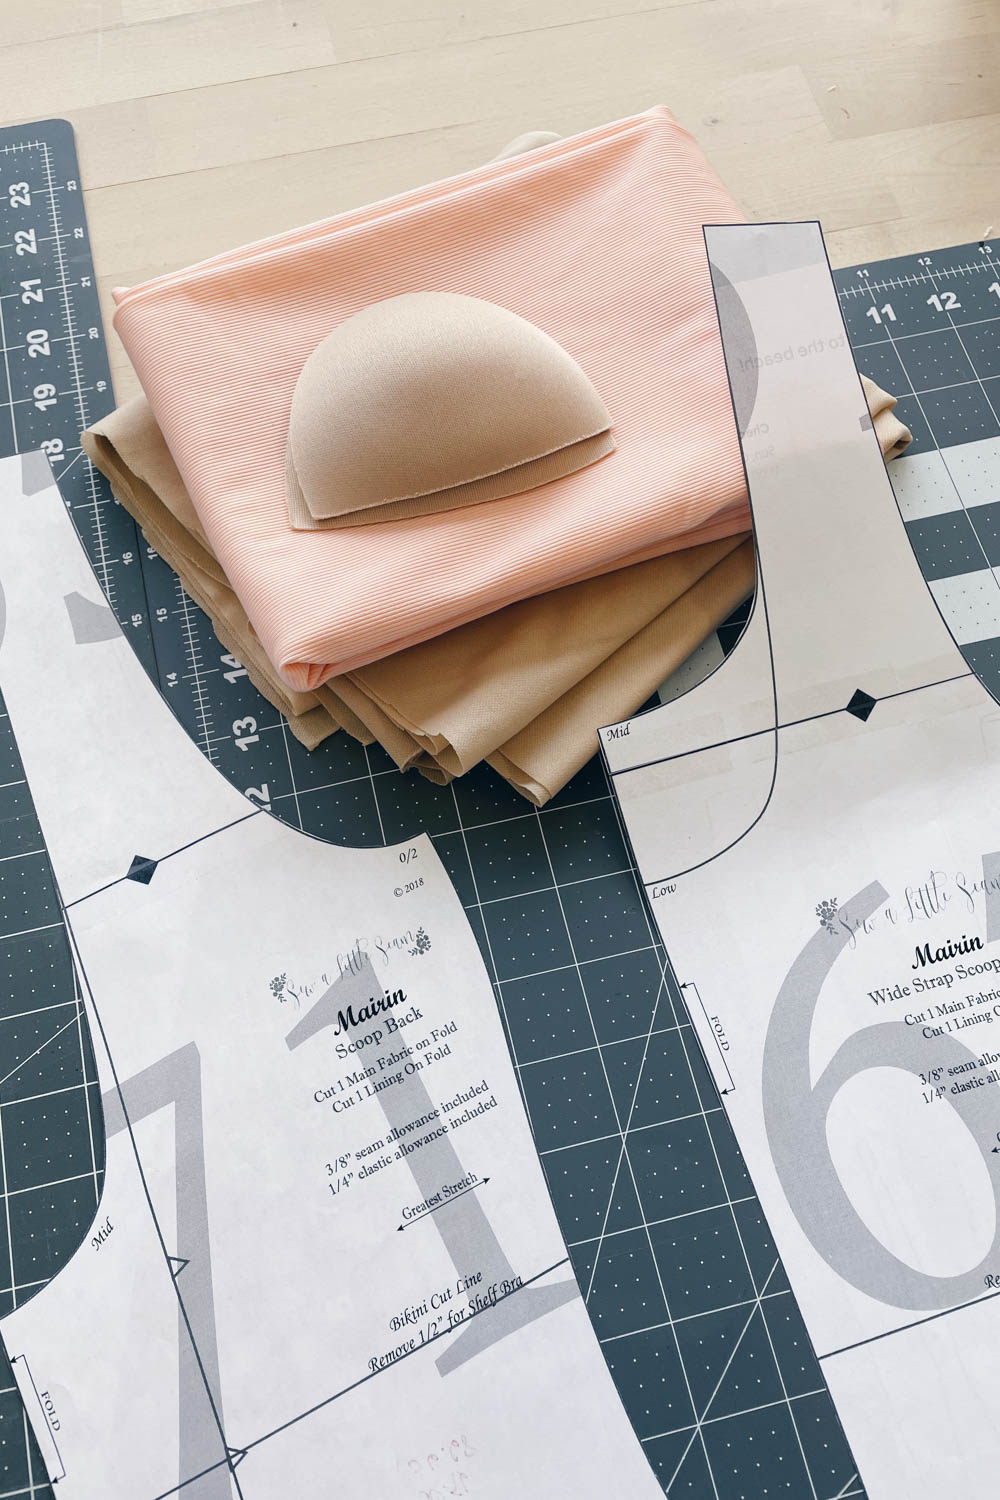
For this project, I am using the following materials:
- Cupcake Frosting Ribbed Swim Fabric for the Self
- Pear Glossy Charmeuse Swim Fabric for the Contrast Bows
- Beige Nylon Swimwear Lining Fabric
- Pair of preformed/premoulded foam cups (from my personal stash)
- 1/4″ Rubber Swim Elastic
All fabrics and elastic are from Tailor Made Shop. (Note: some fabrics may be sold out now.)

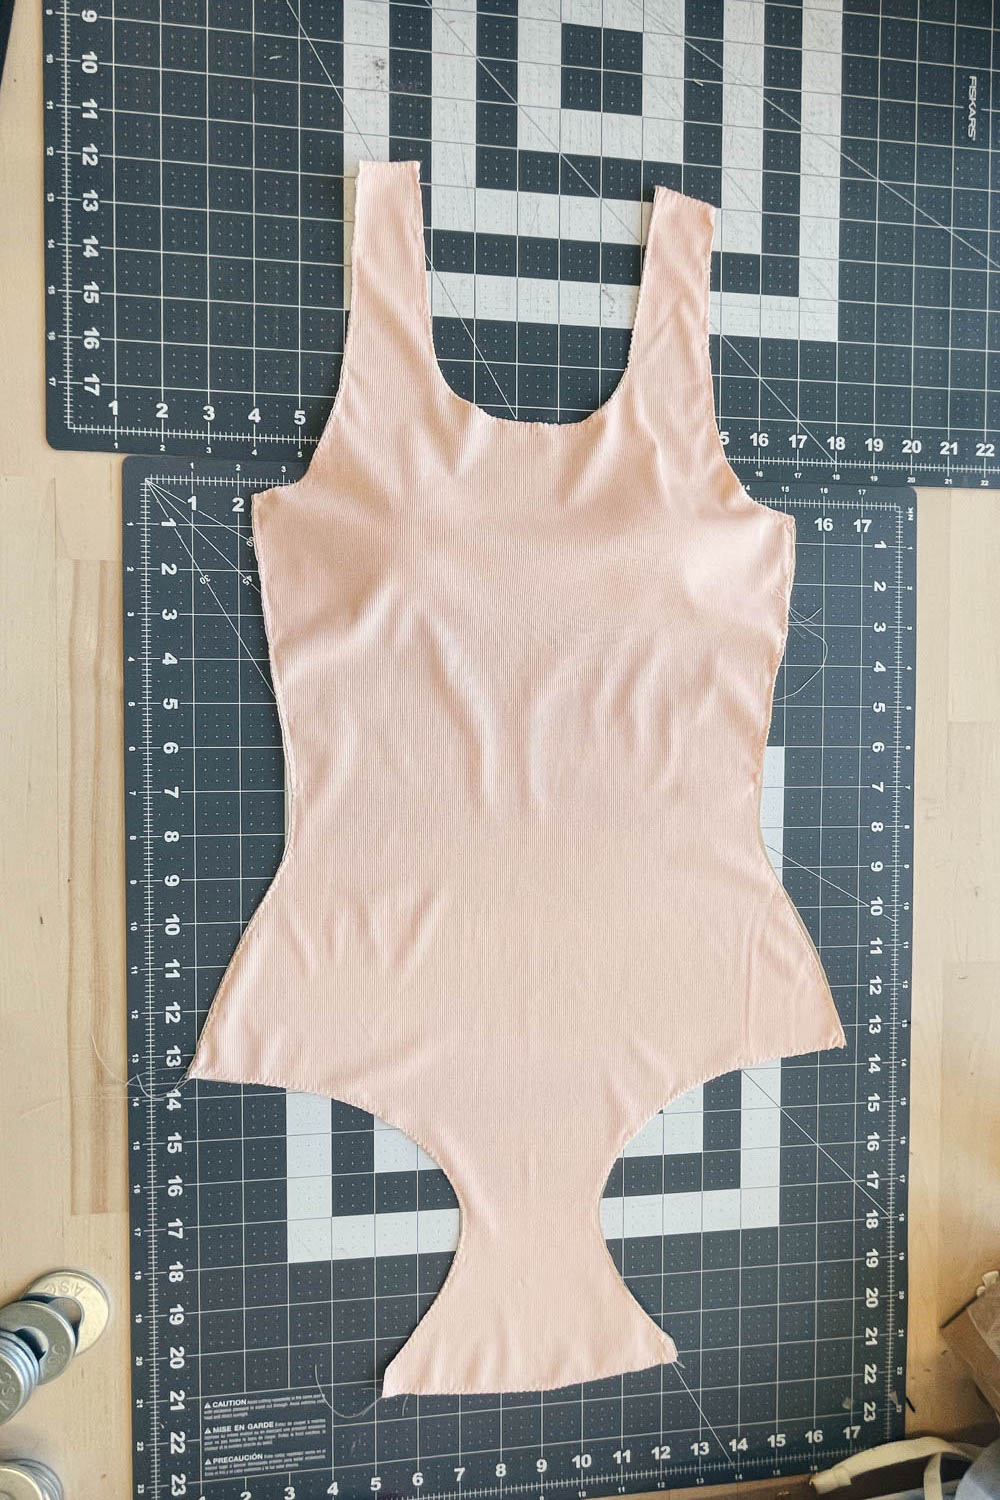
Cutting the swimsuit back from Cupcake Frosting Ribbed Swim Fabric. 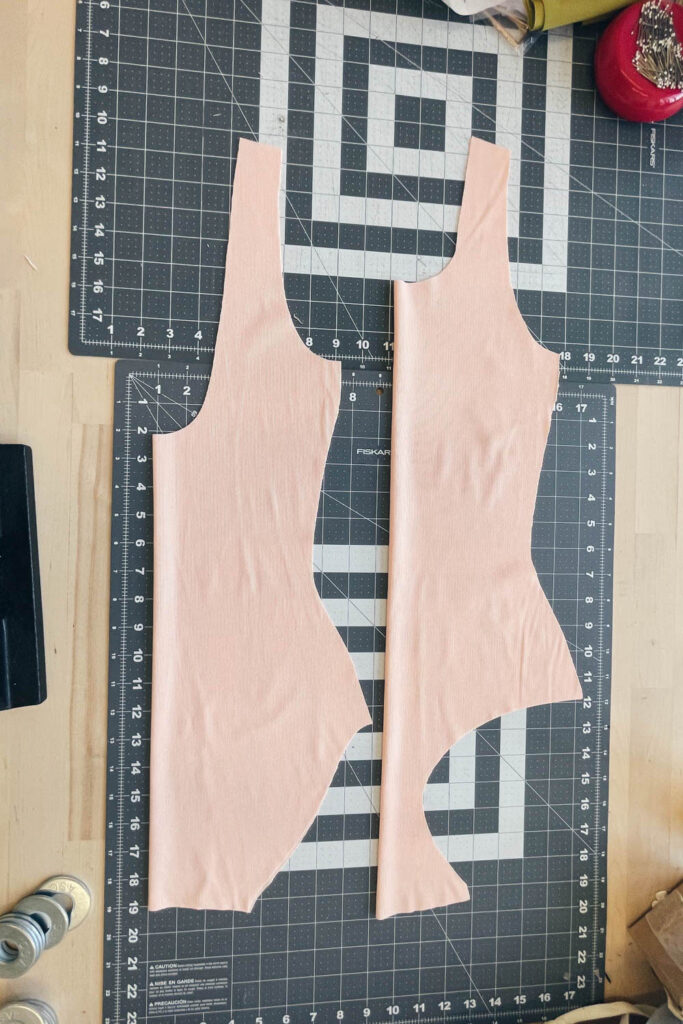
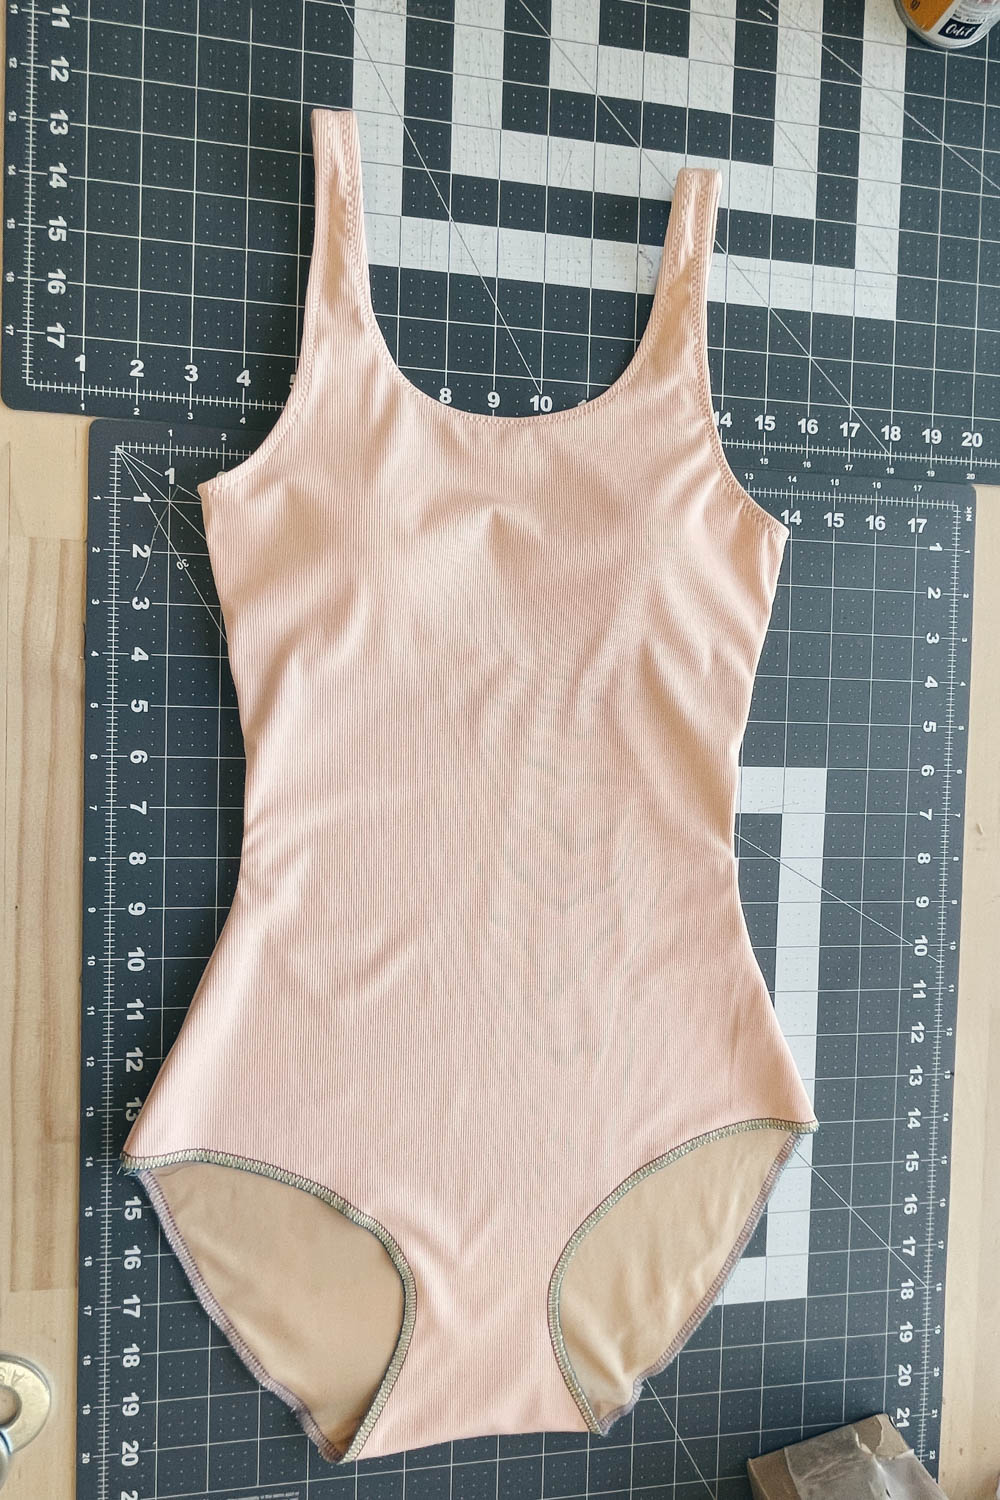
Swimsuit Front + Back in Cupcake Frosting Ribbed Swim Fabric.
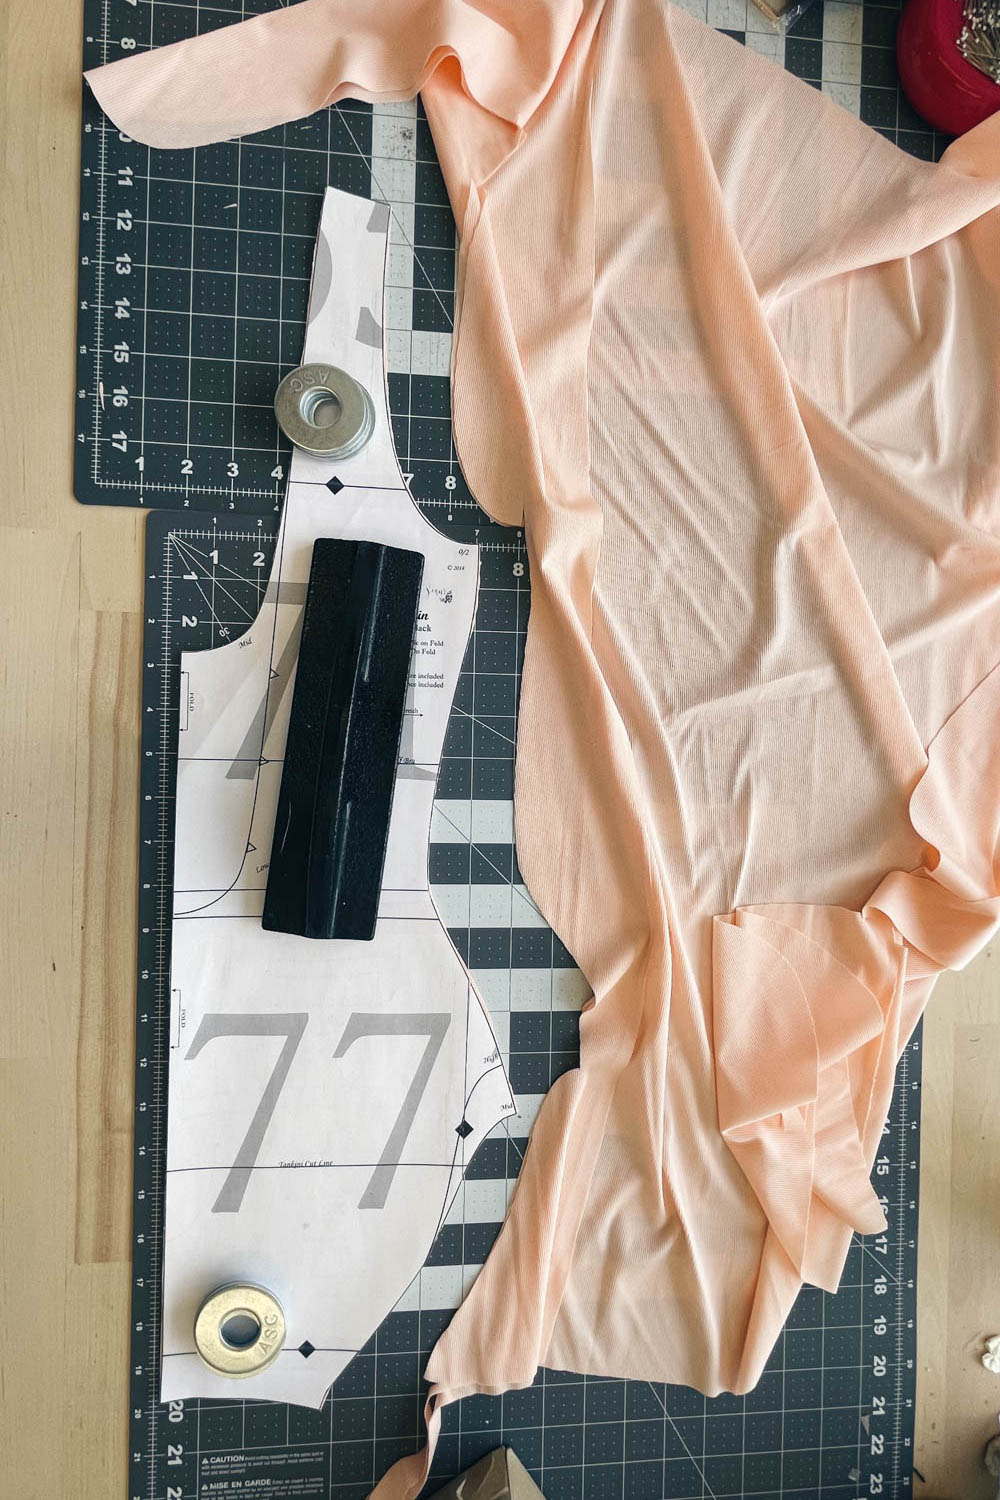

For the main fabric, I cut one Swimsuit Front and one Swimsuit Back from the Cupcake Frosting Ribbed Swim Fabric.
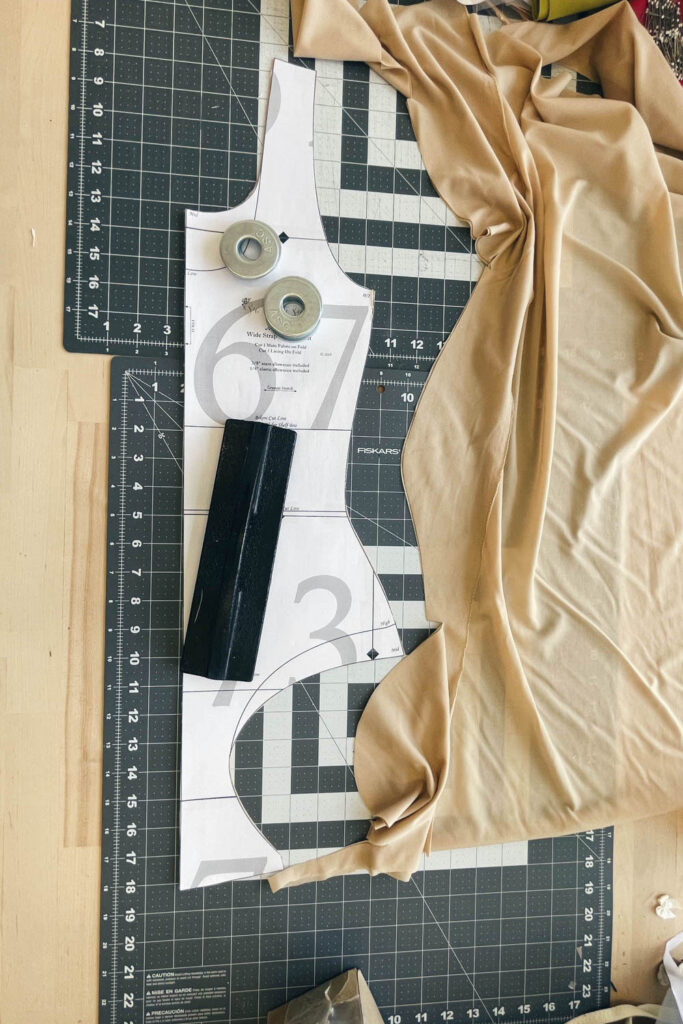
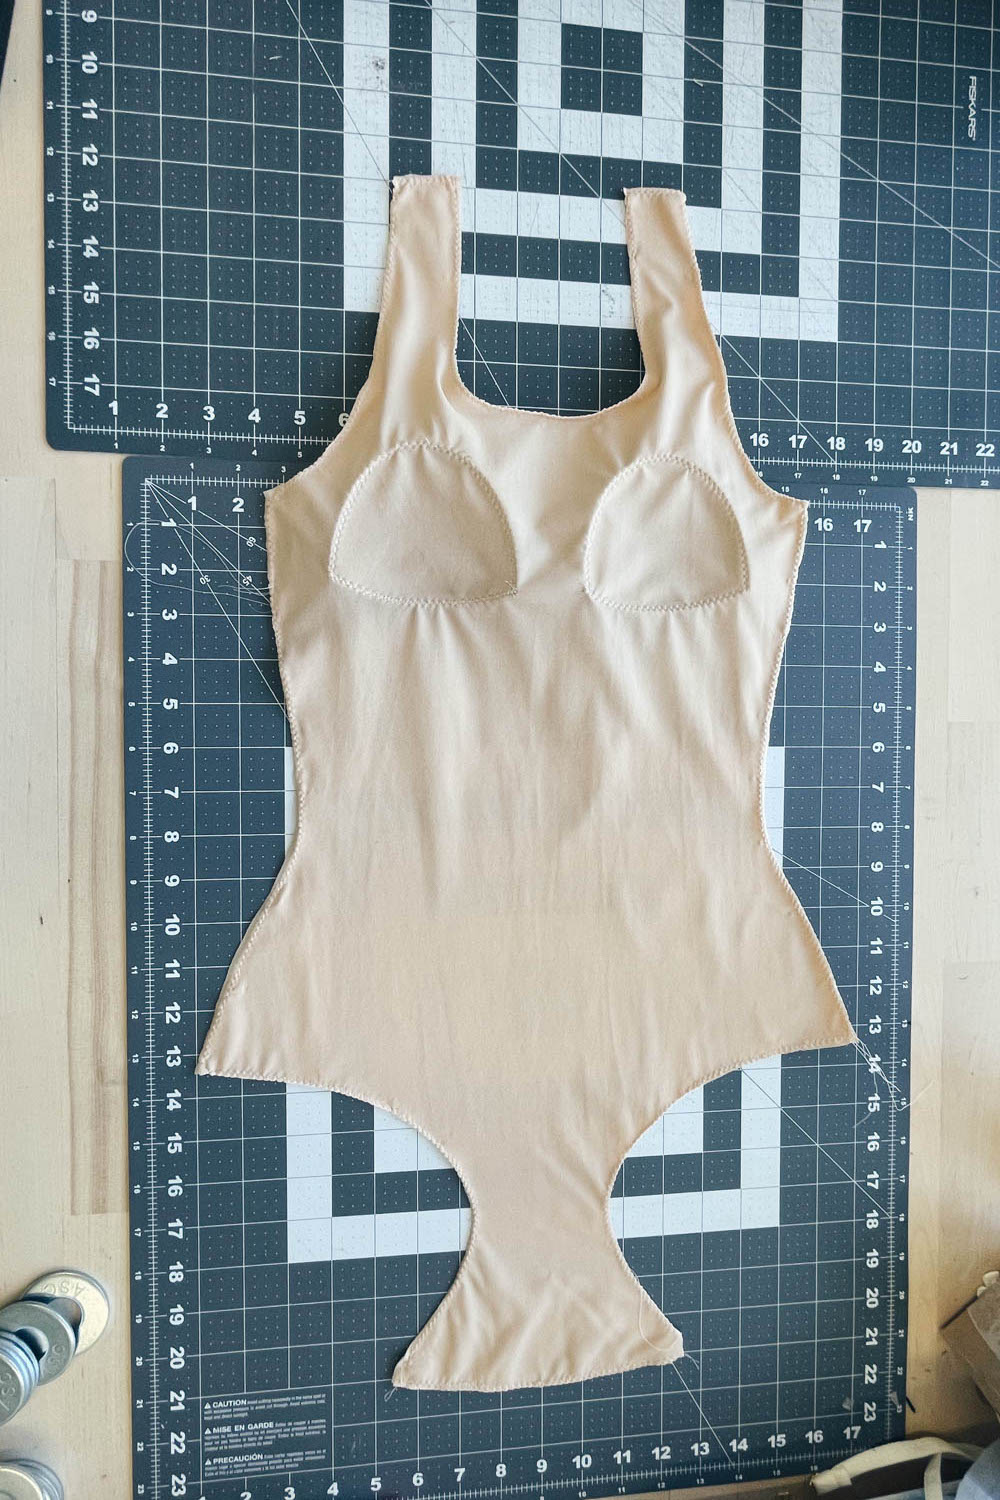
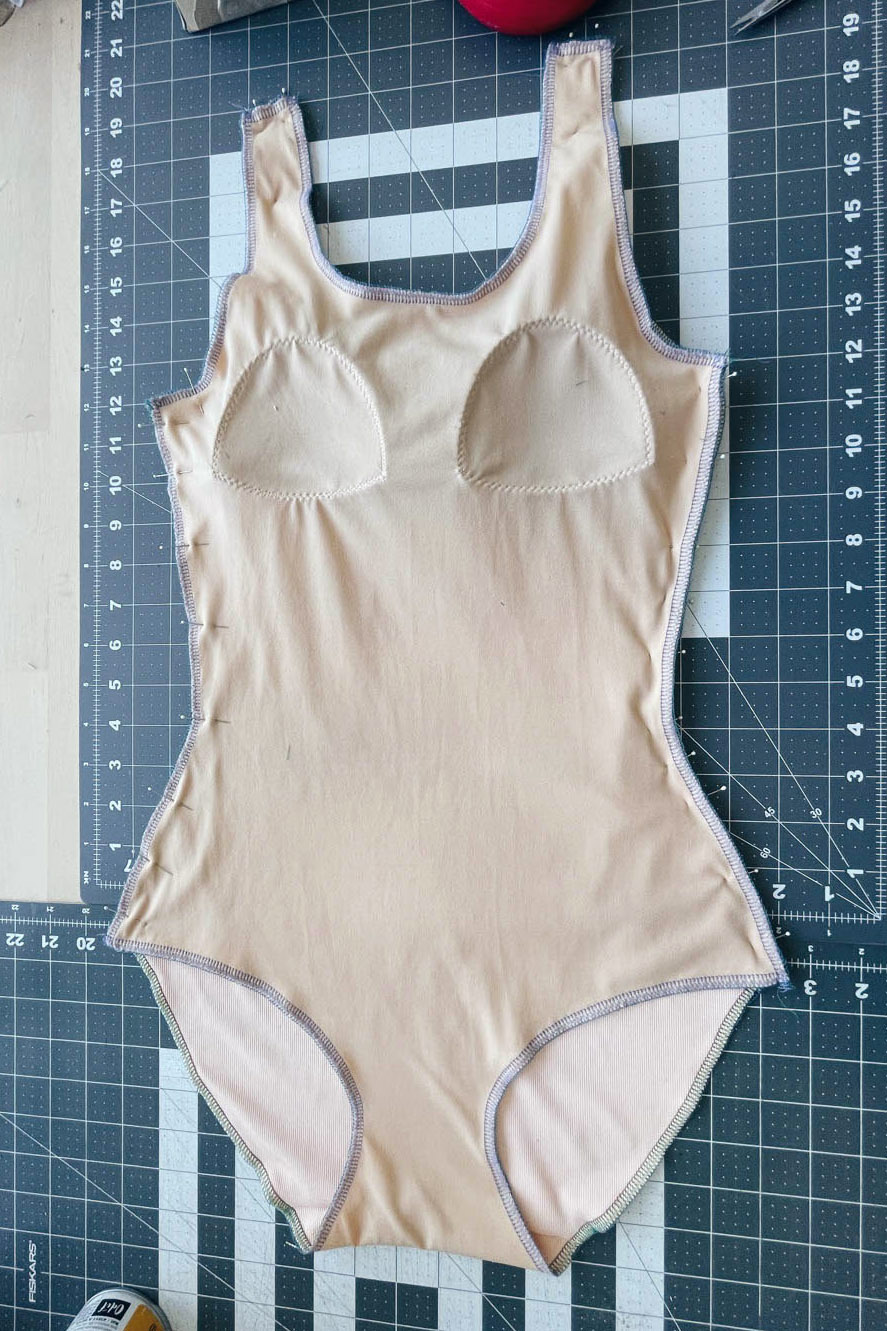
Cutting the swimsuit front from swim lining fabric. 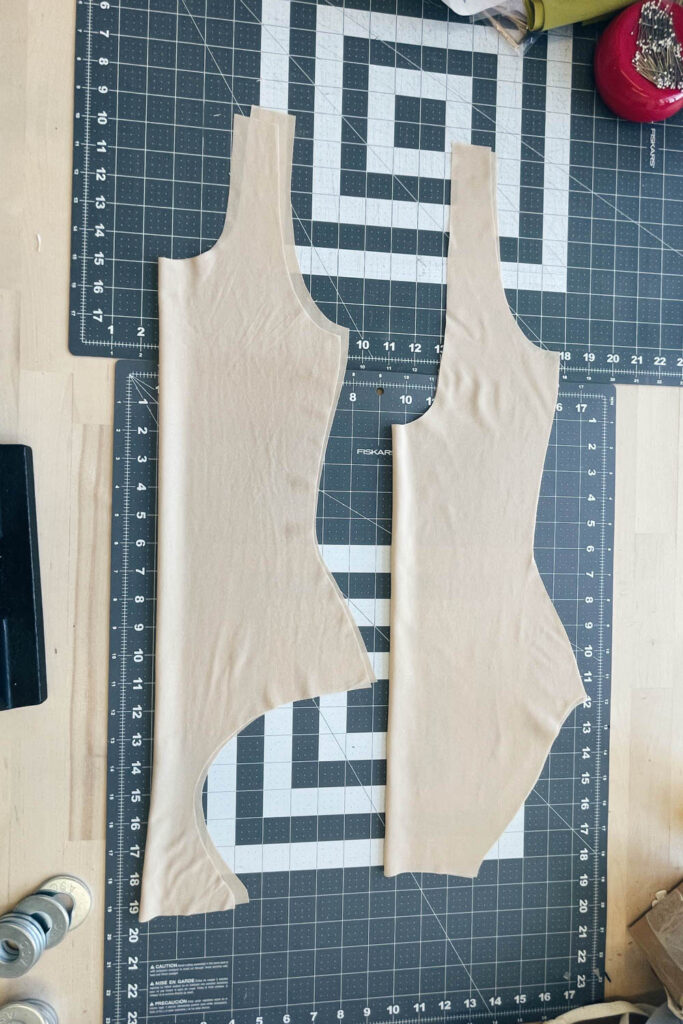
Swimsuit Front + Back in Beige Nylon Swim Lining.


For the lining, I cut one Swimsuit Front and one Swimsuit Back from the Beige Nylon Swim Fabric.
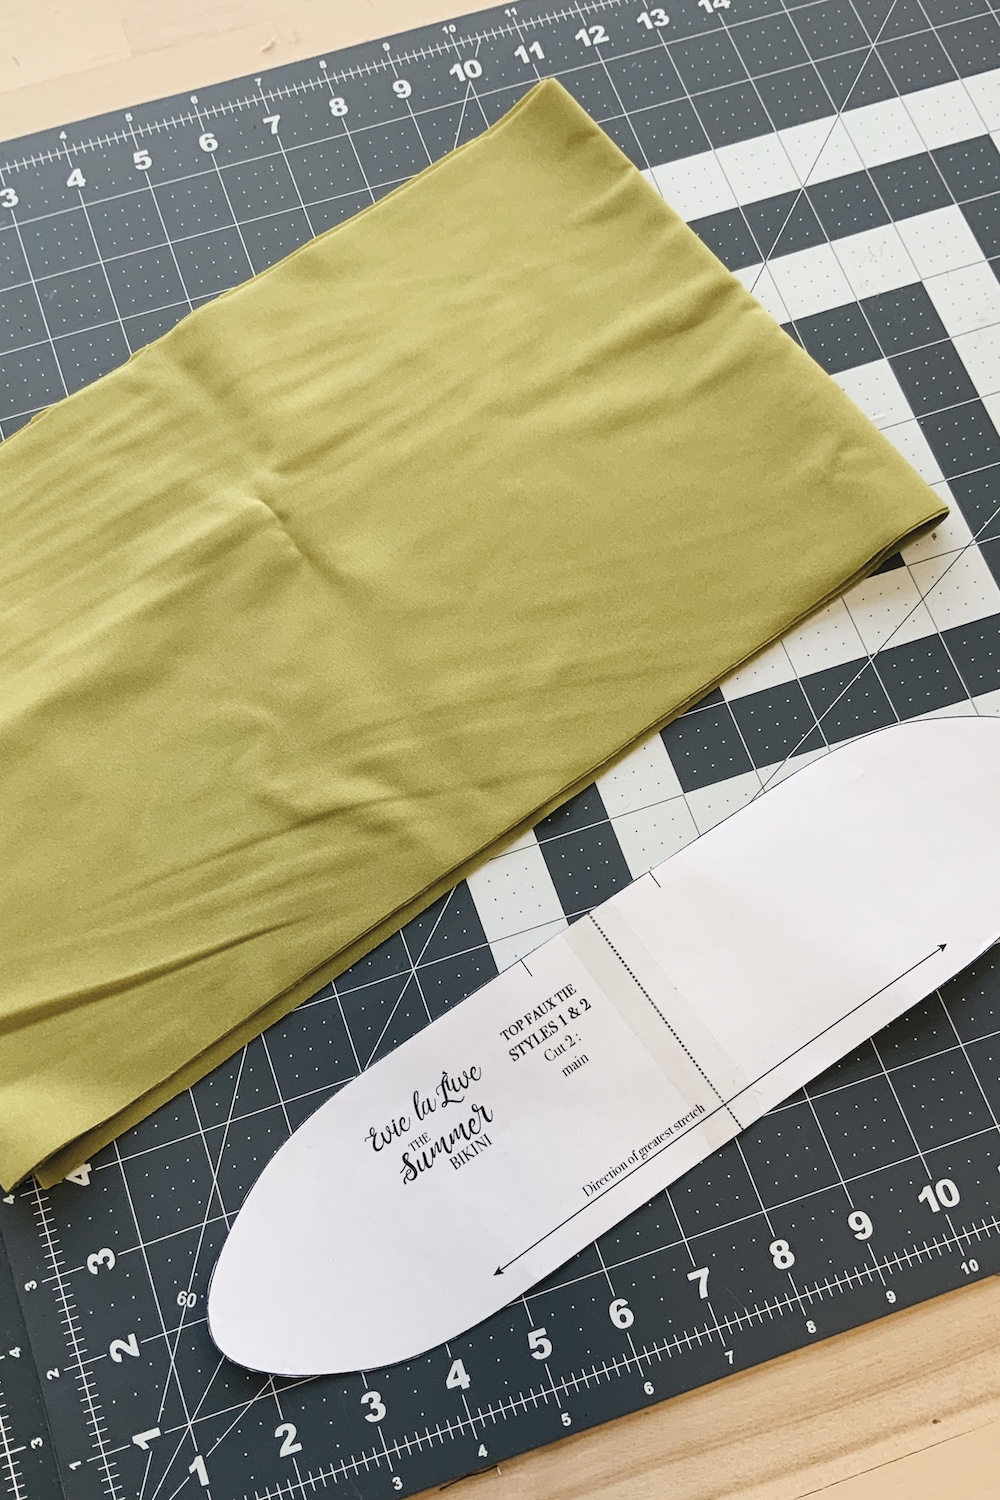
For the shoulder bows, I used the Faux Tie Pattern Piece from the Evie la Luve Summer Bikini pattern. I cut the bow pattern pieces from the Pear Glossy Charmeuse Swim Fabric.
Onto the sewing.
Constructing the Mairin One-Piece Swimsuit
To start, place the preformed foam cups on the wrong side of the front swim lining piece where desired. Be mindful of placing the foam cups too close to seam allowance and elastic allowance areas. If the swim lining fabric you’re using has no discernible right or wrong side, just pick any side.

Pin the foam cups in place.
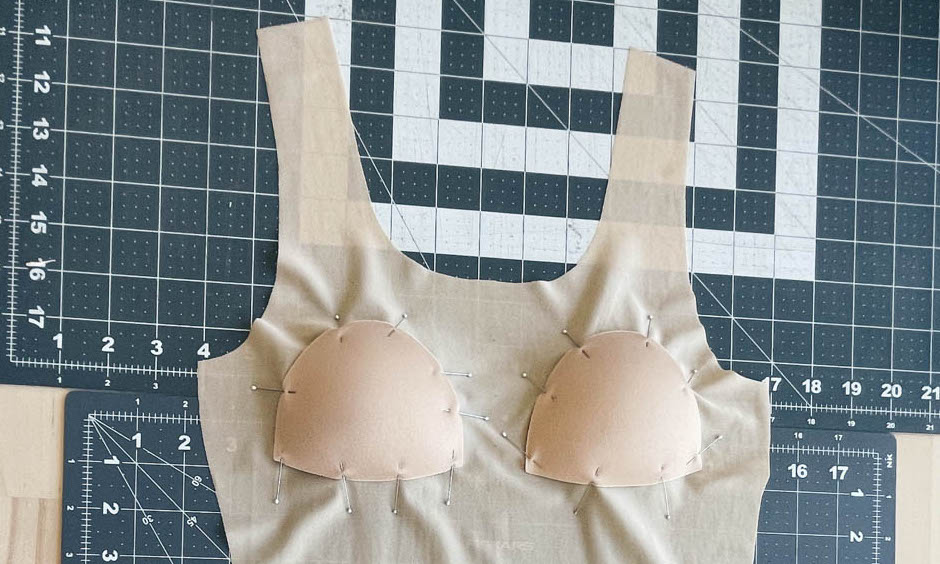
Next, stitch the foam cups in place with a zigzag stitch. On my Bernina B530 Sewing Machine, my length and width setting for the zigzag stitch is 2.5 and 3.0. Stitch following the edges of the foam cups.

And this is what you’ll end up with:
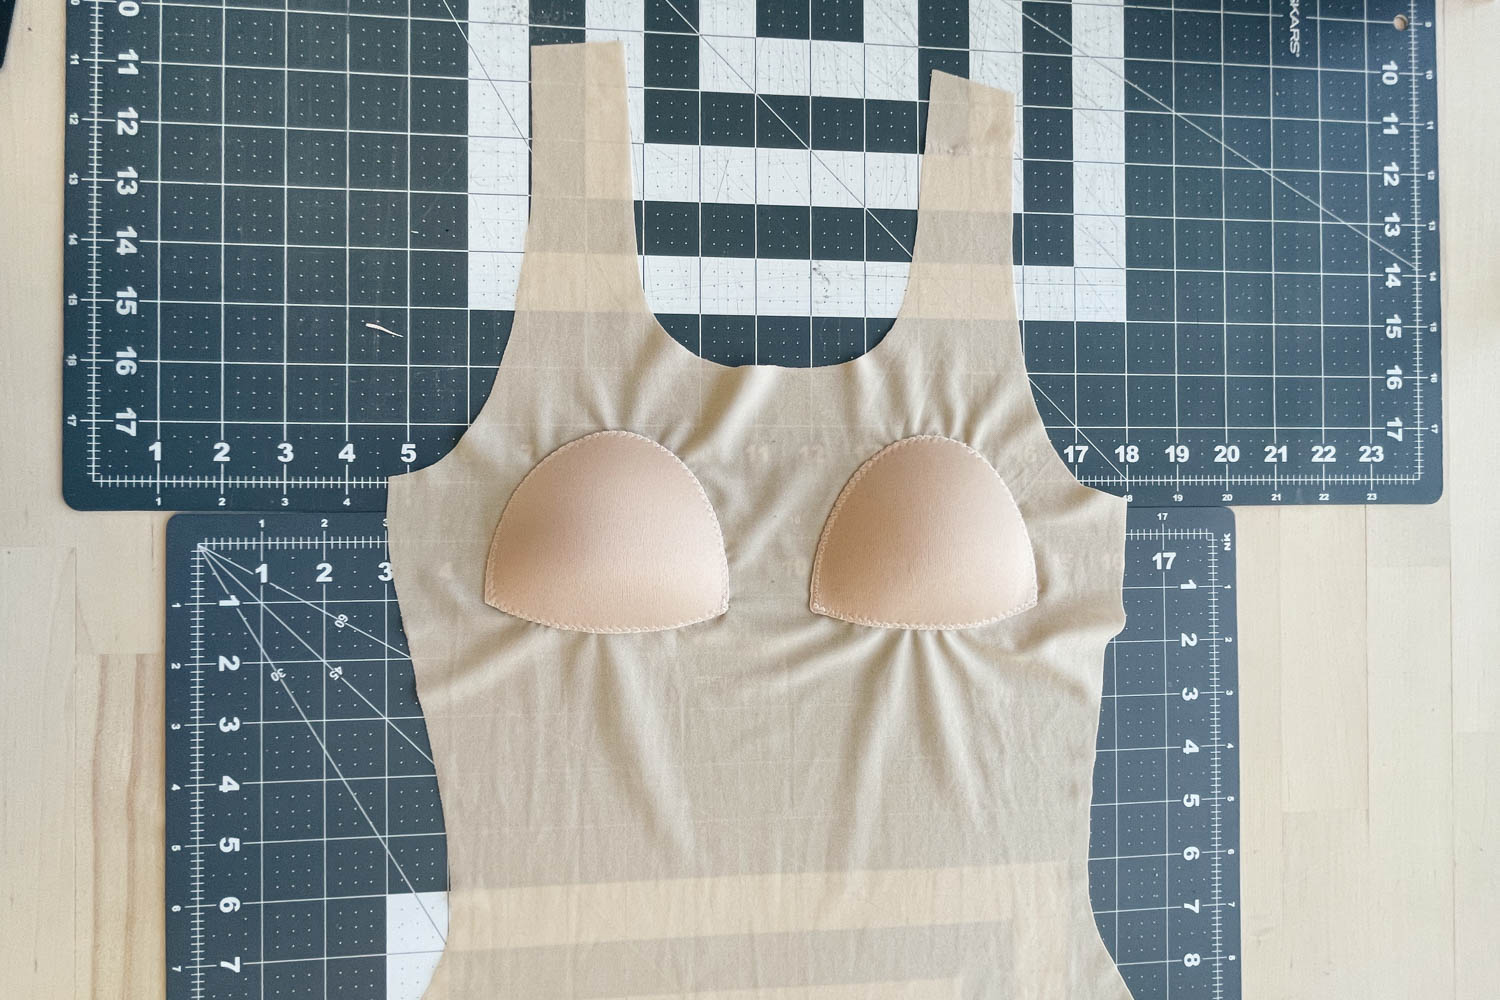
Next, take the swimsuit front lining and place it wrong sides together with the swimsuit front self. Line up the pieces and pin together. The preformed foam cups should now be sandwiched between the self and lining of the swimsuit front.
Place the front swim lining wrong sides together with the self front. 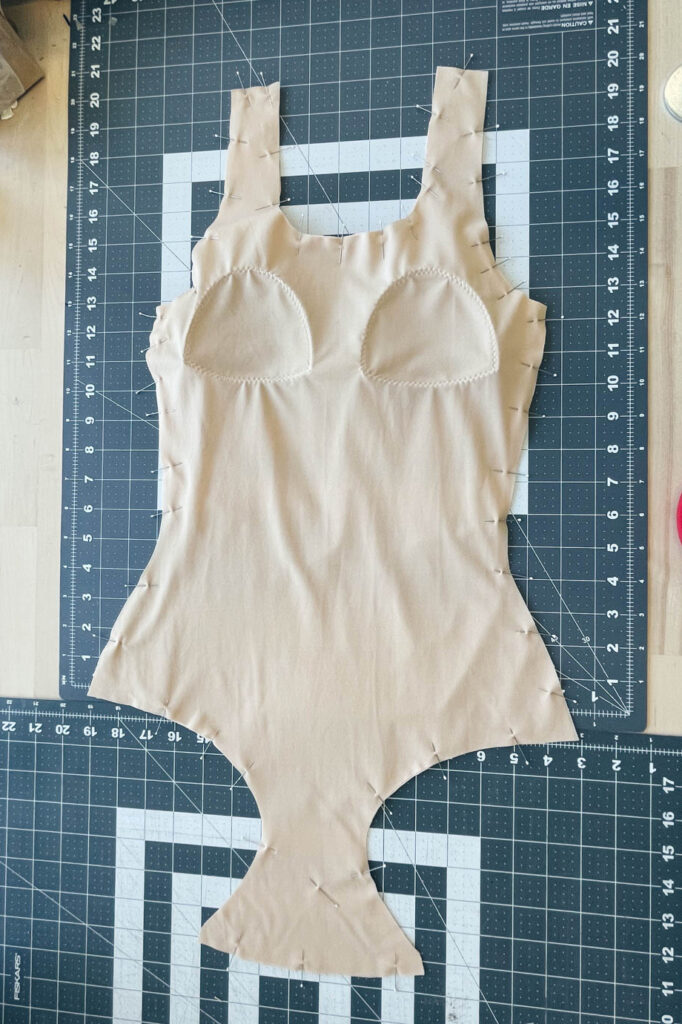
Pin together.


At the sewing machine, I stitch the swimsuit front lining and self together using a zigzag stitch along the edges.

Front self and lining stitched together. 
Preformed foam cups sandwiched between the self and lining.
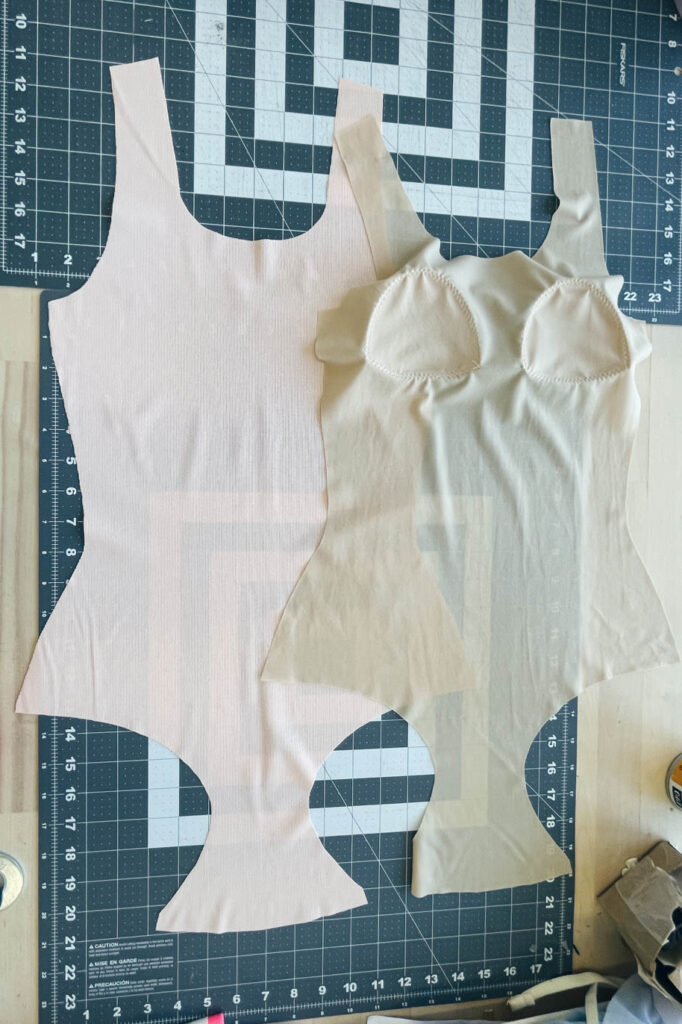
I then pin the back self and lining pieces together with the swimsuit front unit sandwiched in between at the crotch seam. The right sides of the self front and back pieces are touching and the right sides of the lining front and back pieces are touching. Sew all of these layers together at the crotch seam with small zigzag stitch or lightning stitch or serge the seam of you are using a serger.

This is how everything looks after you sew up the crotch seam.

Similar to what I did the front, I then lined up the back self and lining pieces and pinned. I also stitched them together using a zigzag stitch along the edges.
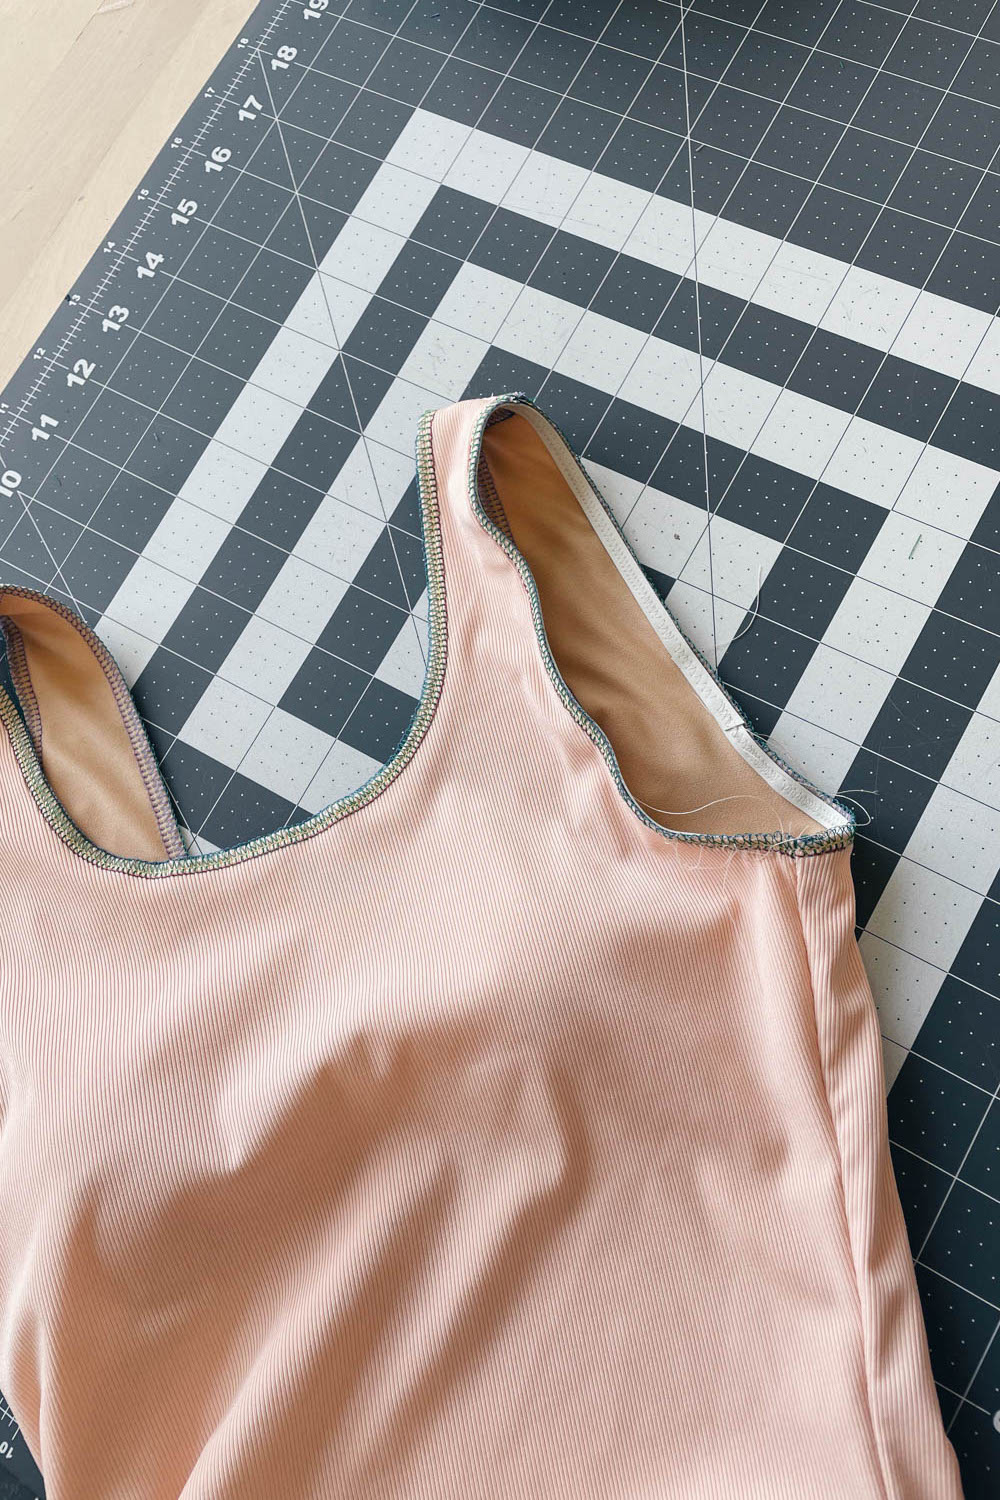
The next step is totally optional. I serge all the raw edges of the swimsuit. You can skip this step because 1) swim fabrics typically don’t fray or unravel and 2) the zigzag stitches along the raw edges is already a form of “finishing” the raw edges. If you don’t have a serger, don’t fret. It’s totally not a necessary step.

Serging all the edges. 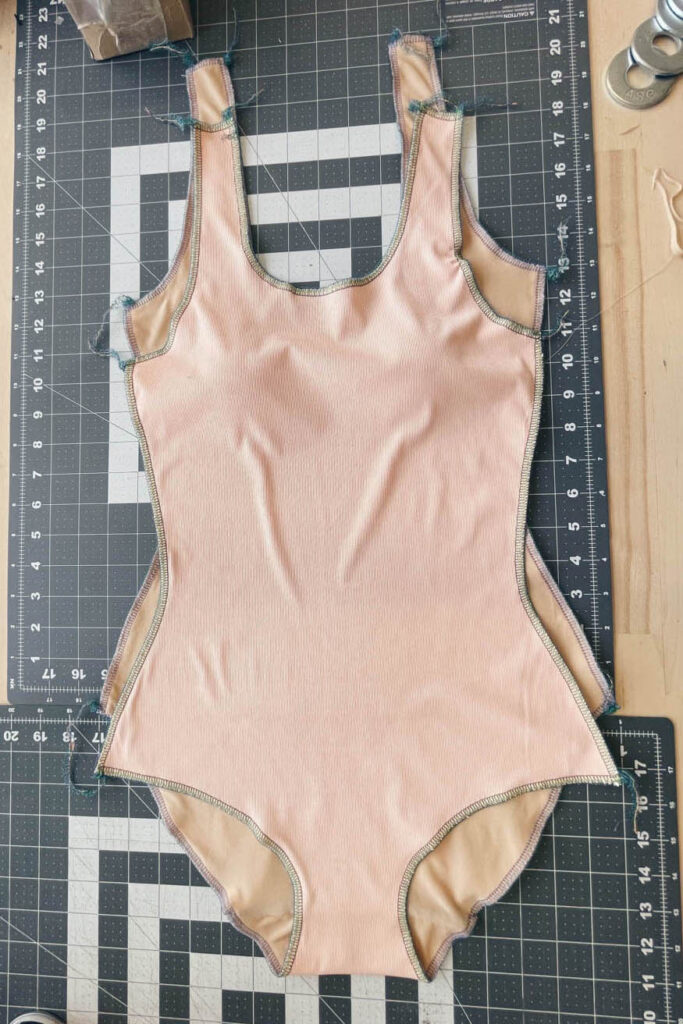


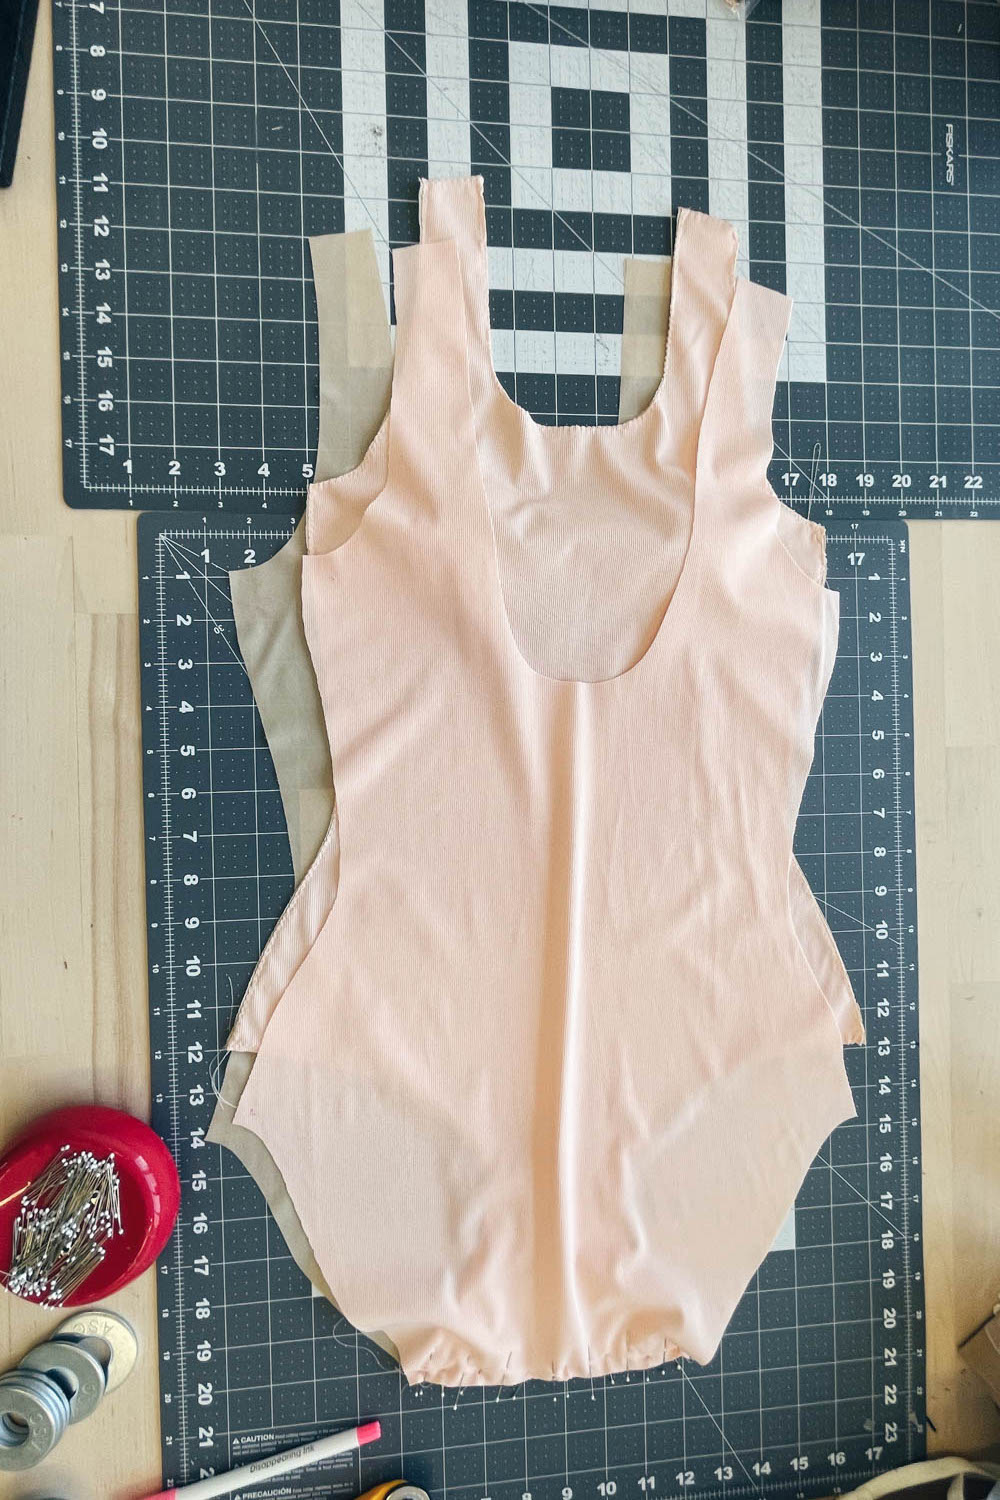
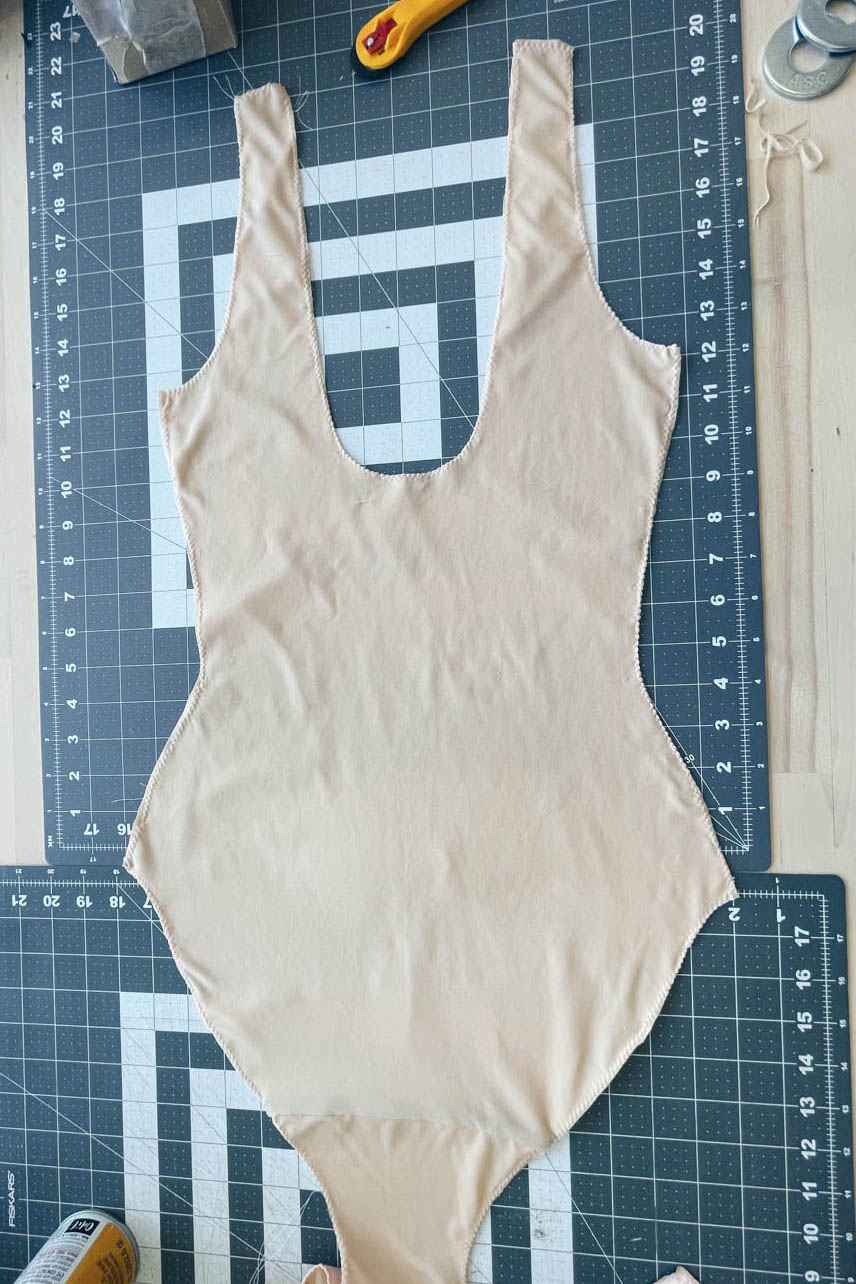
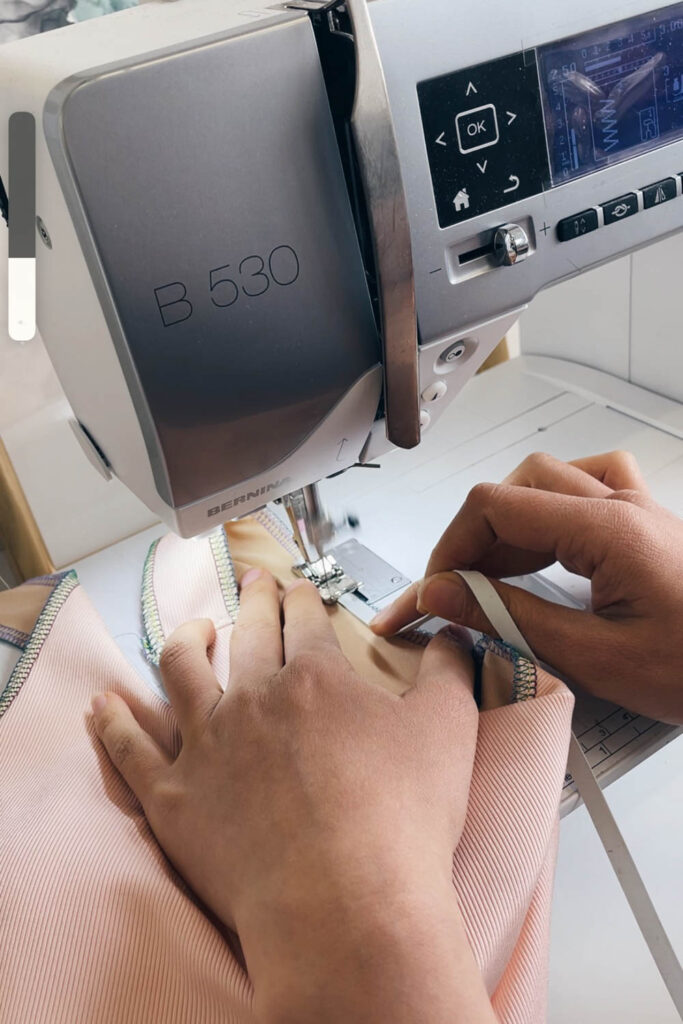
I then pin the shoulder seams and side seams with the suit right sides together. Stitch the seams using a 3/8″ seam allowance. I like to first baste with a straight stitch and then following up with a lightning stitch. In my experience, the fabrics tend to shift when I use the lighting stitch so I always baste with a straight stitch first. You can also serge the seams during this step if you have a serger.
Turn the suit right side out and now we are ready for swim elastics! The pattern is drafted for 1/4″ swim elastic and that’s what I will be using.
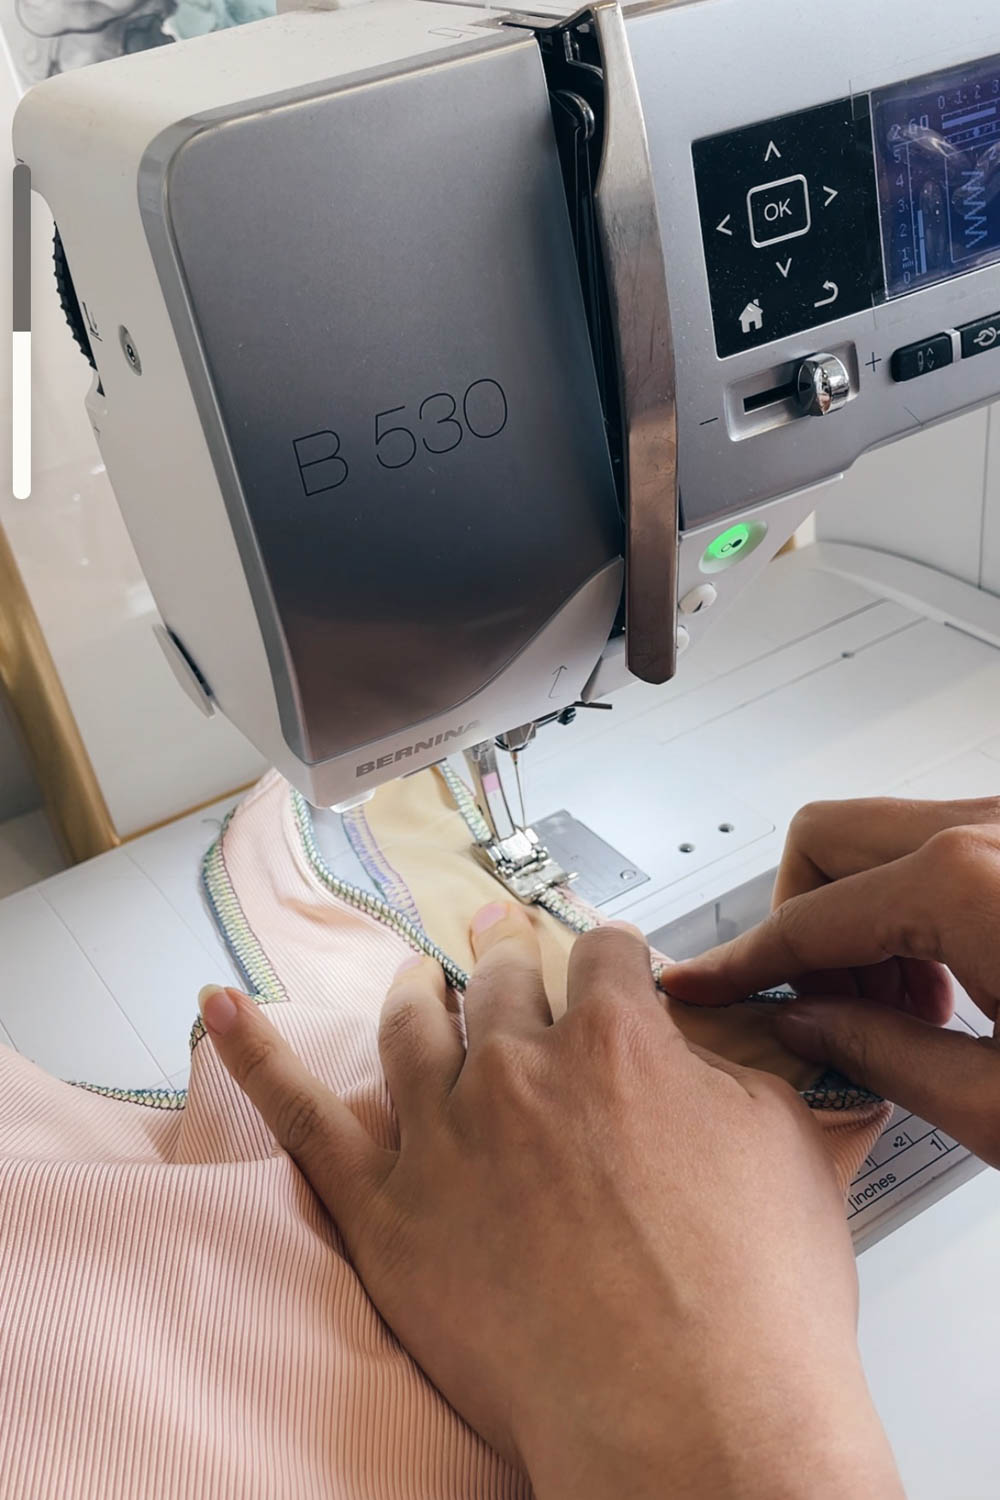
Starting with one armhole, I line the swim elastic up with the edge of the armhole. I am placing the elastic on the inside of the swimsuit. If you are concerned about irritation from the elastic touching the skin, you can also line the elastic up a scant 1/16″ away from the edge. Stitch the first pass of elastic using a zigzag stitch, pulling on the elastic a little. Be mindful not to pull the fabric as you are applying the elastic.
When you get to the start of where the elastic is applied, overlap the elastic by 1/2″ – 3/4″ and then snip off the excess.
Applying the first pass of swim elastic. 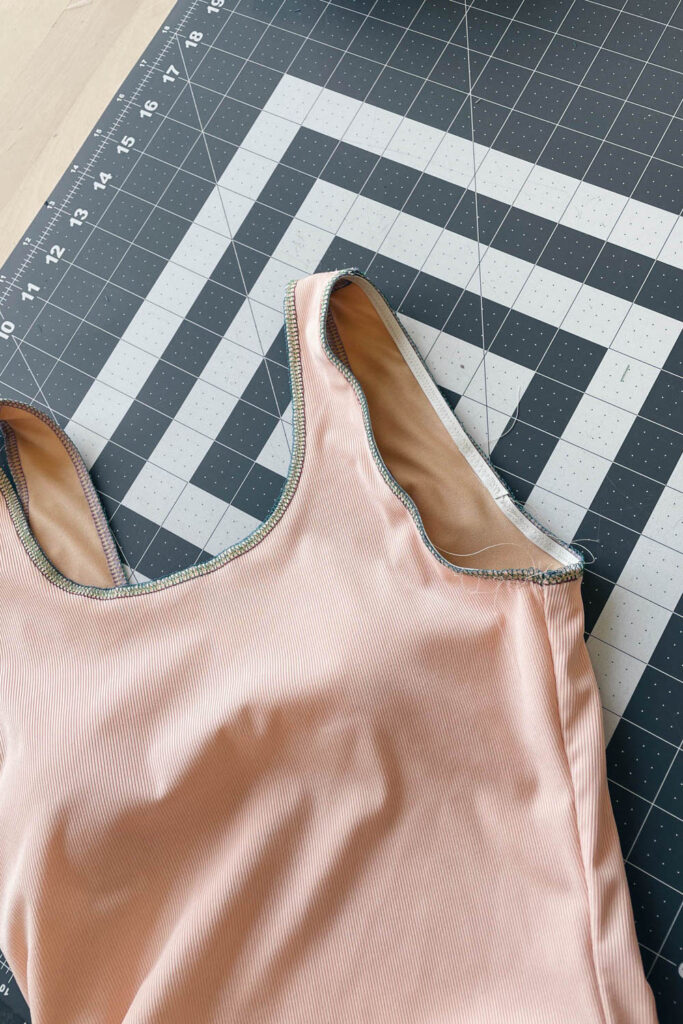
First pass of elastic applied on the left armhole.

For the second pass of elastic, fold the elastic inwards and stitch using a zigzag stitch. Pull the elastic flat as you are stitching.

Second pass of swim elastic. 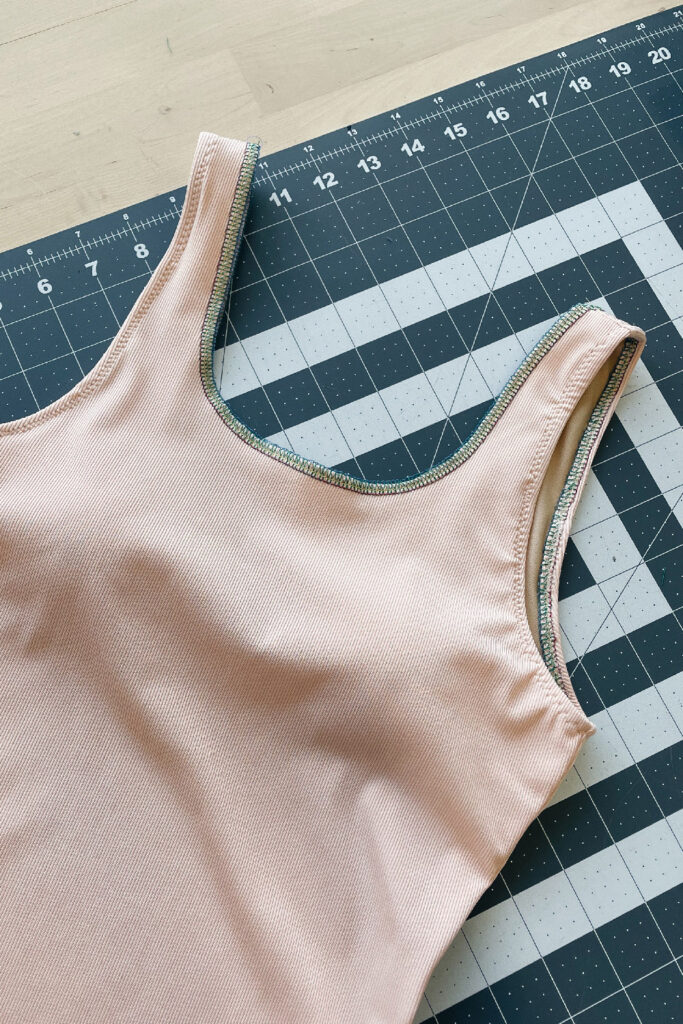
Tada. One armhole done.

Now repeat the elastic application for the remaining armhole, the neckline, and the leg openings. Note: I tend to pull the elastic a little more around the back leg opening area so the fit around the bum area is snugger.
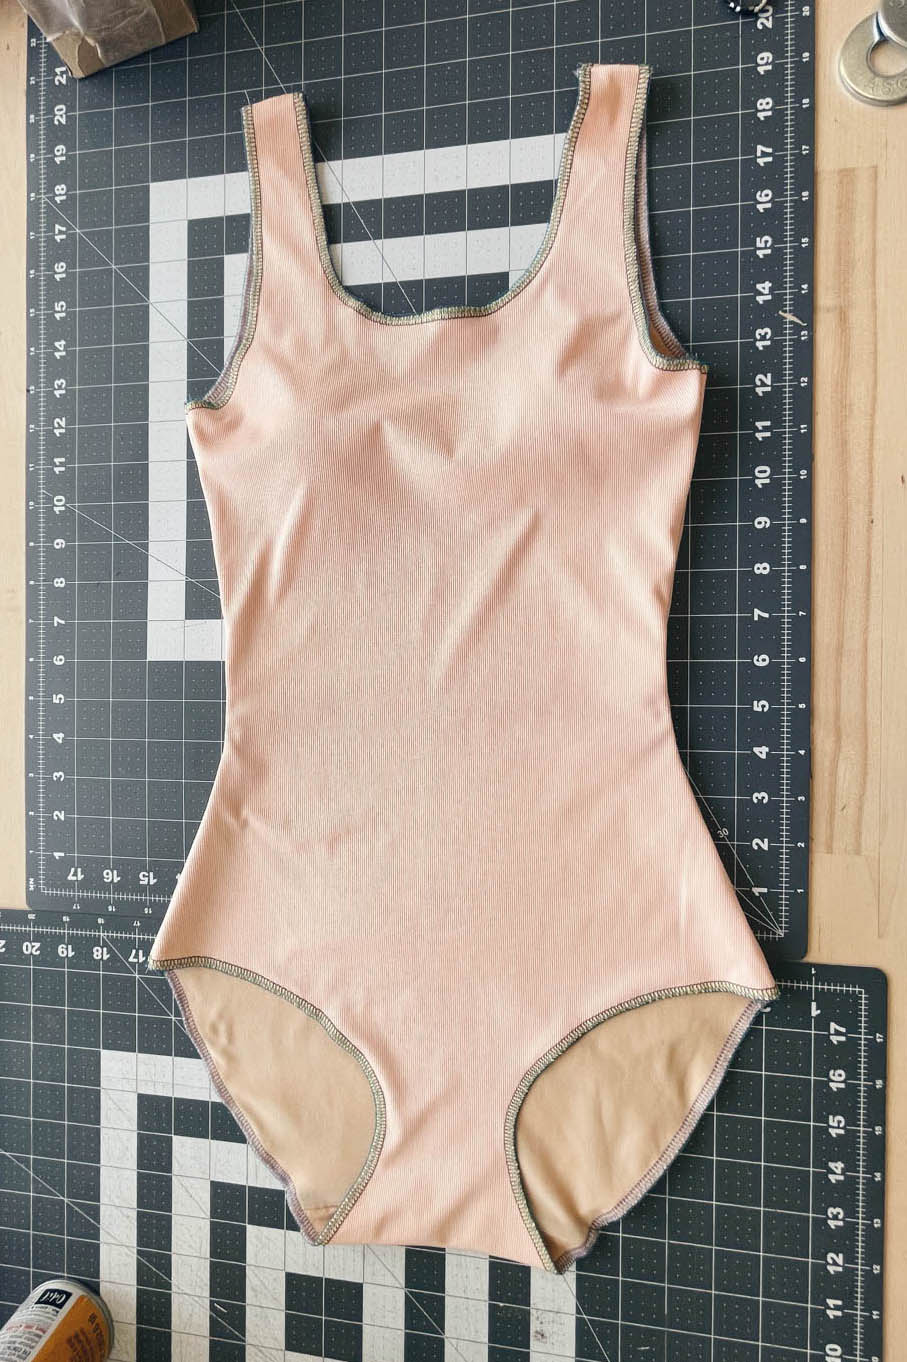
After applying the elastic, the only thing left is to sew up the removable shoulder bows….

…and we are done!
Final Words
This was a quick and simple sew and it turned out pretty cute IMO.

As suspected, I will need to lengthen the front and back pattern pieces to fit my longer torso. In an upcoming post, I will share how to shorten and lengthen the Mairin One-piece Swimsuit Pattern.

Patterns Used:
- Mairin Swimsuit by Sew a Little Seam
- Summer Bikini by Evie la Luve (I used the Faux Tie Pattern Piece)