Tips & Tricks: Bra Pattern Cutting
Today I want to share my preferred method of cutting out bra patterns (or any other patterns). I started using this method of cutting after observing how our in-house pattern-makers, cutters, and sample-makers cut their patterns.
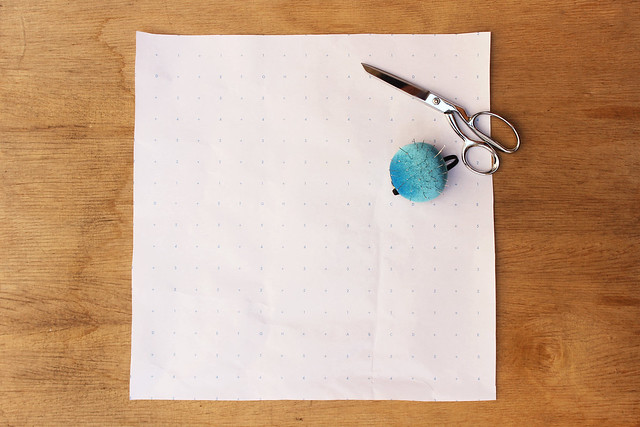
For this method you will need:
- Fabric Scissors
- Dotted Pattern Paper
- Silk Pins
- Pattern Weights (optional)
You can use butcher paper or tissue paper instead of the dotted pattern paper. I prefer the dotted pattern paper because you can use the guidelines on the paper to align your pattern pieces to the fabric accurately.
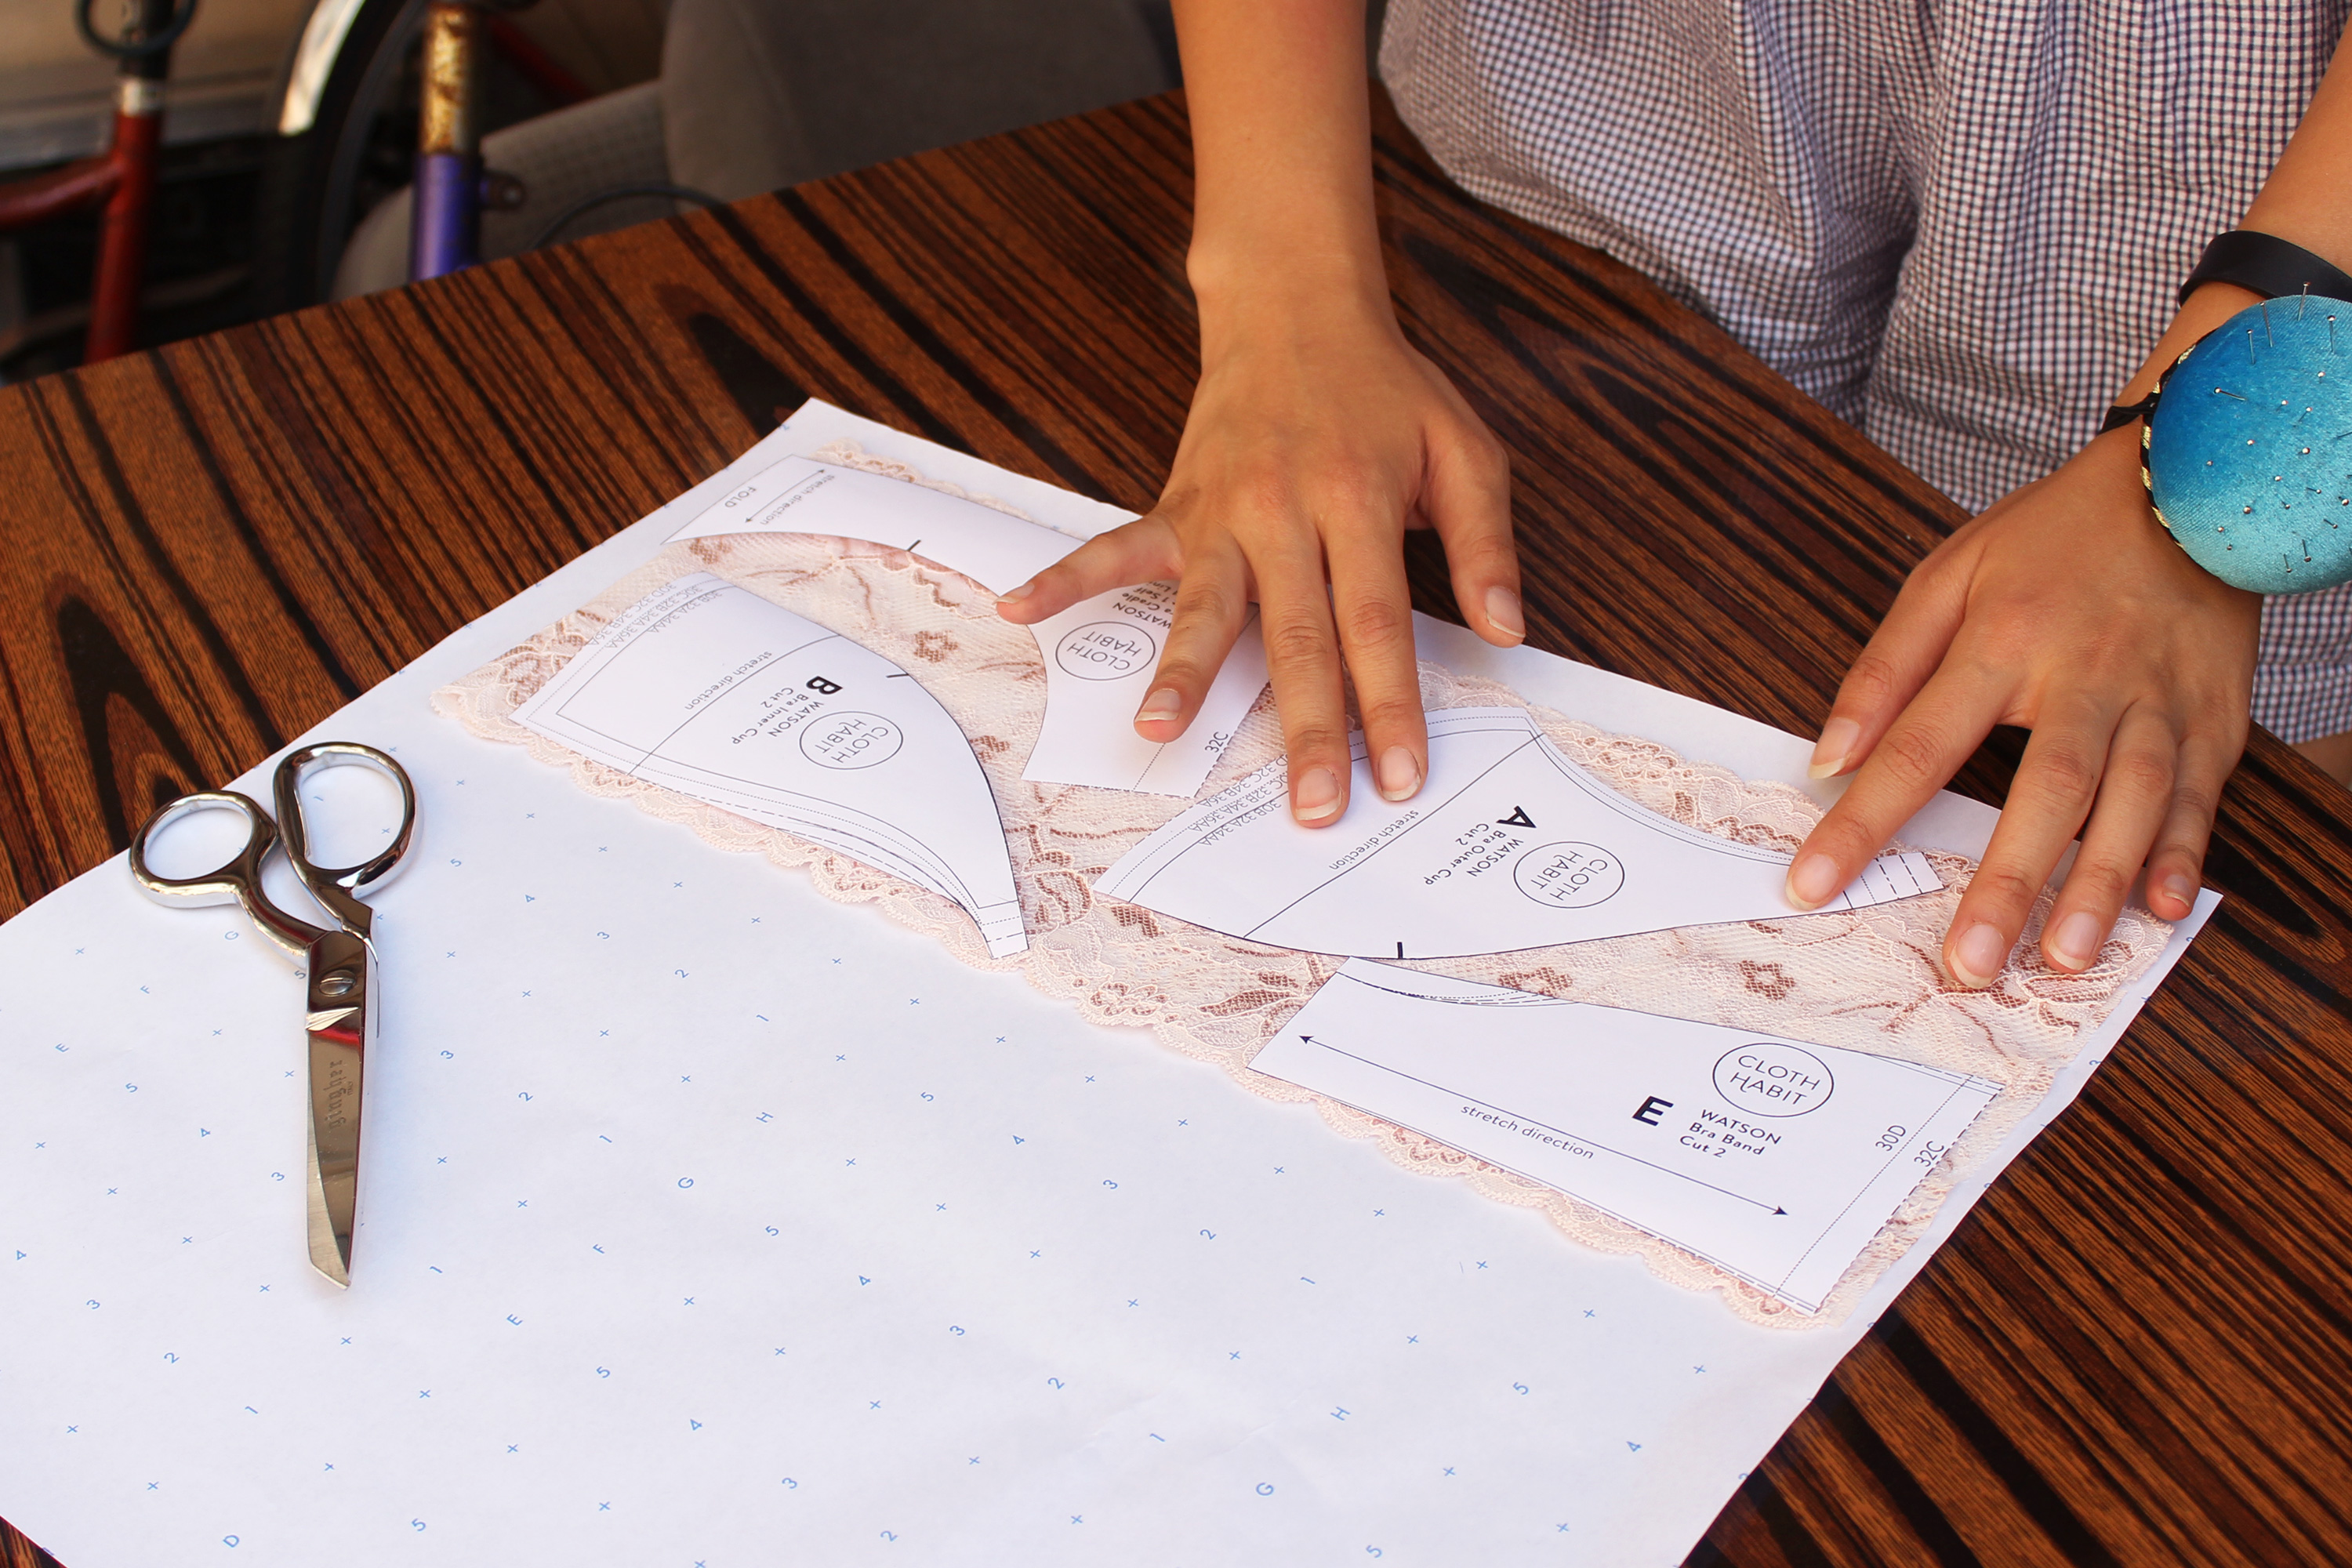
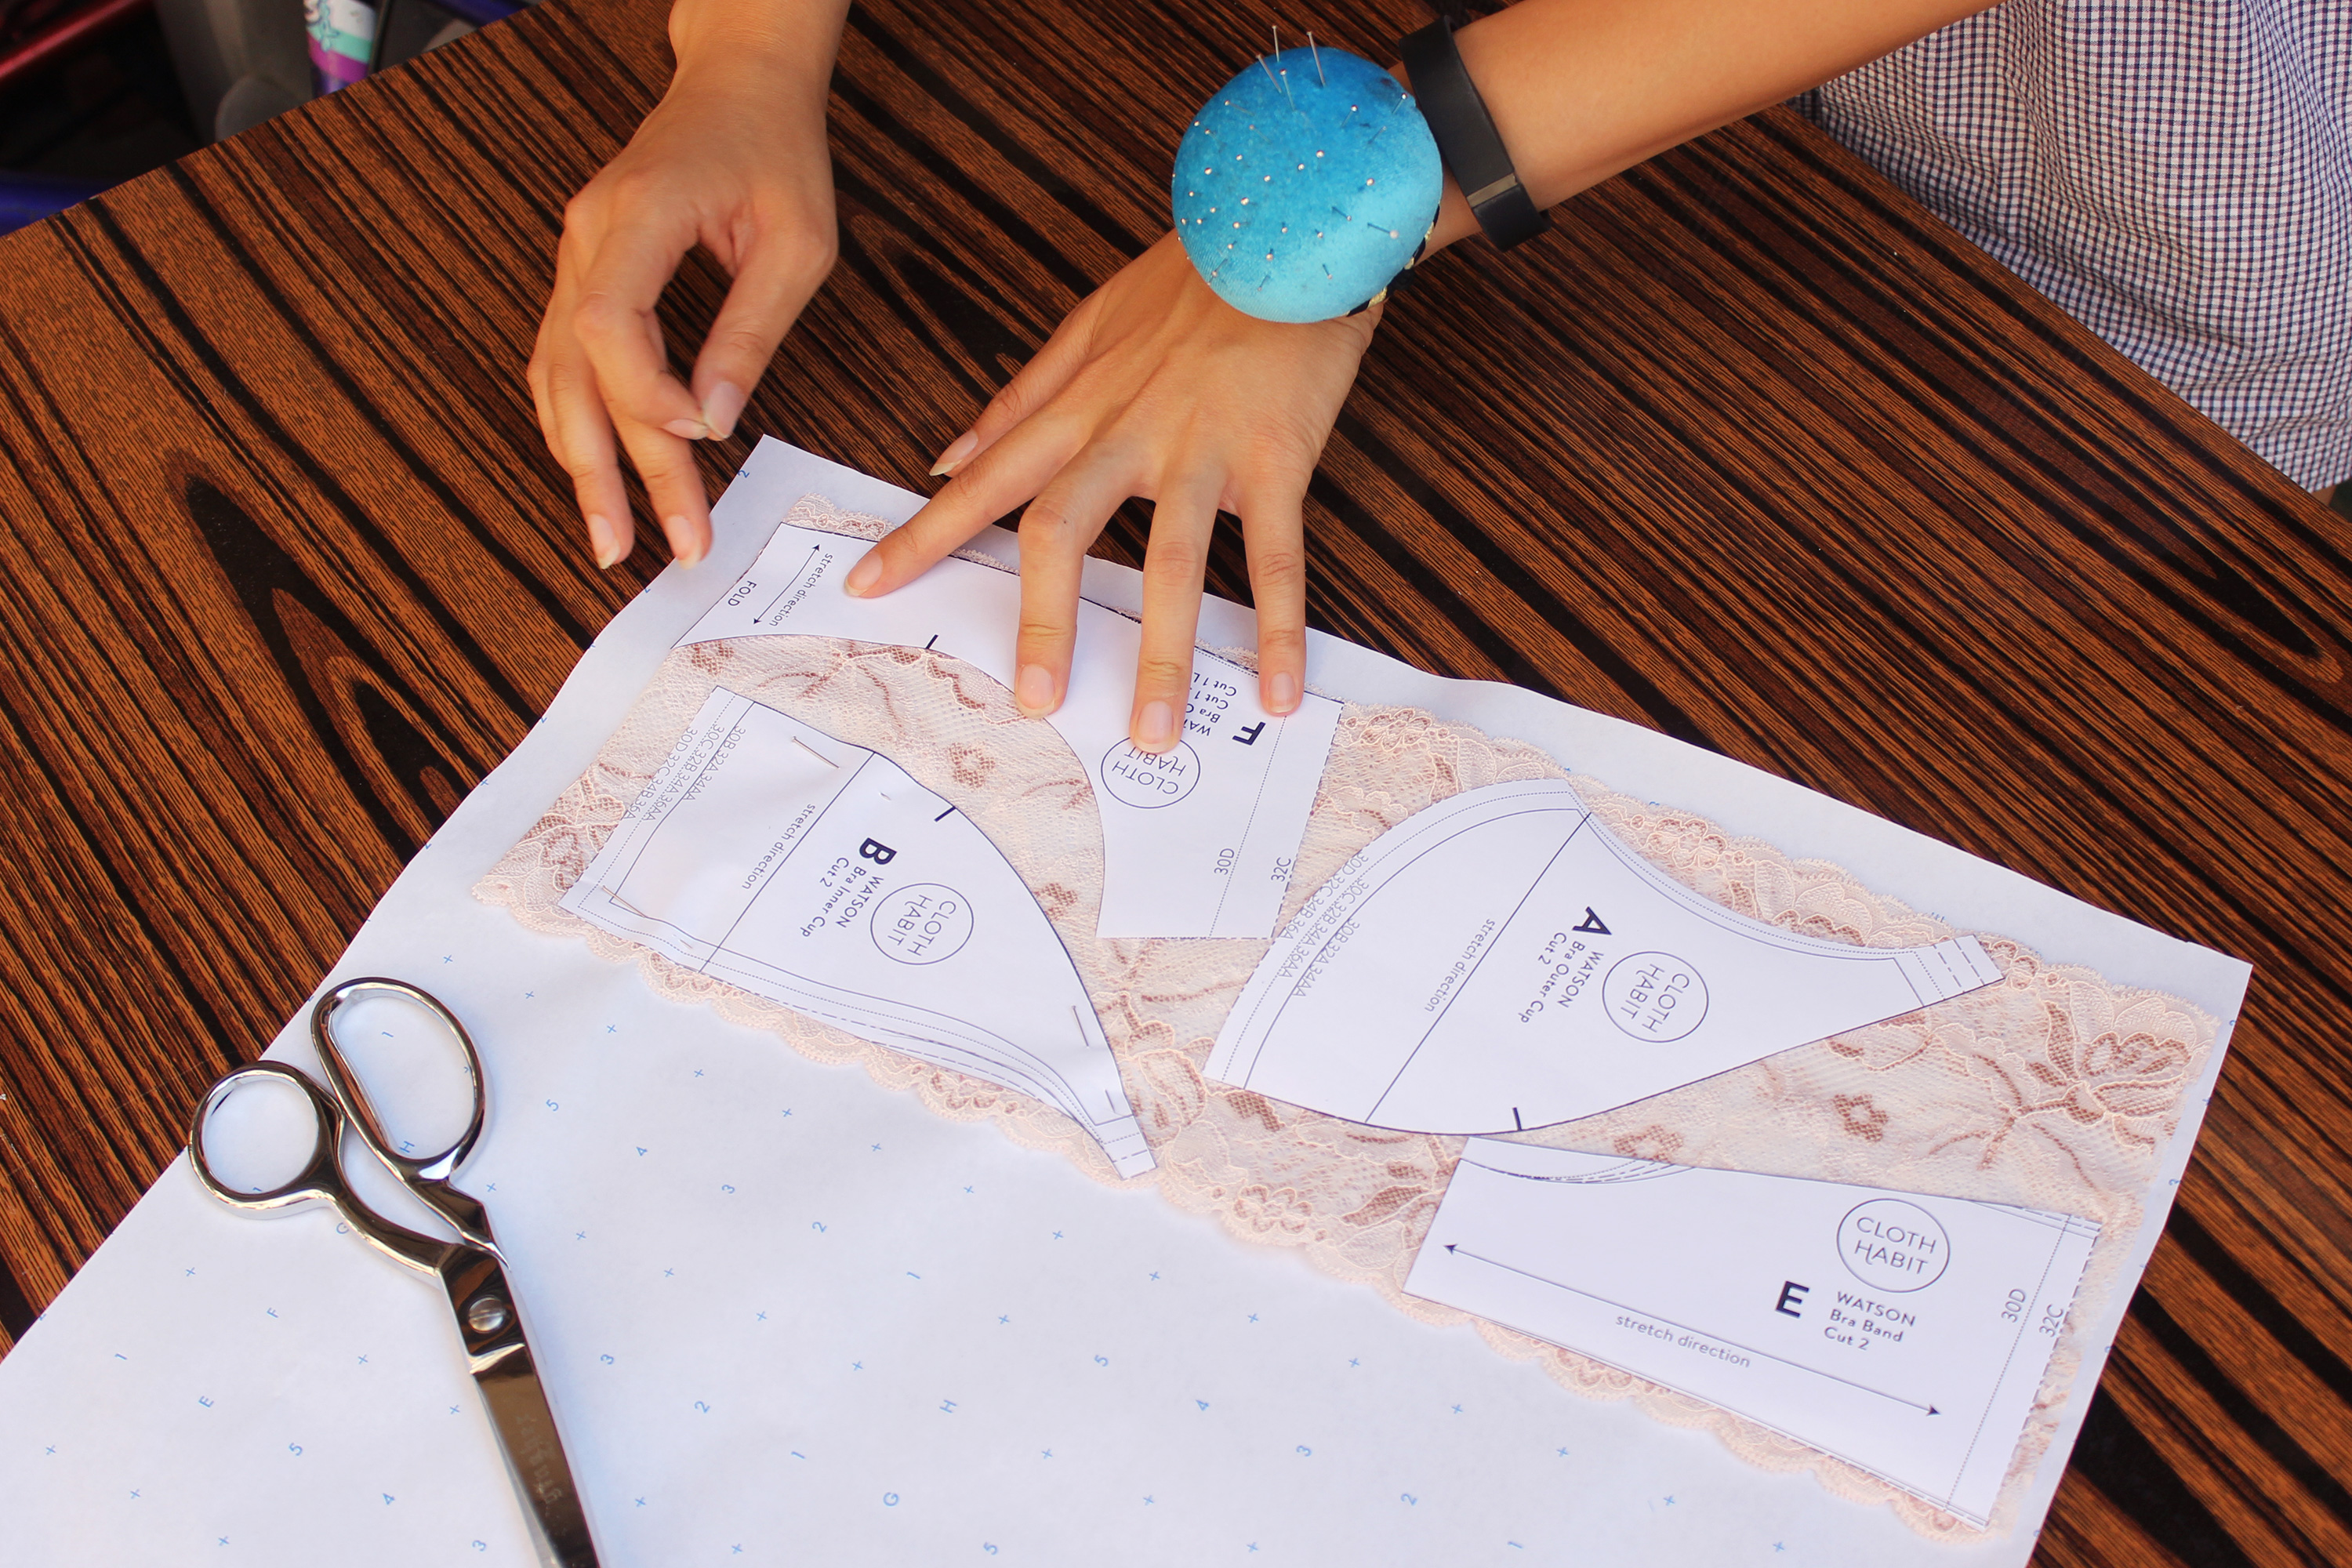
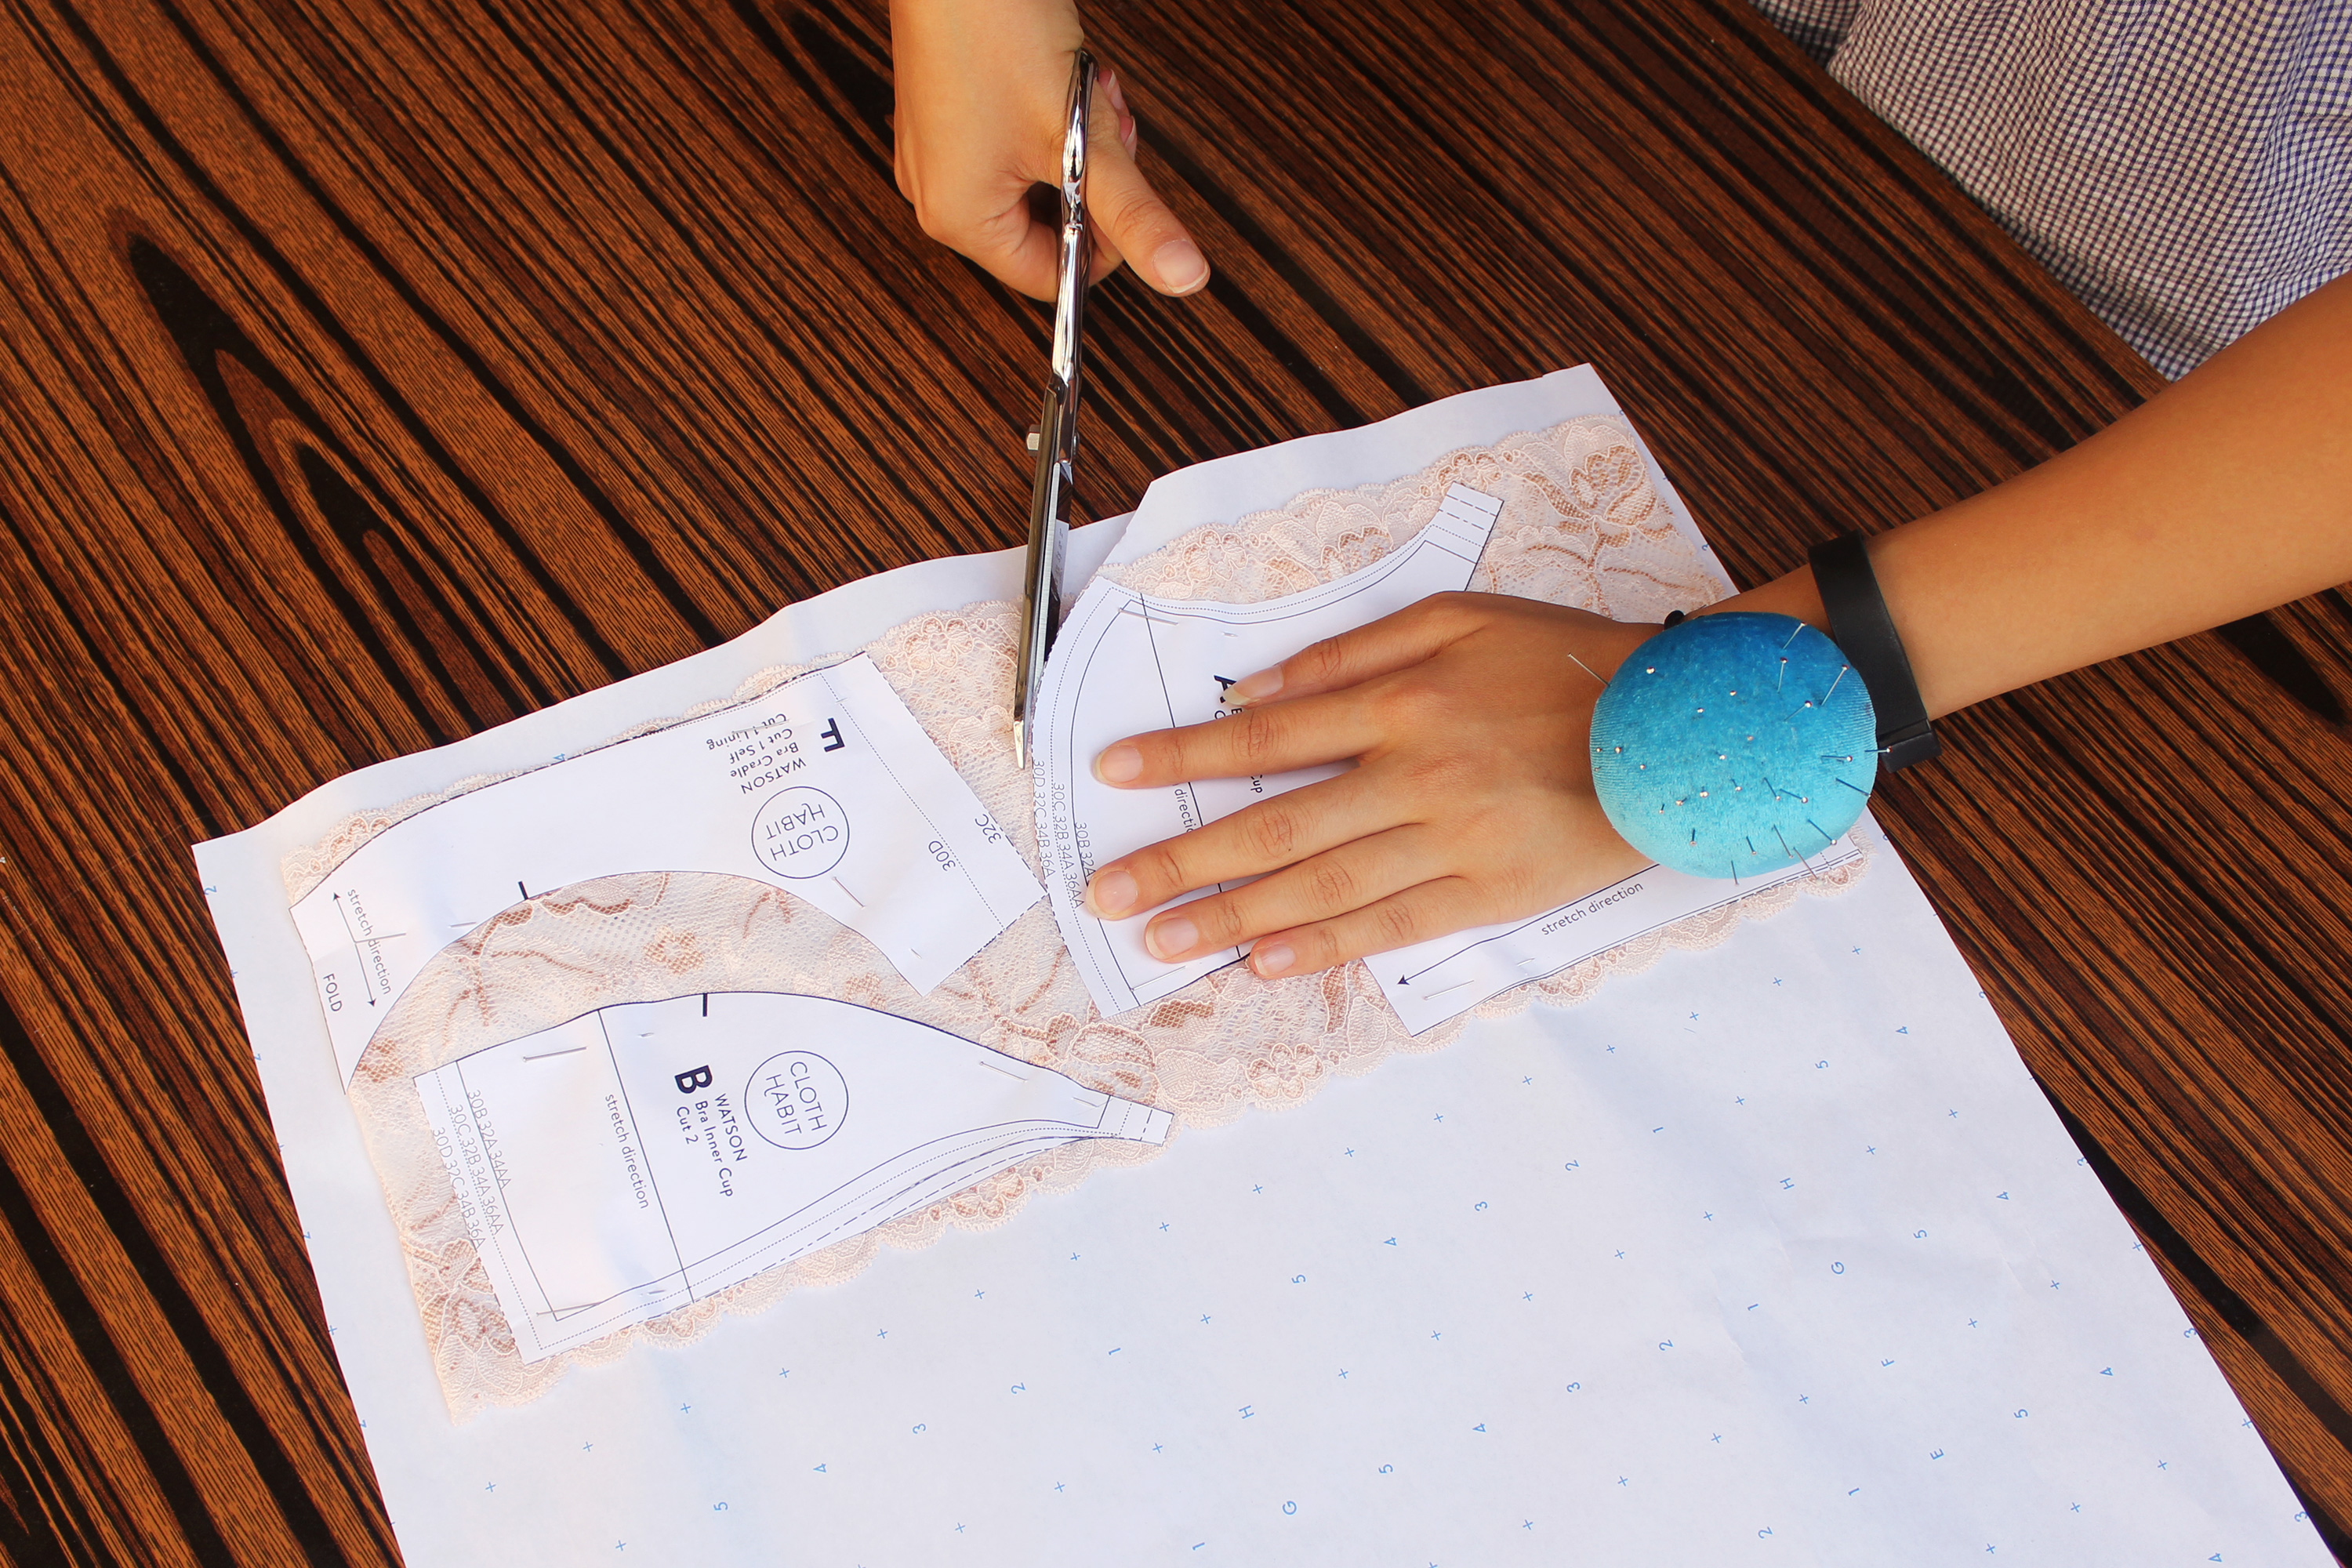
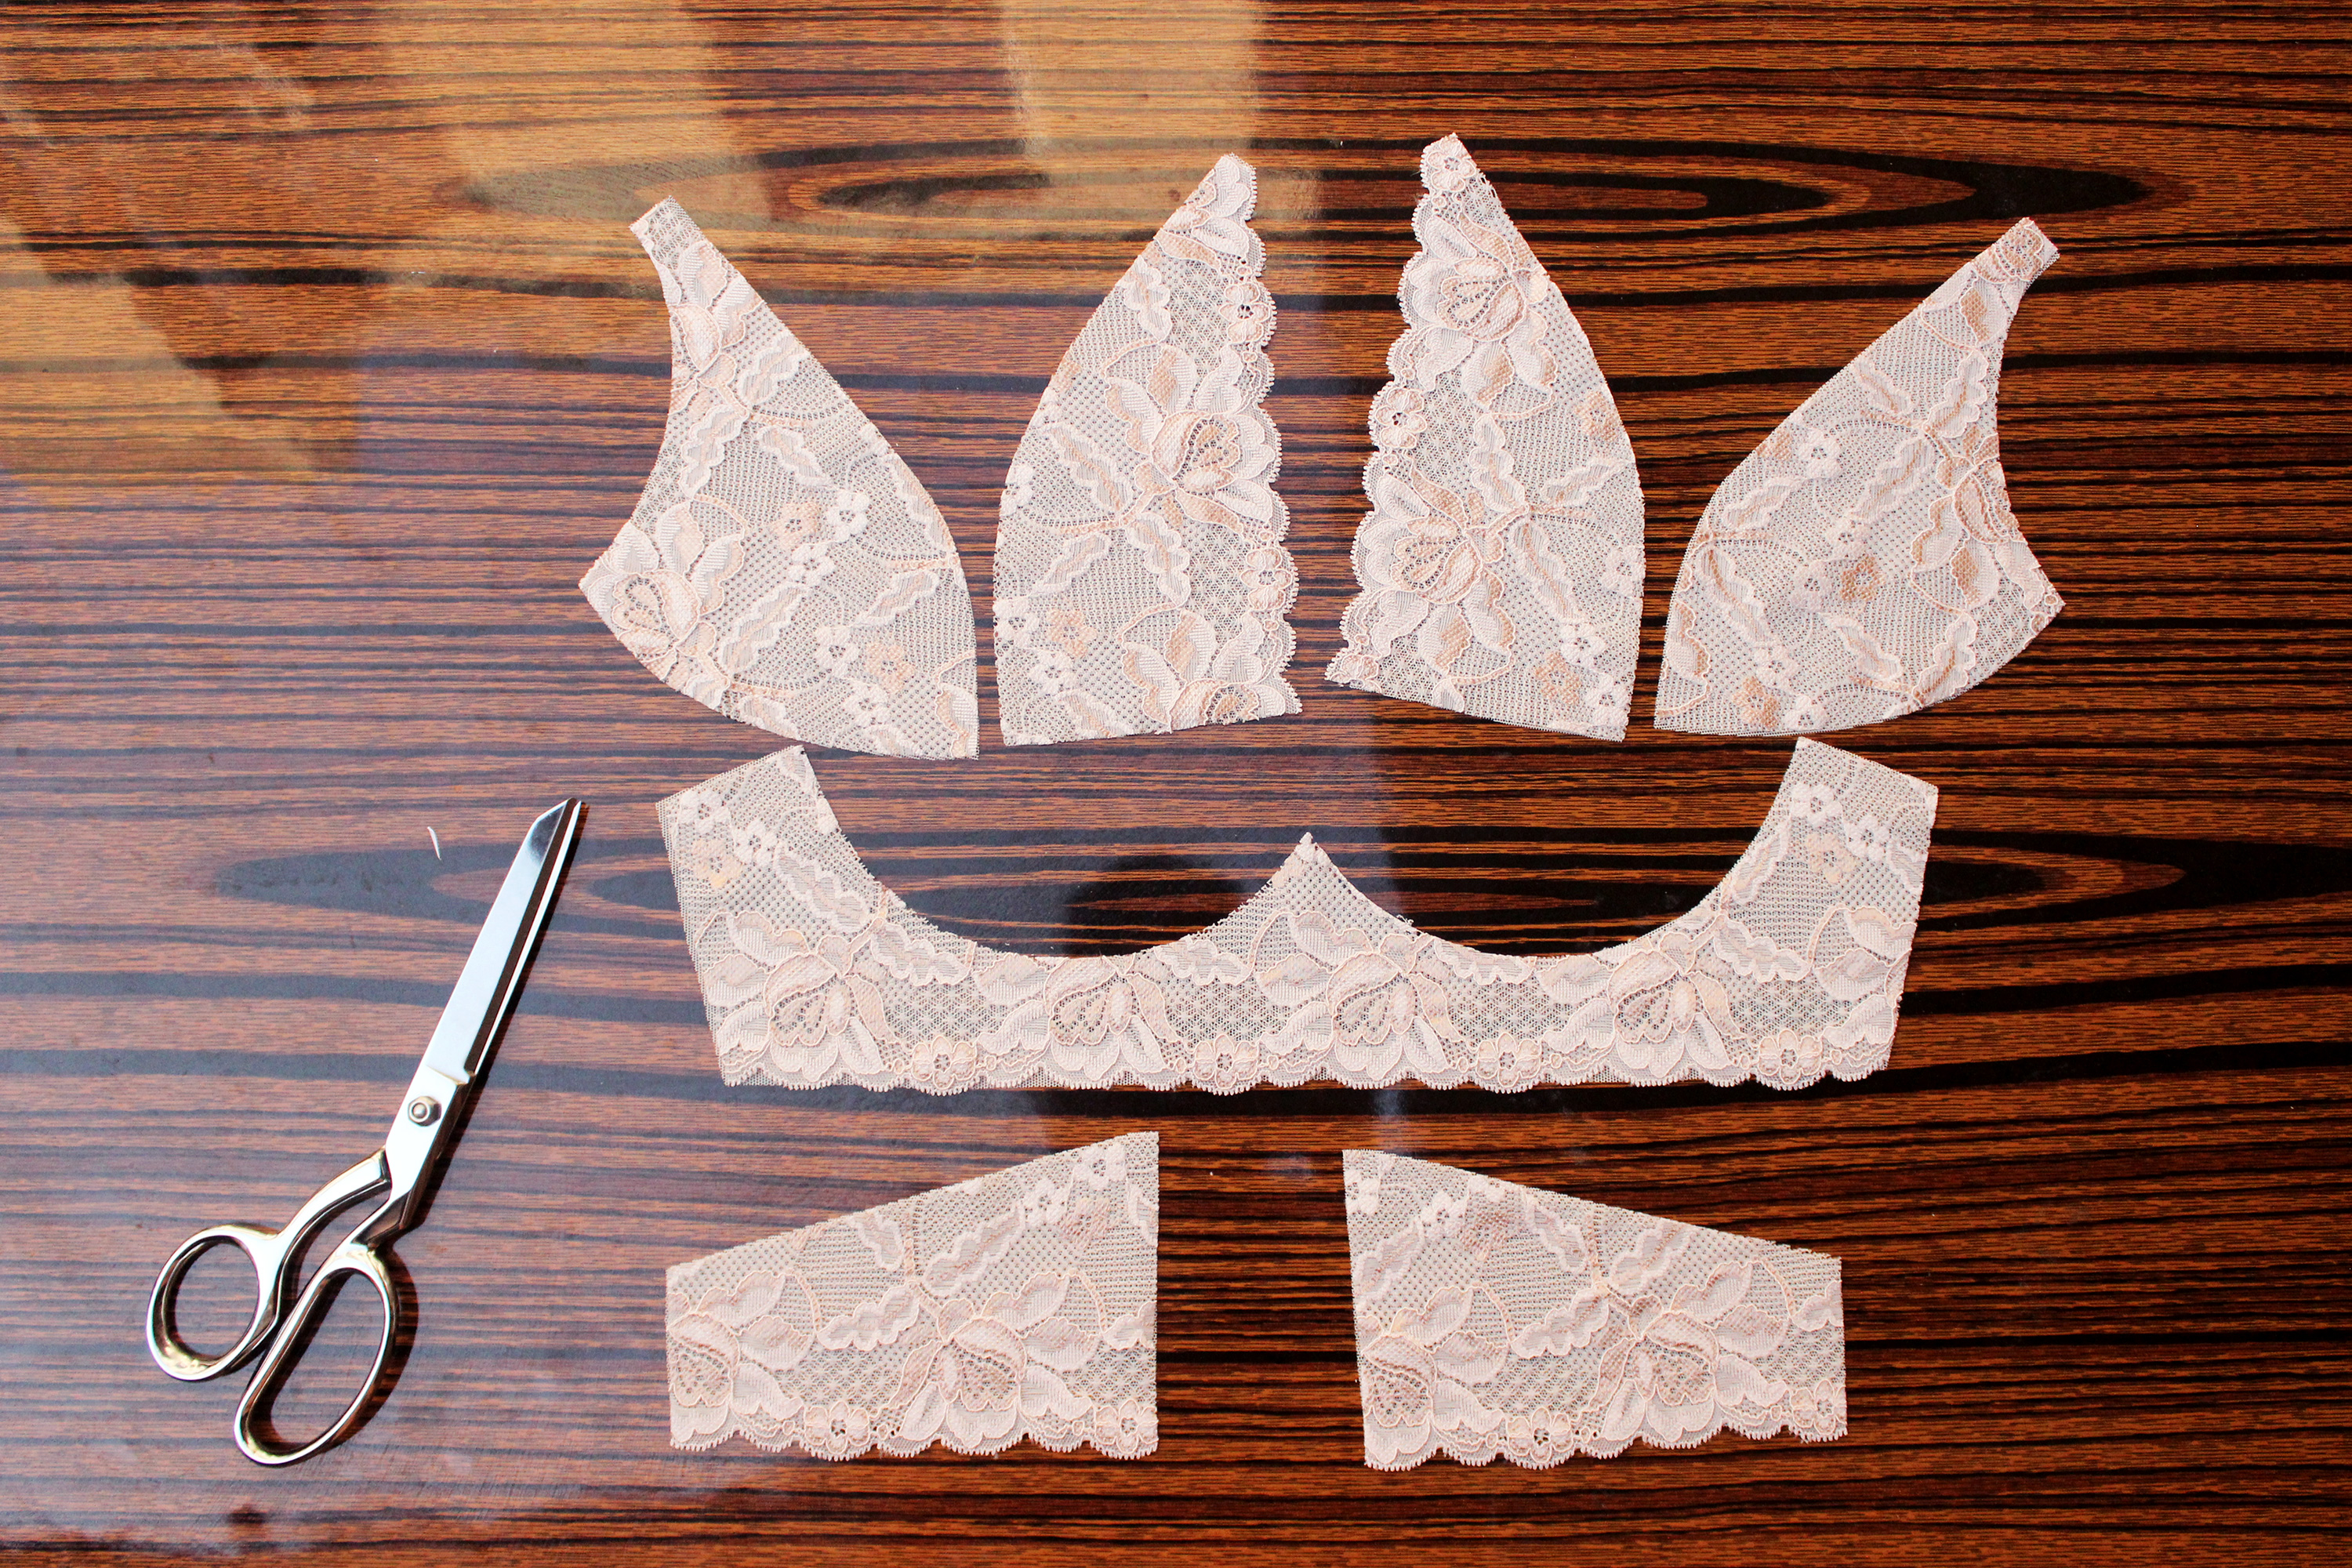
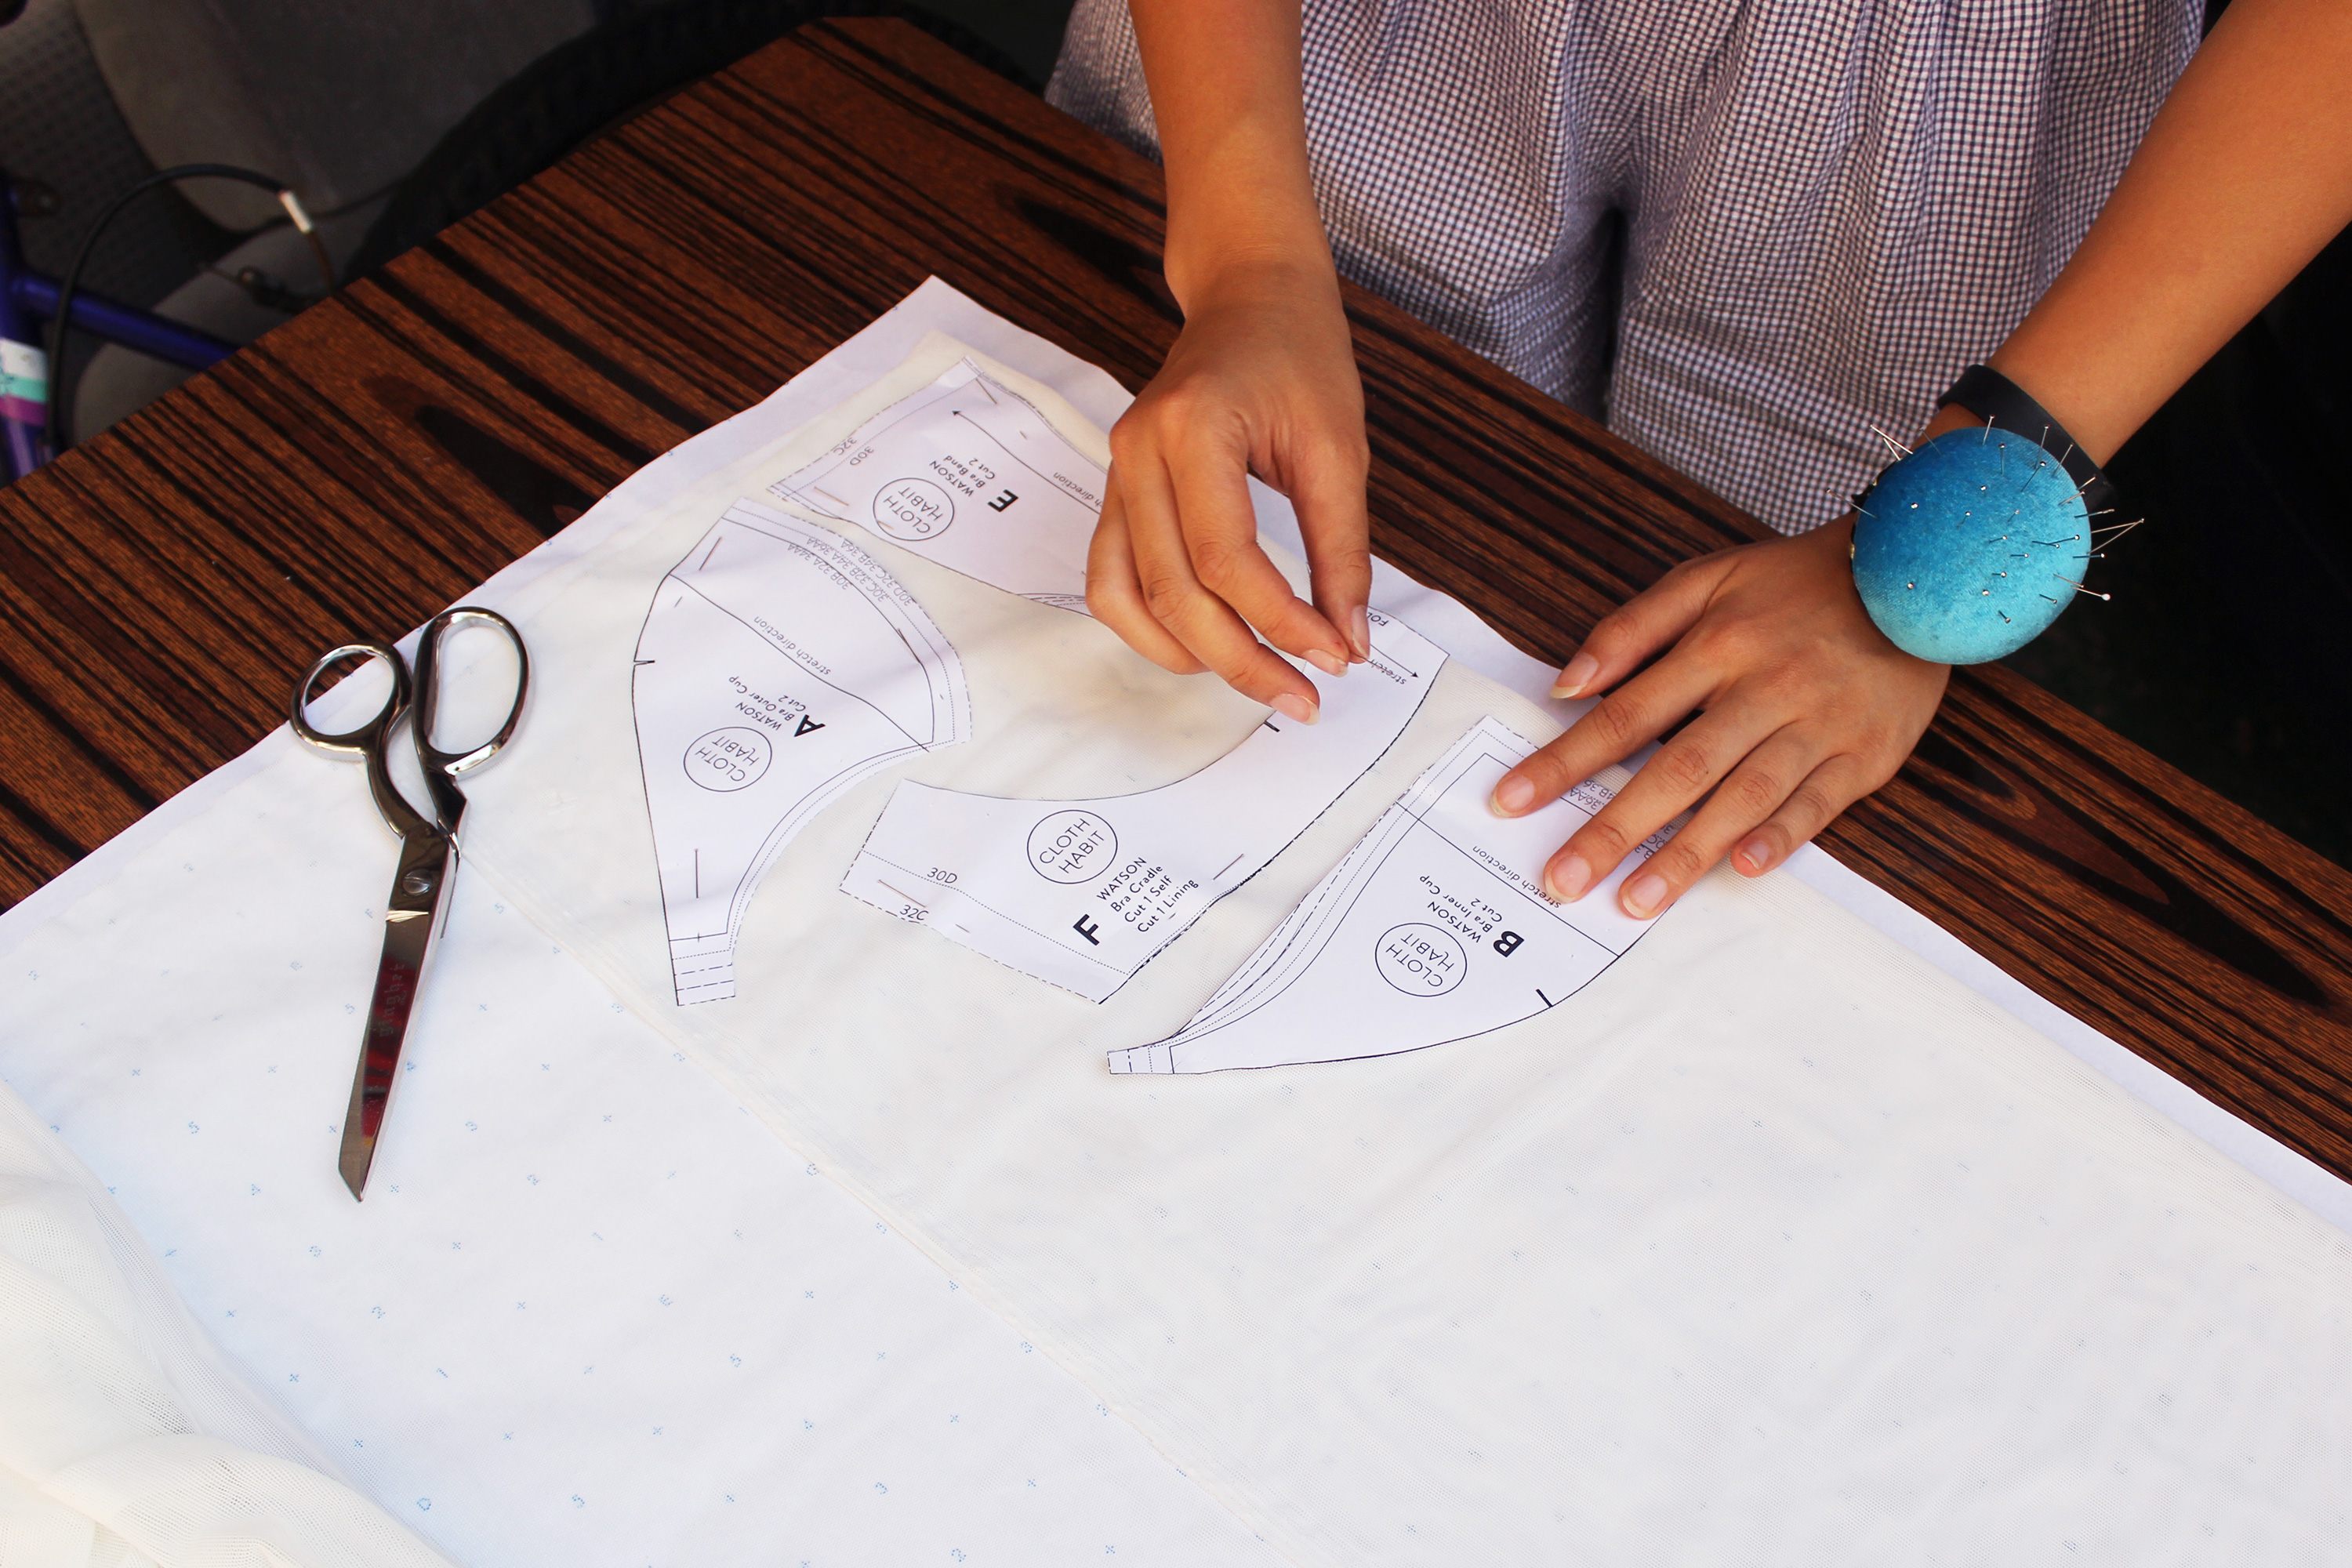
For this demo, I’m cutting out a Watson Bra on 6.25″ stretch lace and stretch mesh lining. I line the lace up with the dotted pattern paper so that the DOGS are parallel to a straight line on the pattern paper (usually the paper edge). With narrow stretch laces, it is often hard to get all your pattern pieces onto the lace according to DOGS. I generally lay out the pattern pieces in the way that best conserves fabric. Also, I always make sure that the back band is laid out according to its DOGS so that it can stretch around the body.
Pin minimally! It’s easy to distort the small pattern pieces. Ensure to pin the pattern pieces to the fabric AND the dotted pattern paper. For larger pattern pieces, I will also use pattern weights to keep the patterns in place as I cut. Bra patterns are often small so I usually don’t use the weights.
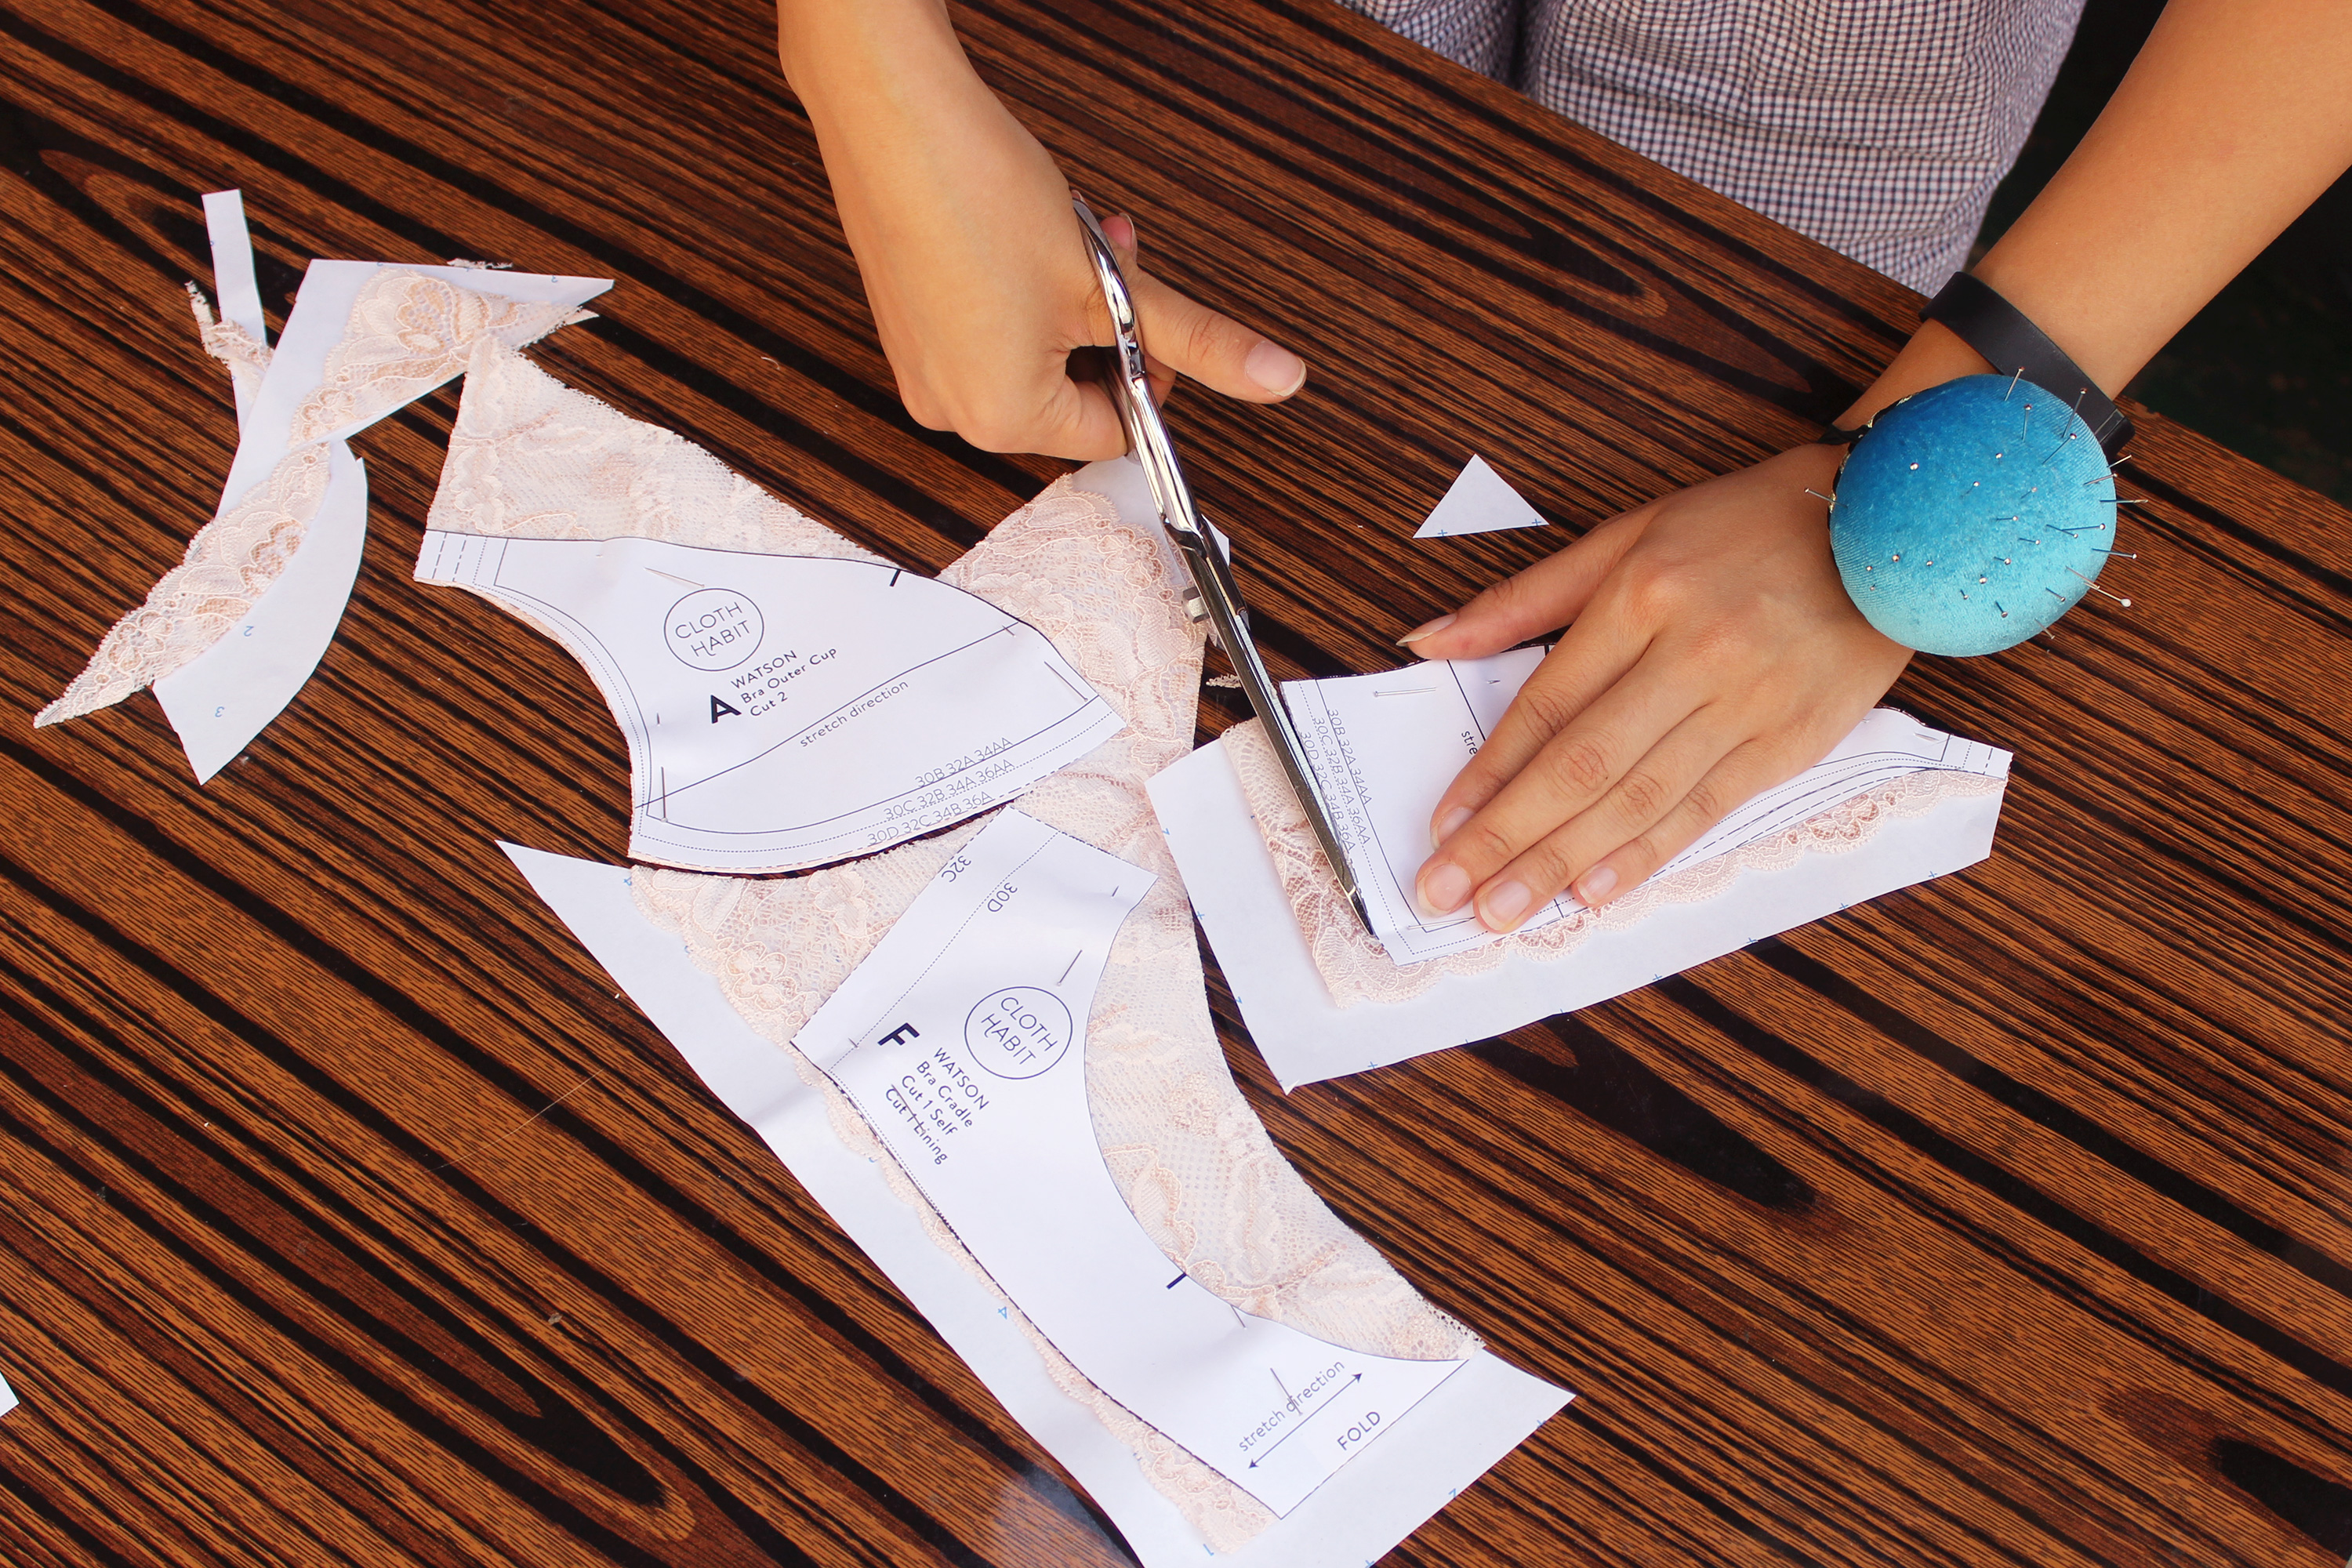
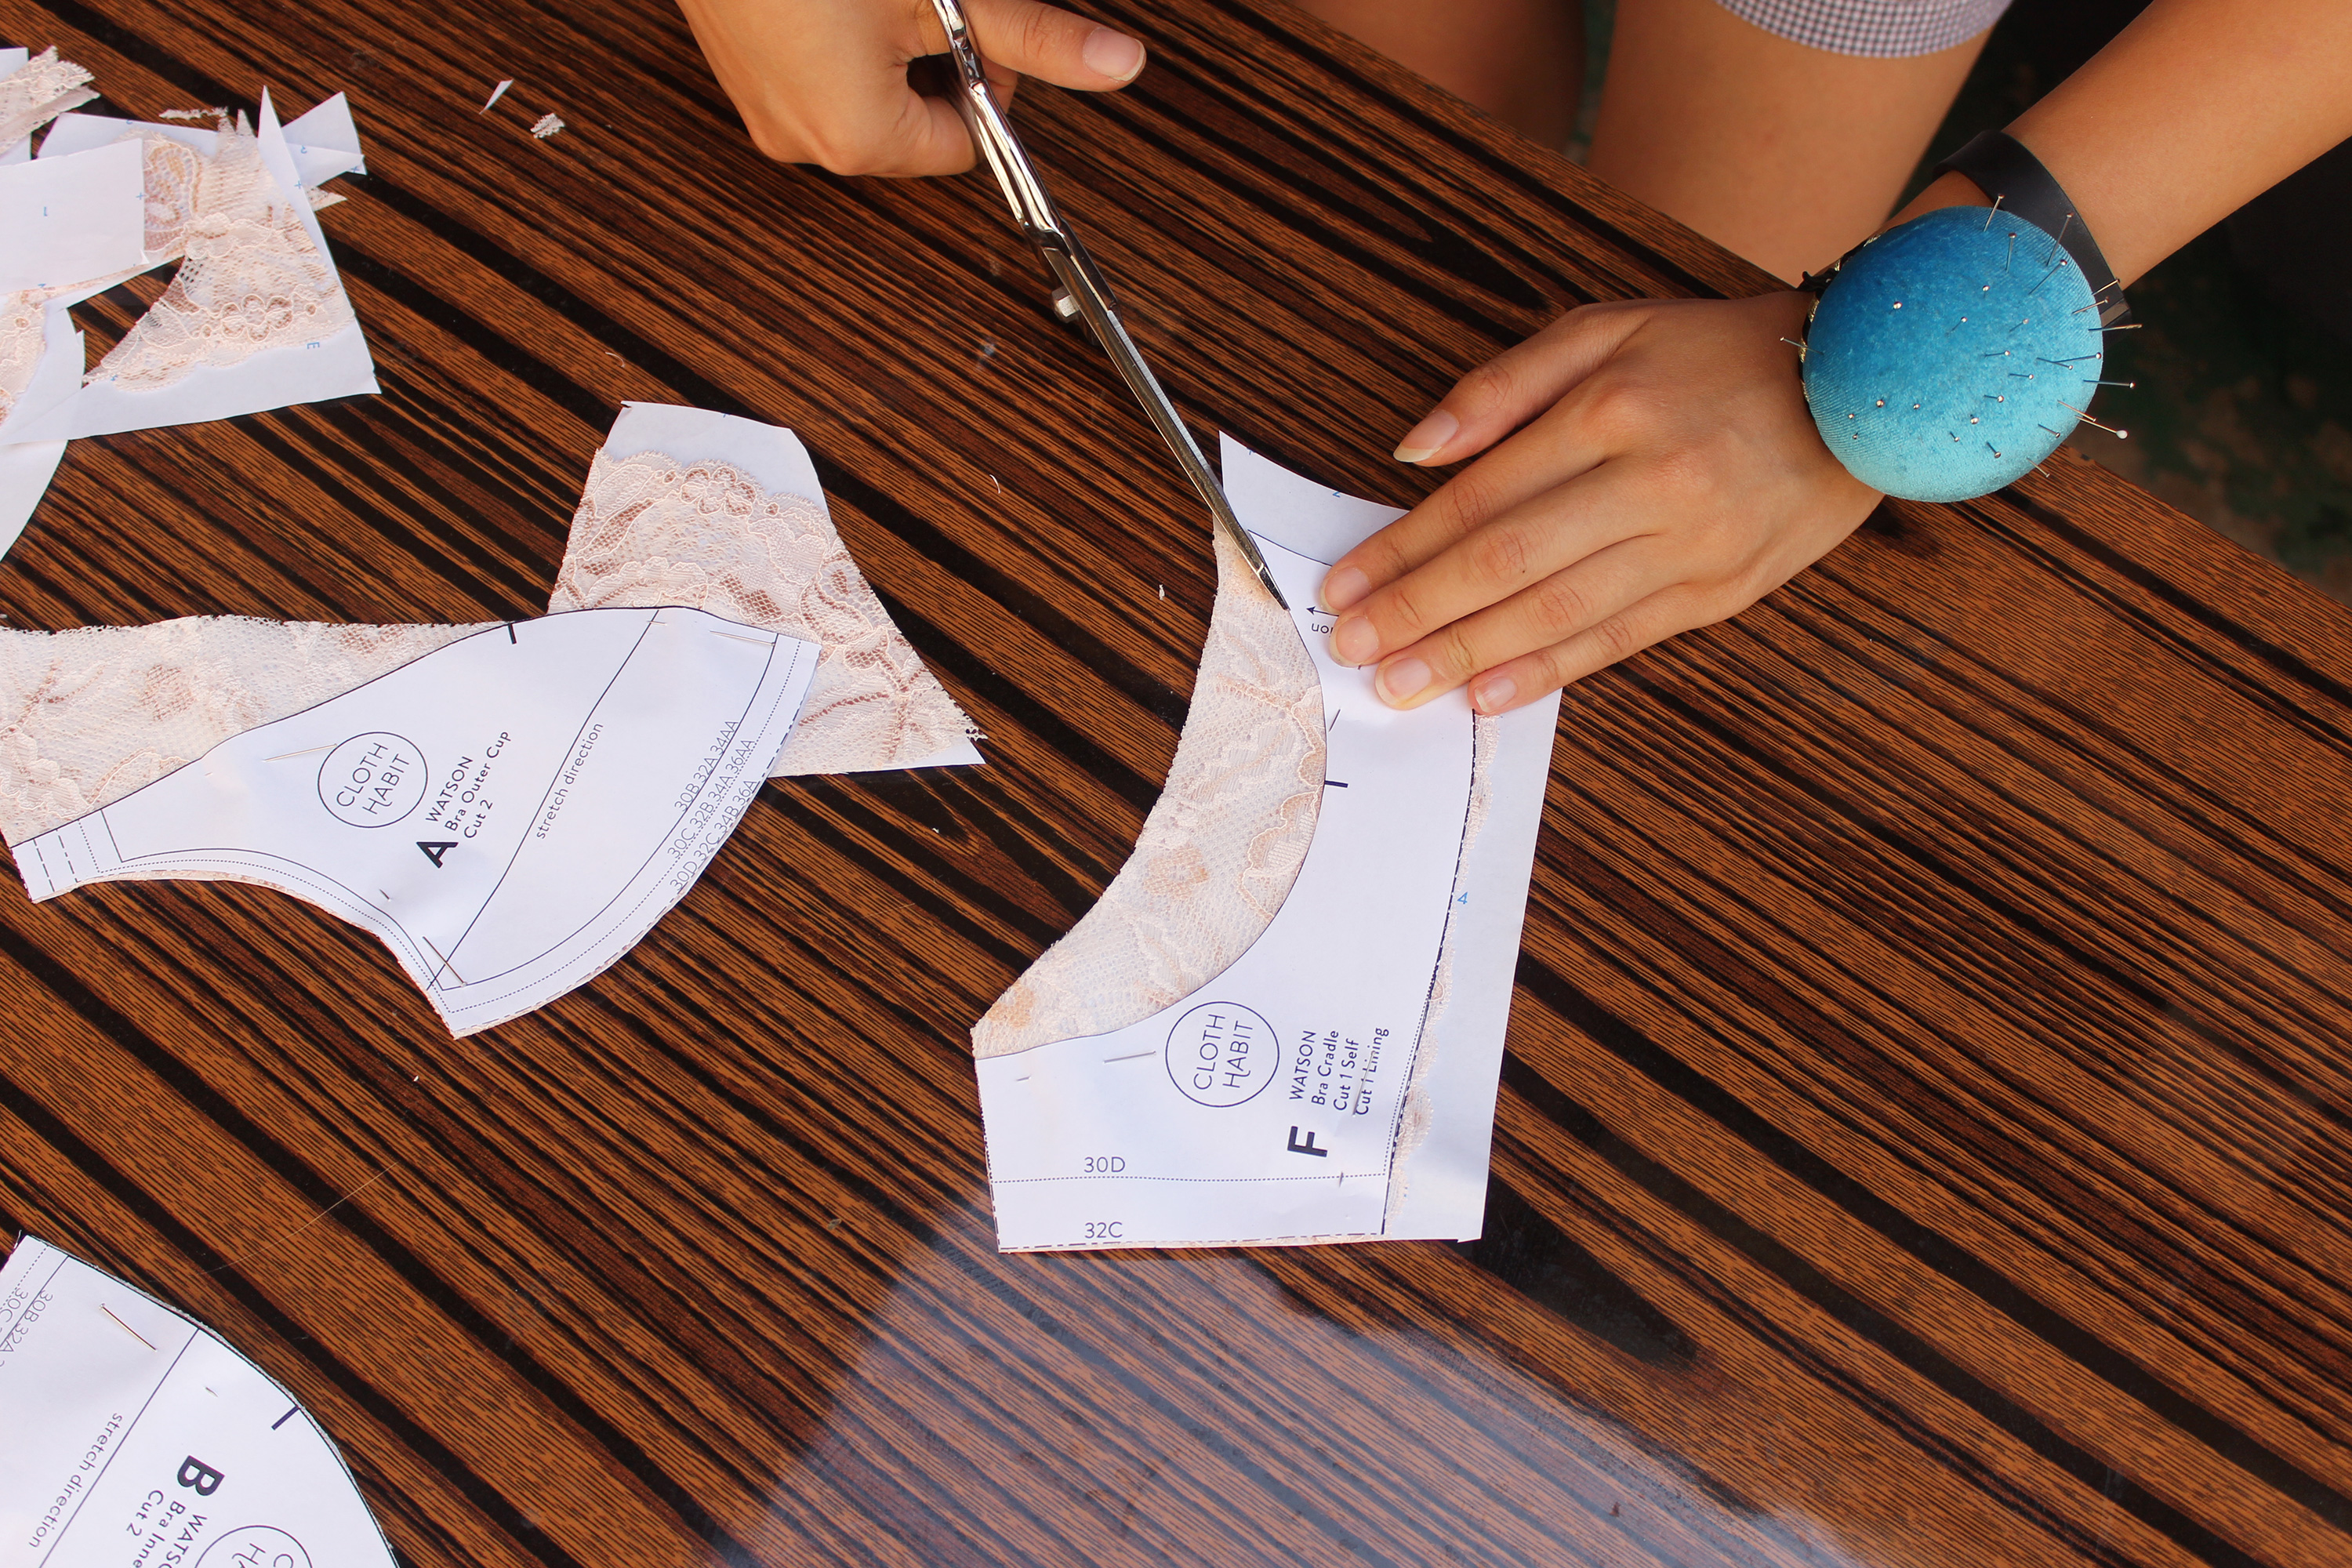
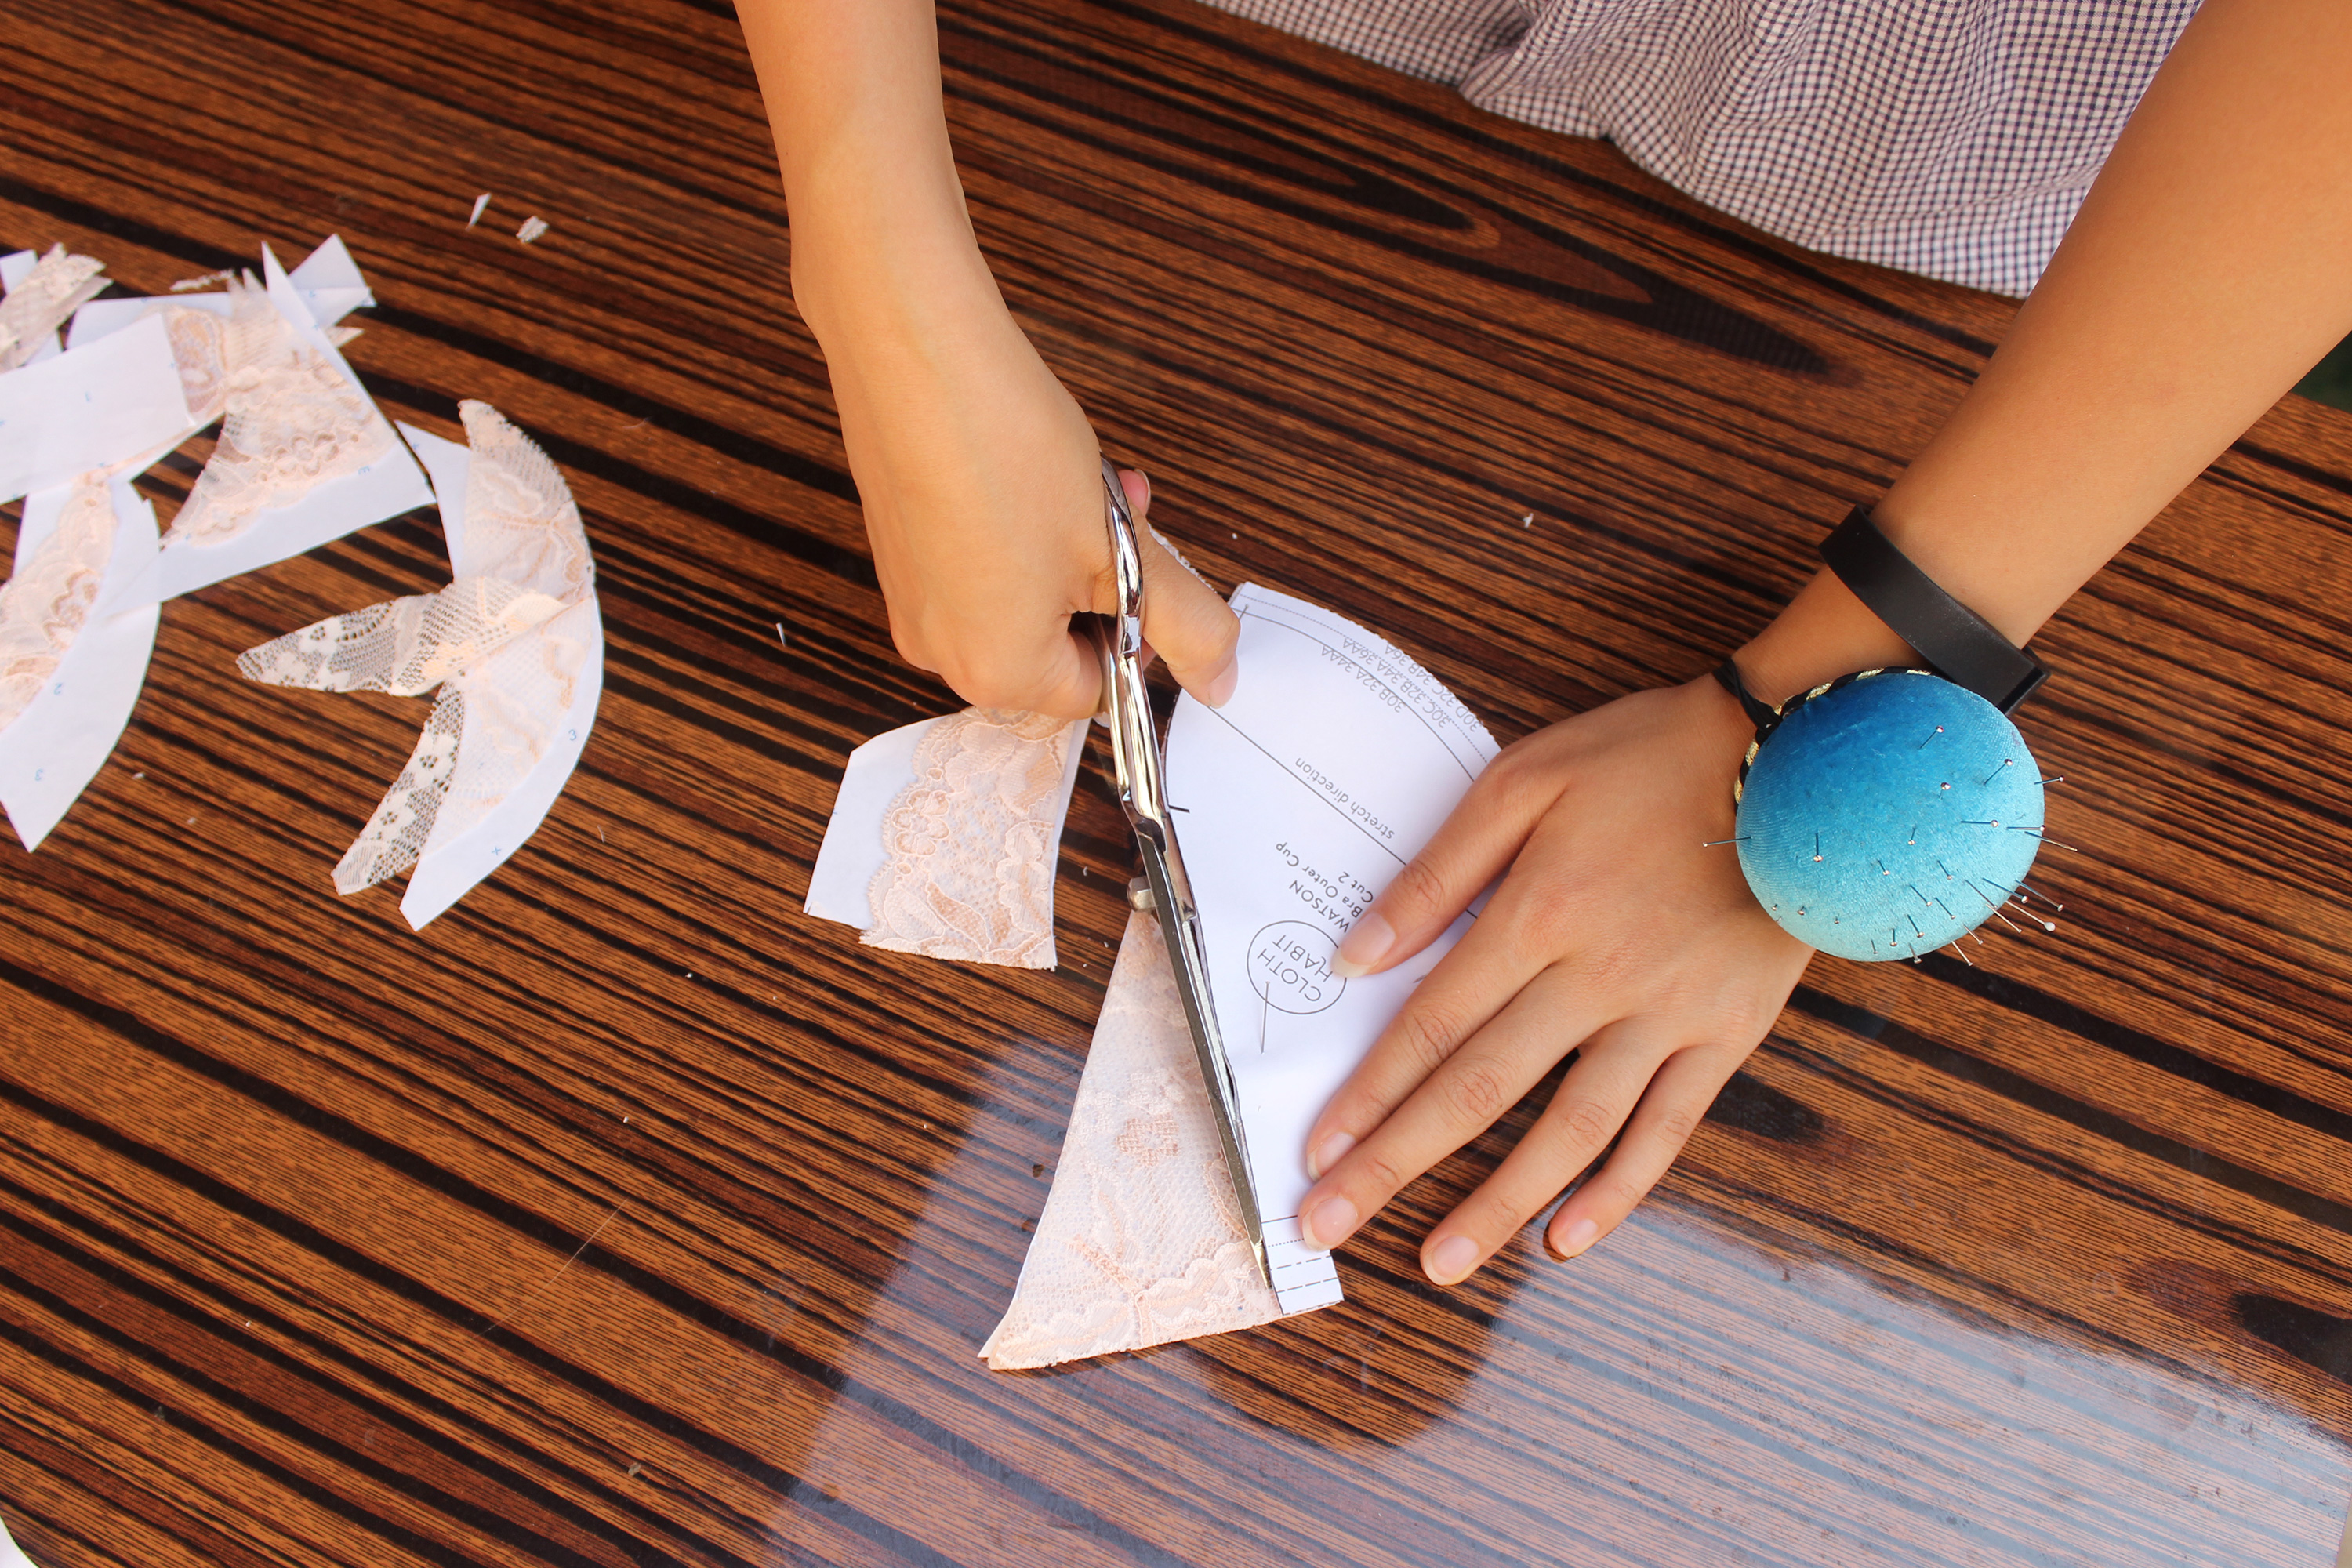
Start cutting! Always cut in the direction that feels natural to you. With this method, there is no need to contort yourself into unsavory positions to make a cut.
Move the combined unit of dotted pattern paper, pattern, and fabric around as necessary to cut comfortably. If you are worried about shifting the fabric or distortion, use a pattern weight to keep everything in place first before moving it.
Et voilà!
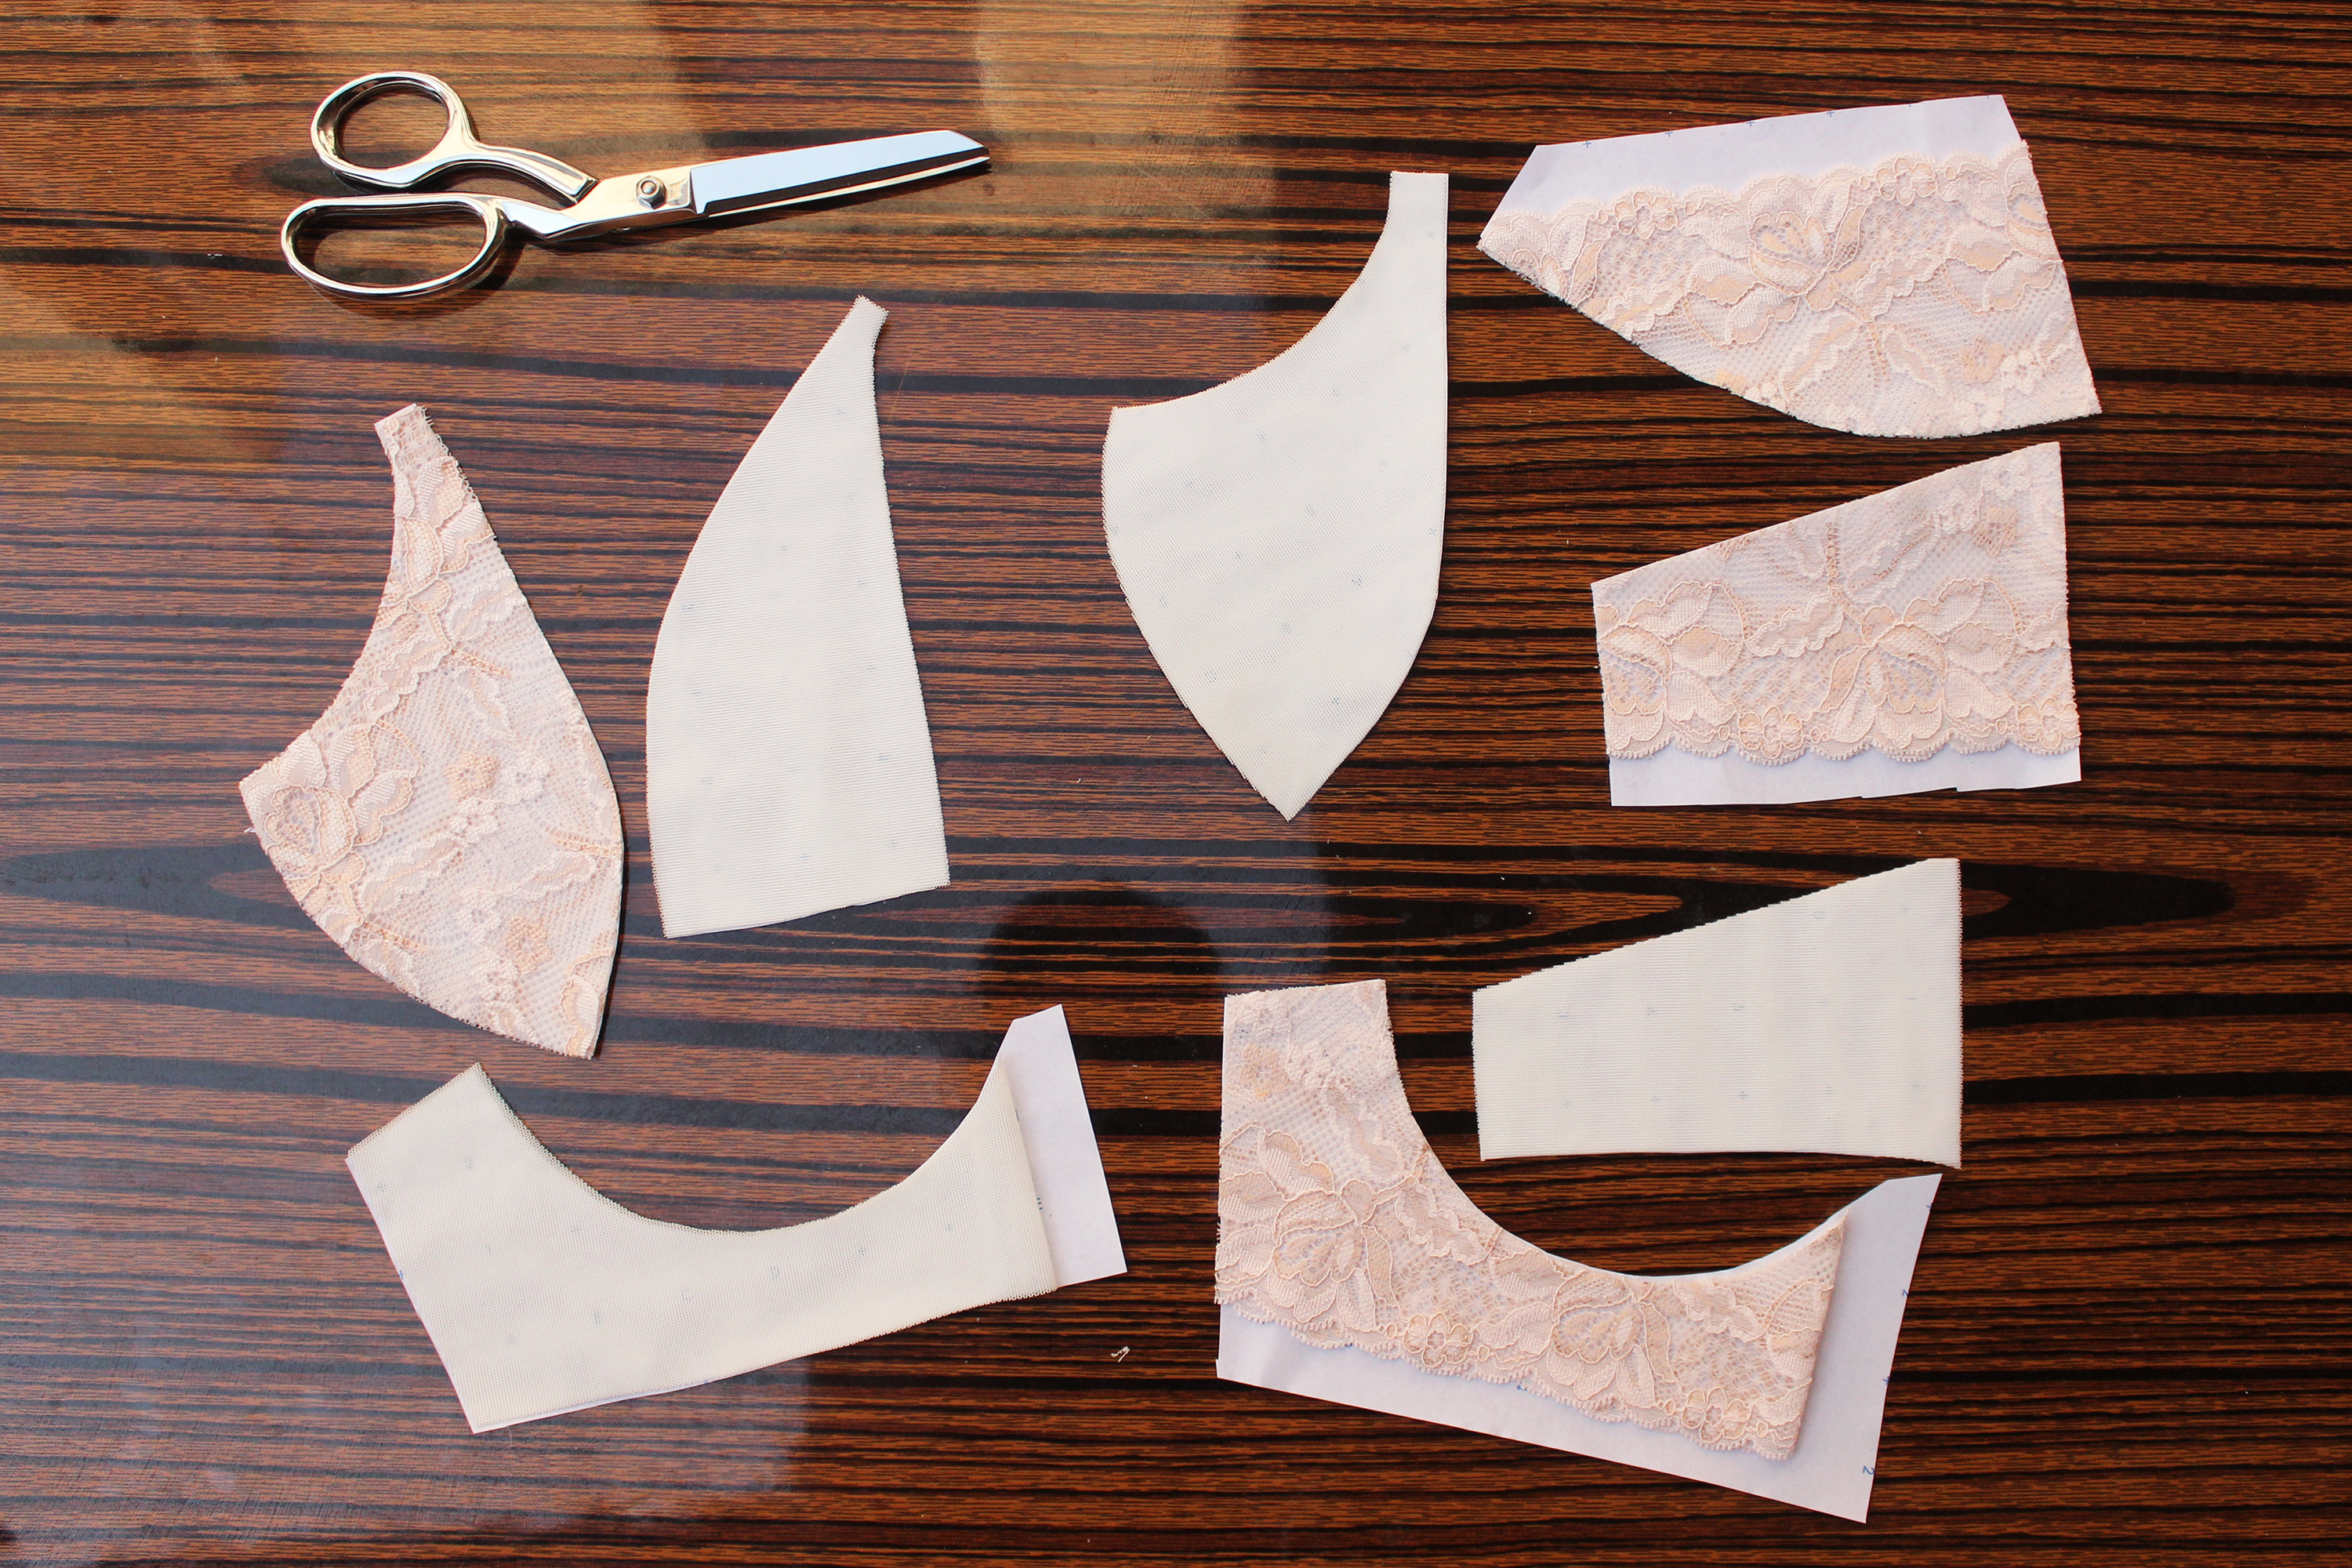
For the stretch mesh lining, I line the fabric up so that the straight grain line is parallel to a straight line (generally the edge of the paper). In this case, it also just so happens that the direction of the greatest stretch is also parallel to the straight grain line. Using the dotted pattern paper as a guideline, I lay out the pattern pieces according to their DOGS. Same method of pinning and cutting applies.
I really like this cutting method because it emphasizes accurate cutting and it’s great for slippery fabrics like silks. The downsides are that it’s somewhat wasteful and it dulls your fabric scissors quickly. (This is the reason why we are taught to generally never use our fabric scissors on paper.)
To see how this cutting method is applicable to larger patterns such as garments, check out Grainline Studio’s post Tip + Tricks | Cutting Silk . This is pretty much the method I use to cut ALL fabrics. It’s really satisfying to cut through layers of paper and fabric and get really clean and accurate cuts! Give it a try and let me know what you think!
3 Comments
Lori Strout
March 9, 2017 at 10:25 AM
I cut my patterns the same the only difference I iron my uncut pattern to butcher paper first then cut it out. It makes the pattern stiff and I can cut the same pattern multiple times and I punch a hanger hole on the pattern so I can hang them in a closet for storage
Priyanka Saxena
July 29, 2017 at 8:27 AM
Hi, does this mean that you have another paper under the fabric, folded fabric, and then cut. So you have pattern on top, then 2 layers of fabric and then another paper? Please advise.
tailormadeblog
August 11, 2017 at 2:01 PM
I only have one layer of paper and then the fabric and then the pattern pieces on top. The fabric is double layered because it’s folded but you can cut on a single layer of fabric too.