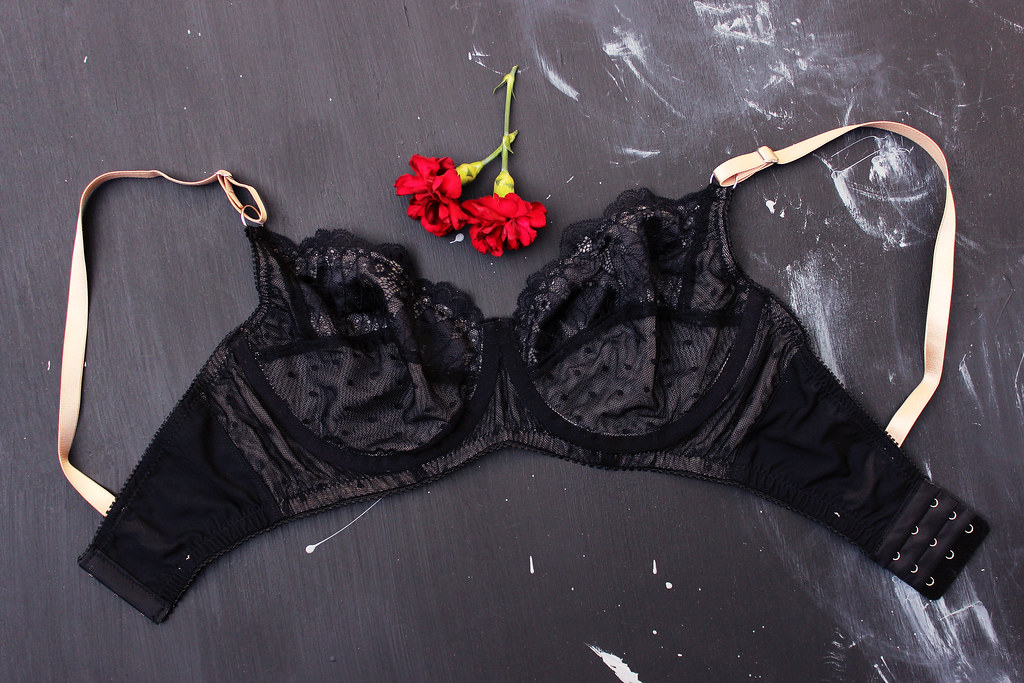
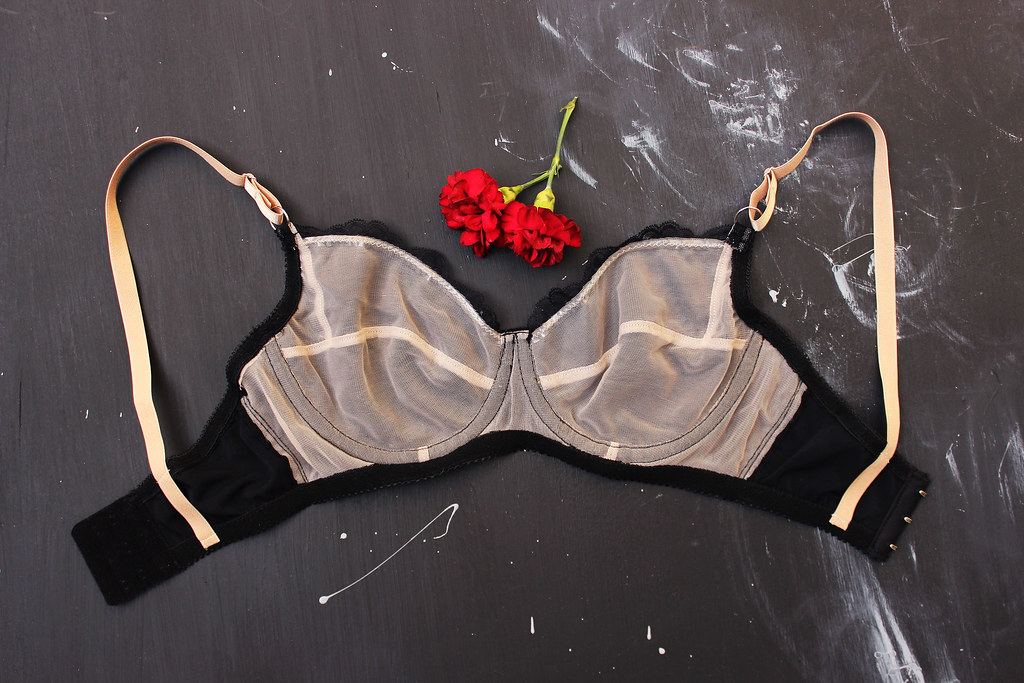
DIY: Black/Beige Marlborough Bra w/ Modified Cup Seam & External Channeling Application
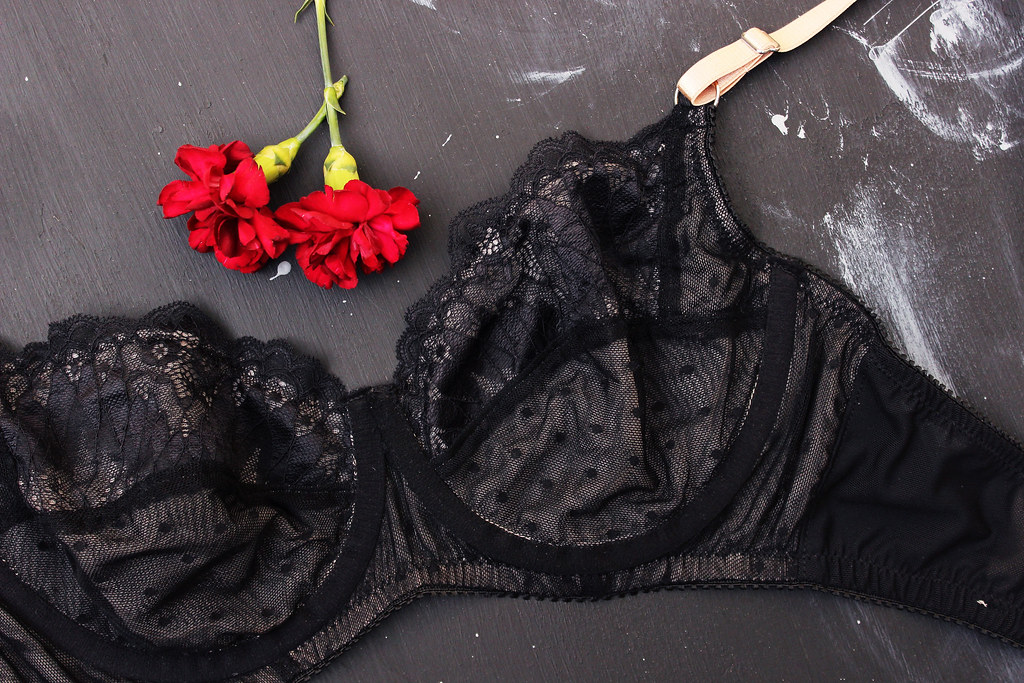
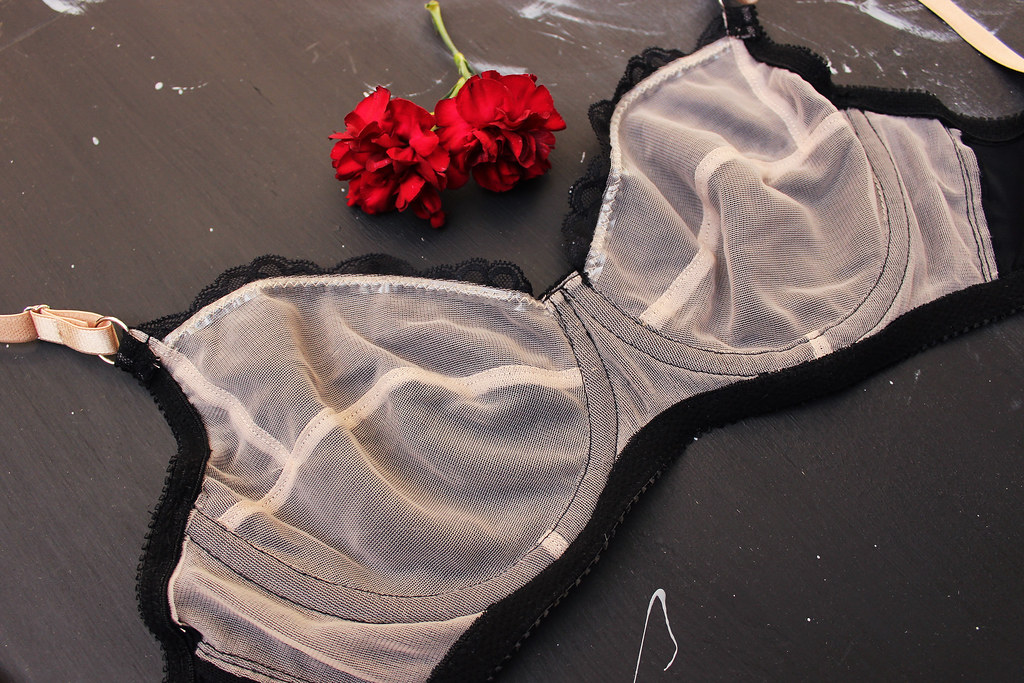
Last year, I modified the Marlborough Bra cup so that it has a horizontal cup seam with split lower cups. This time, I decided to adjust the style lines so that there is a lower cup and split upper cups.
If anyone is interested, this is how you do this particular cup seam modification.
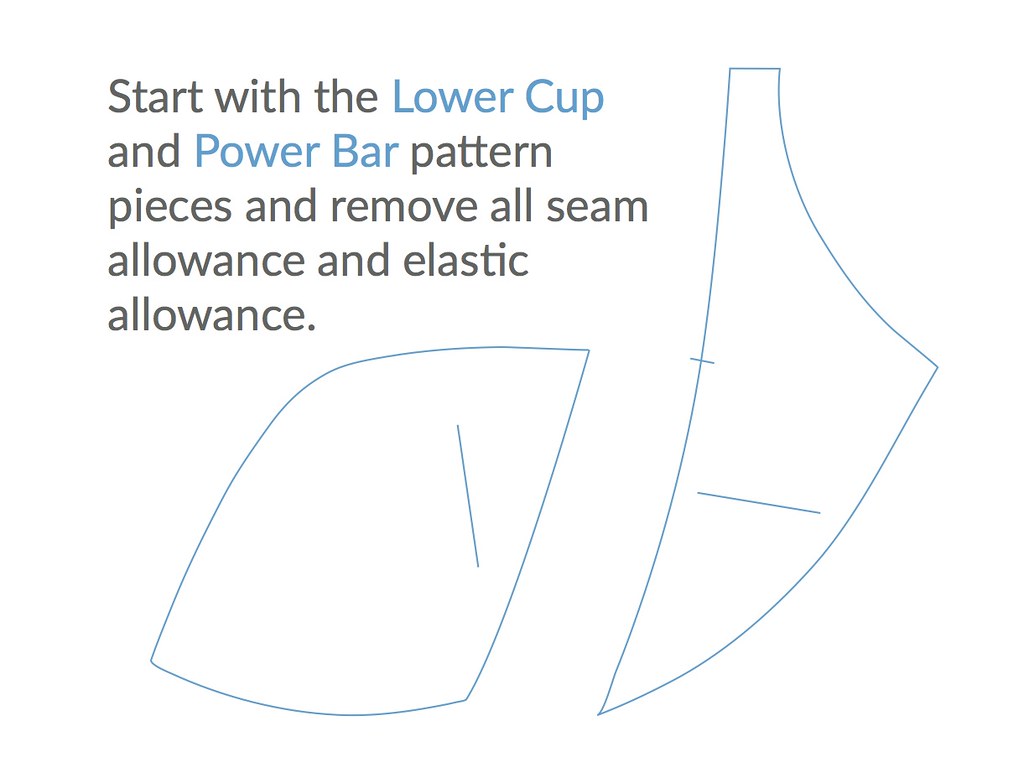
First start with the lower cup and power bar pattern pieces. Remove the seam allowance and elastic allowance.
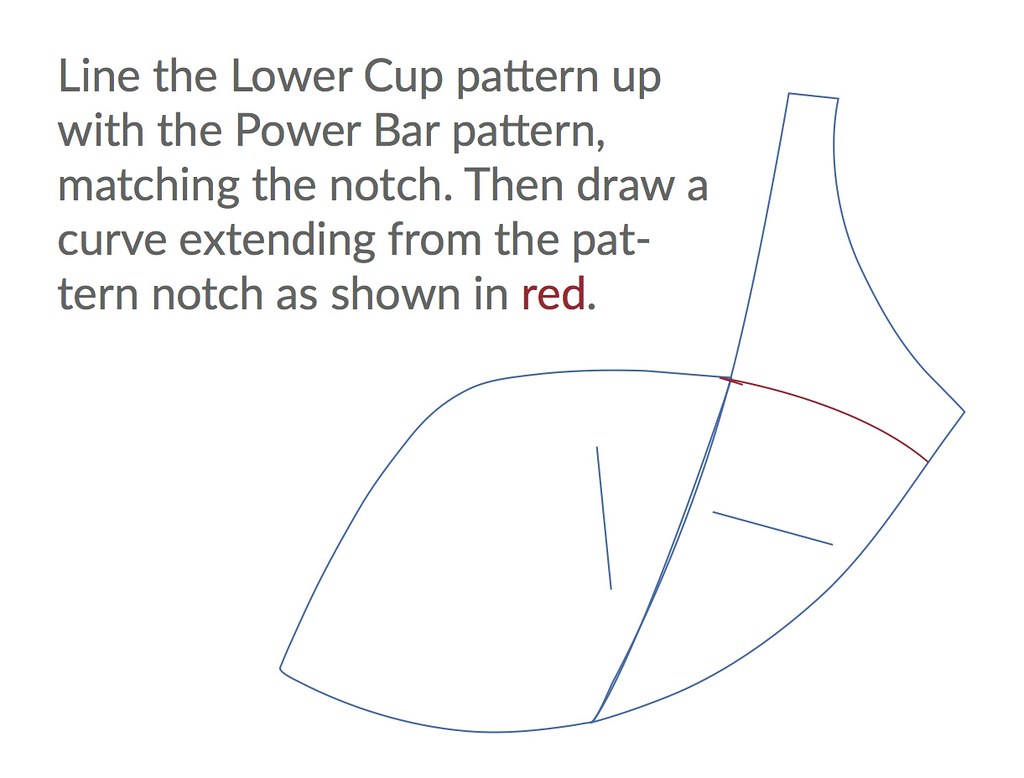
Line the Lower Cup pattern up with the Power Bar pattern, matching the notch. Then draw a curve extending from the pattern notch as shown in red.
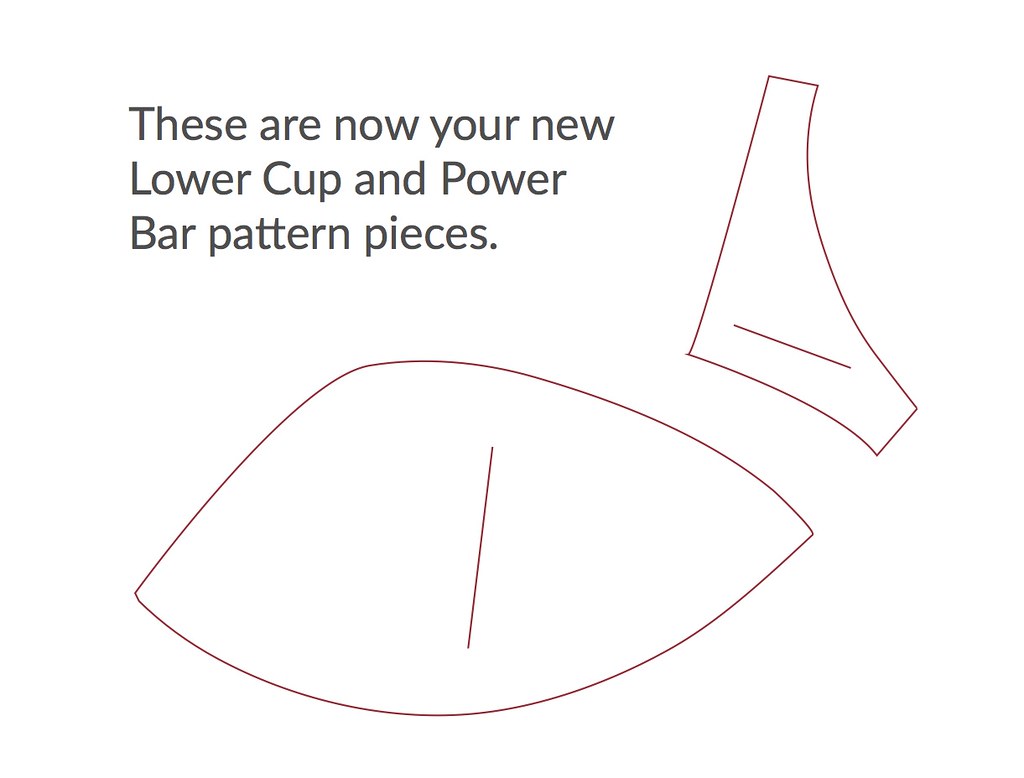
These are your new Lower Cup and Power Bar pattern pieces. (BTW, I’m not sure that piece is a power bar anymore. Can anyone with bra making expertise weigh in on what that piece is technically called? Side upper cup?)
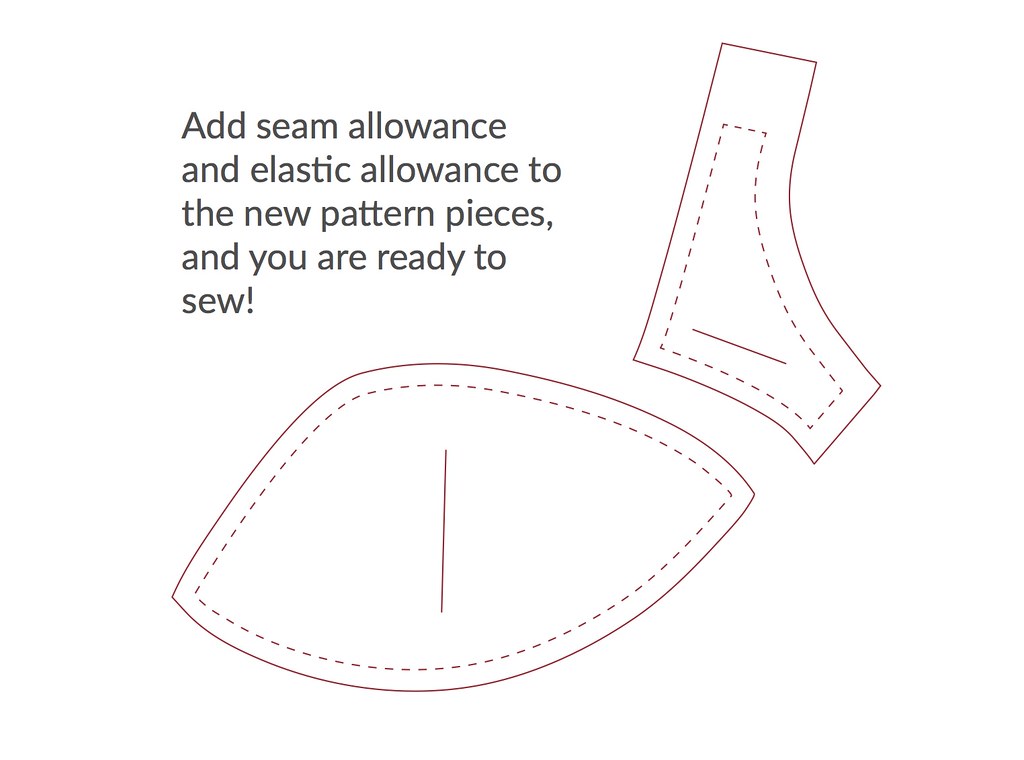
Add the seam allowance and elastic allowance back and you are now ready to sew!
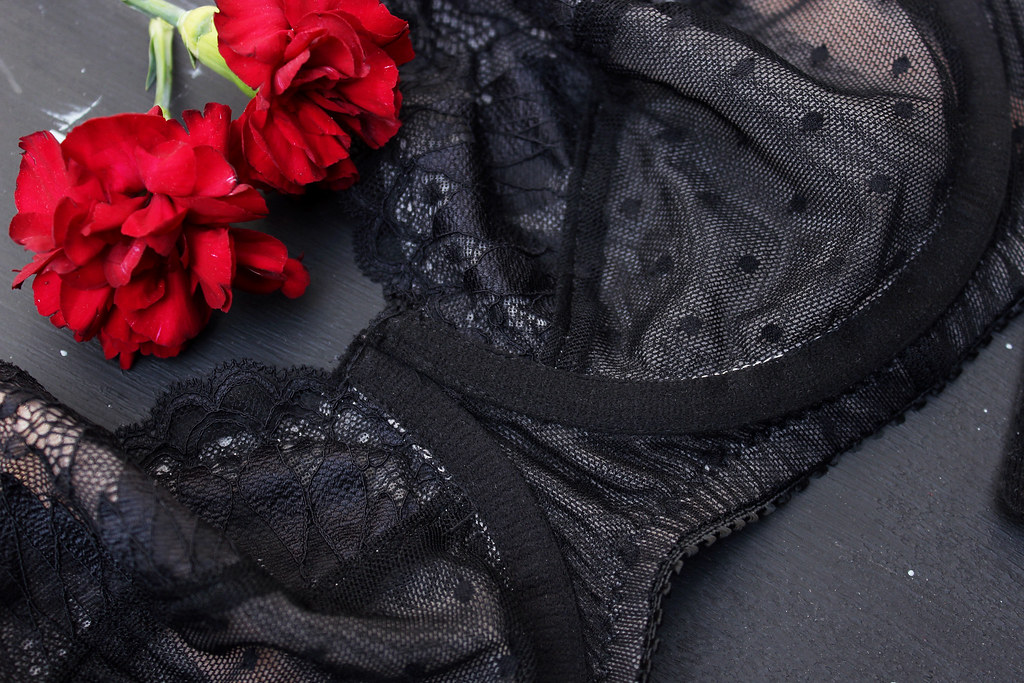
For this modified Marlborough Bra, I also decided to apply the bra channeling on the outside. I’ve seen it done on RTW bras, and I wanted to give it a try. The process is straight forward. Sew the bra cups into the frame with the seam allowance on the right side. Then apply channeling as you normally would on the right side of the bra. I thought this was a pretty cool technique.
Have you ever tried applying channeling on the right side of the bra? How did it go? Did you like the result?
Bra Pattern: Marlborough Bra
Lace: Tailor Made Shop
Dot Mesh Fabric: Tailor Made Shop
Sheer Cup Lining: Tailor Made Shop
Power Mesh: Tailor Made Shop
Rings & Sliders: Tailor Made Shop
Elastics: Tailor Made Shop
Hook & Eye: Tailor Made Shop
Channeling: Tailor Made Shop
