Sew Comfy Bra Sew-Along – Part 1: Pattern and Sizing
Hello beautiful bra-making family! Welcome to this Sew Comfy Bra Sew-Along with me, Joy Mao—fashion designer and bra-making beginner, as well as a long-time friend of Ying / Tailor Made Shop. Stoked to be here with you all!
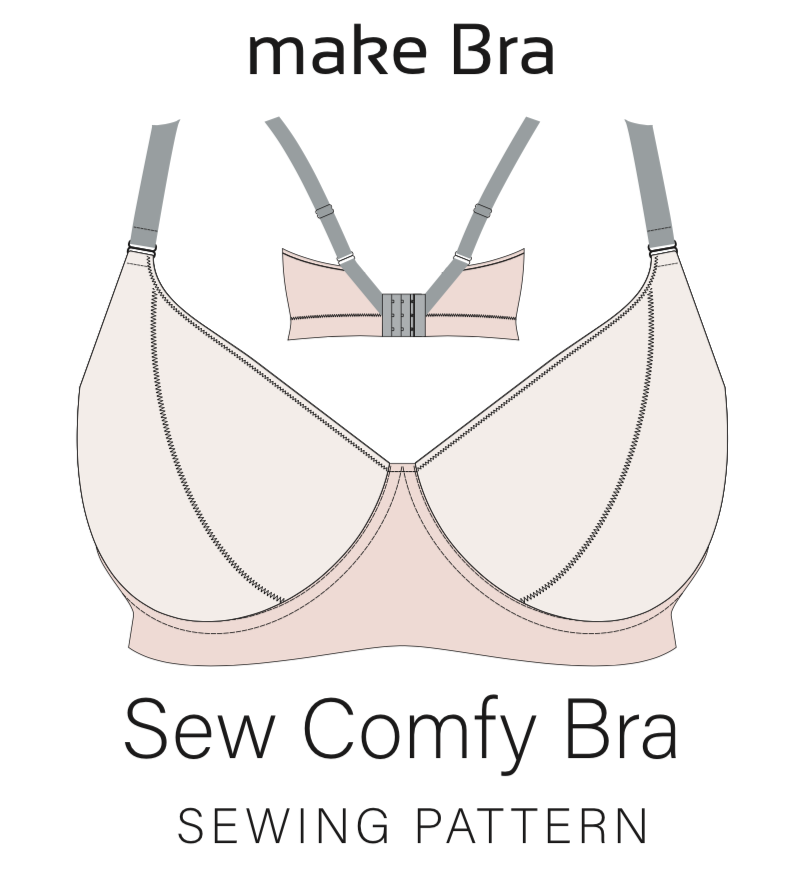
In this Sew-Along, I’m tackling Make Bra‘s Sew Comfy Bra, a pattern created for stretch fabrics with good recovery (usually something with lycra or spandex content) and featuring a diagonal cup seam.
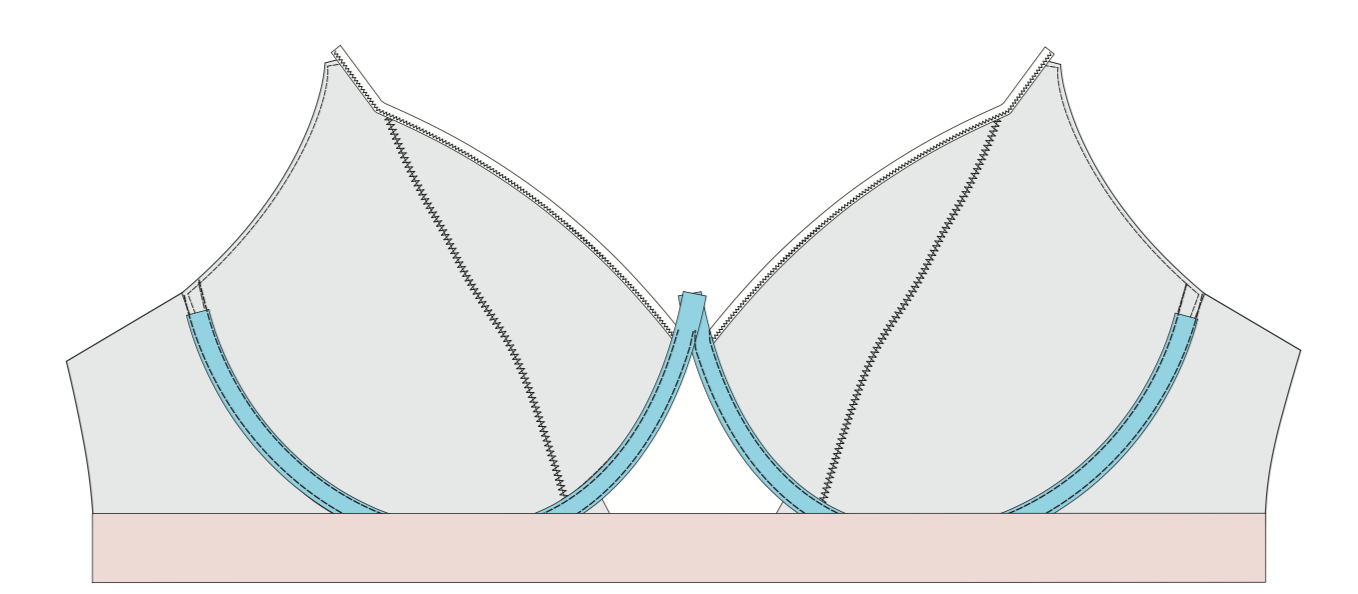
The Sew Comfy Bra is a full coverage style underwire bra, engineered to be smoothing and natural. The cup’s design brings out a beautiful, round and forward-facing shape.
This bra is designed for fabric with good stretch like Lycra or Spandex. When using fabric with these properties, you’ll get the most comfortable bra without compromising on support.
From Make Bra’s description of the Sew Comfy Bra
There are somehow only 4 pieces to the pattern, and it promises to be extremely comfy—we shall see about that, won’t we?!
Choosing Your Starting Size
The sizing for this pattern was unlike any I had seen before (in my limited bra-making experience), so it took me a little while to figure out which pattern size to start with.
Back in November, I made Emerald Erin’s Black Beauty Bra. Based on the measuring guides for the Black Beauty Bra, my starting size was 30D. But based on the Sew Comfy Bra’s measuring guide, I was a 28AA?!
Different pattern-makers will often have different approaches to sizing, so it’s important to follow each pattern’s measuring guides to determine which size to start with.
Choosing Starting Size From Measurements
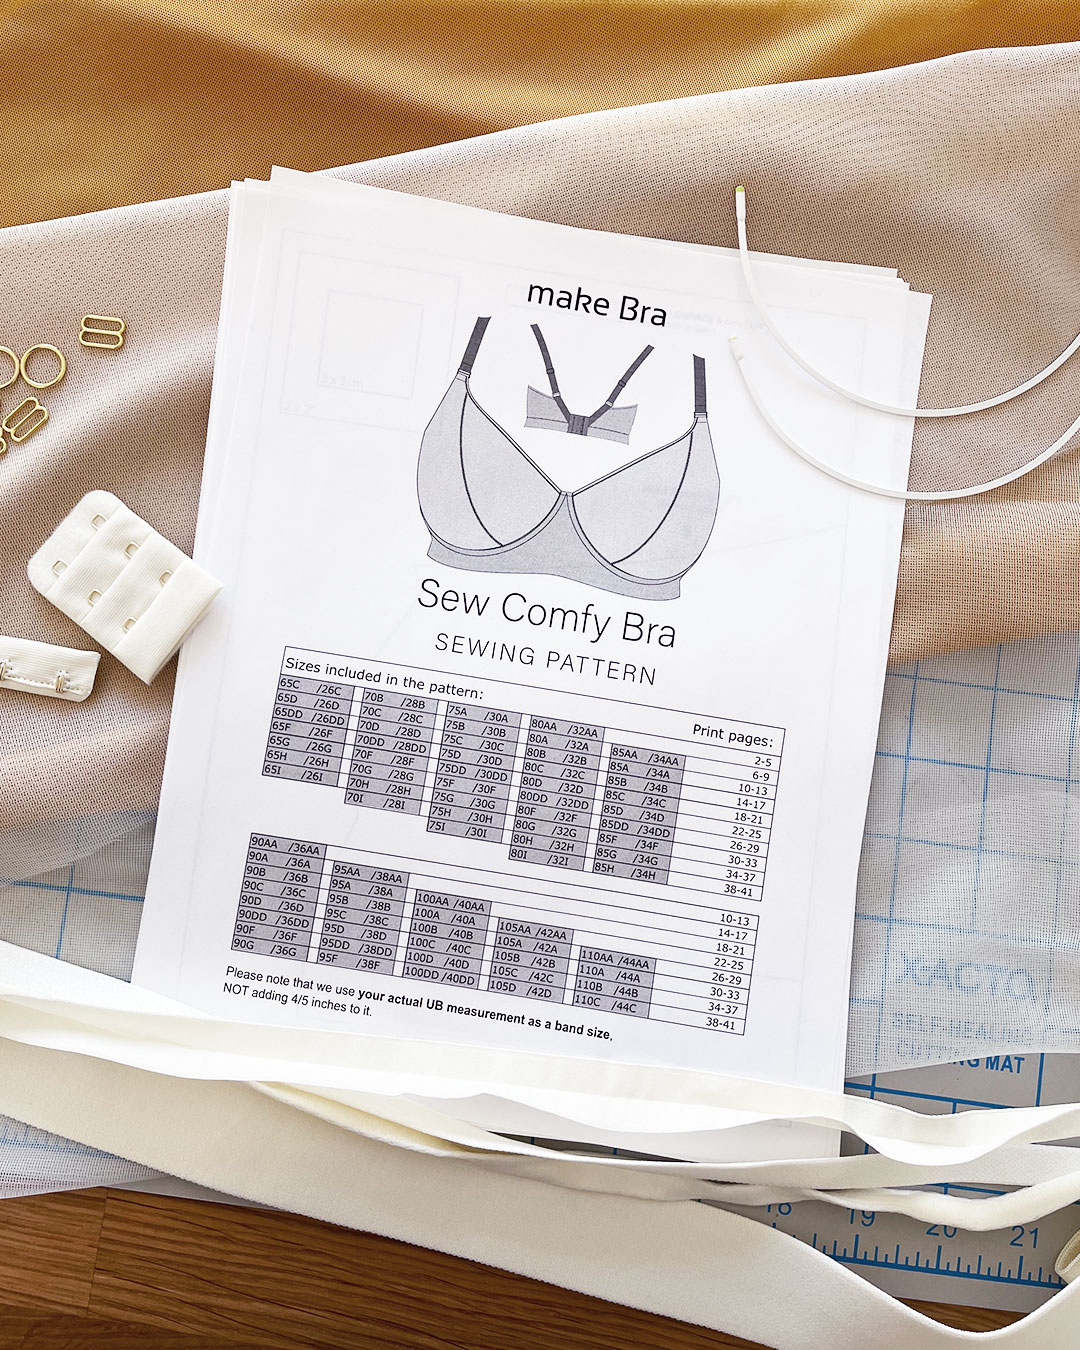
For the Sew Comfy Bra, you take two measurements to help determine your starting size:
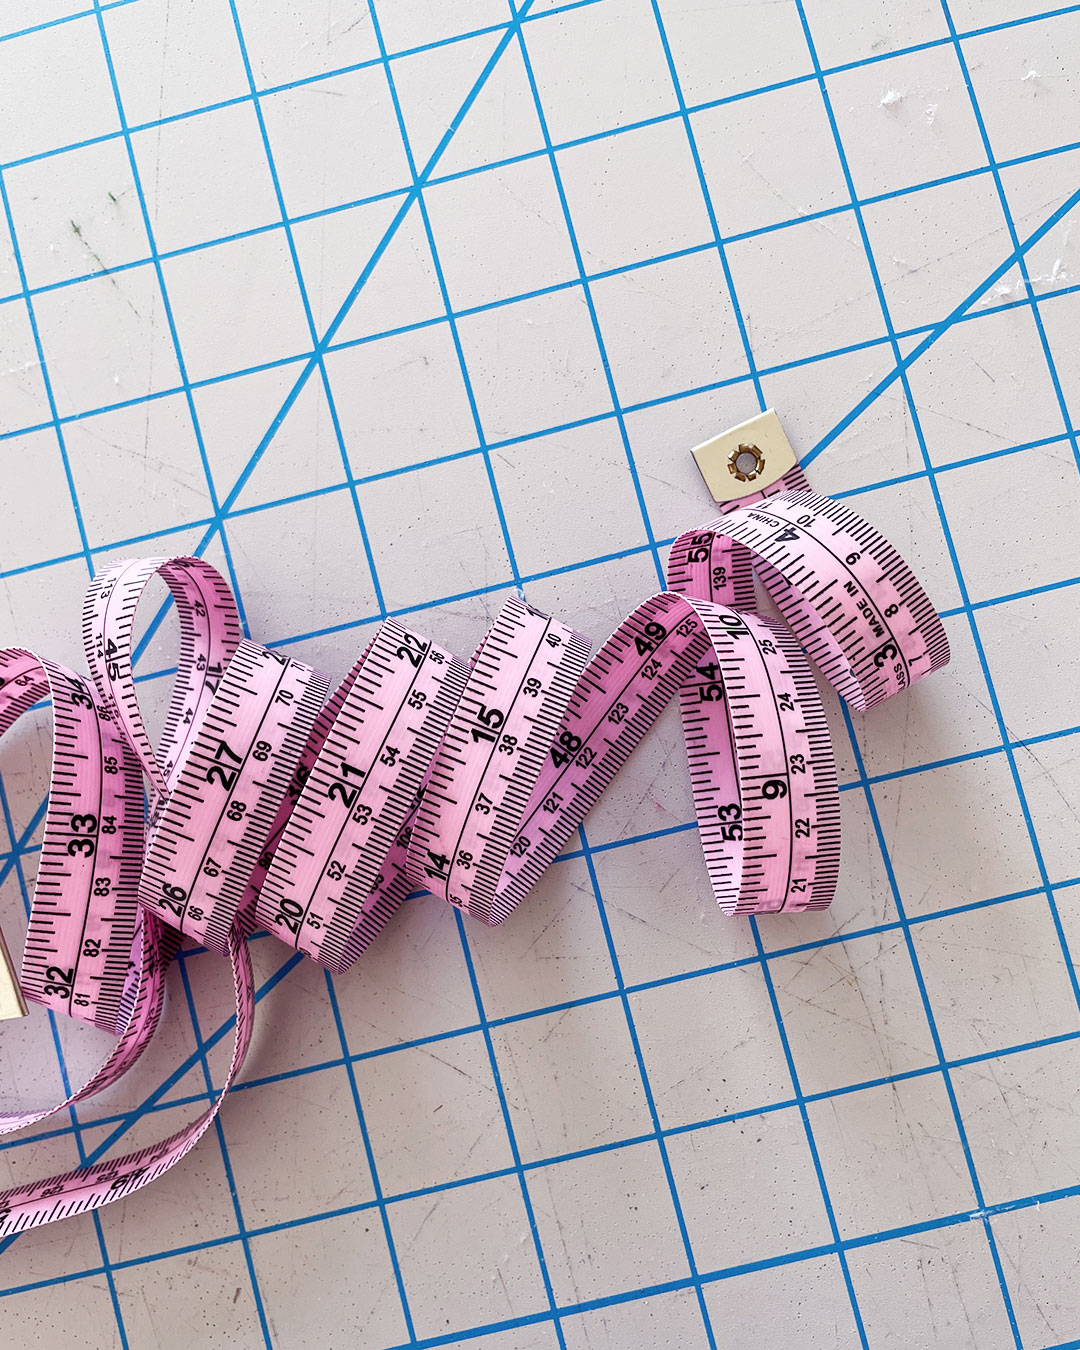
- Full Bust (FB) – While wearing a bra, measure over the fullest part of your bust.
- Under Bust (UB) – Without wearing a bra, measure directly under your bust.
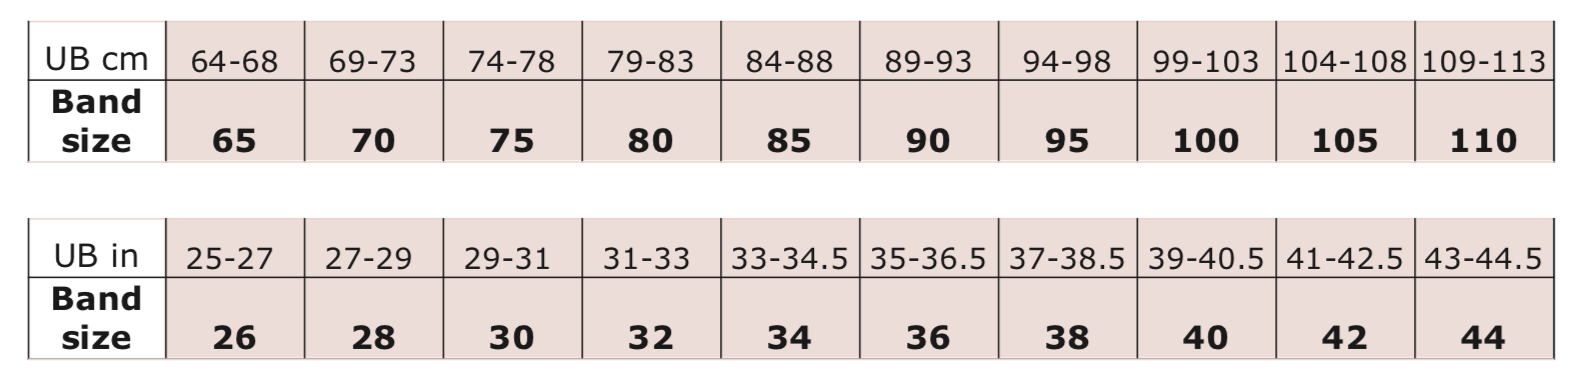
For this pattern, your UB measurement corresponds directly to your band size. My UB measurement is 28 inches, which corresponds to a band size 28. Easy, right? But wait, there’s more!

To determine your cup size, you subtract your UB measurement from your FB measurement. The difference between your FB and UB indicates your cup size in the chart above. My FB measurement was 32″, so the difference between my FB and UB was 4″, which is closest to a AA cup size in Make Bra’s cup sizing chart above.
Together with my band and cup size, my starting size should be 28AA.

However, the Sew Comfy pattern covers sizes 26C-44C and 28AA does not exist! I would have to choose a different size to start with.
I took a closer look at the pattern to determine how to proceed.
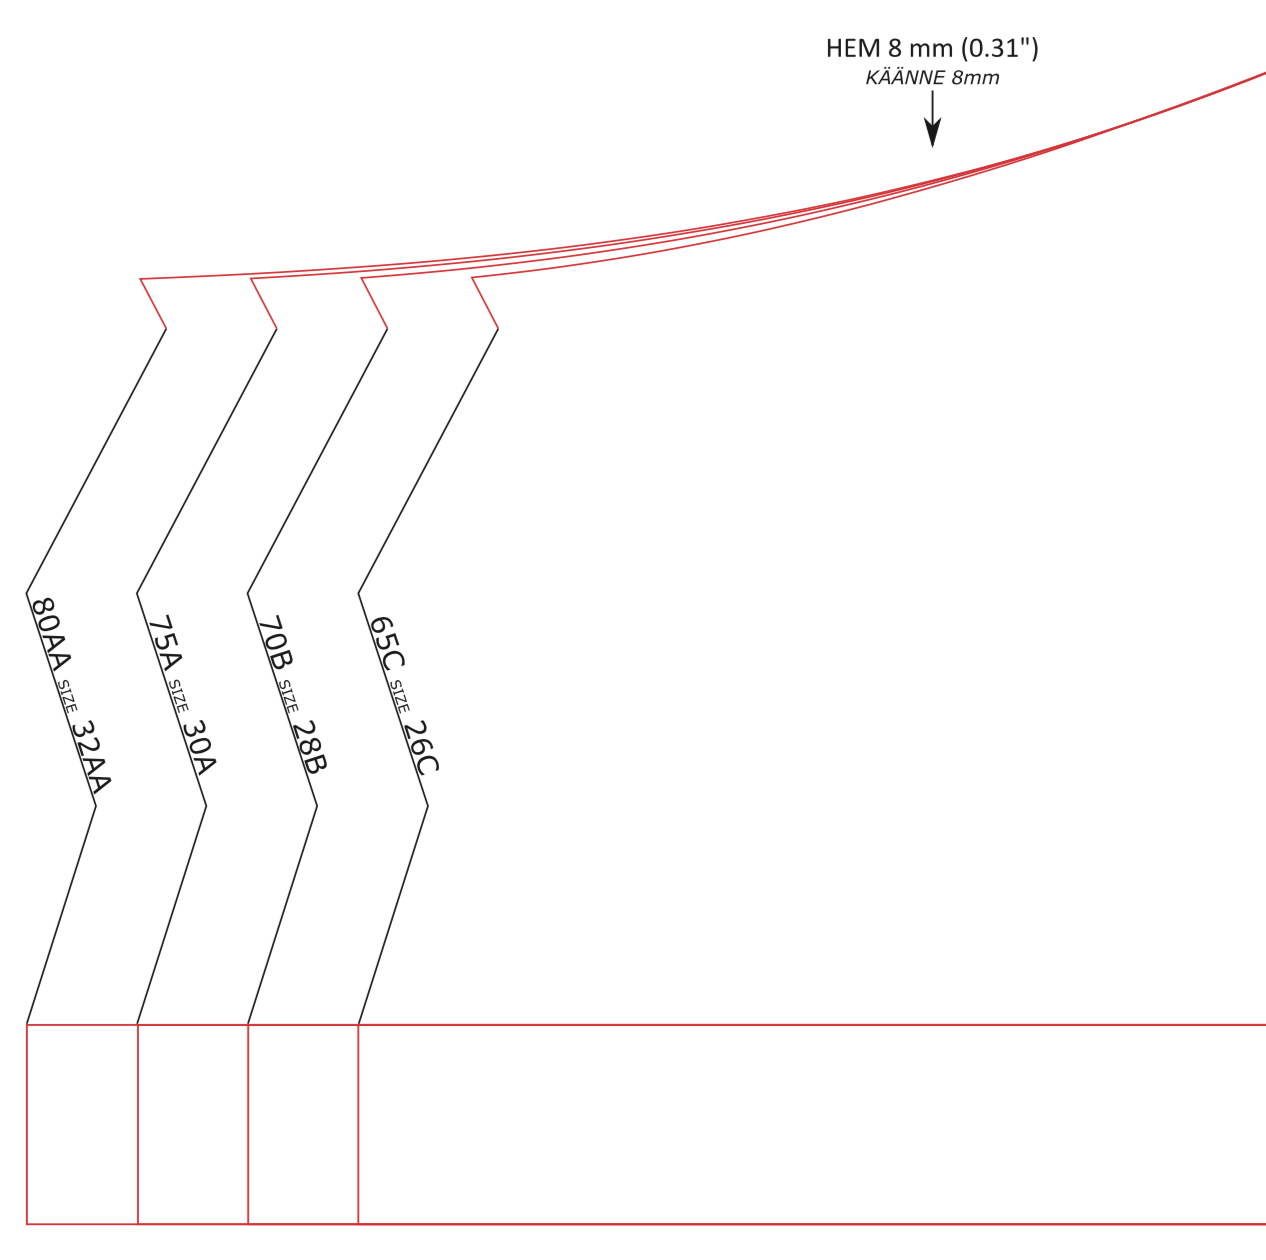
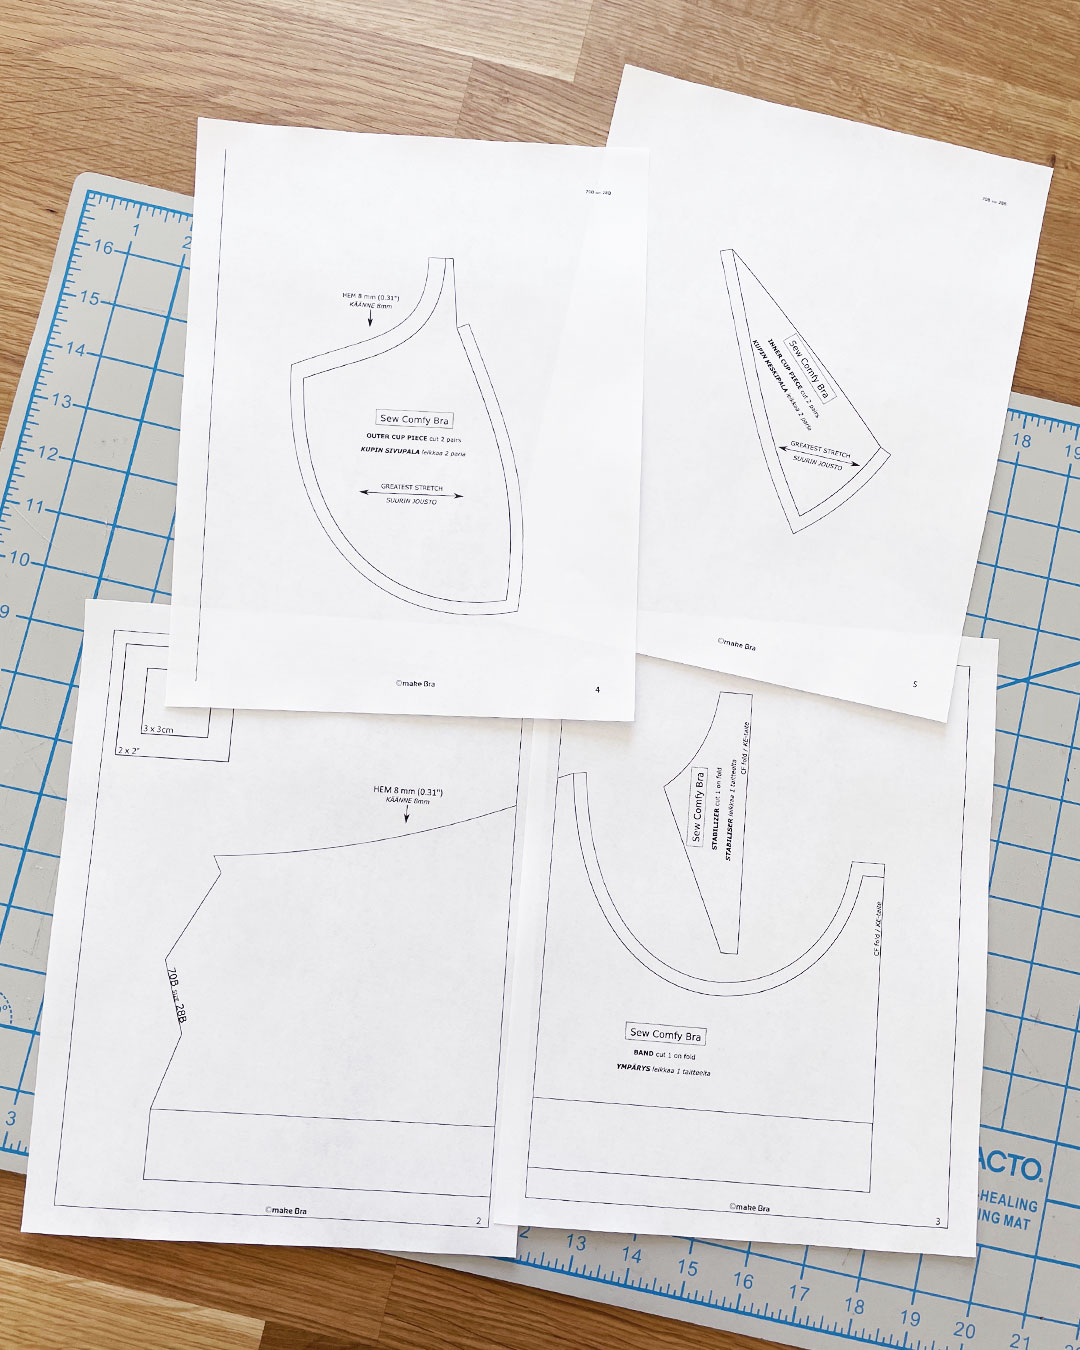
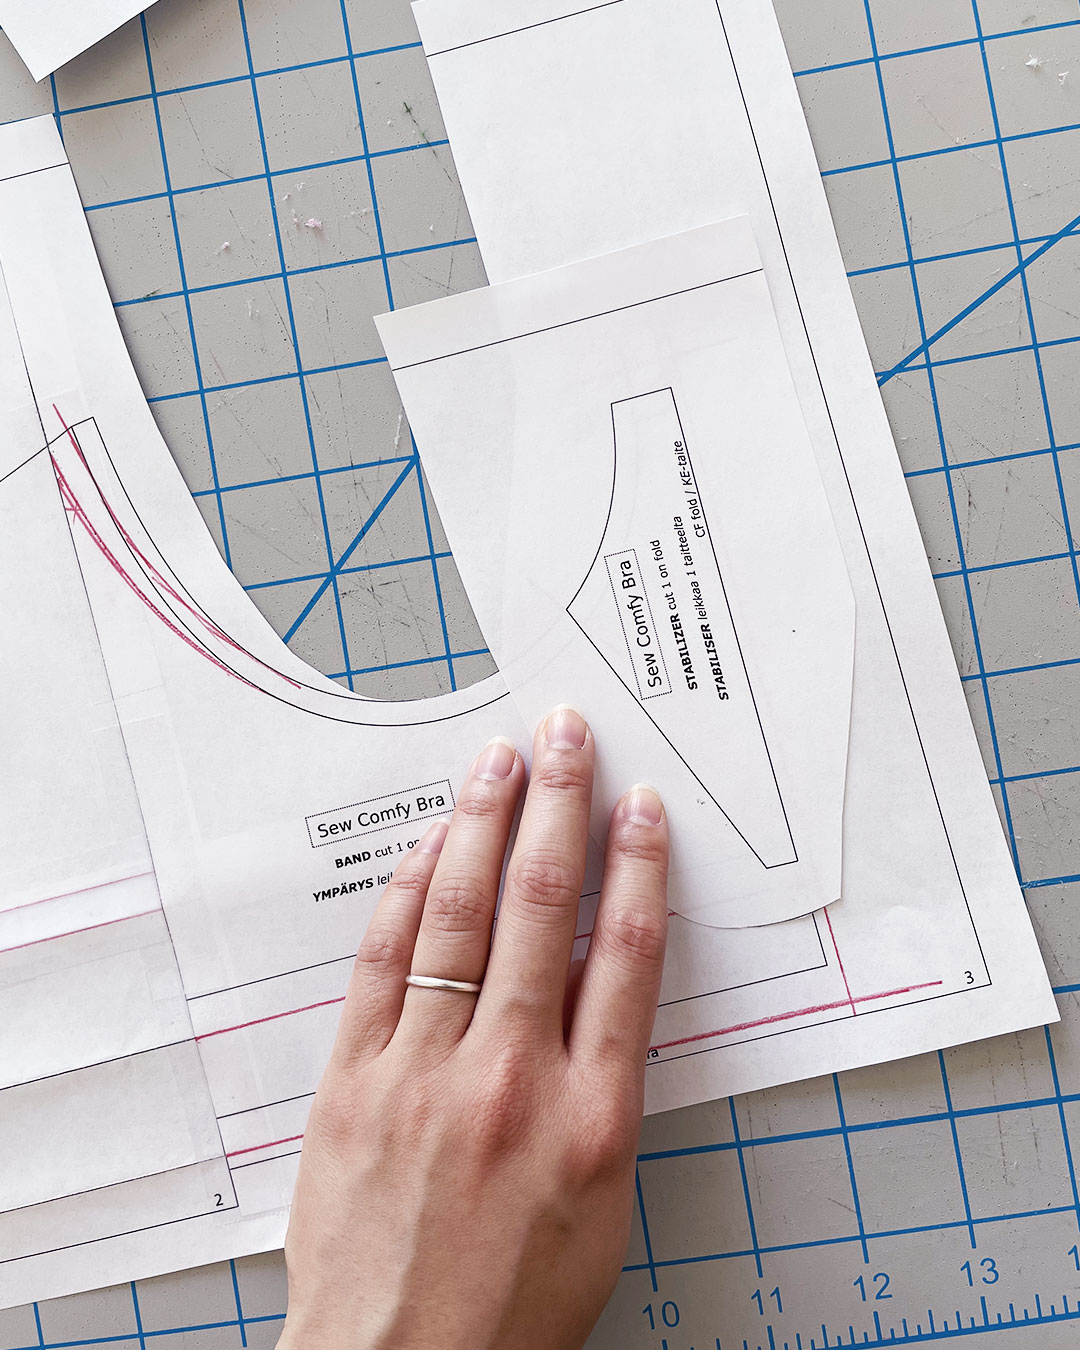
In observing the first four sizes of the pattern—26C, 28B, 30A, 32AA (sister sizes)—I noticed that the only pattern piece that actually changed was the back band pictured above. The frame and cup pieces stayed the same across all four of these sizes. So, I decided to start with 28B so that my band size would be accurate, and make pattern adjustments to the cups as needed.
Printing The Pattern
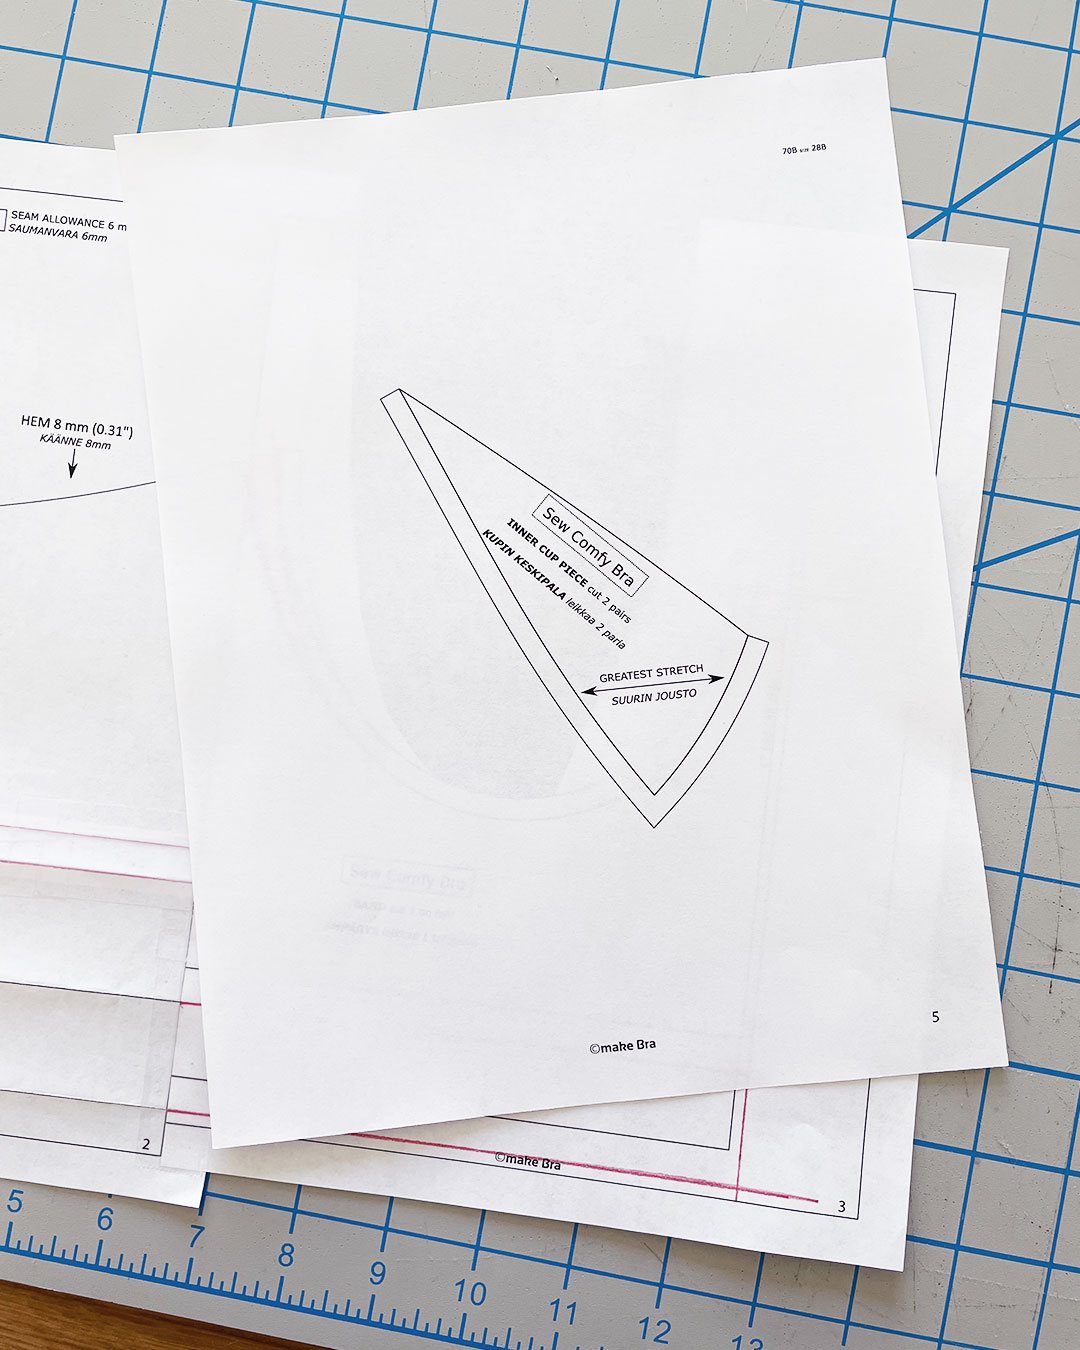
I loved how the Sew Comfy Bra pattern was a layered PDF that allows you to view or hide different sizes before printing, so that you can print the size(s) that you want.
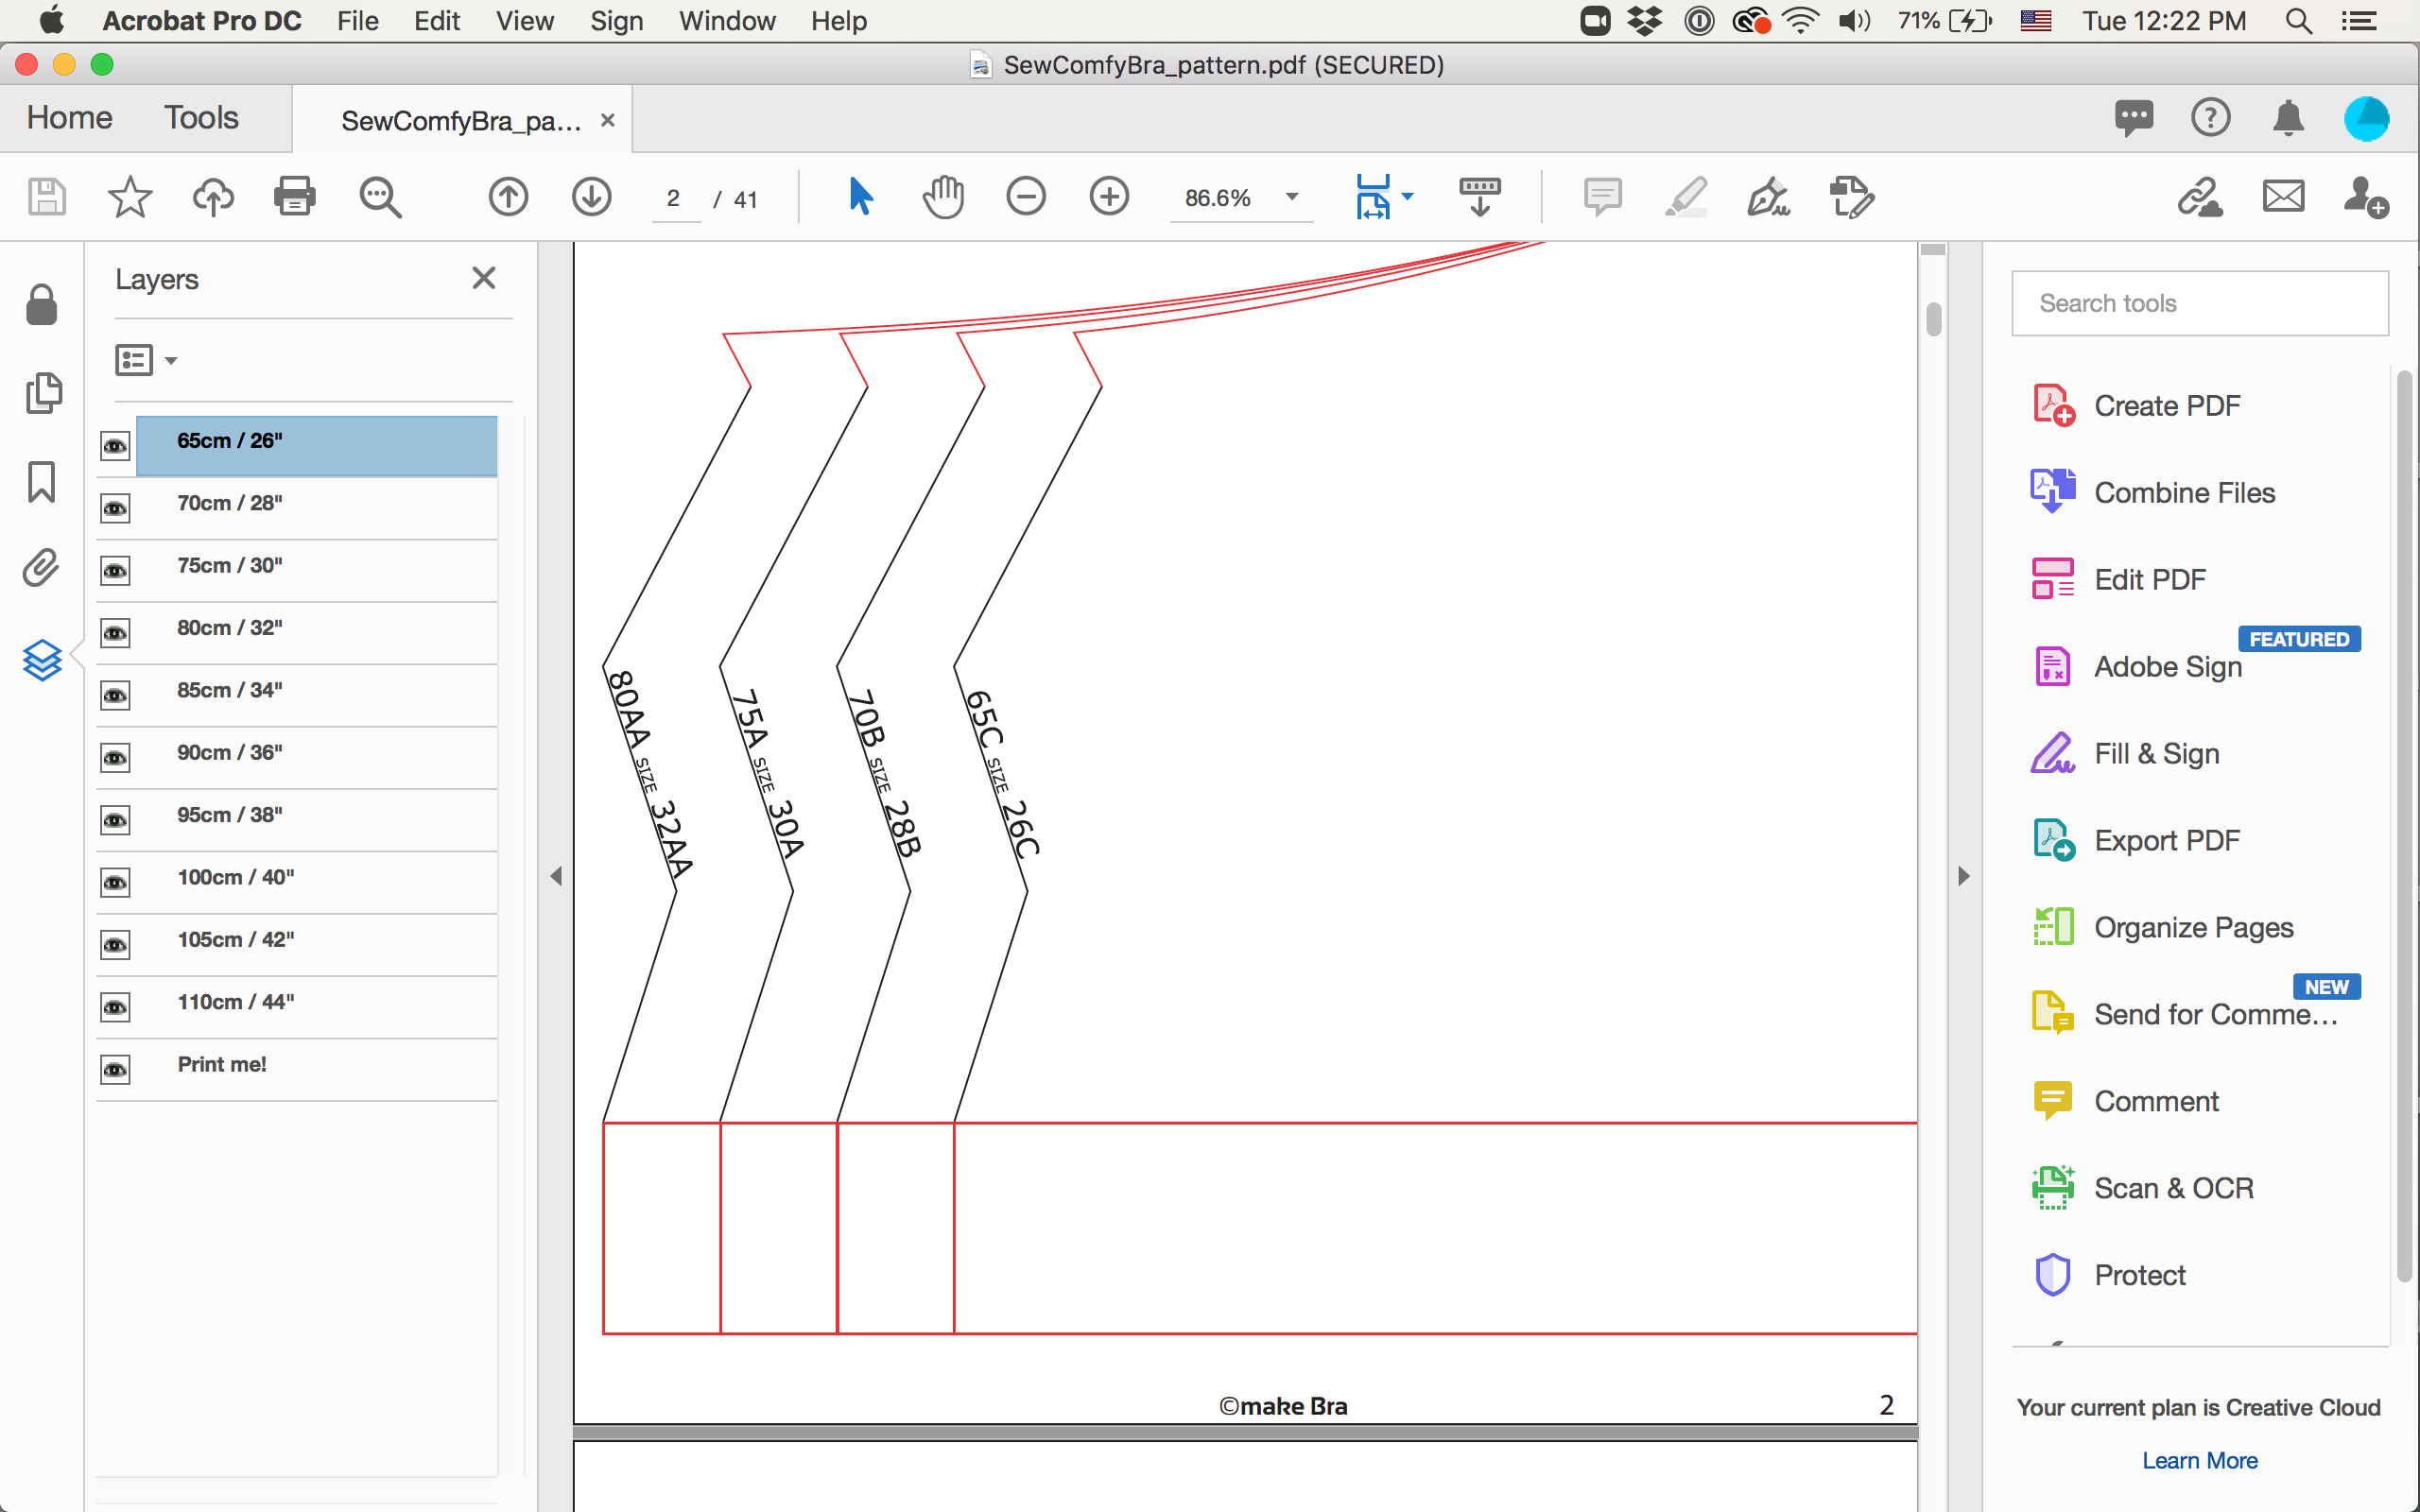
If you have Adobe Reader, you can follow the instructions in the pattern to toggle layer visibility. I toggled my settings so that only the 28B size would be visible for printing.
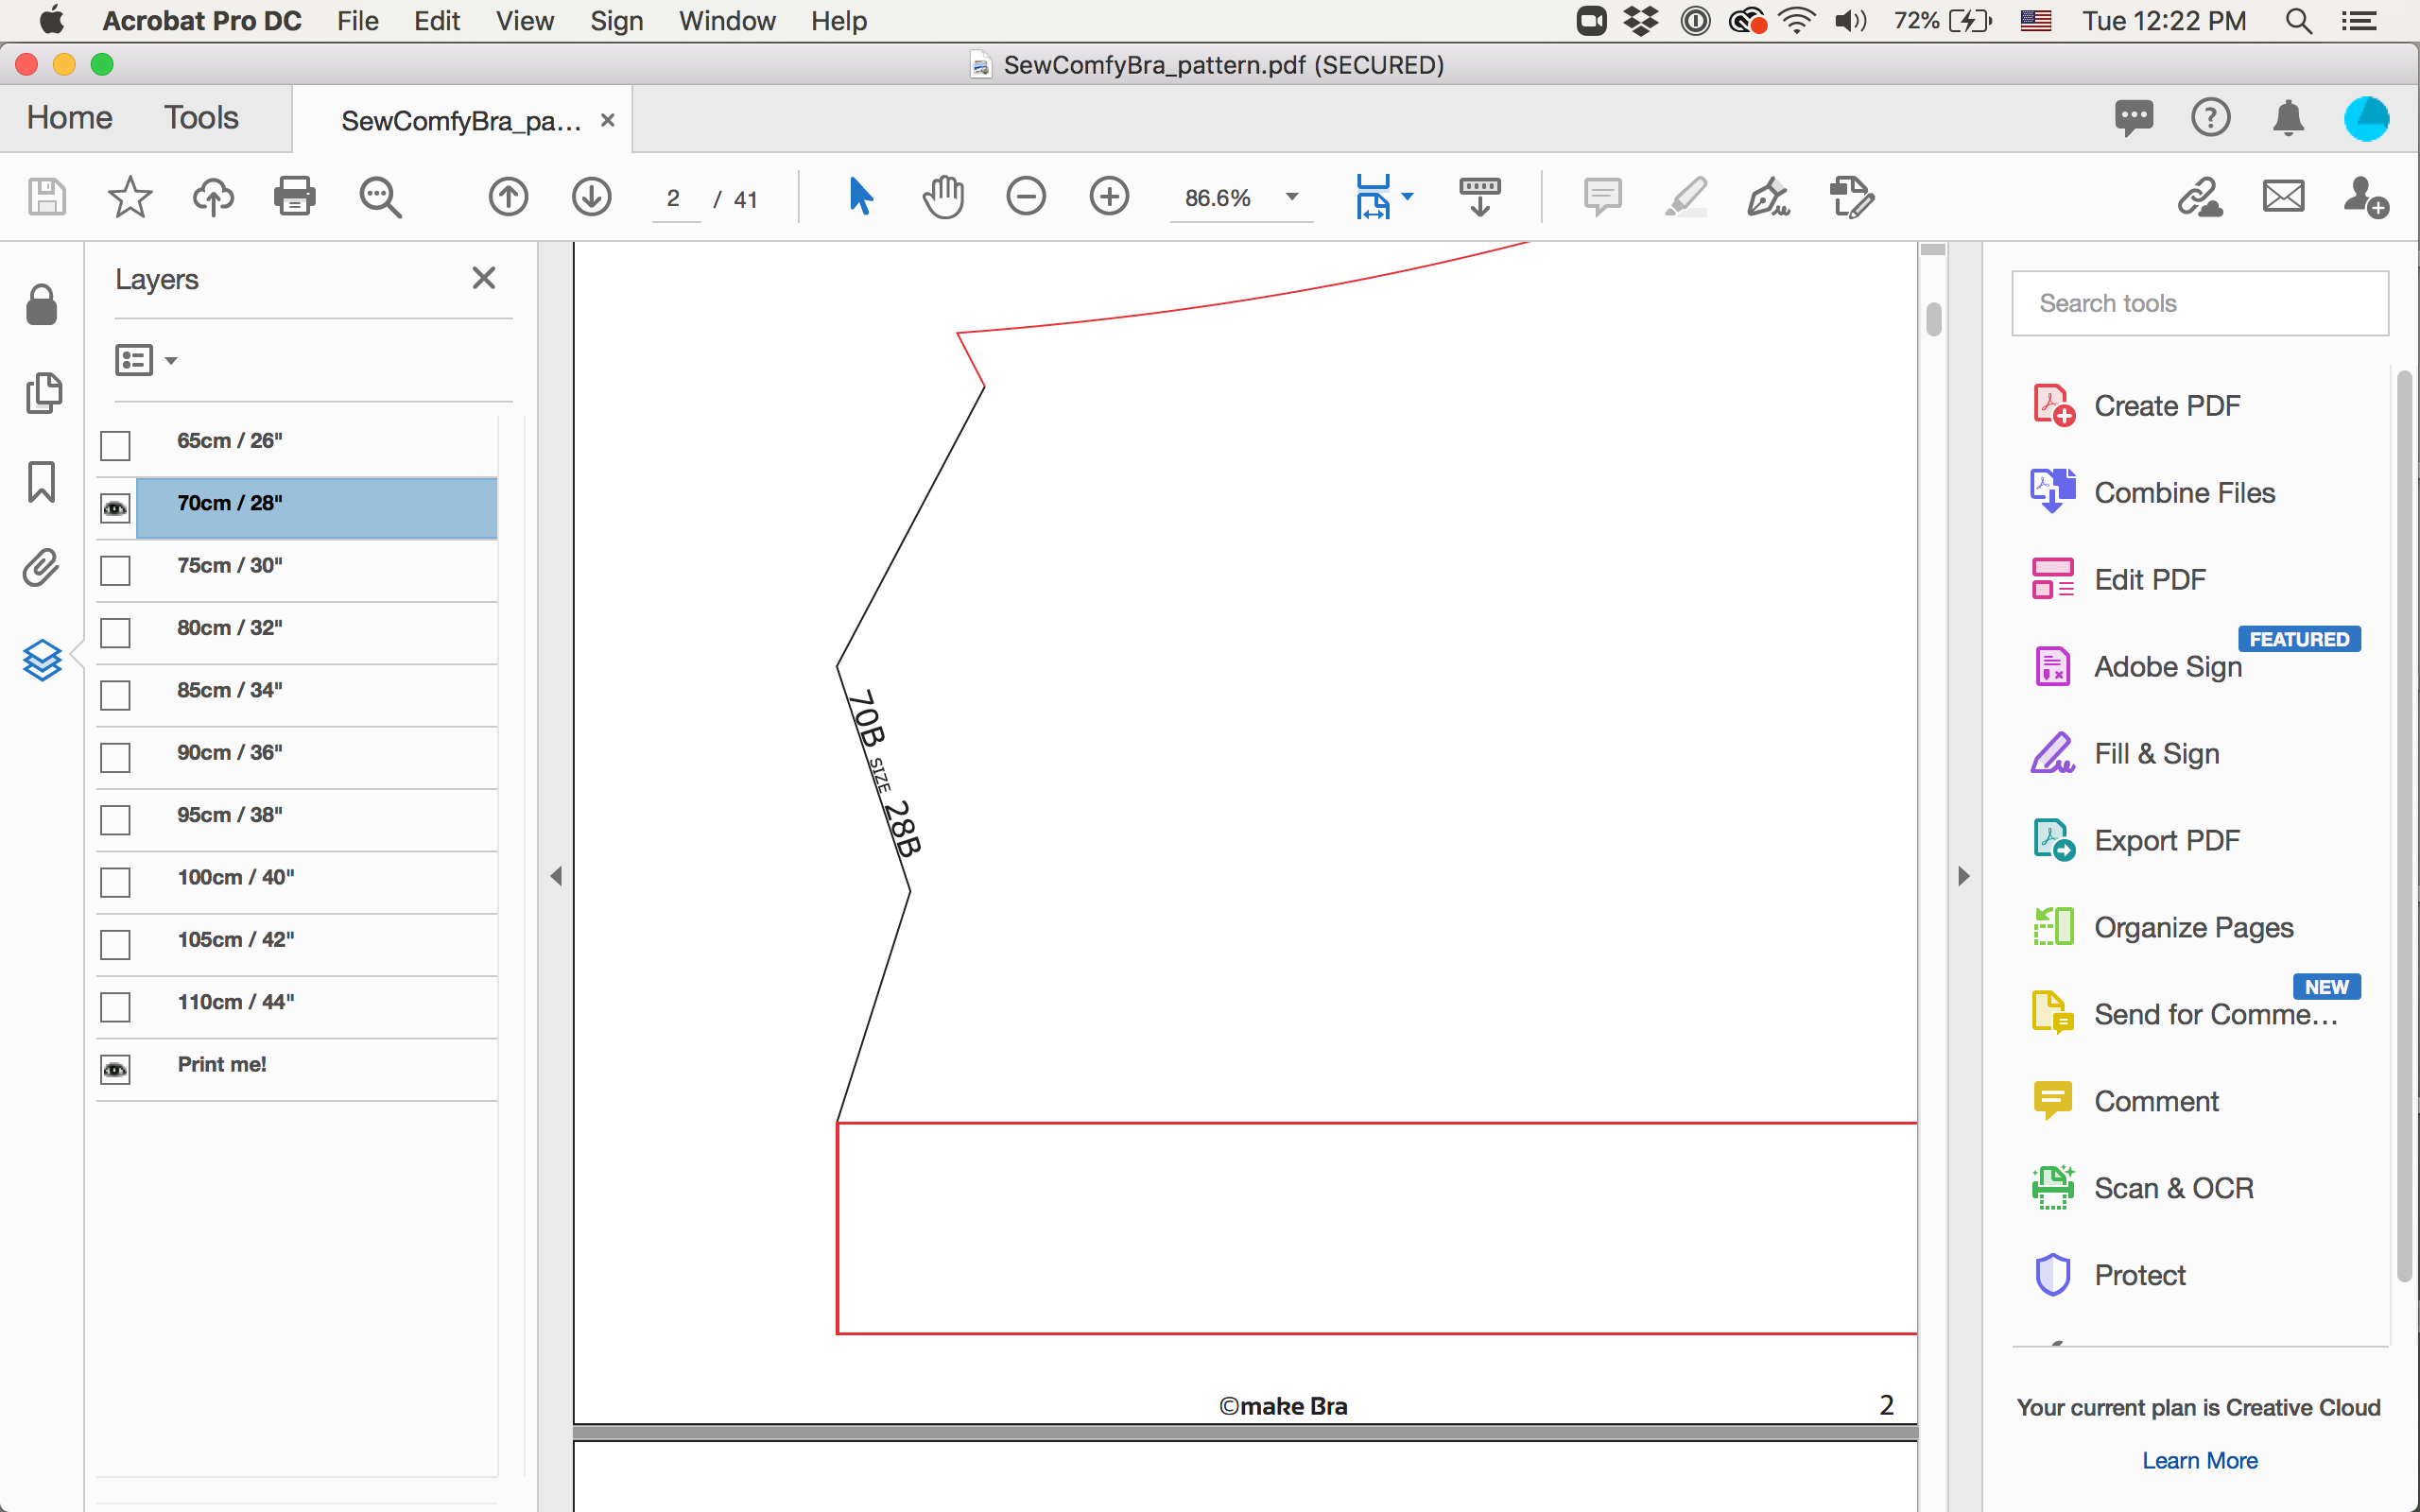
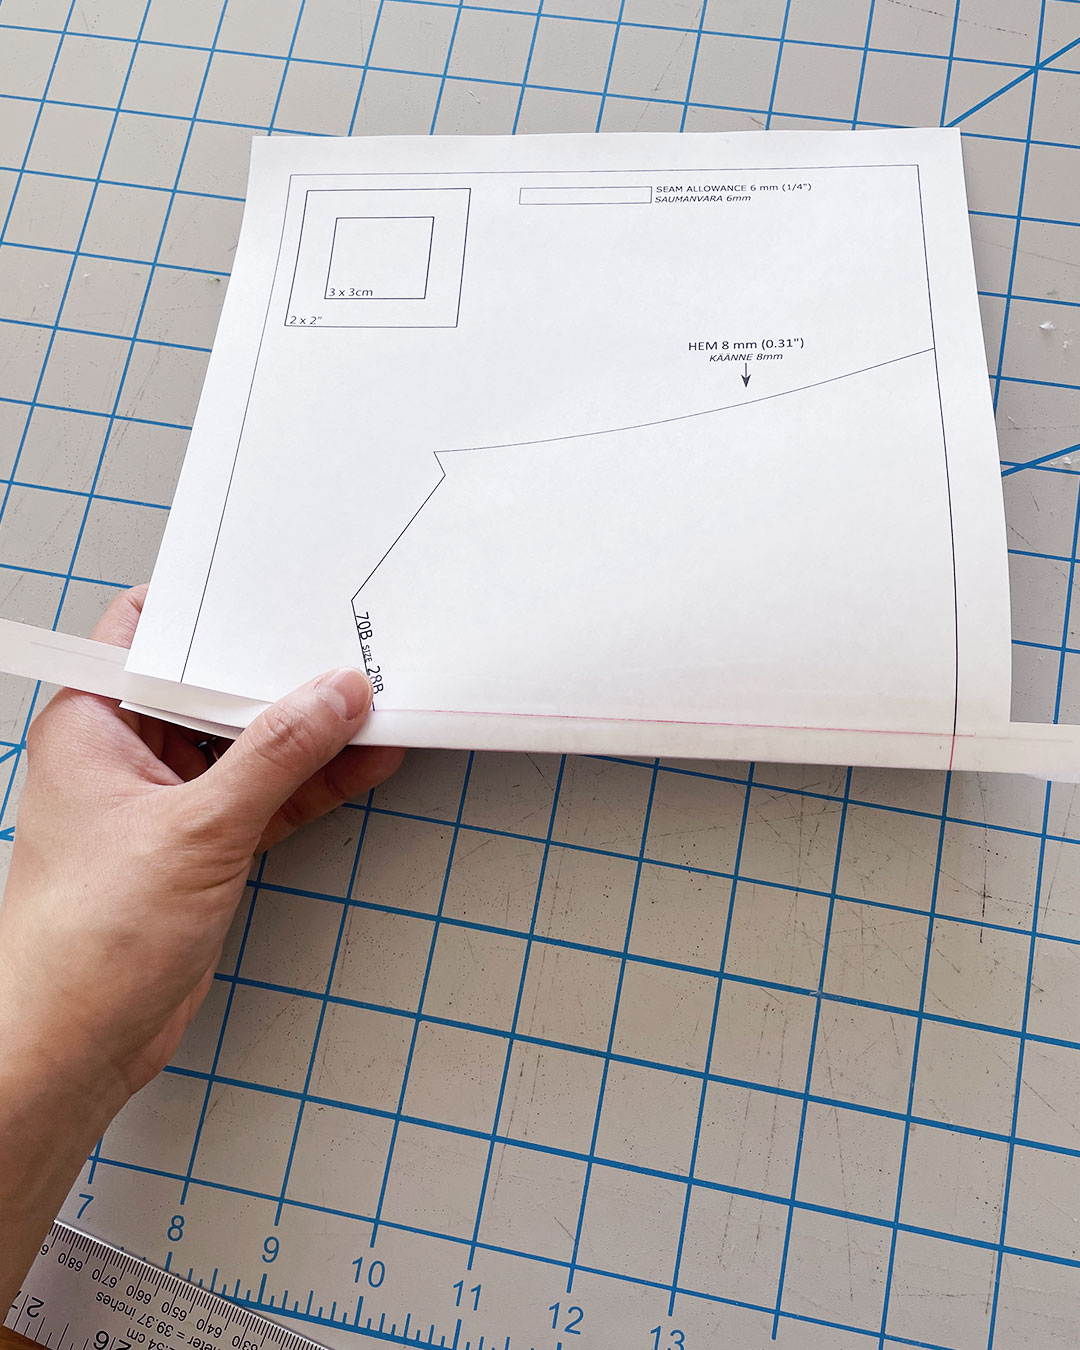
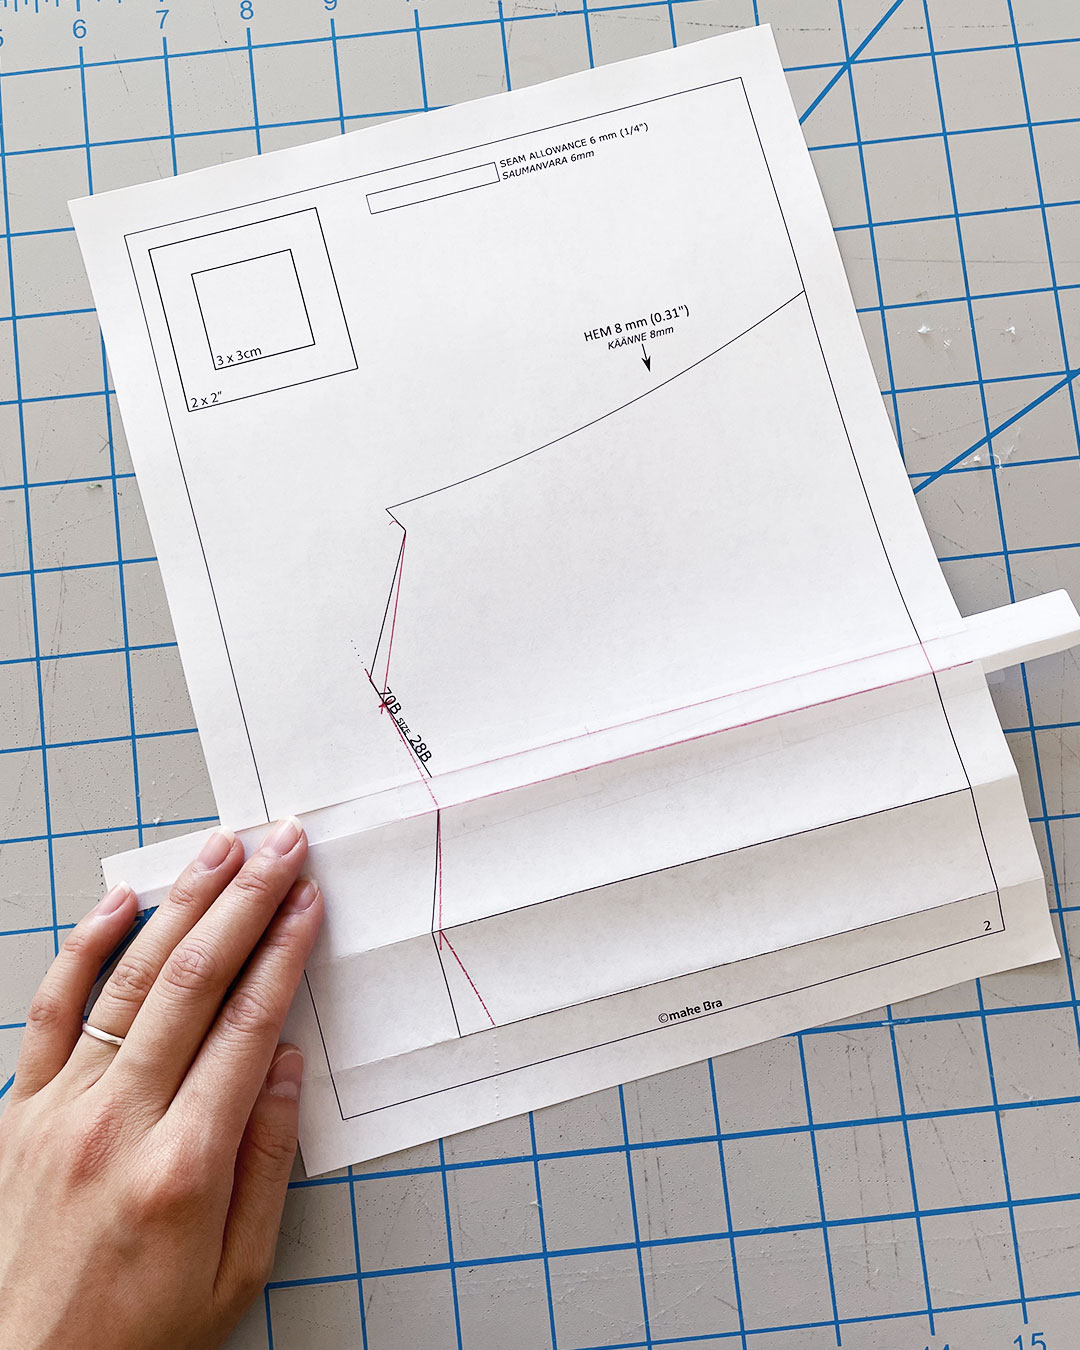
Before printing, make sure the scale of the pattern is set to 100%.
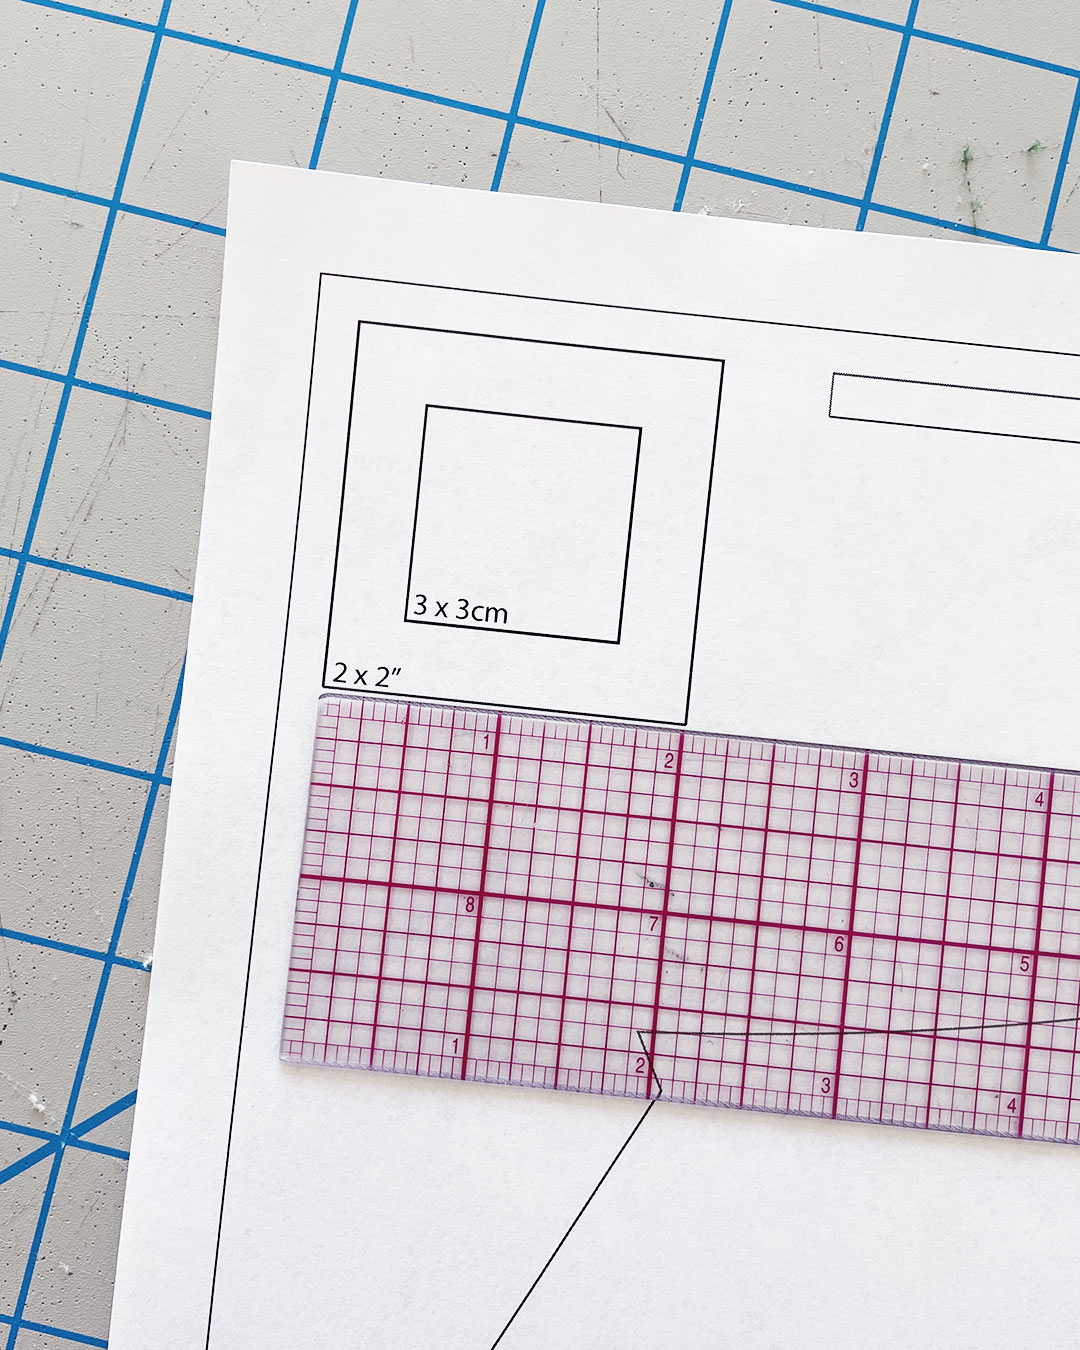
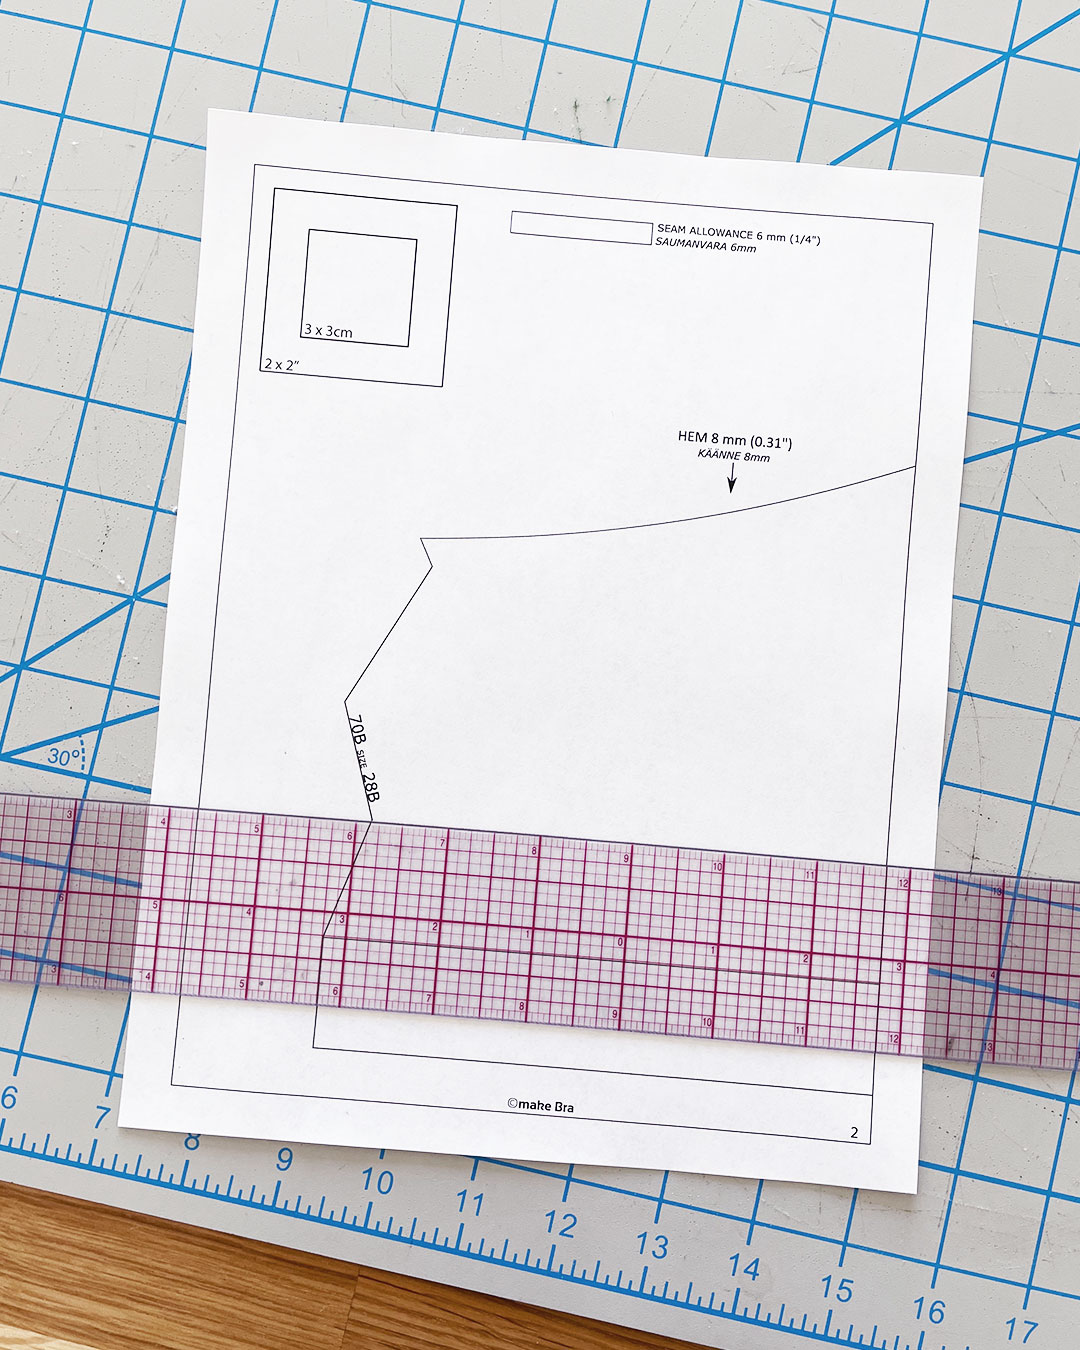
You can double check after printing by measuring the scale blocks on each page with your ruler. If the 2 x 2″ block matches 2″ on your ruler, you’re good to go!
Pattern Adjustments
Here we go—the nitty-gritty details of how I adjusted the size 28B pattern!
Before getting started with cutting and sewing, I already knew that there were two main things that I needed to solve for with pattern adjustments:
- Wide Plush Elastic Placement
- Underwire Size and Shape
Note: I did make a test version of this bra first, which helped me determine the necessary pattern adjustments to make. The tester version in 28B also turned out to be a great fit with the power net as the main fabric.
During the tester version, I also made one cup with two layers of power net and the other with one layer of power net. The cup with one layer of power net ended up fitting the best.
This is why modifying the bra cup volume did not end up being a necessary pattern adjustment.
Pattern Adjustments – Wide Plush Elastic Placement
The way the Sew Comfy Bra works is that a wide plush elastic is folded and encased in the body fabric along the bra band. There is a portion of the wide plush elastic that laps over the channeling on the inside of the bra.
On the smaller sizes, there is quite a bit of overlap, and I wanted to lower the placement of the wide plush elastic overall so that it would sit lower on my rib cage. I decided to adjust the pattern so that the wide plush elastic sat 3/8″ lower than the pattern originally intended.
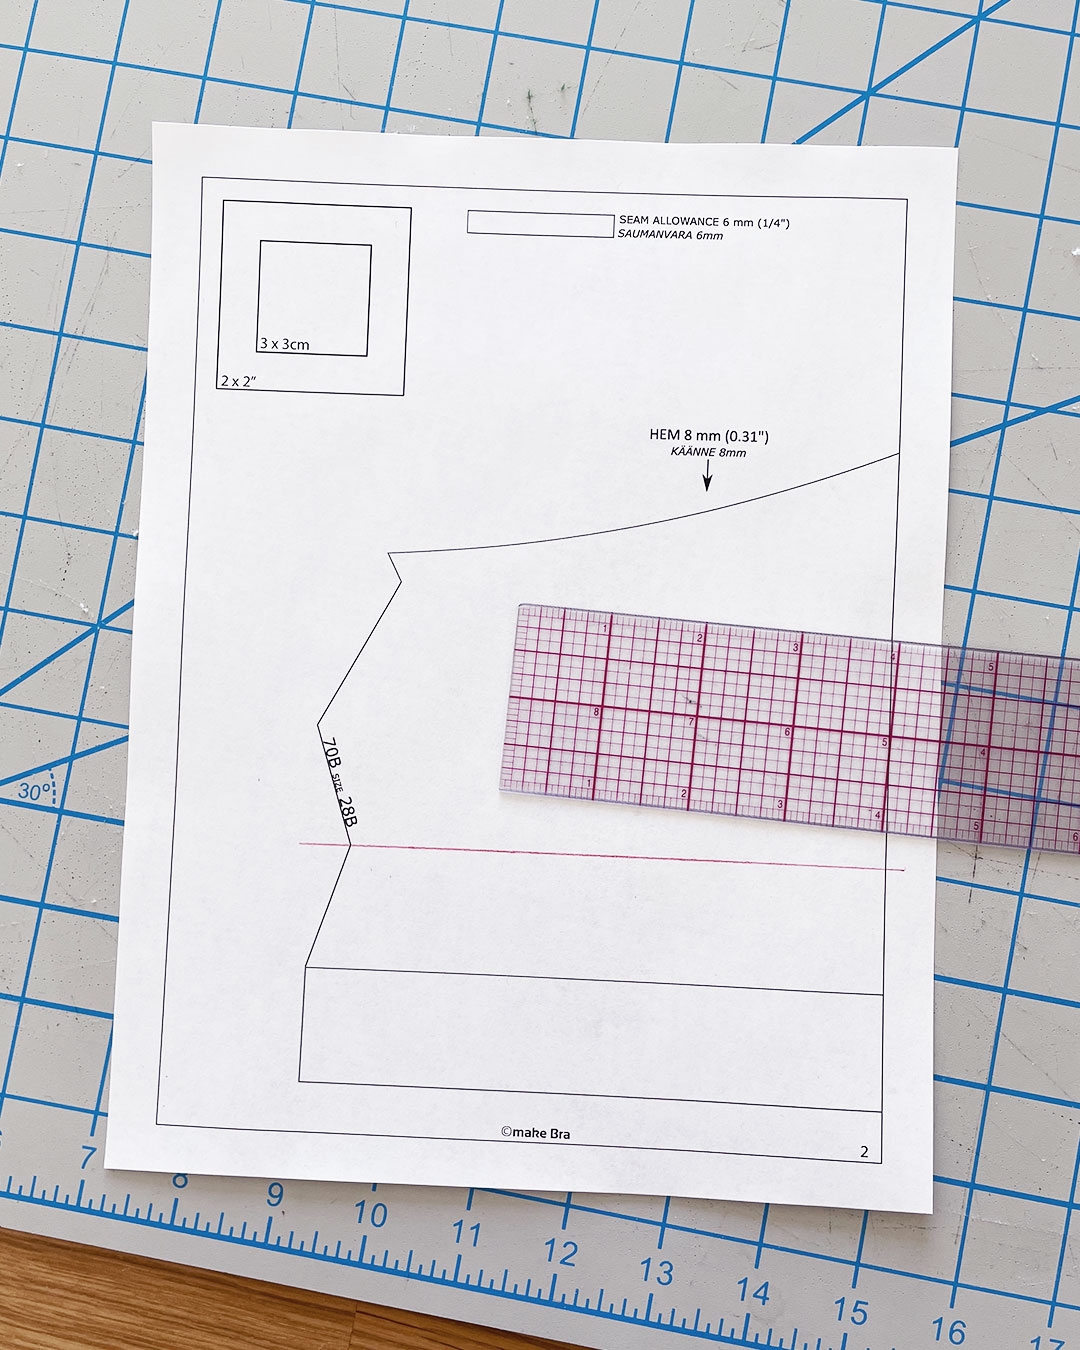
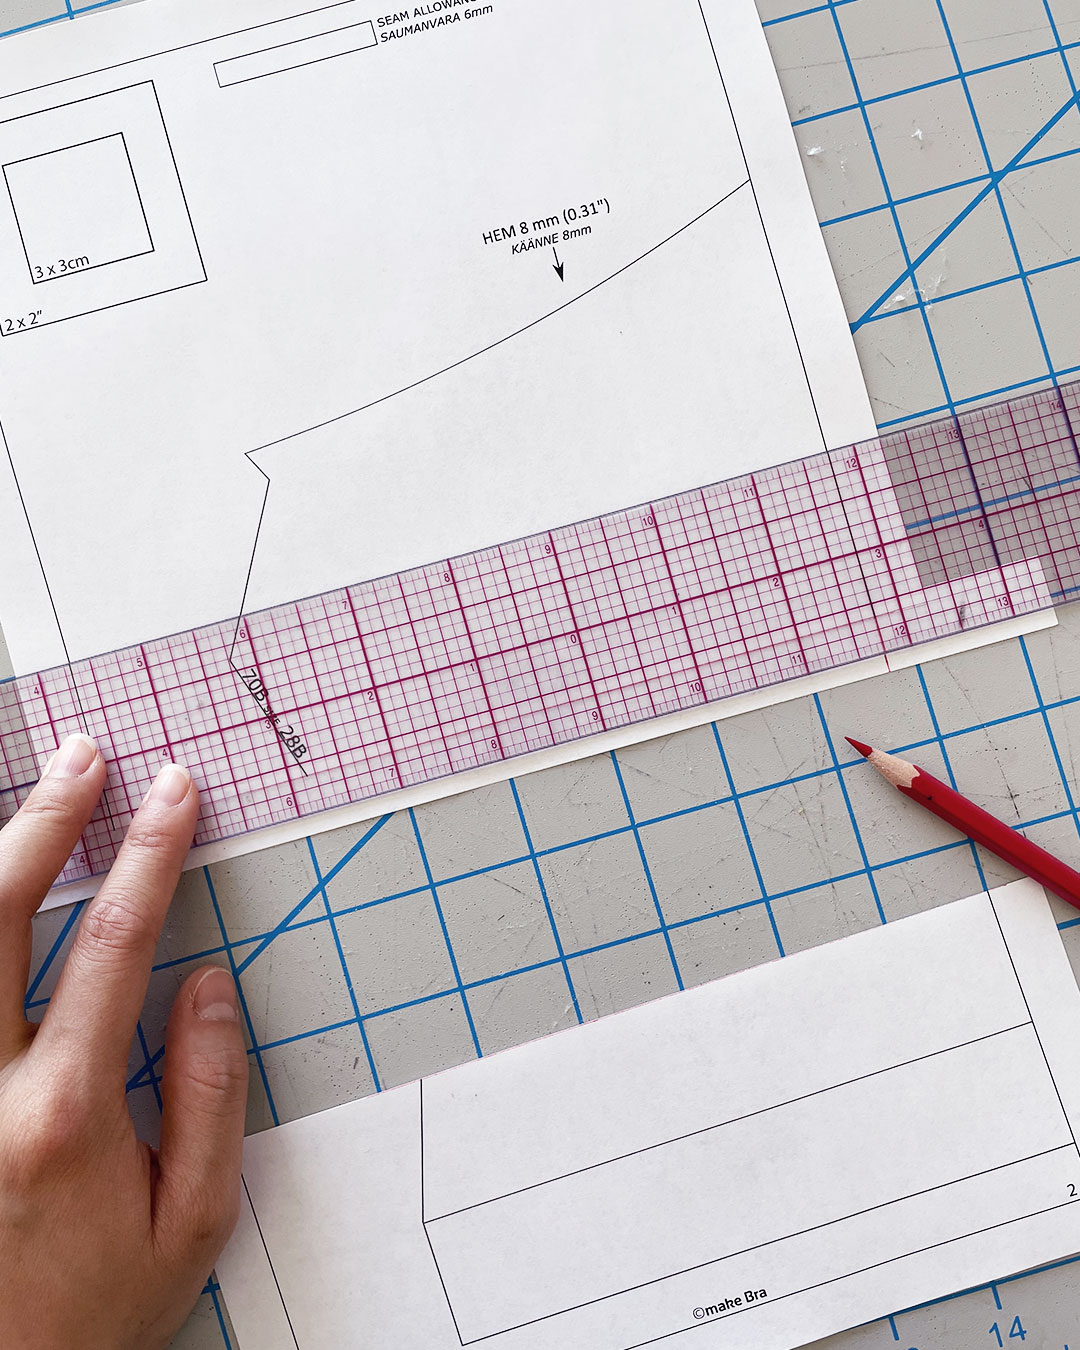
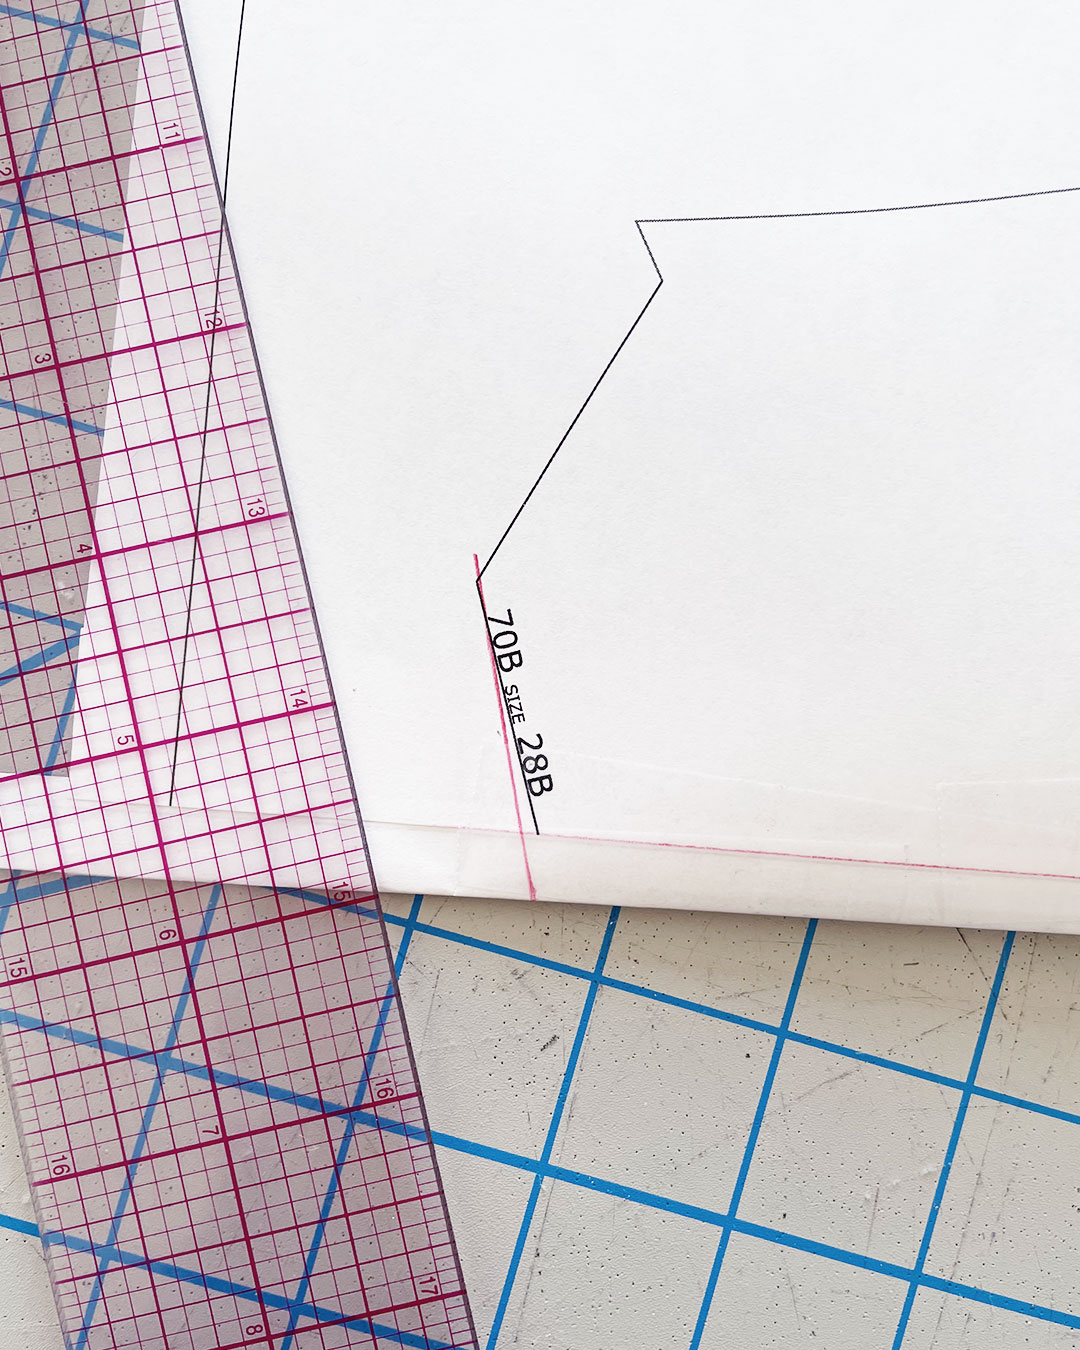
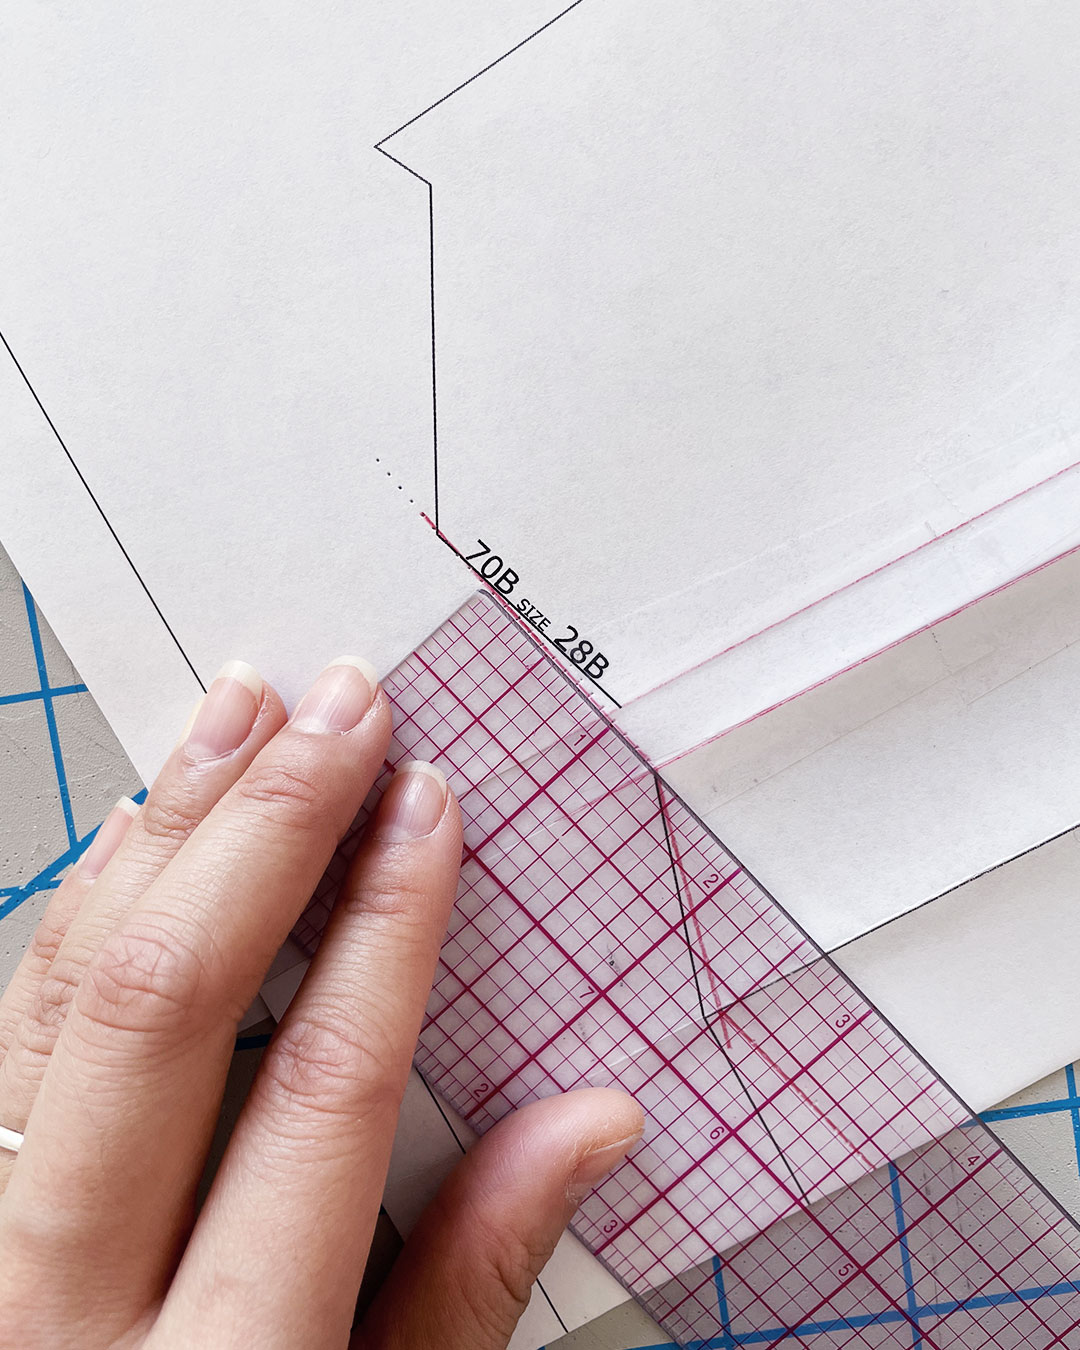
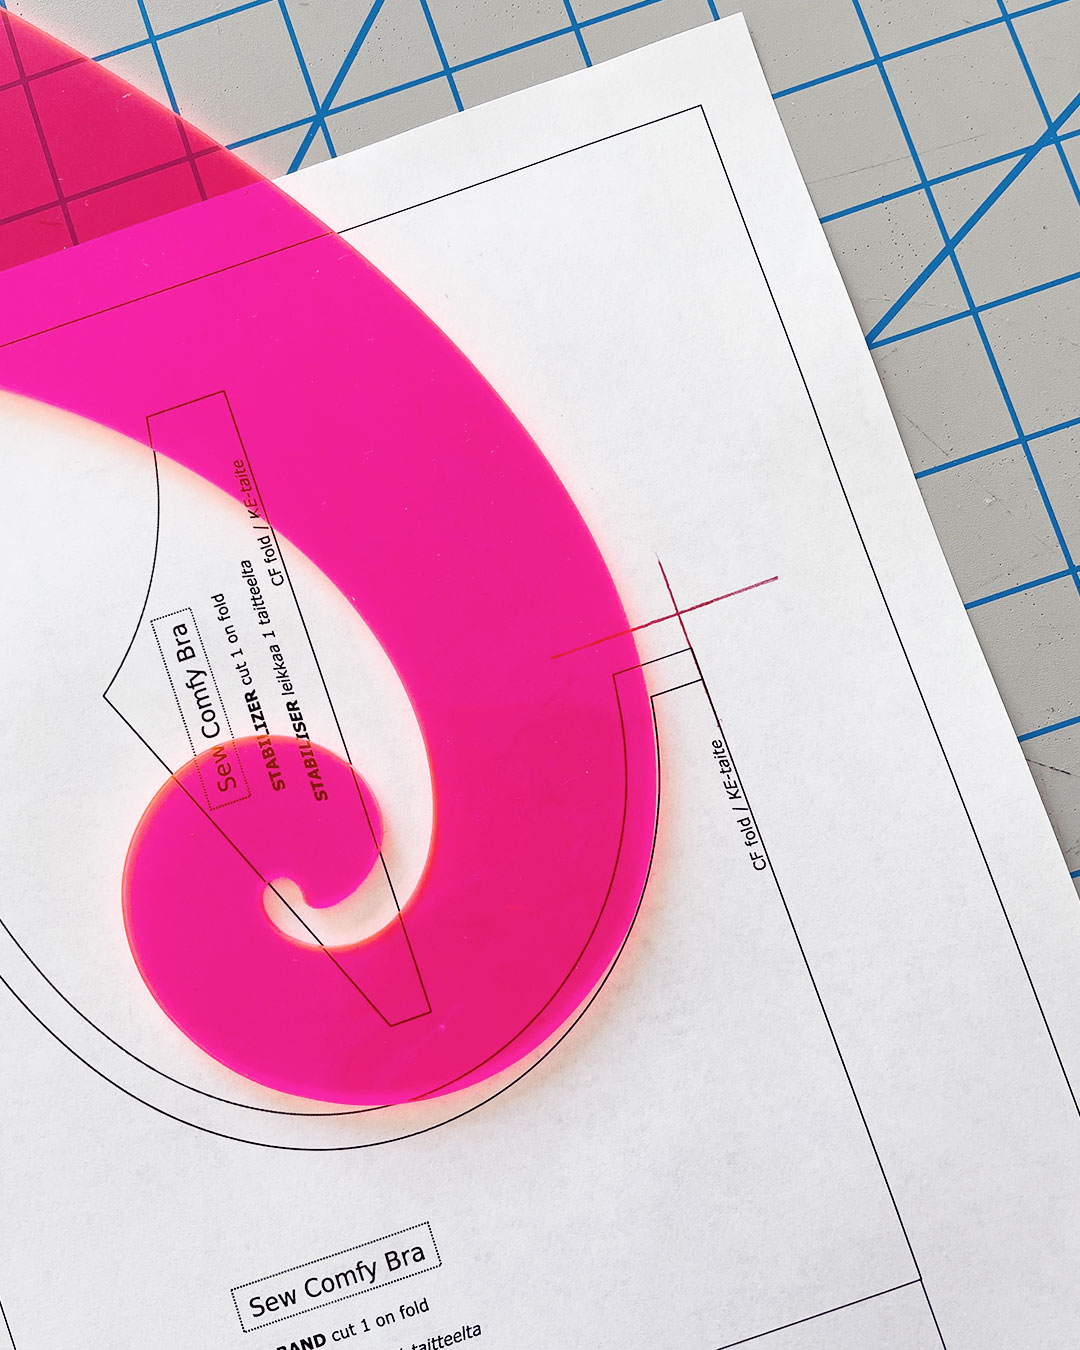
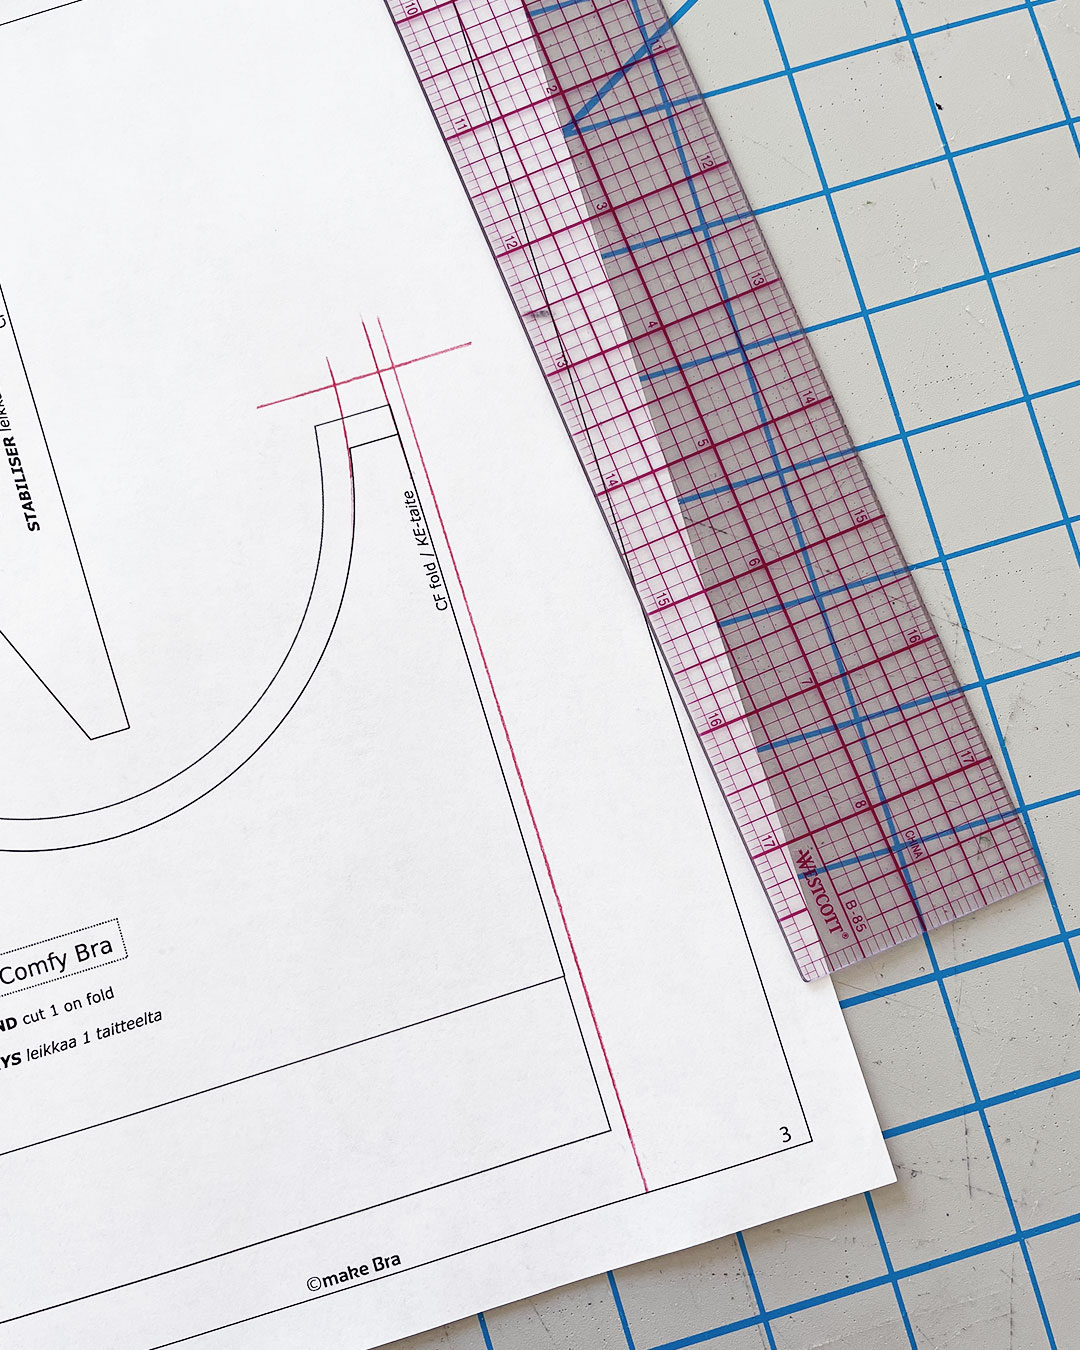
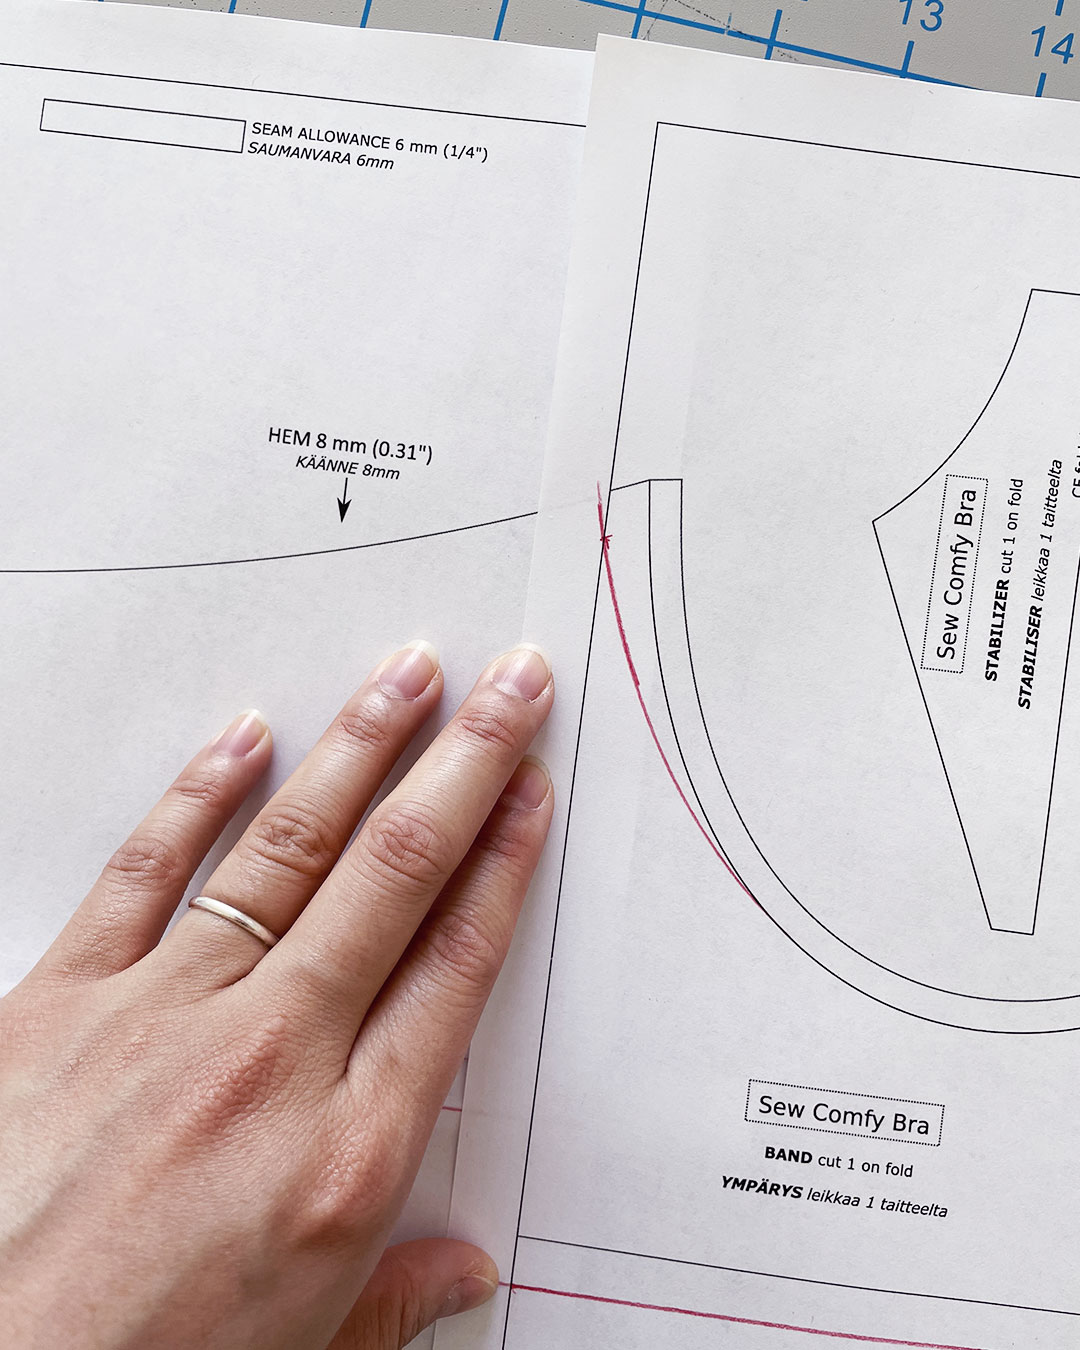
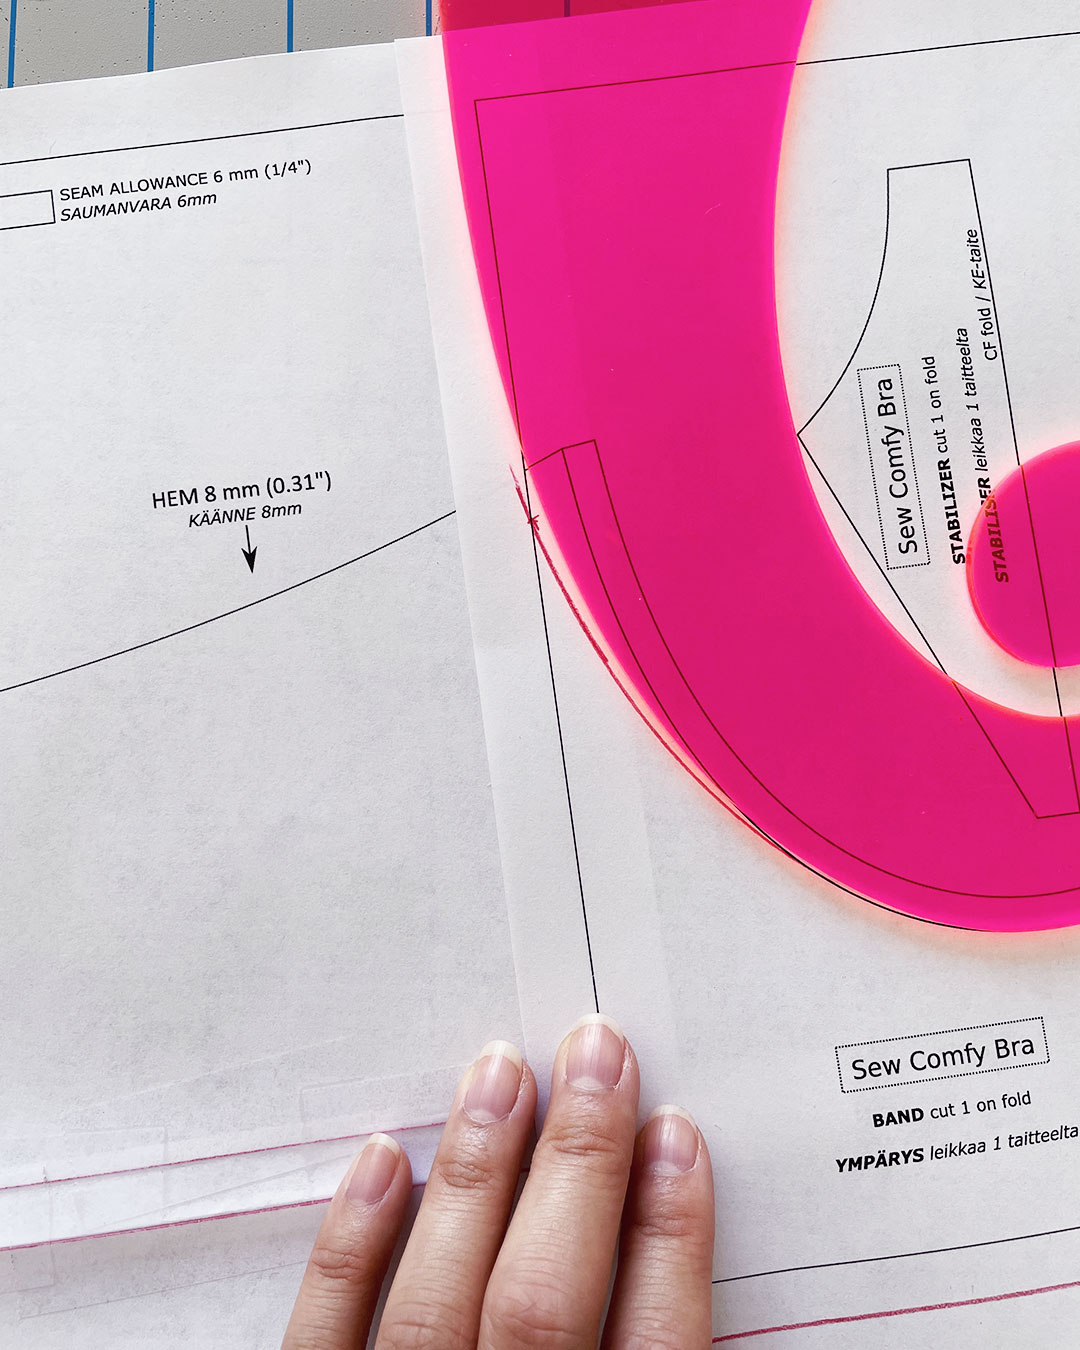
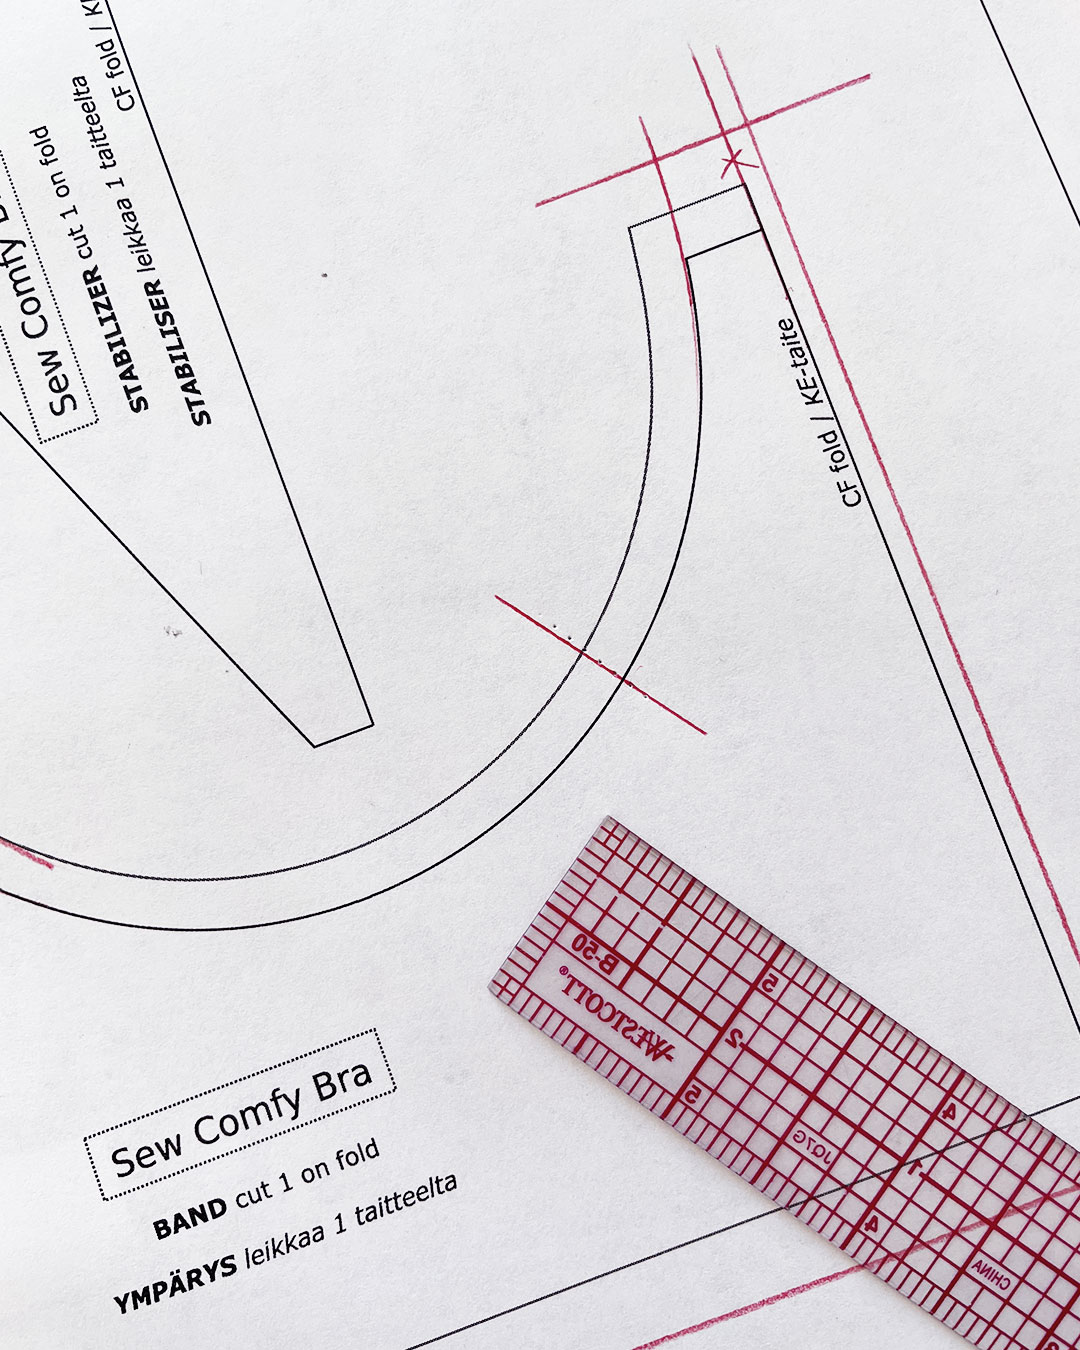
First, I identified what I would need to lower by 3/8″—the first fold line between the diagonal angles at center back. I drew a horizontal line there with my clear ruler to indicate where to cut and add my 3/8″.
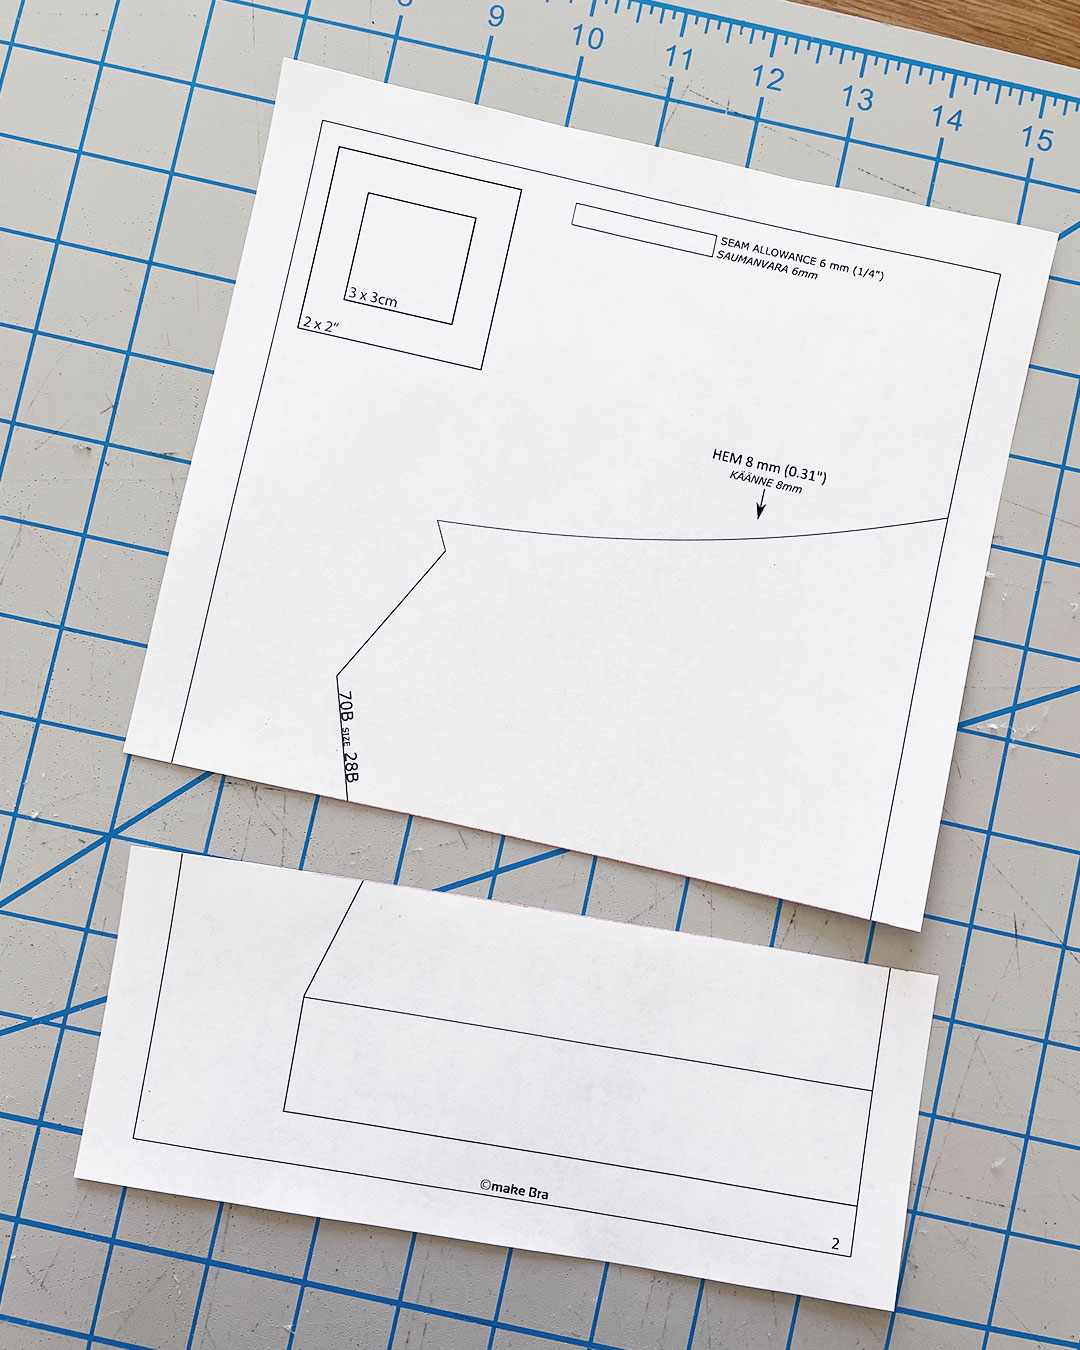
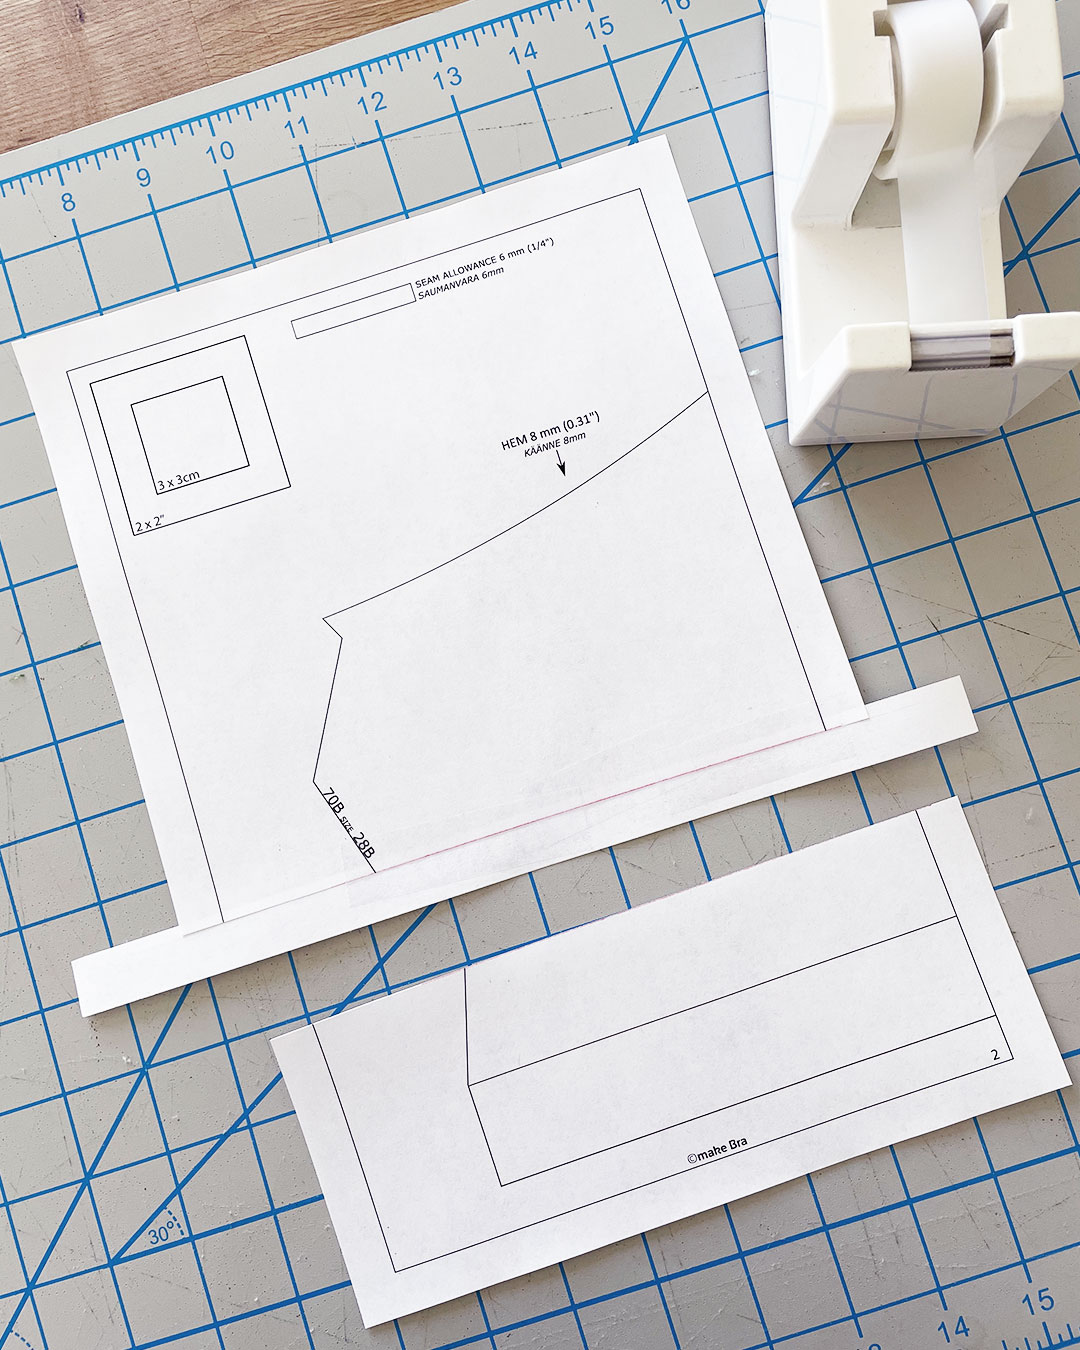
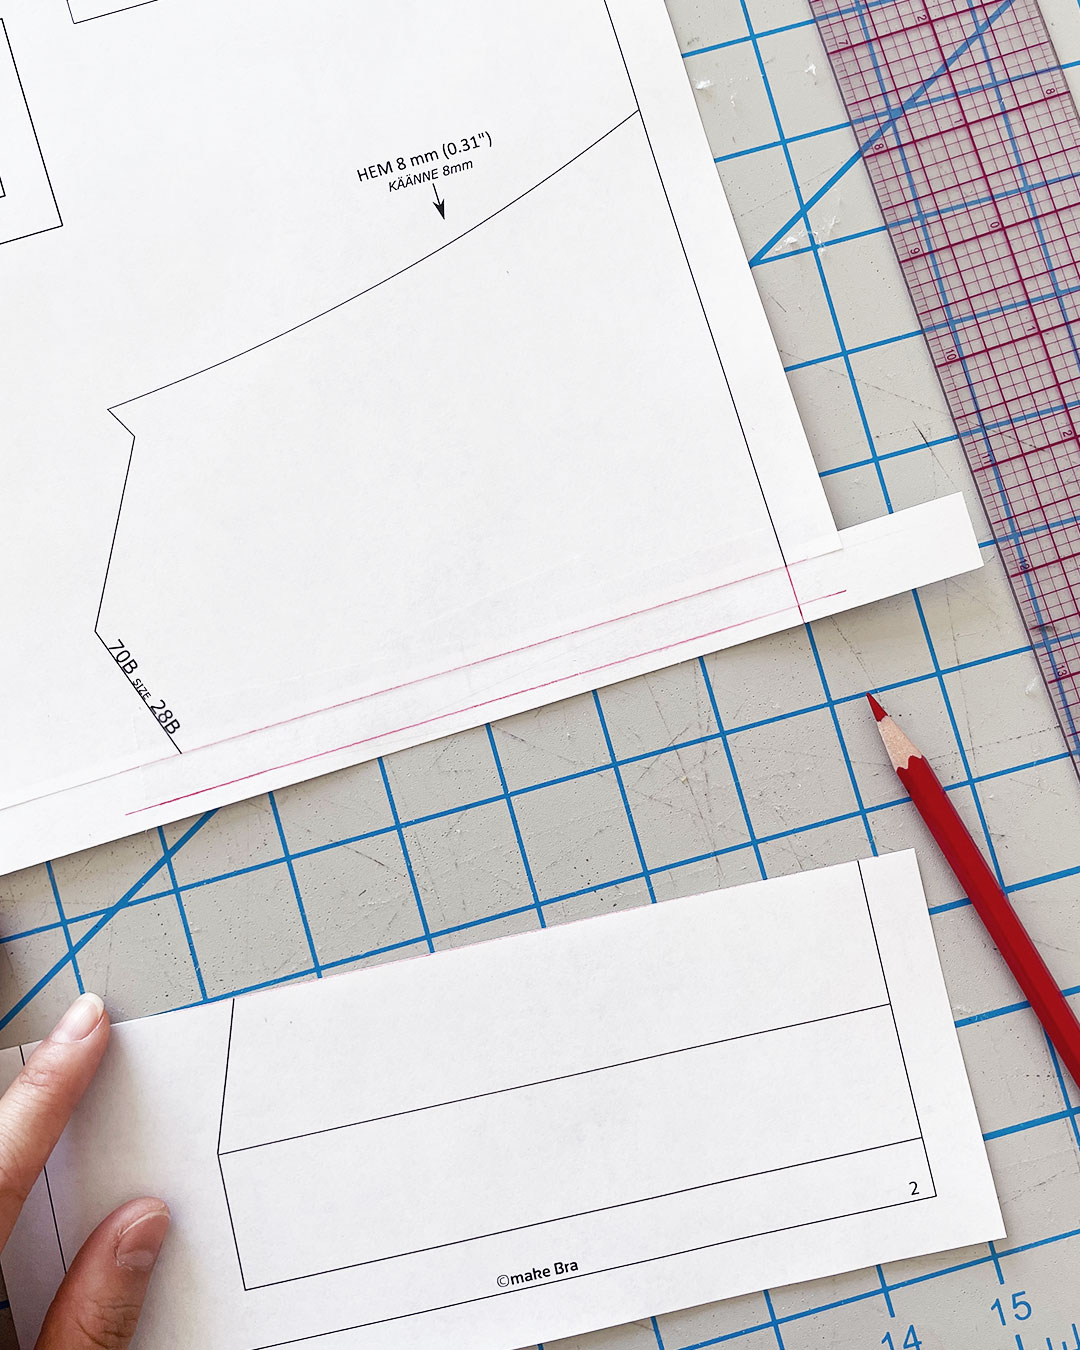
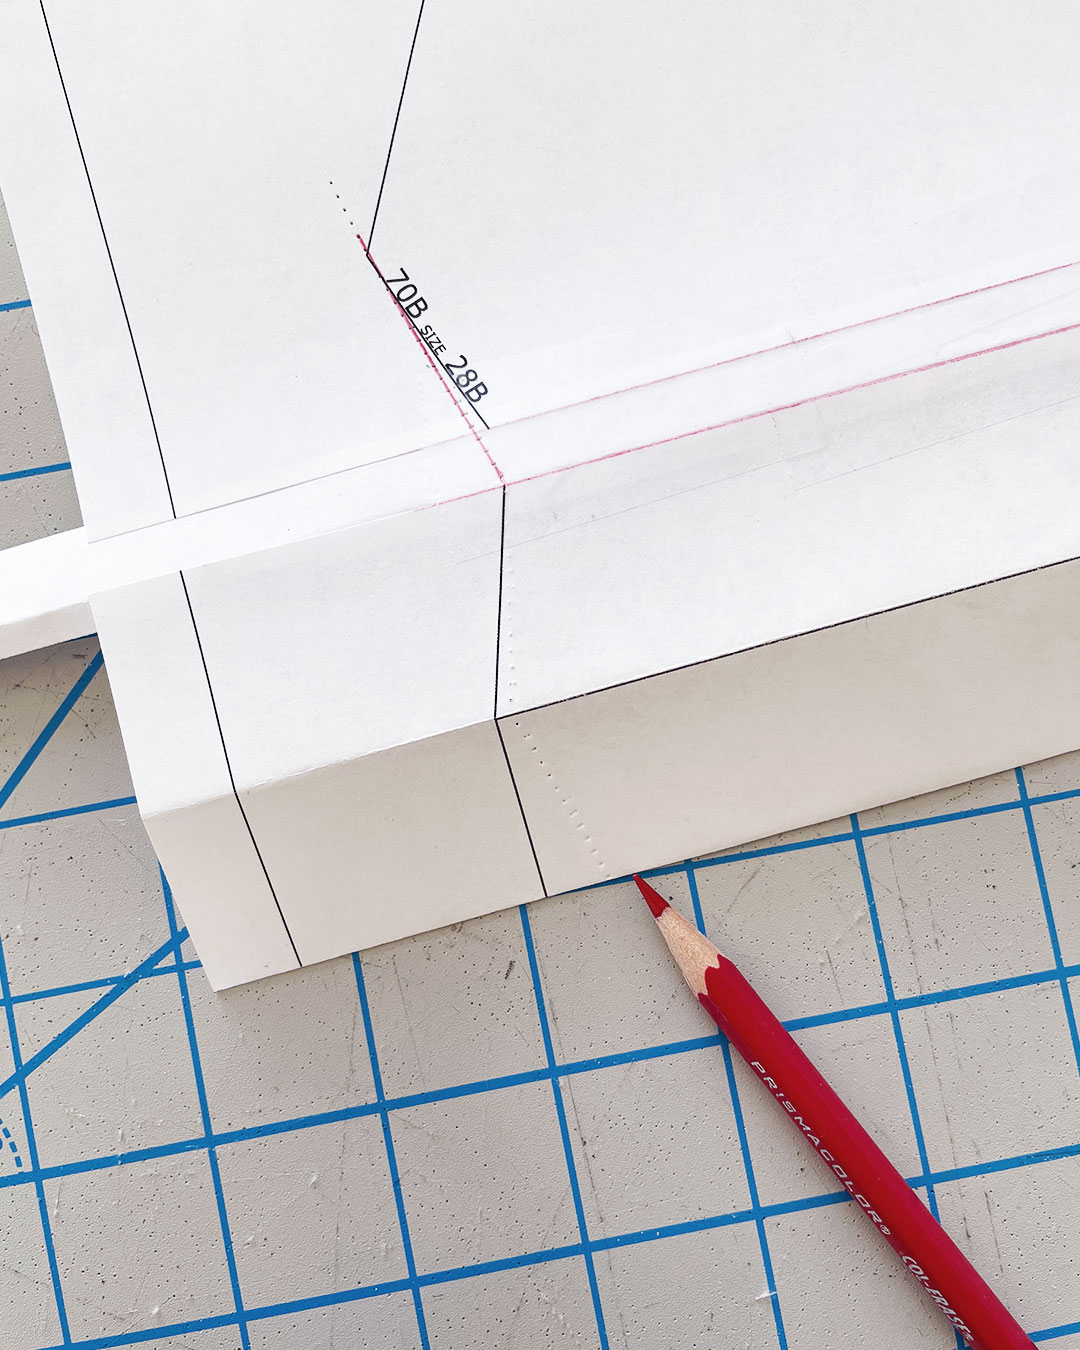
I cut along the line that I drew and taped some extra paper down from the cut line.
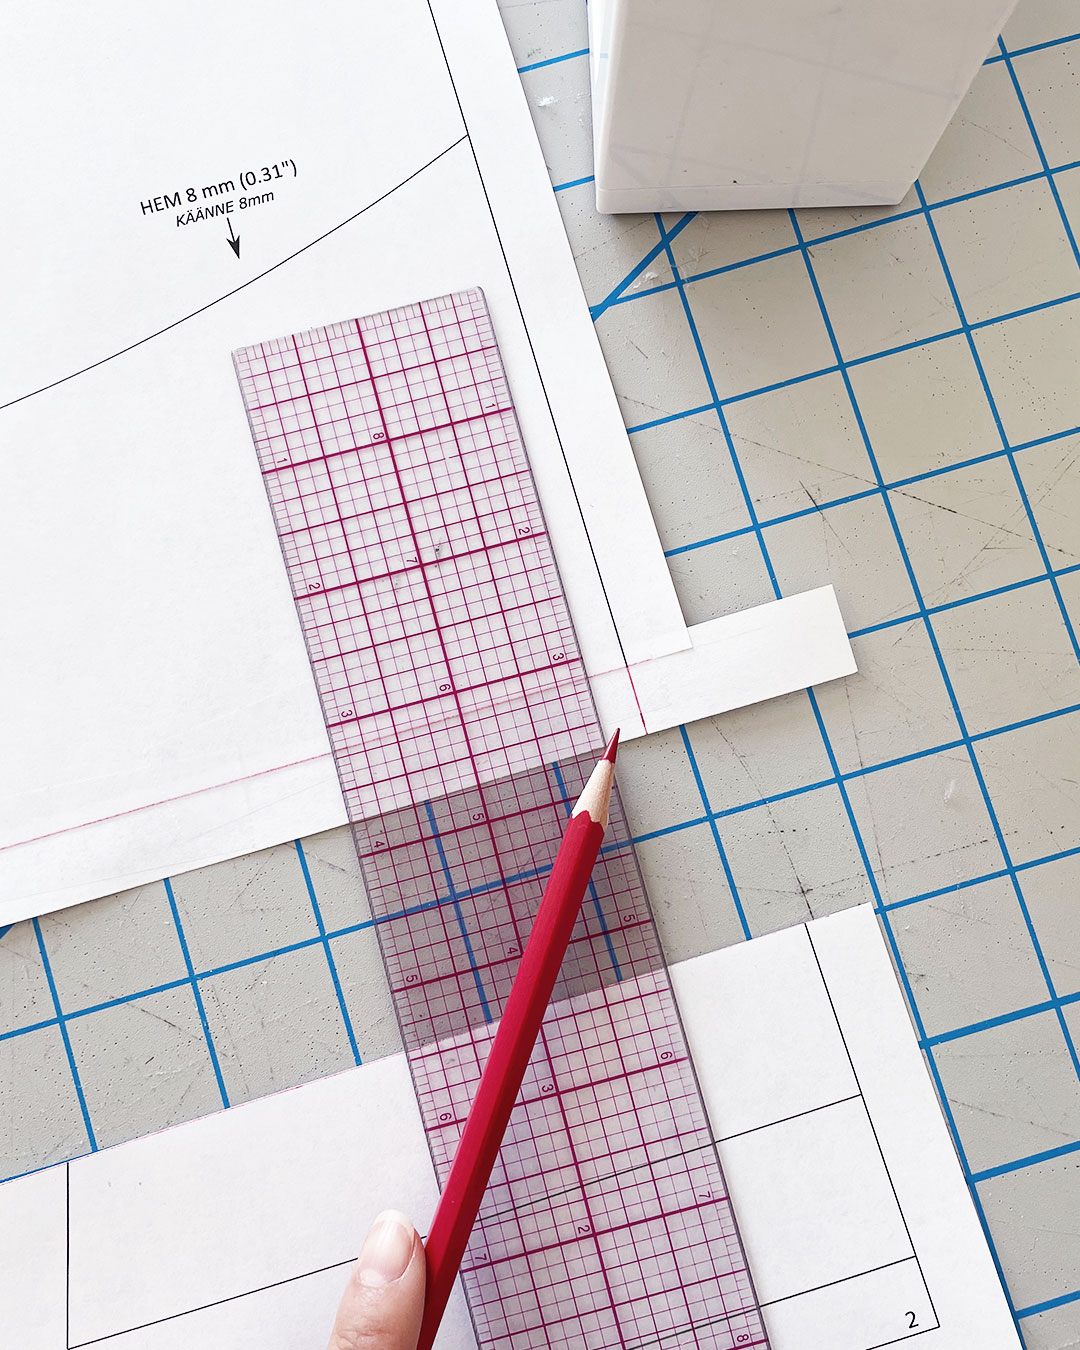
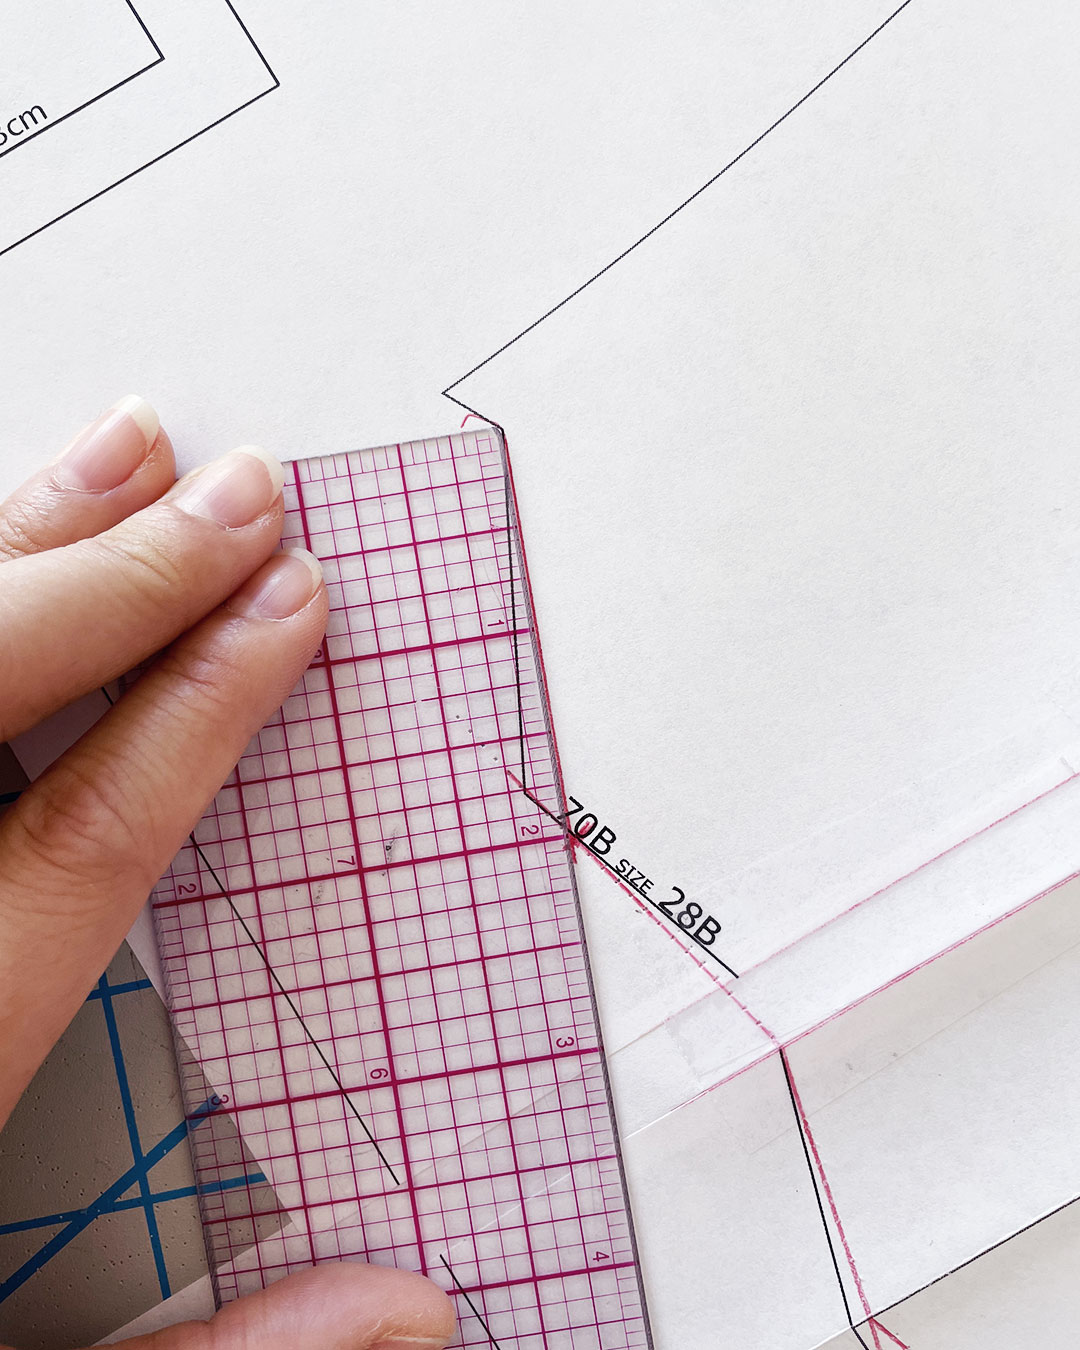
After squaring off at the side seam edge (helpful for lining up the bottom piece later), I measured 3/8″ down from the cut line and drew the new fold line.
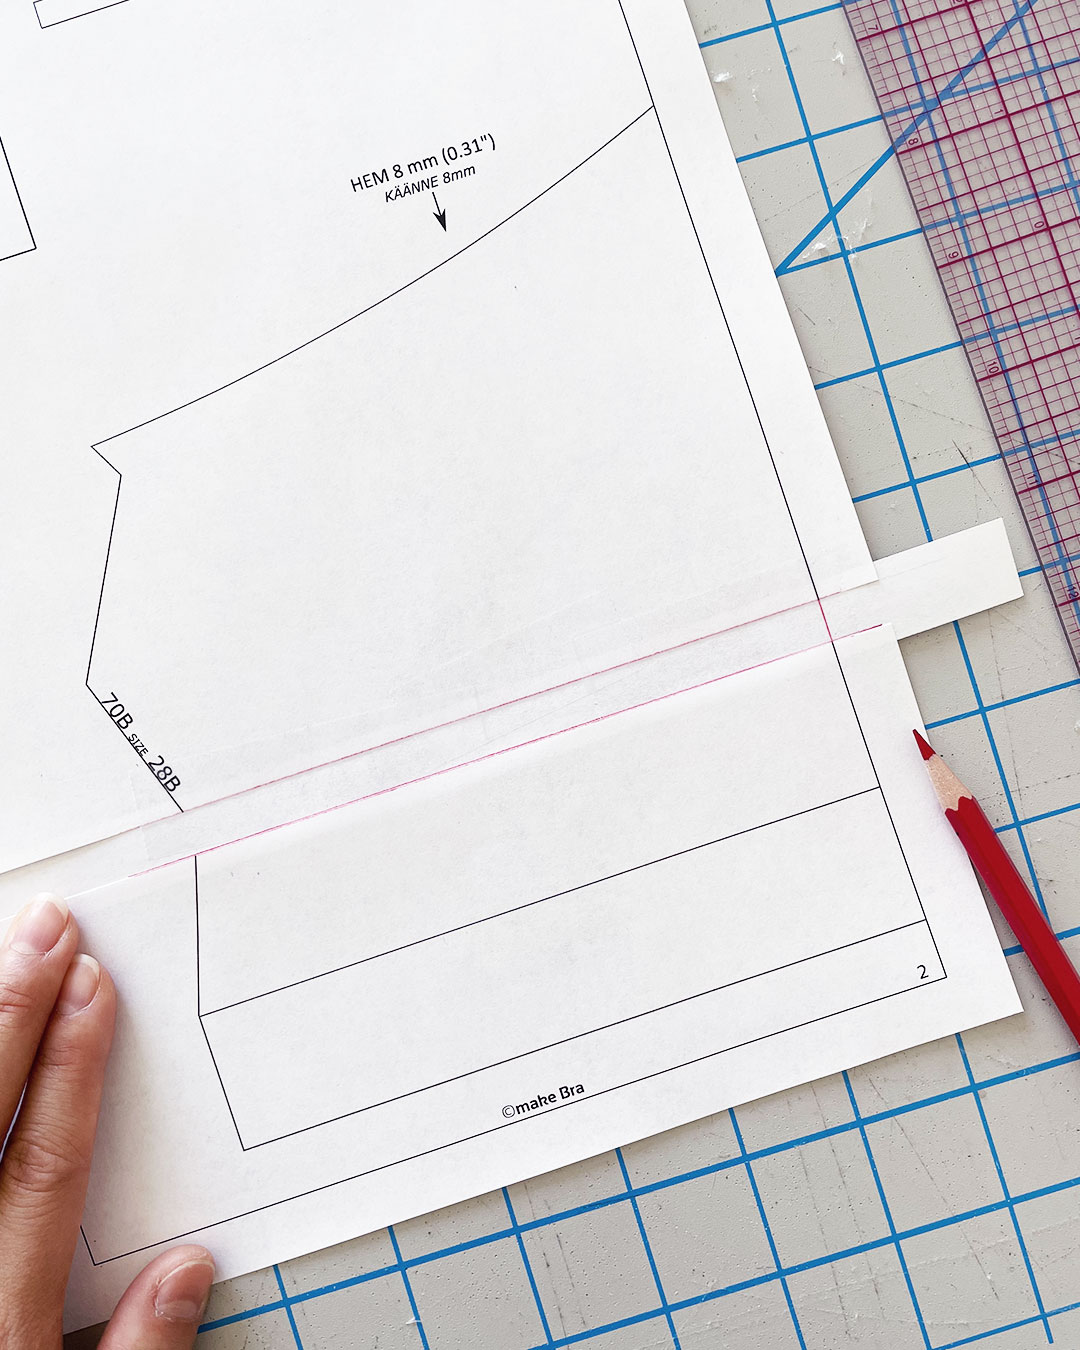
I lined up the bottom half of the pattern with the new fold line, making sure everything was nice and perpendicular, and taped it down.

From here, I’d need to re-draw the center back angles based on the new fold line.

First, I folded the pattern the way that the bra would be constructed—folding twice to wrap the wide plush elastic inside the body fabric.

I marked the point on my new fold line where the new center back angle would connect to, and drew a new line from the original edge.
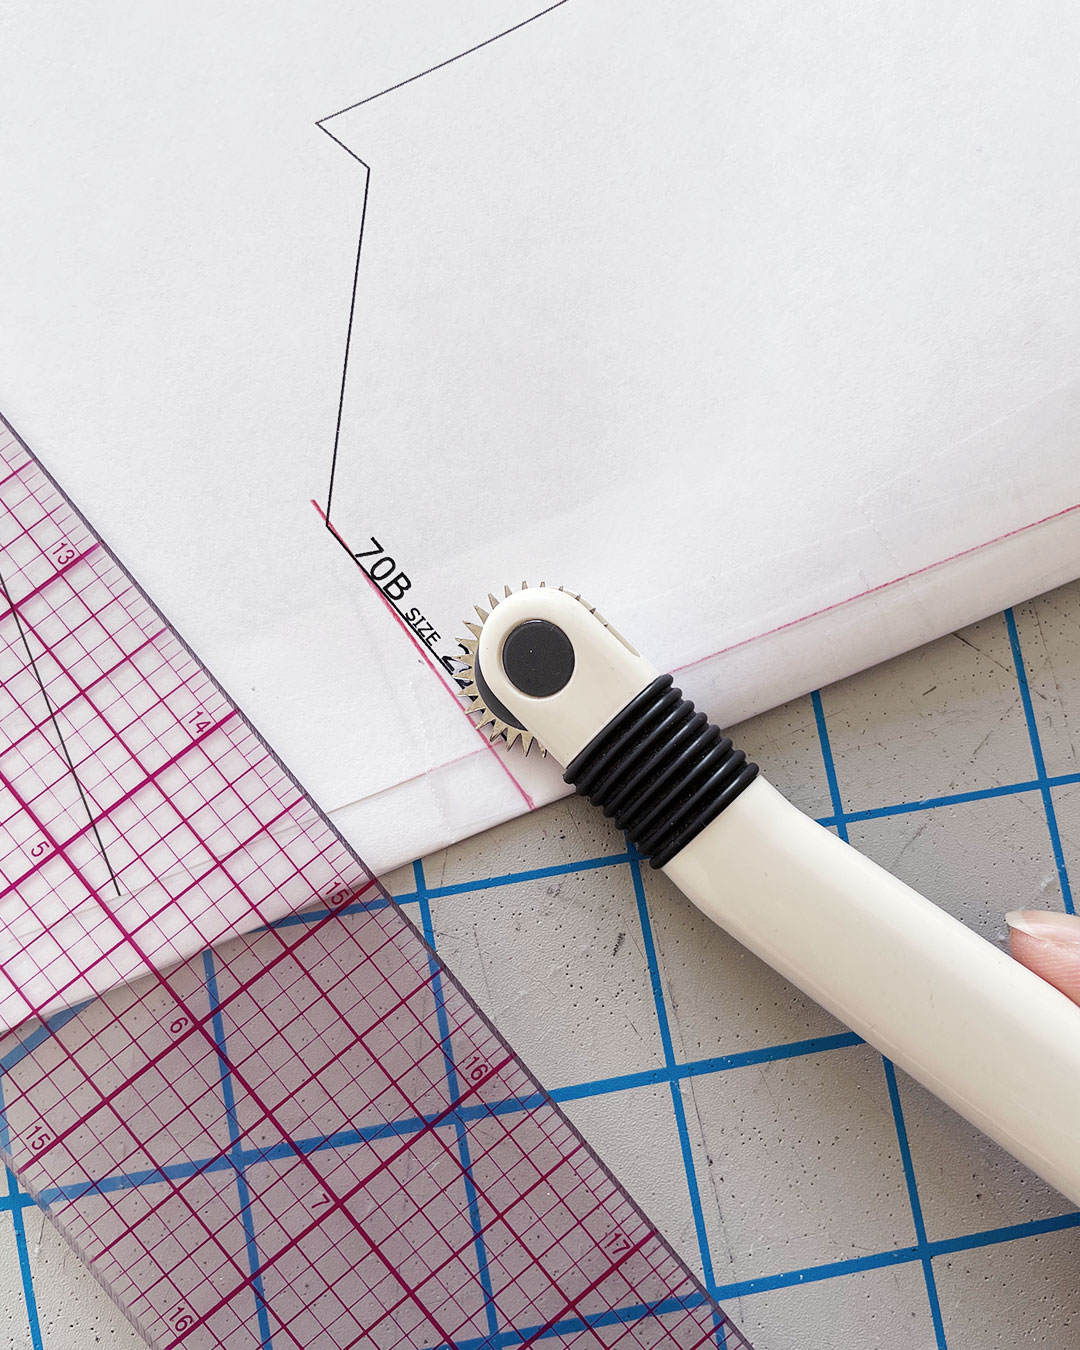
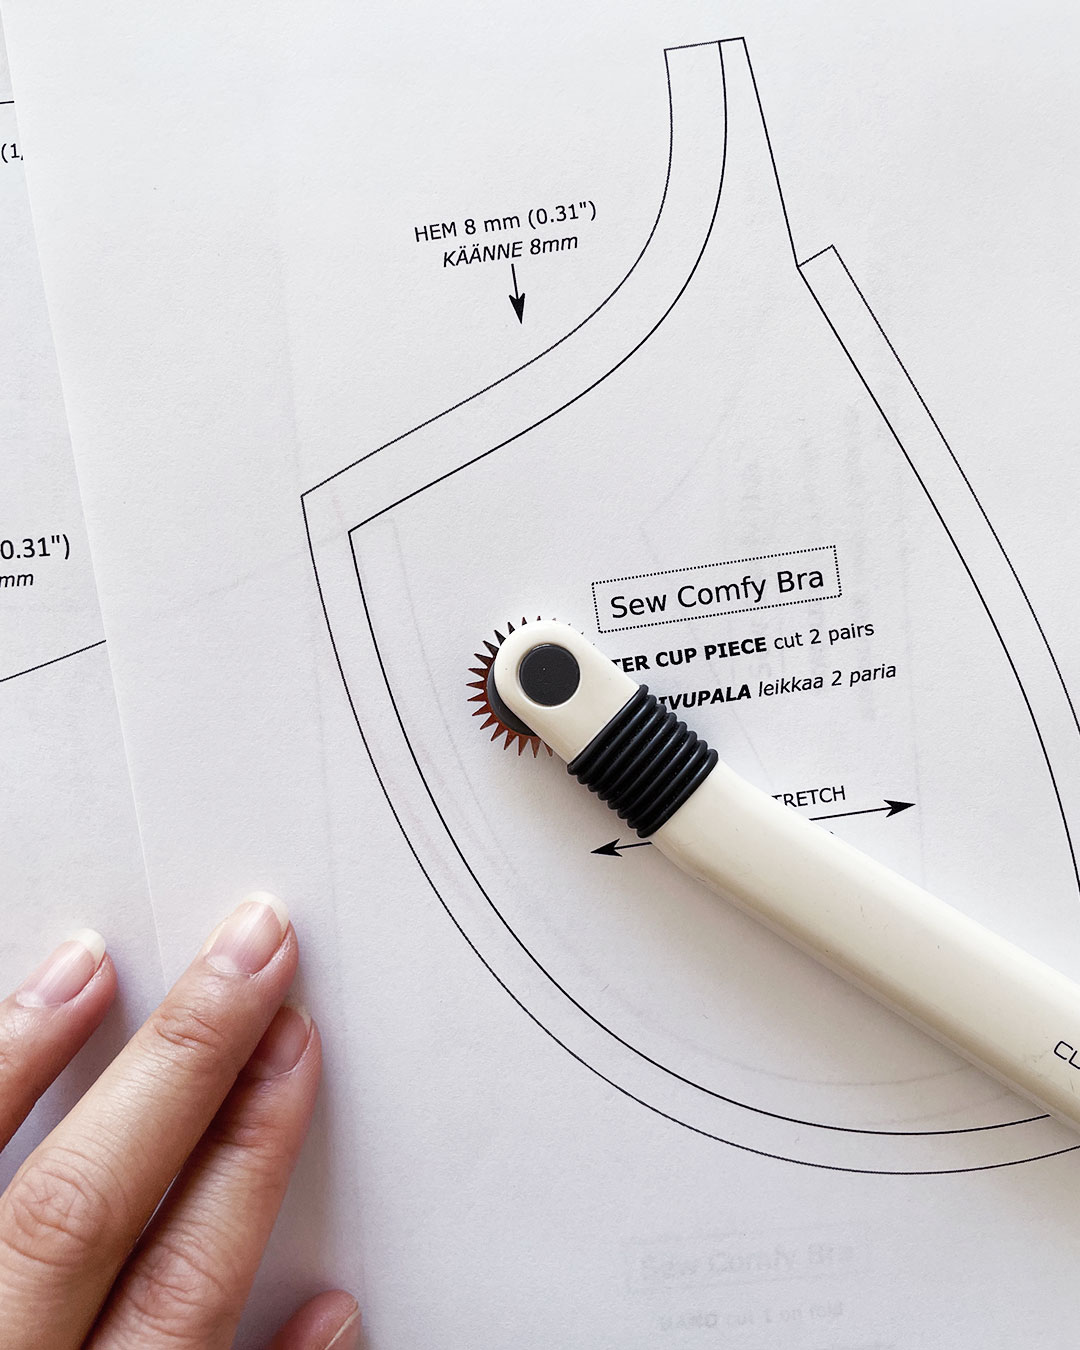
Using my tracing wheel, I traced the new line while the pattern was still folded, pressing quite hard to make sure I marked all the layers of paper. After unfolding, I could see where my new angles were from the tracing wheel marks.
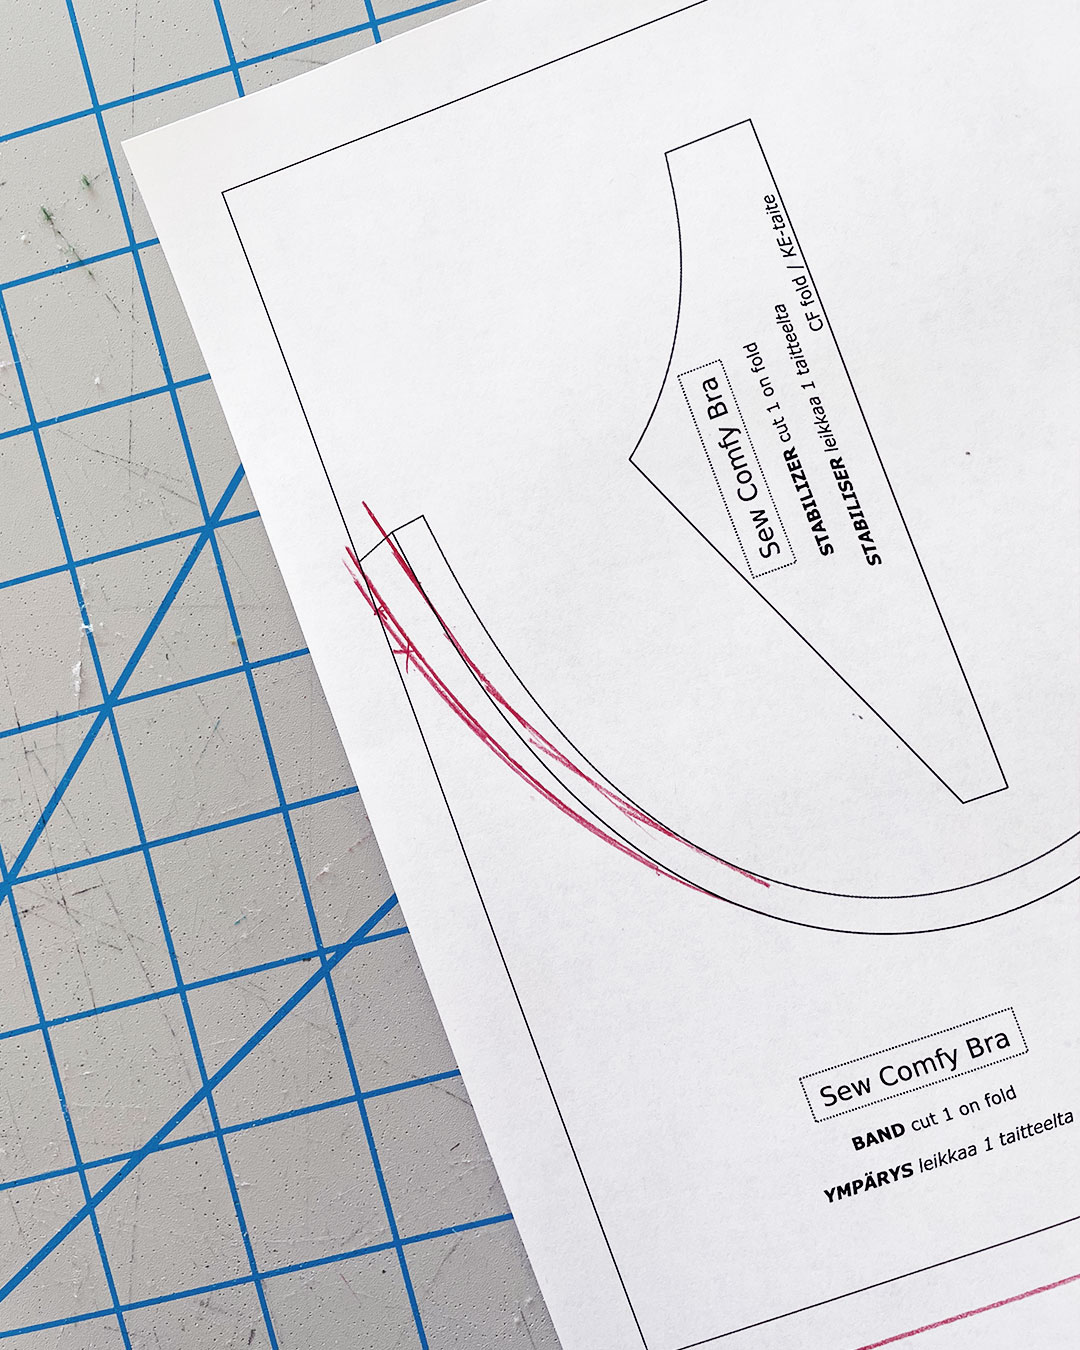
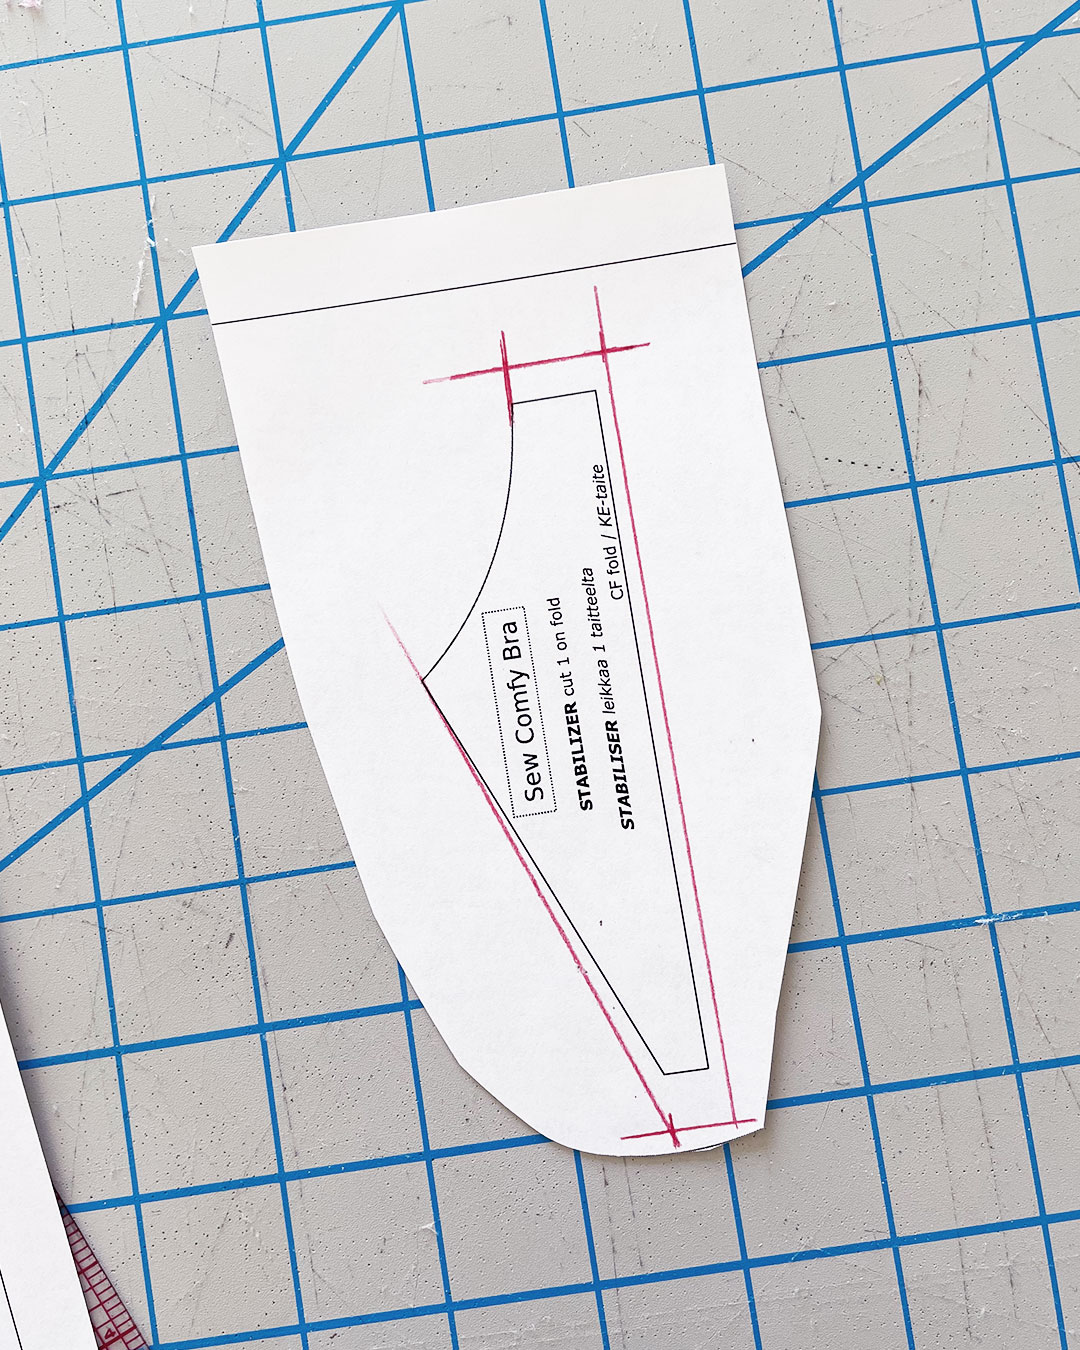
I traced over these marks with my red pencil, and also noted the length of this new line for the next step: 1 5/16″
Stay with me, fam! This next step is subtle but important:

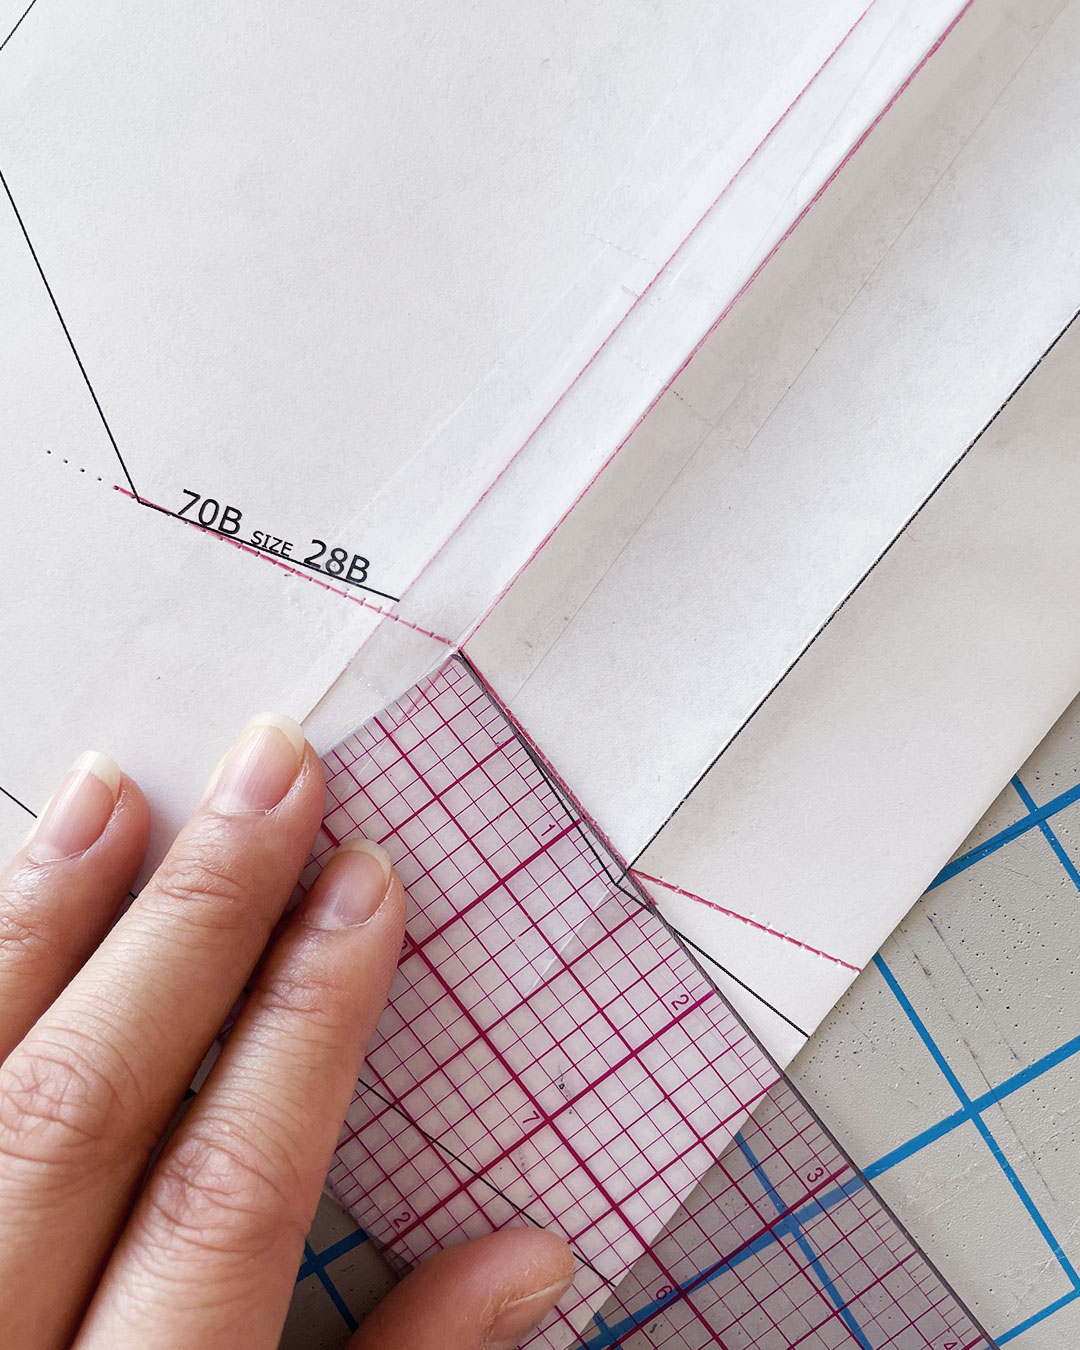
Because the position of the wide plush elastic had been lowered overall, I needed to reshape the angle of the center back above the fold line to match the new fold line. To do so, I measured 1 5/16″ up from the fold line.

After identifying this point, I drew a new line from the original top edge to my lowered back angle point.
And there you have it! A lowered wide plush elastic placement and reshaped center-back angles to match the adjustment.
Pattern Adjustments – Underwire Size and Shape
The Sew Comfy Pattern is drafted for a “Regular #401” style of underwires, which I was not familiar with. For size 28B, the recommended underwire size according the pattern’s instructions was “U208.”
I used a the Round Wire from Tailor Made Shop that had a similar shape, in size 36, which fits well for me. Size 36 is closer to size U240 in the pattern’s recommended wire style in terms of width and overall shape. I learned from previous bra-making attempts that I tended to need a larger underwire than what’s recommended in bra patterns.

LizSews has great resources on how to adjust bra patterns to accommodate different underwires, and I used her “Altering a pattern to fit an underwire” video to help determine my next set of pattern adjustments:
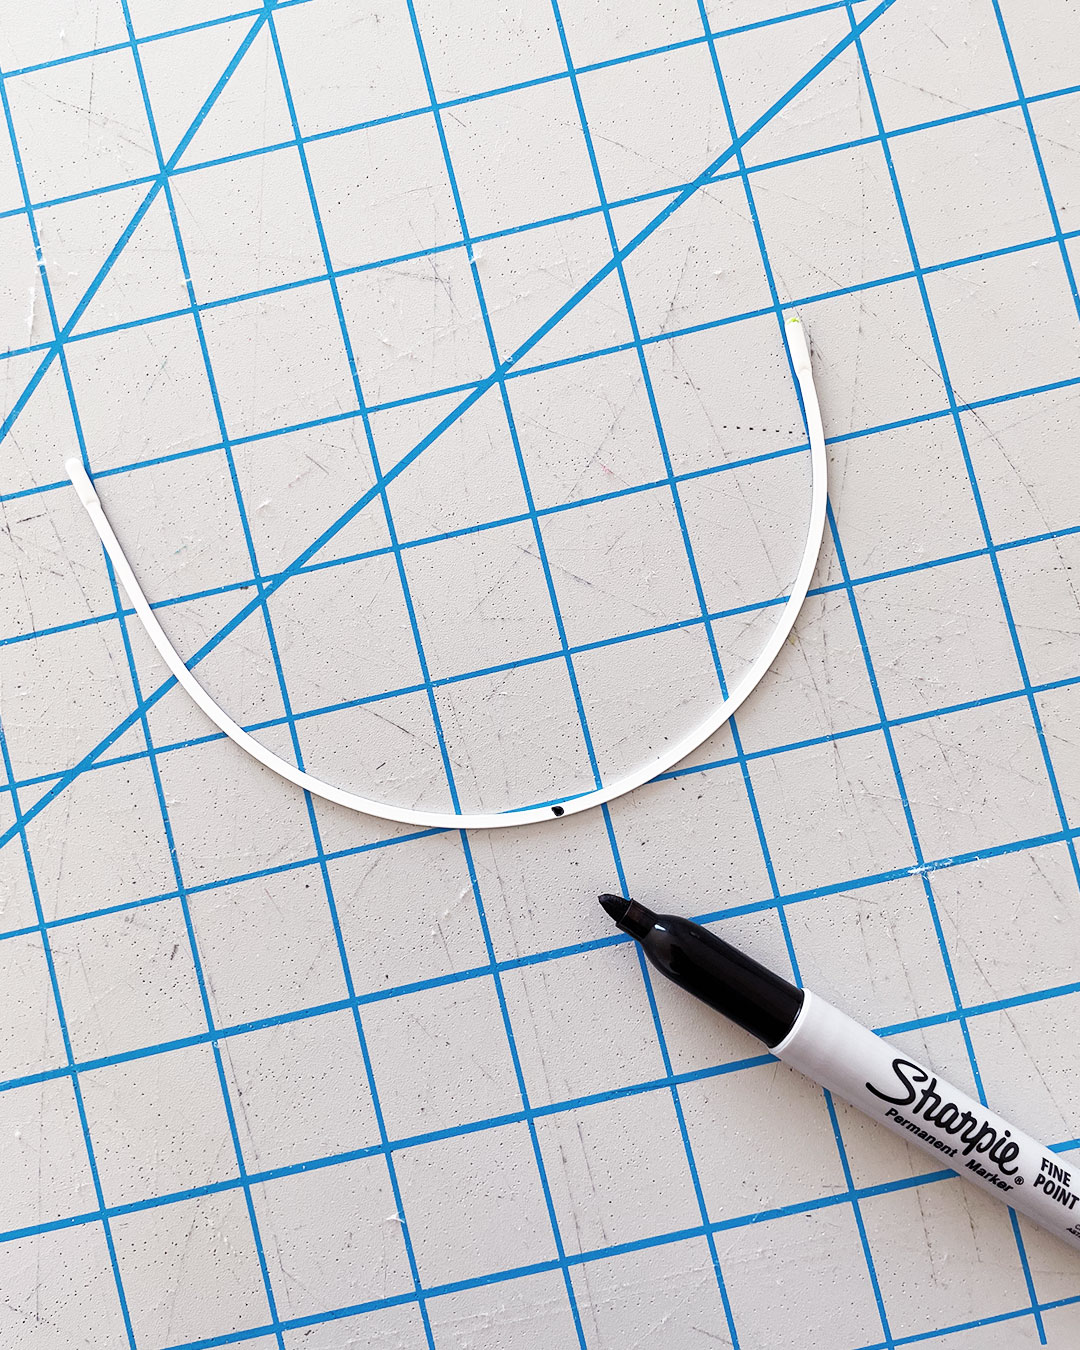
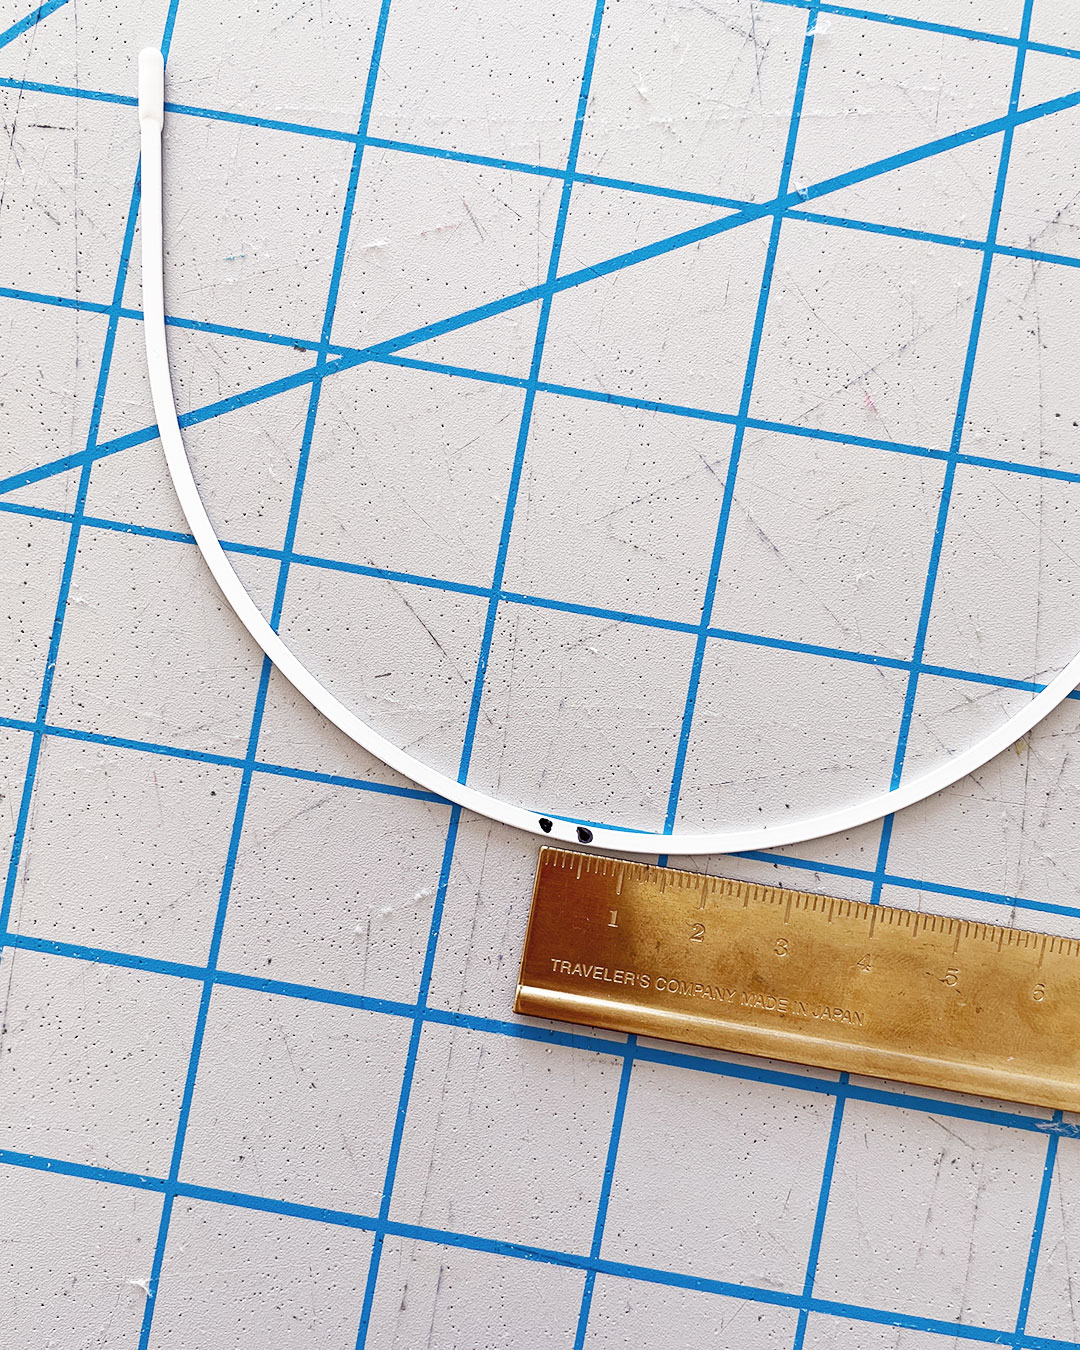
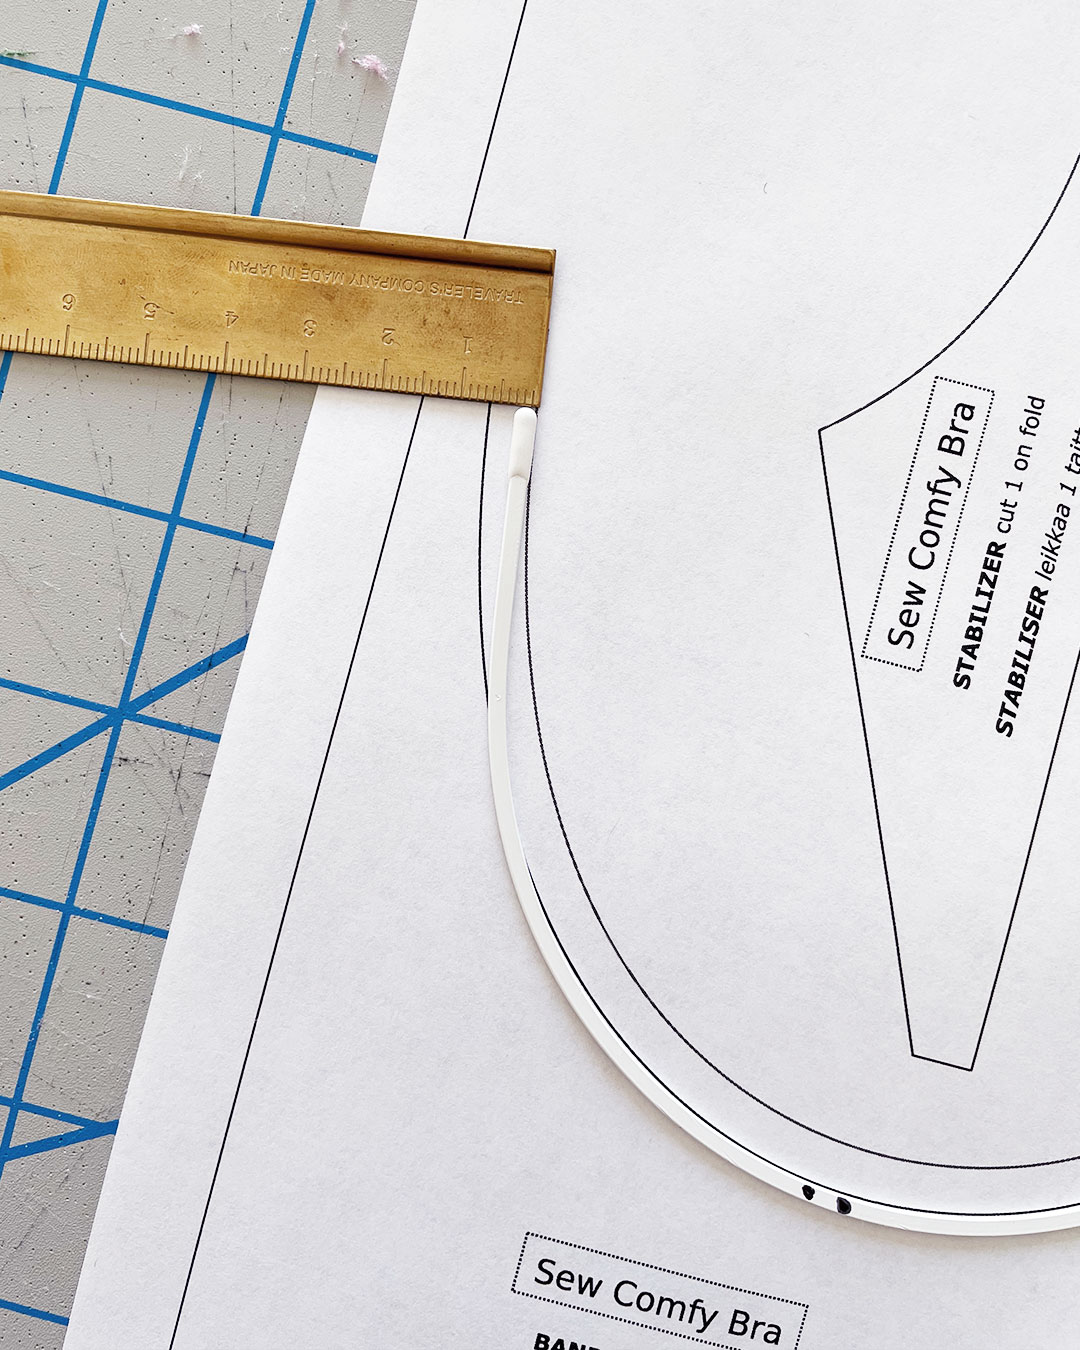
Using Liz’s video, I started by identifying the “balance points” of my underwire.

I placed the underwire along the wire line of the Sew Comfy frame piece, lining up my balance points with the part of the wire line that made the most sense to me.
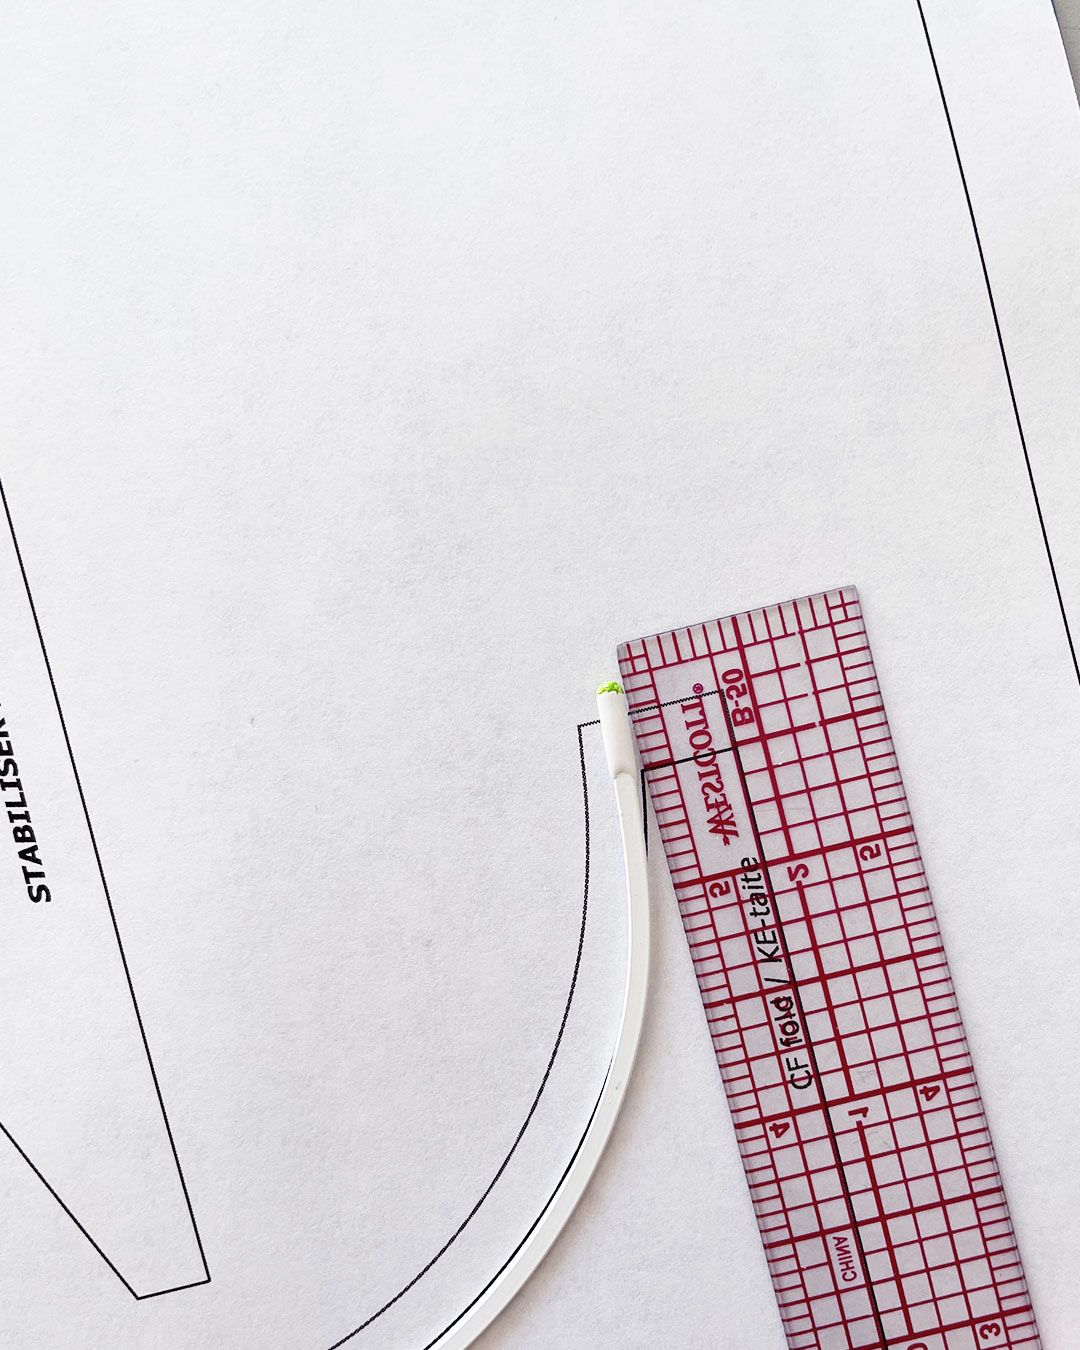
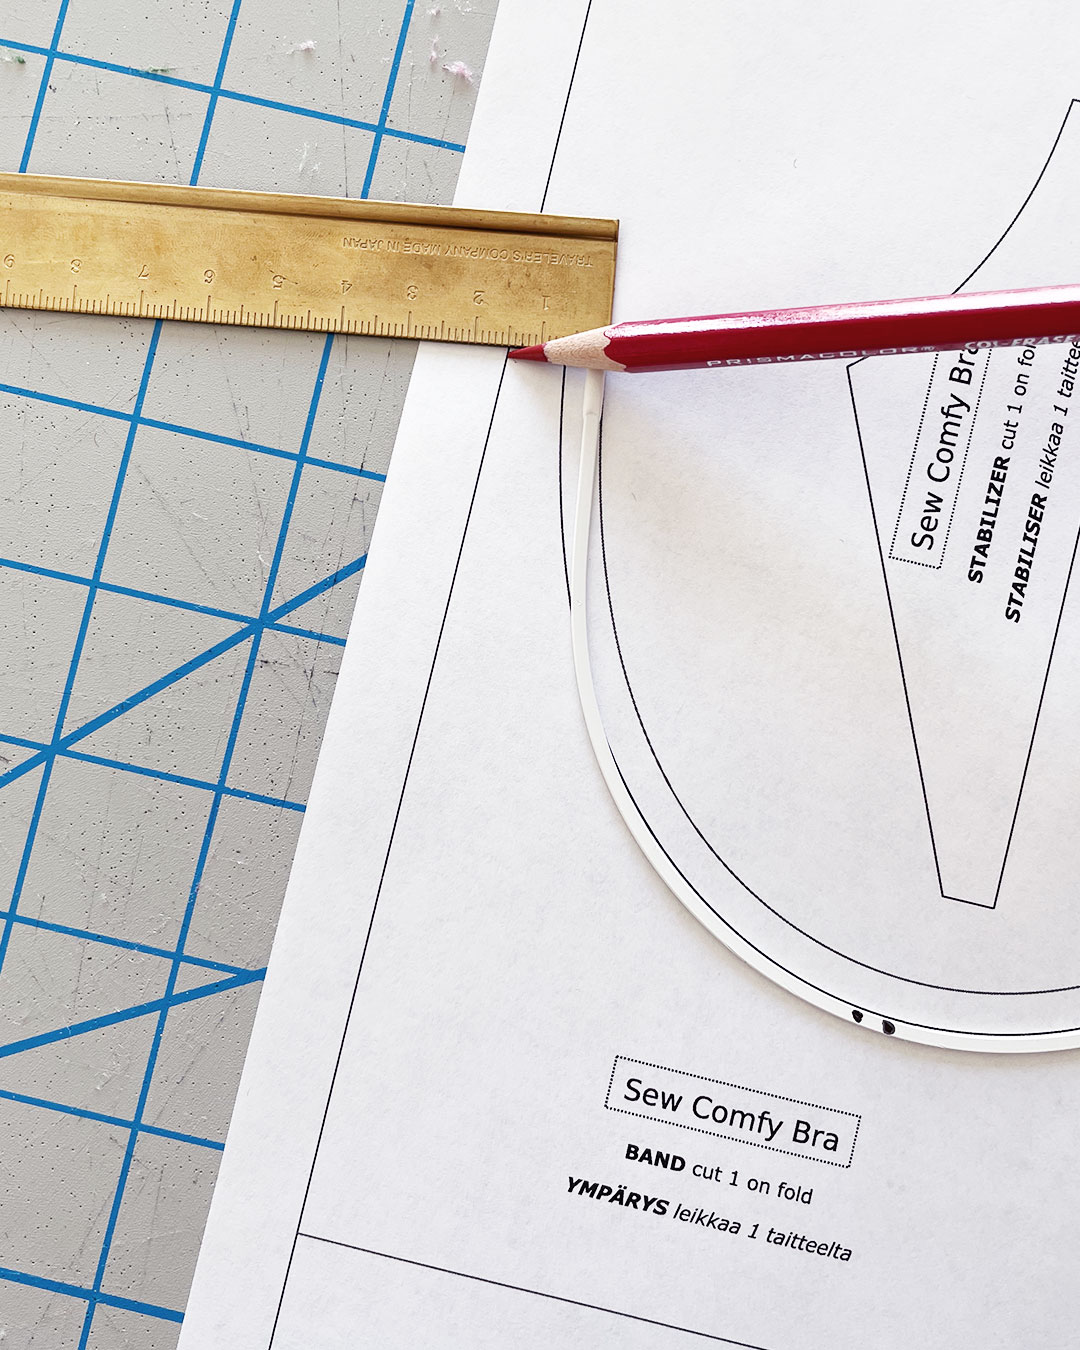
The wire stuck up past the center front edge by about 3/8″. I added 1/2″ to this edge to accommodate the longer wire, with the extra 1/8″ to account for a bit of wire play (and a little more in the underarm area).
Note: I did not add 1/4″ seam allowance to the top edge because I had decided to finish this edge with one pass of FOE.
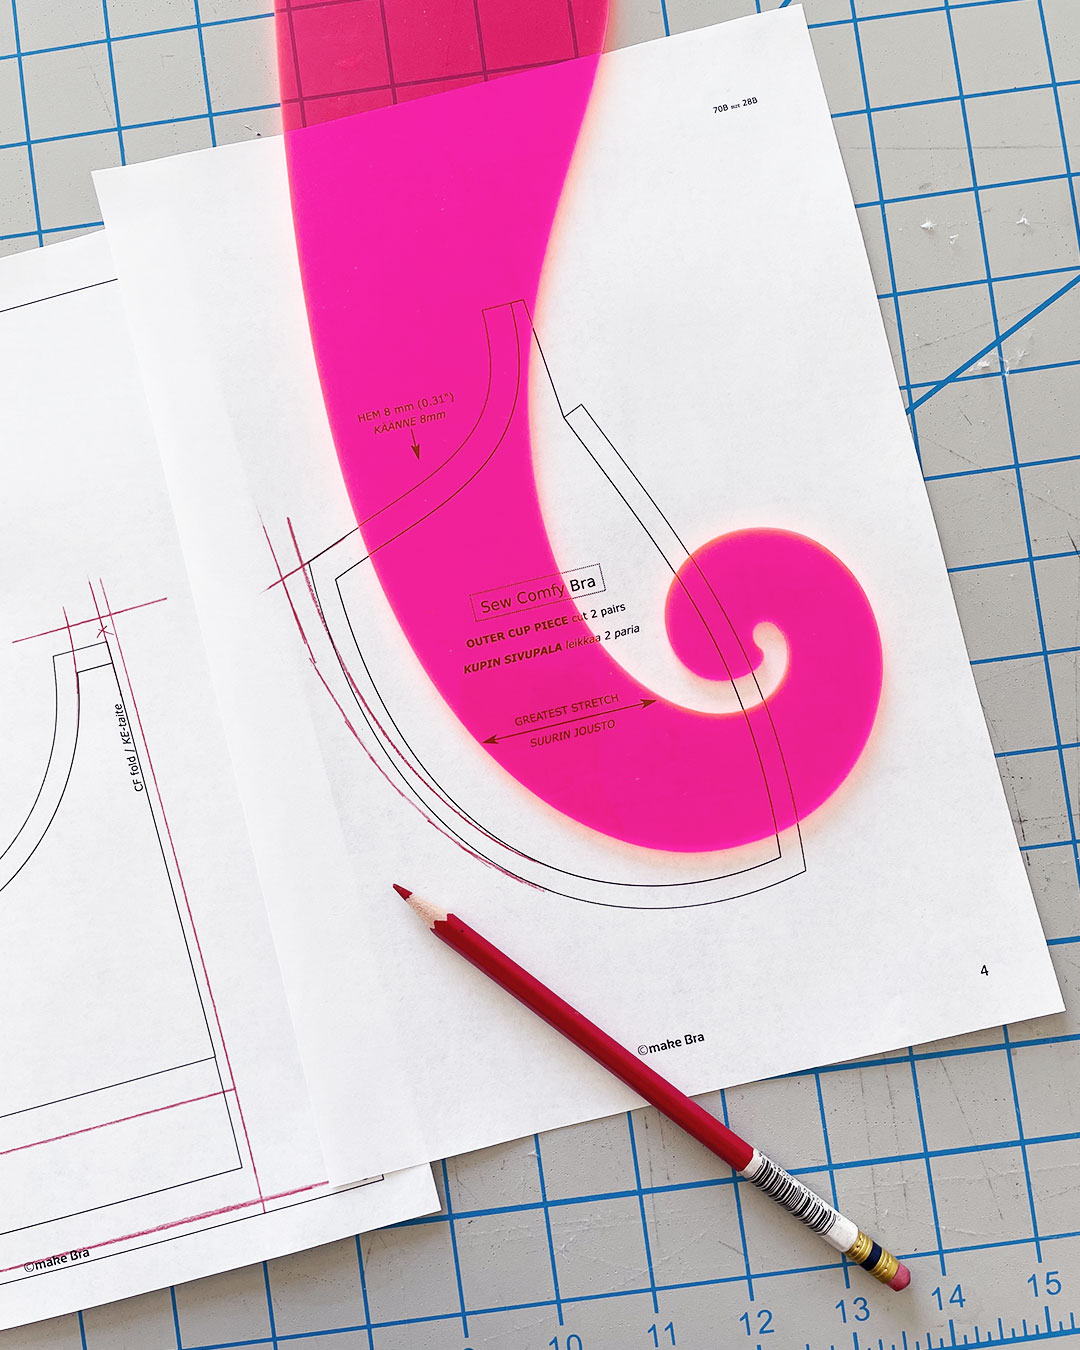
I used my french curve to reshape that top edge.

I added 1/8″ along the CF fold to give myself a little extra room at the center front.
Next, I tackled the other side of the wire. Based on instructions from Liz’s video, I measured 15mm out from the wire’s outer edge to account for wire splay, and marked this new point with my pencil.
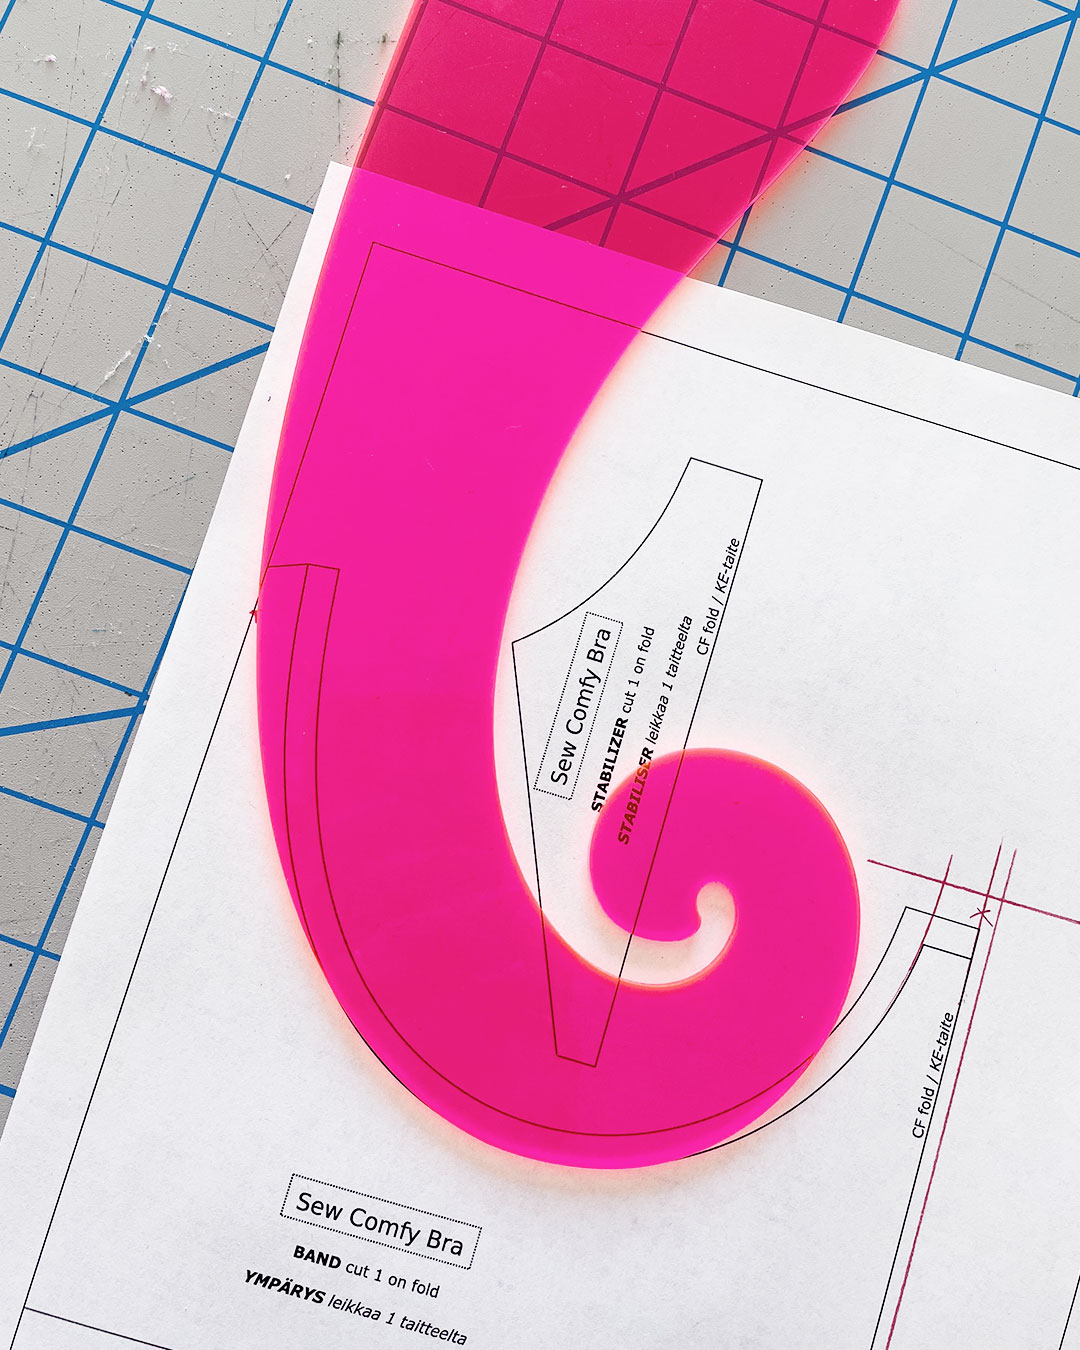
Using my French curve, I reshaped the wire line to the new point.

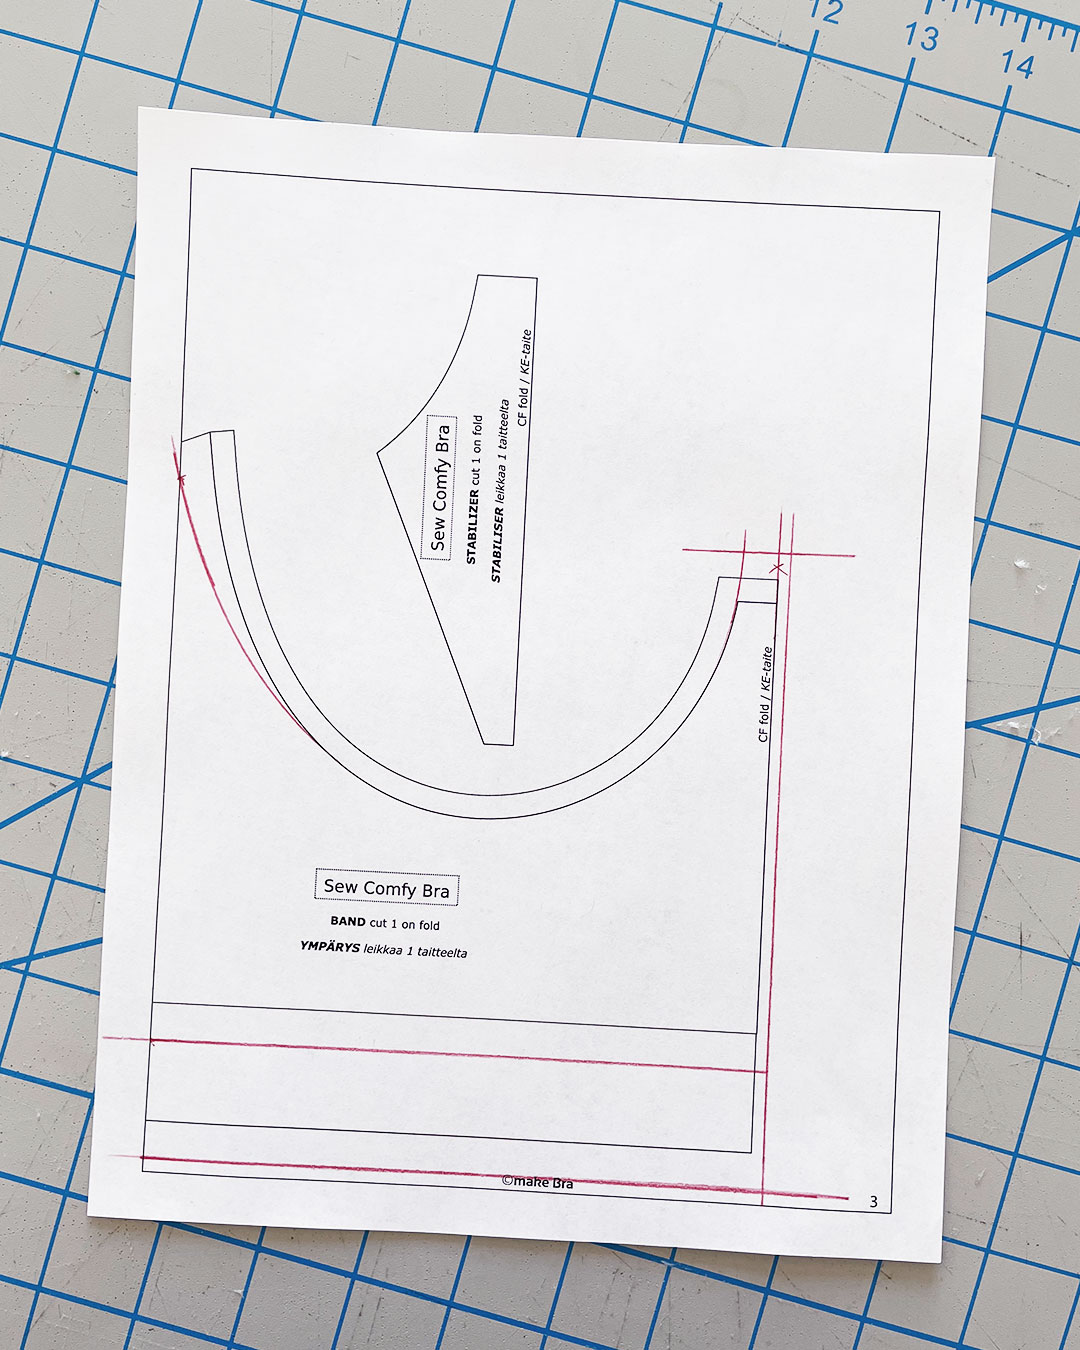
Next, I made sure to adjust the bottom edge of the pattern piece to match the adjustments I had made for the back band—lowering the elastic placement by 3/8″.
Although the “Band” piece of the pattern is on two separate sheets, there is actually no side seam in the Sew Comfy Bra. So, I taped the back band to the front band to create one continuous piece. After doing so, I reshaped my wireline just slightly so that the front piece connected more seamlessly to the back band.
You’ll notice that the height of the revised wireline extends about 3/8″ above the mark that I made after accounting for wire splay. This 3/8″ accounts for wire play at the armhole. I did not add additional elastic allowance along the armhole because I chose to finish that edge with one pass of FOE. Conveniently, the line that was already there from the original pattern accounted for the wire play + no additional elastic allowance, so I simply kept the original line.
To understand more about wire play, check out these resources:
- How to Make Underwire Adjustments for the Harriet
- Drafting the Curve of a Cradle Pattern From Your Wire
- How to Eliminate Cutting Underwires
Added 1/4″ seam allowance to the new wire line, and voila! My adjusted band pattern is ready.
Now, I would need to make sure that the remaining pattern pieces are adjusted accordingly.

I started by reshaping the Outer Cup Piece to match my new wireline. I did so by overlaying the Outer Cup Piece over the adjusted Band, and using my tracing wheel to draw the new wireline shape.
I redrew the line with my French curve and added the 1/4″ seam allowance.
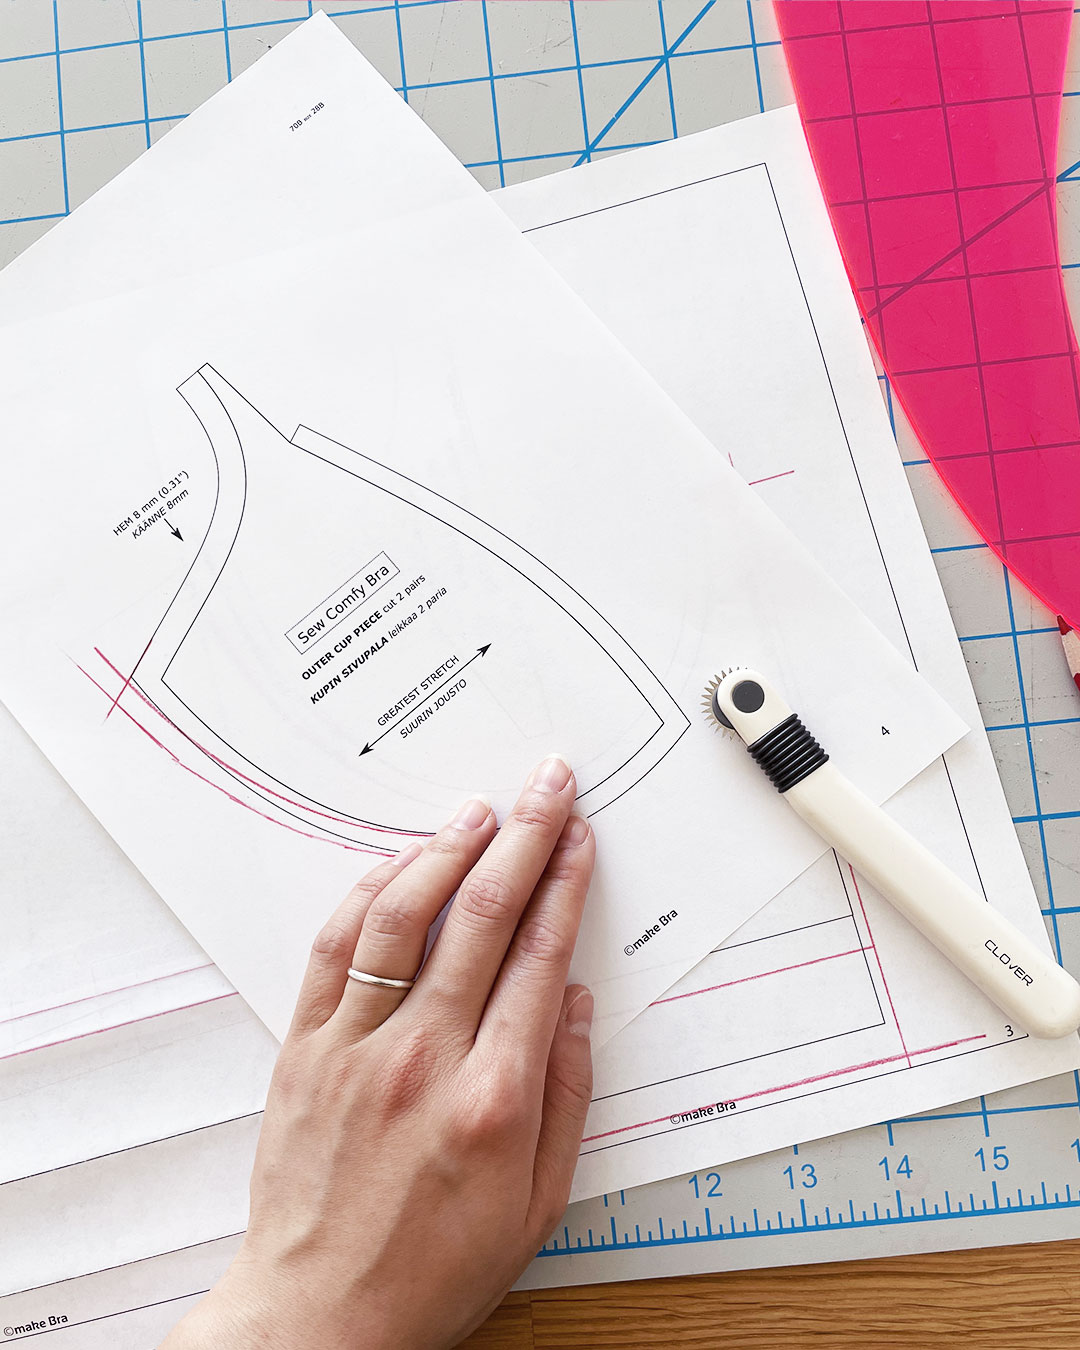
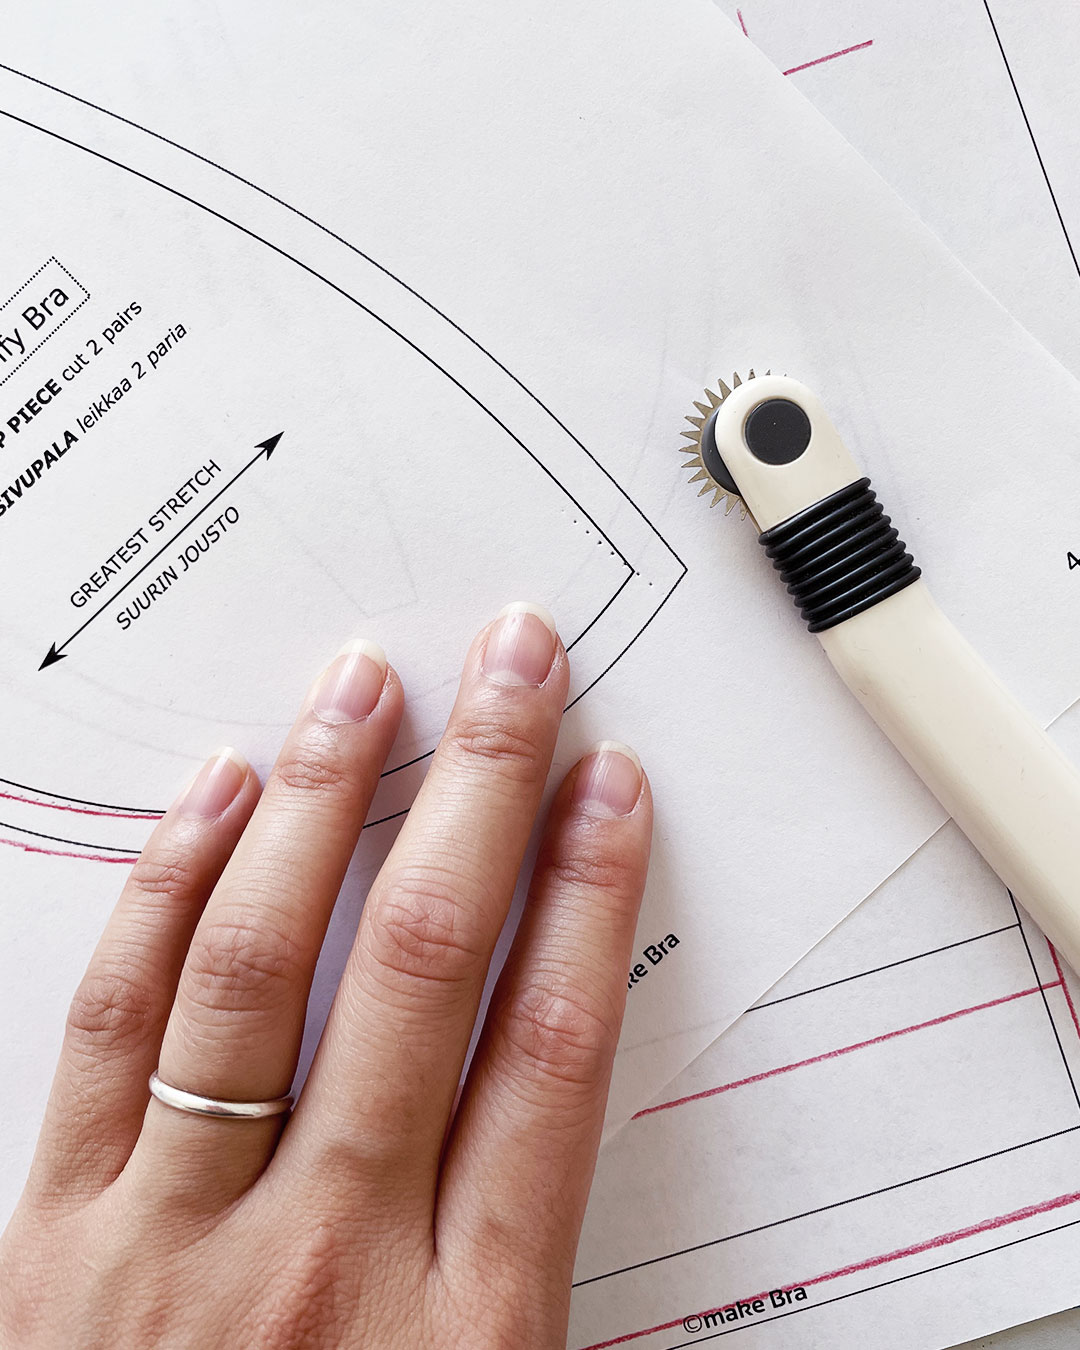
To help with sewing this curve later, I also added a notch where the seam of the Outer Cup and Inner Cup would be positioned along the wire line.
Next up, I adjusted the Stabilizer piece to match my adjusted center front area—lining it up with the adjusted Band Piece and tracing the adjustments.
Finally, I did the same with the Inner Cup Piece.
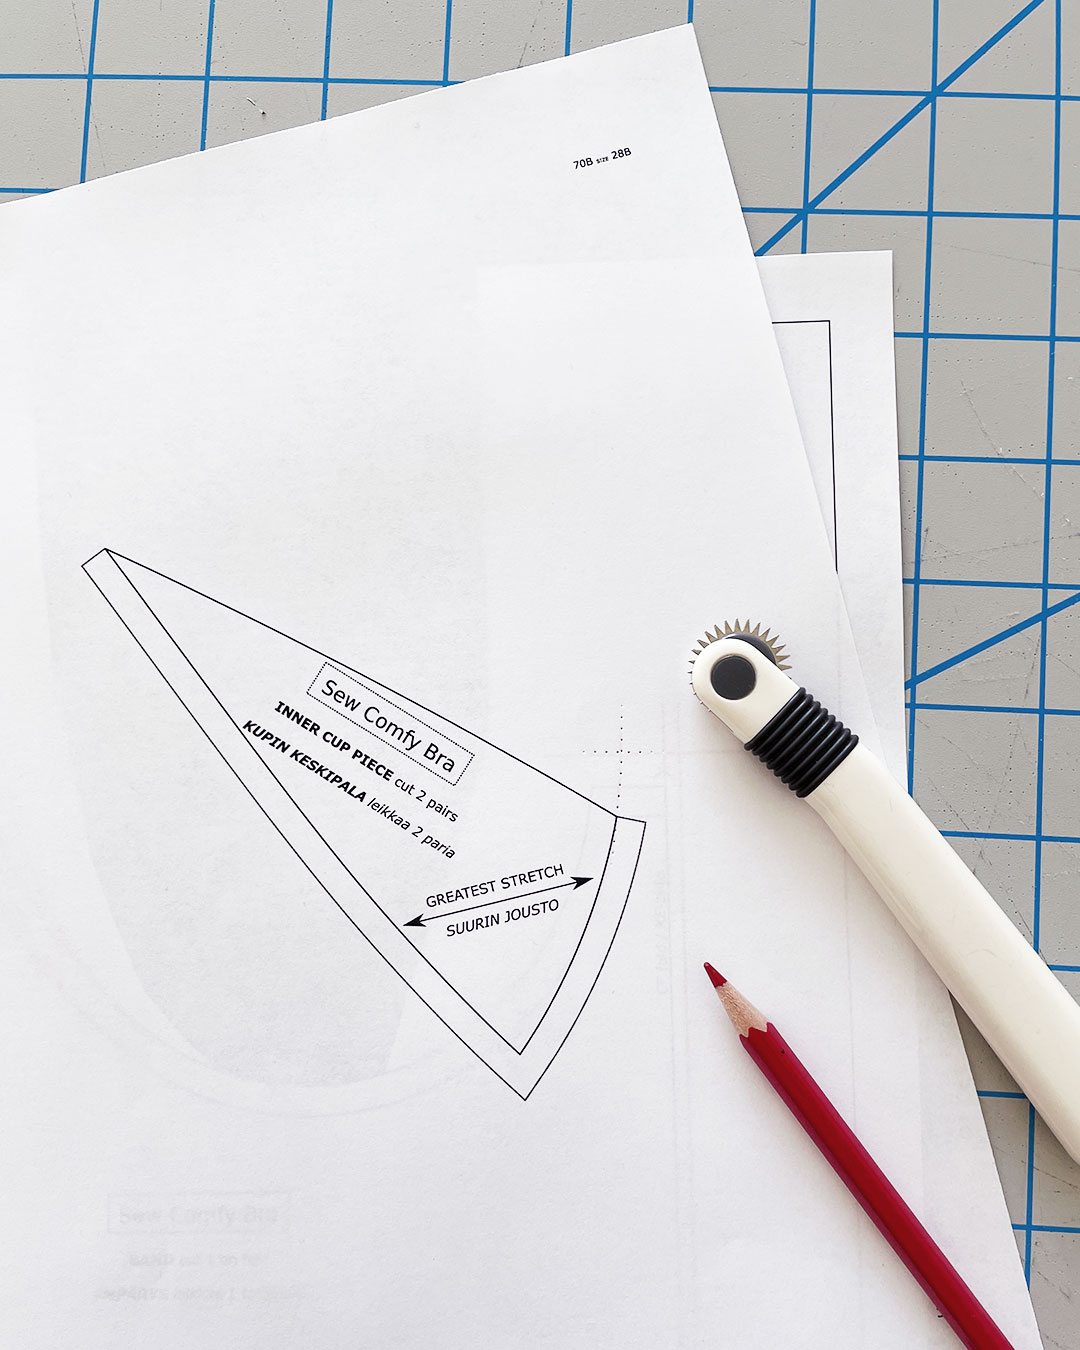
Lining it up with the adjusted Band, I traced the higher Center Front top edge with my tracing wheel.
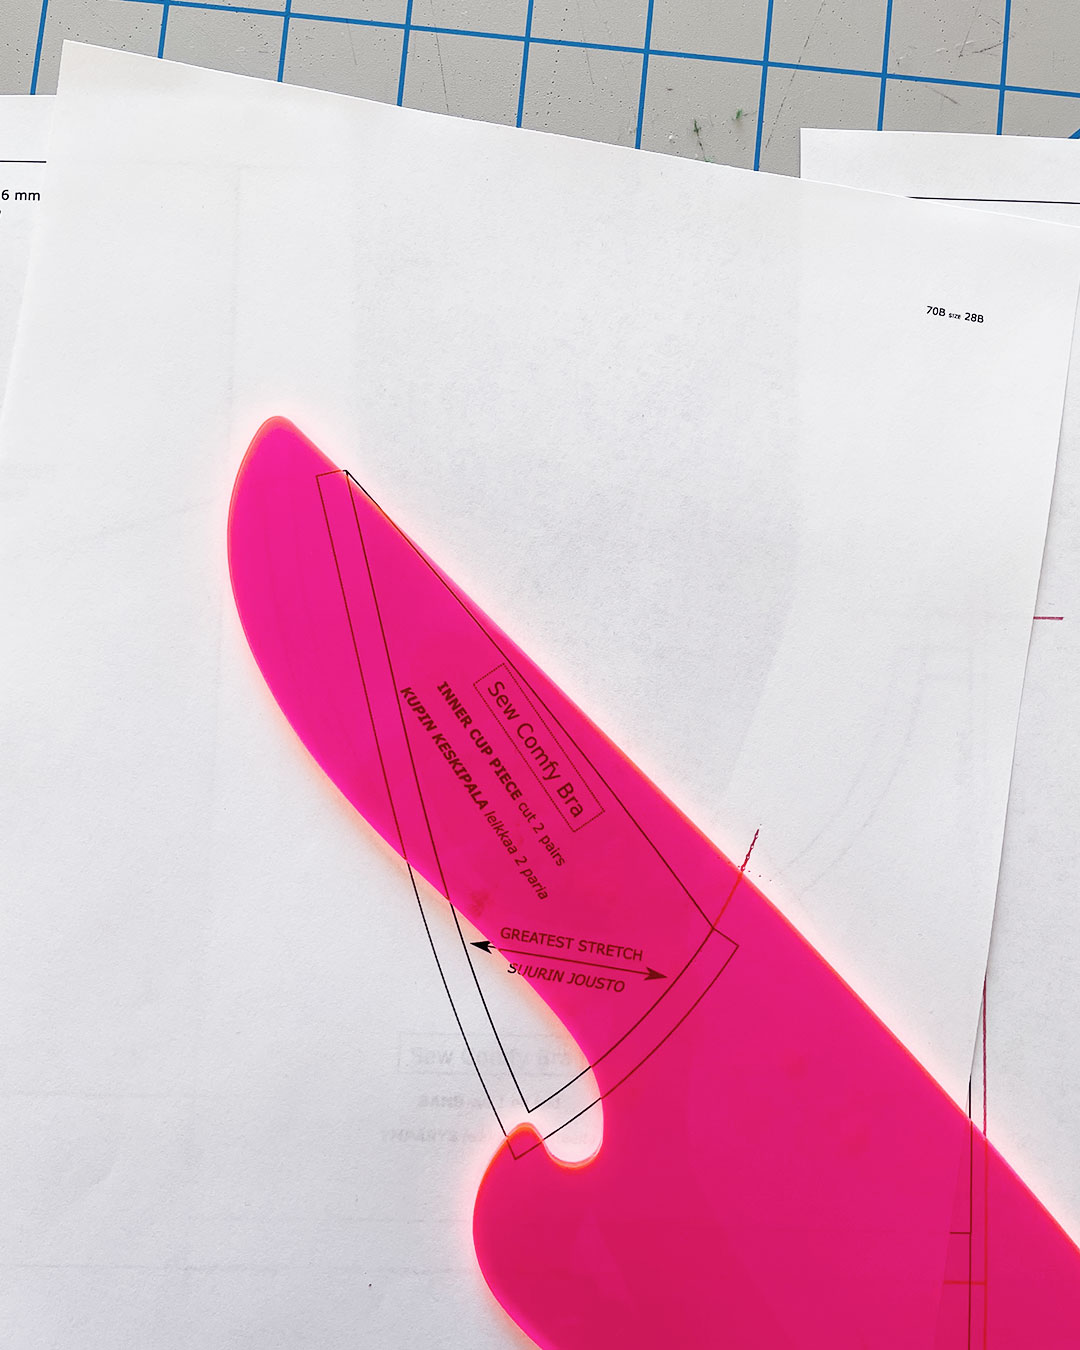
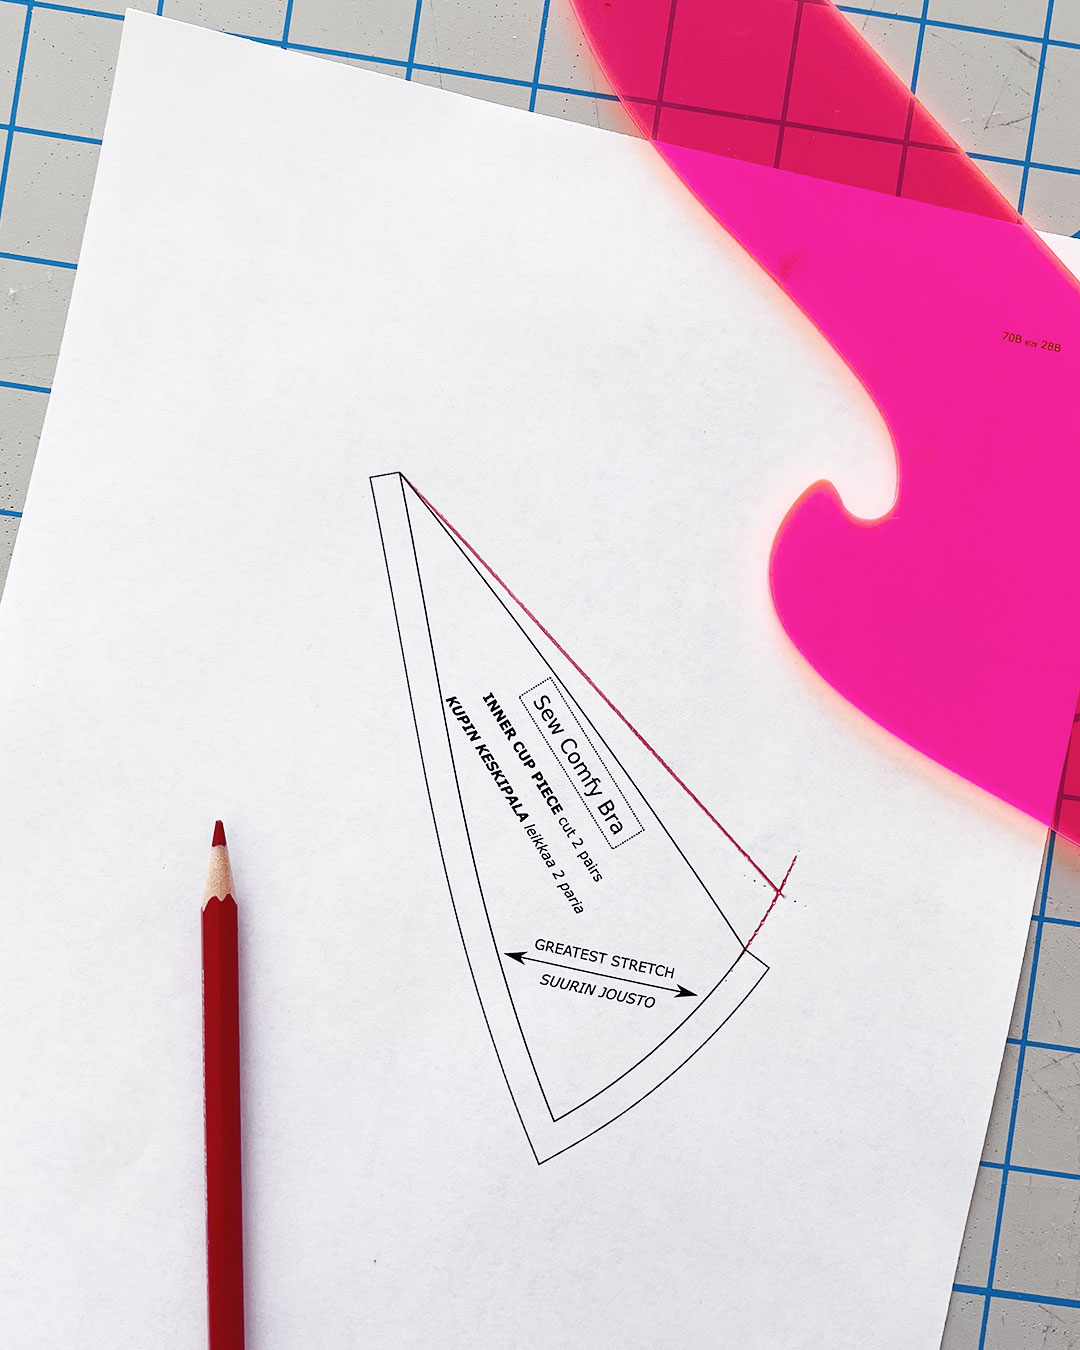
Then, I used my French curve to draw new lines.
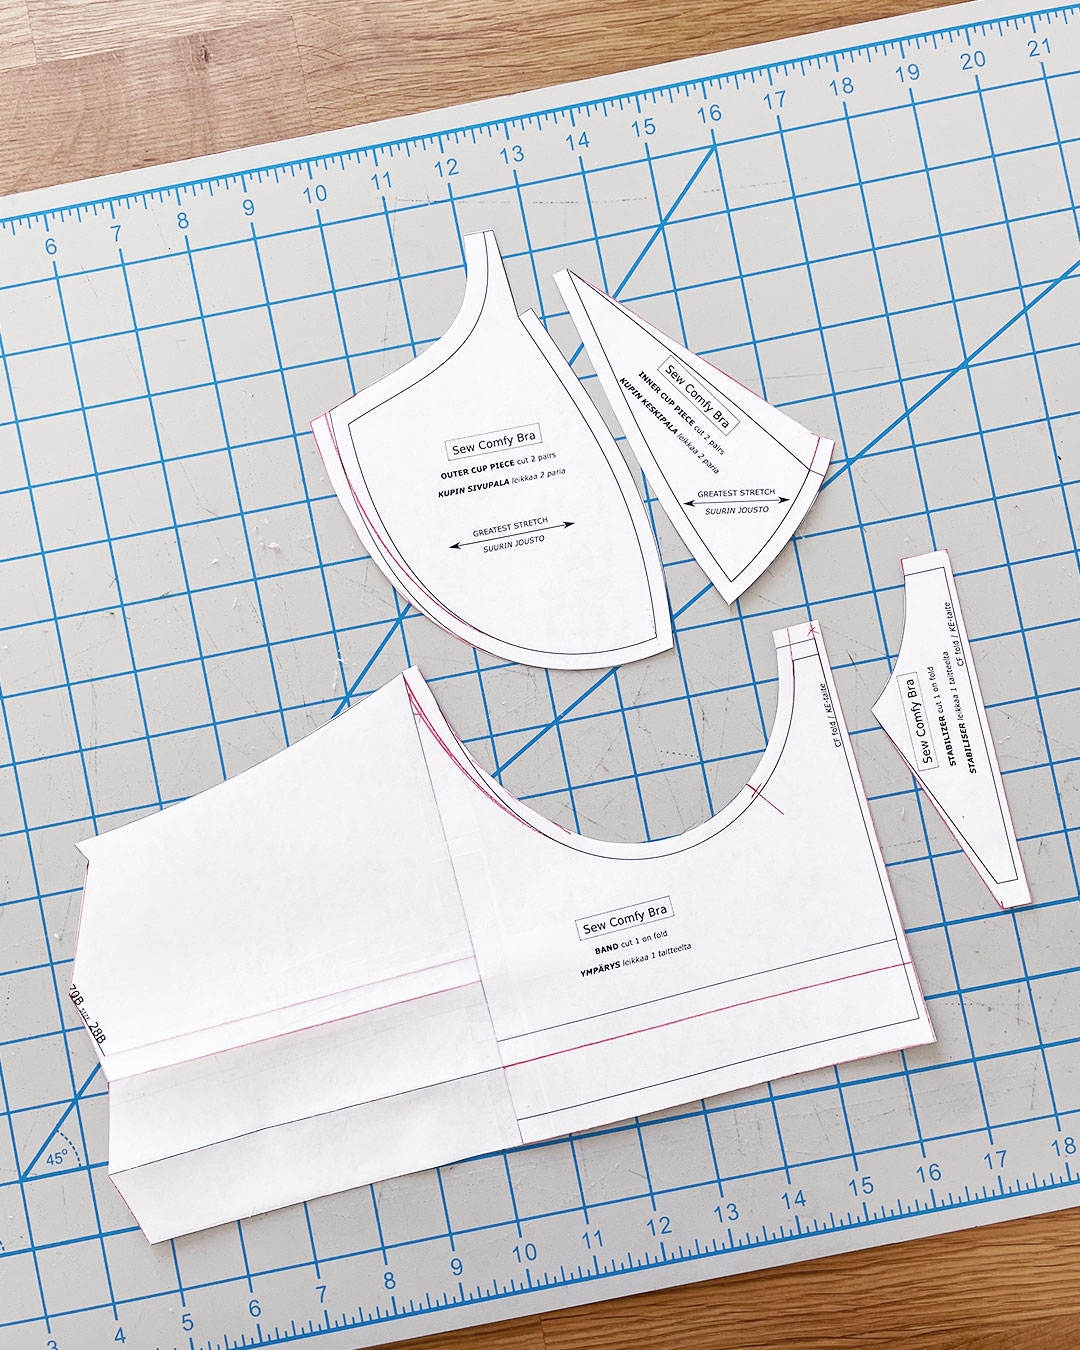
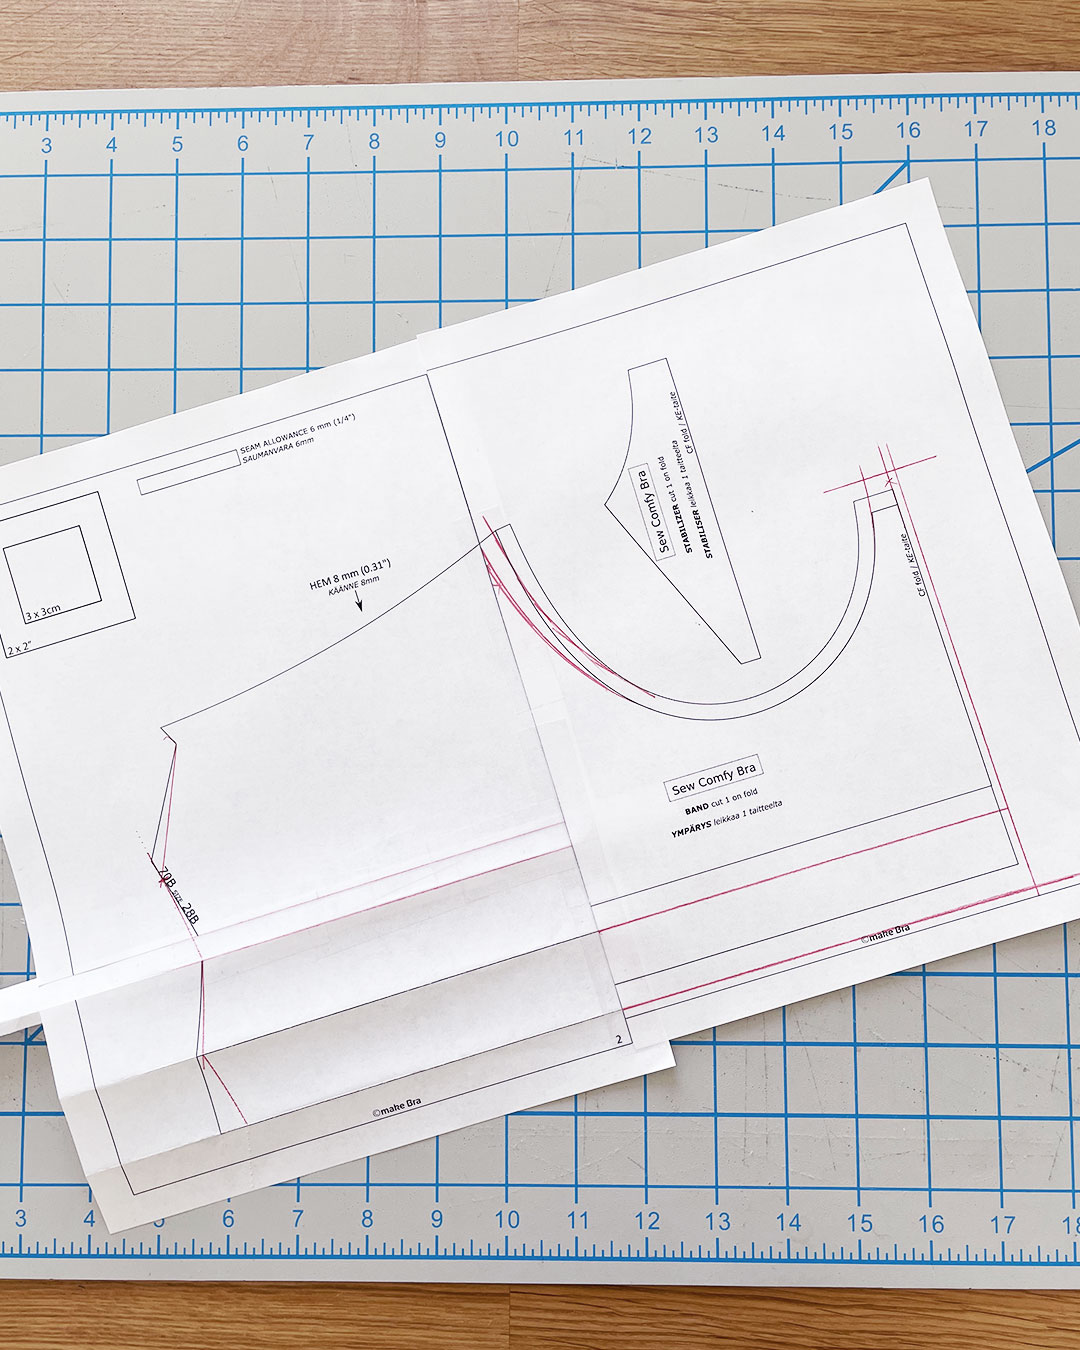
Phew! And there it is—all four pieces of the Sew Comfy pattern, adjusted and ready to cut and sew.
Note: These pattern adjustments are specific to my fit requirements. You may need to make different pattern adjustments to achieve a better fit for your body type. I am including these pattern adjustments in case you may need to make similar changes.
Jump To:
- Sew Comfy Sew-Along – Part 1: Pattern and Sizing
- Sew Comfy Sew-Along – Part 2: Materials and Cutting
- Sew Comfy Sew-Along – Part 3: Sewing Part 1
- Sew Comfy Sew-Along – Part 4: Sewing Part 2
- Sew Comfy Sew-Along – Part 5: Pattern Hack
About Joy
joy mao is a slow fashion studio creating small batches of thoughtfully-made clothing, accessories, and artwork. The brand centers materials, skill, process, and pleasure in its pursuit of a more sustainable and joyful way of being.
Chinese-American designer Joy Mao holds a BA Fundamentals from the University of Chicago and AAS Fashion Design from the Parsons School of Design. Originally from Shanghai, China, she now lives in New York with her beloved husband, struggling house plants, and Silver Reed SK280 knitting machine named Grace Hopper.
You can visit Joy on joymao.com, or @byjoymao on Instagram.